Sugarcane is a warm season crop that grows best in USDA zones 9-10. If you are lucky enough to live within one of these zones, then you may be trying your hand at growing your own sugarcane. If all is going well, the next questions are when and how do you harvest sugarcane? Read on to find out about harvesting sugarcane plants.
When to Harvest Sugarcane
Sugarcane harvest is around late fall, when the canes are tall and thick. If the plan is to make your own syrup, and I’m sure it is, harvest as close to your area’s first frost date as possible but not so late that they get hit by the first frost. If the frost hits them, sugar loss occurs rapidly.
How Do You Harvest Sugarcane?
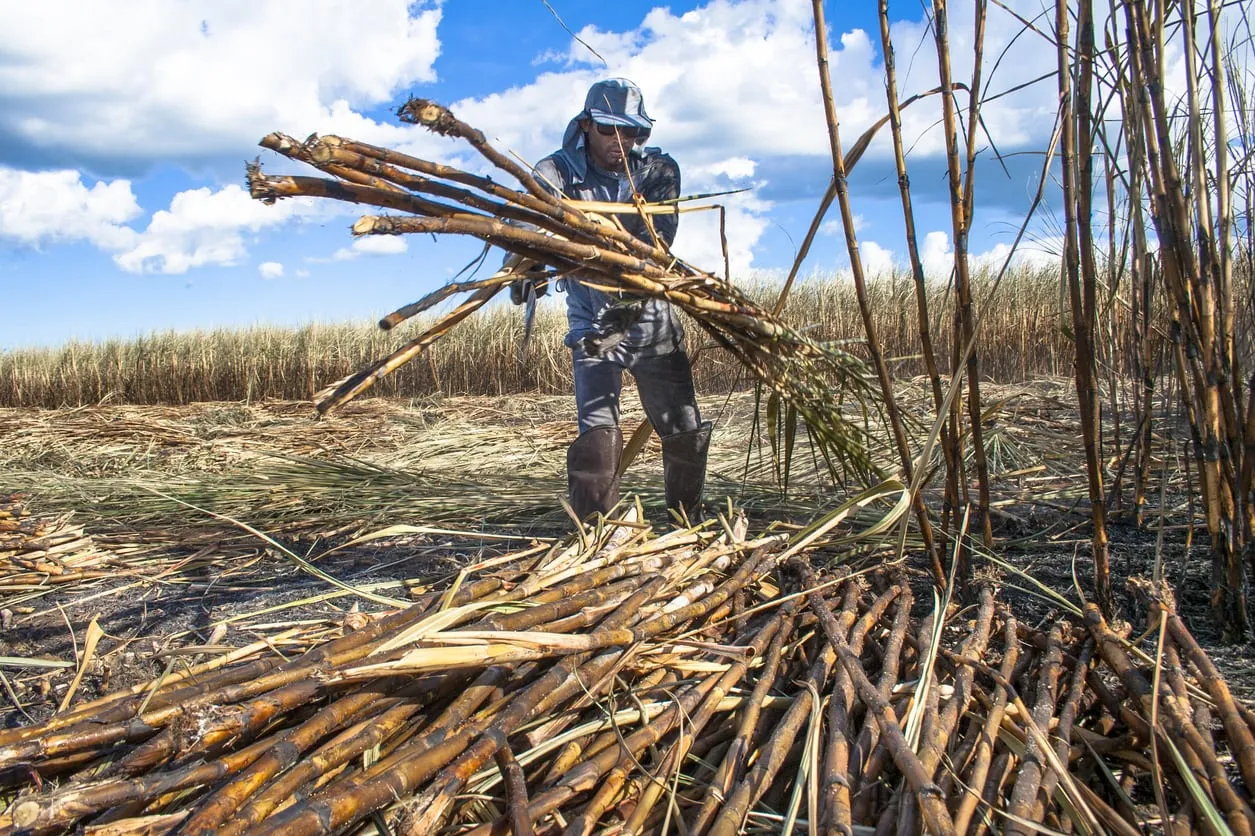
Commercial sugarcane plantations in Hawaii and Louisiana use machines for harvesting sugarcane. Florida cane growers primarily harvest by hand. For the home grower, hand harvesting is the most likely course and is both time consuming and arduous. Using a sharp machete, cut the canes as close to the ground as possible. Be careful not to cut into the dirt though. Sugarcane is a perennial crop and the roots left behind underground will be growing next year’s crop. Once the canes are cut down, strip them of their leaves and place the stripped leaves over the sugarcane roots along with extra mulch and straw to protect them over the winter.
Post Sugarcane Harvest Syrup
Wipe the canes clean of any mildew, dirt, or insects. Then, it’s time to use a sugarcane press or chop the cane up into chunks small enough to fit into a large, stainless steel stockpot. Use a very sharp meat cleaver. Cover the canes with water and boil the sugar out of them, usually within an hour or two. Taste the water as it cooks down to determine if it is getting sweet. Drain the cane from the juice, reserving the juice. Return the juice to the pot and start boiling it down. As it boils down, it is concentrating and getting thicker and sweeter. This will take some time and towards the end, there may be only an inch or so (2.5 cm.) of thickened juice. Pour the inch (2.5 cm.) or so of remaining juice into a smaller (stainless steel) sauce pan and then return to a boil. Watch it closely; you don’t want it to burn. The bubbles start to look thick and gassy as the syrup cooks down in this final stage. Use a spoon dipped into the syrup to gauge consistency. You don’t want it too thick. Pull it from the heat when at the desired consistency, allow it to cool slightly, and then pour the syrup into a mason jar.
Sign up for the Gardening Know How newsletter today and receive a free copy of our e-book "How to Grow Delicious Tomatoes".

Amy Grant has been gardening for 30 years and writing for 15. A professional chef and caterer, Amy's area of expertise is culinary gardening.