What Are Water Walls: Tips For Using A Wall Of Water For Plants

Sign up for the Gardening Know How newsletter today and receive a free copy of our e-book "How to Grow Delicious Tomatoes".
You are now subscribed
Your newsletter sign-up was successful
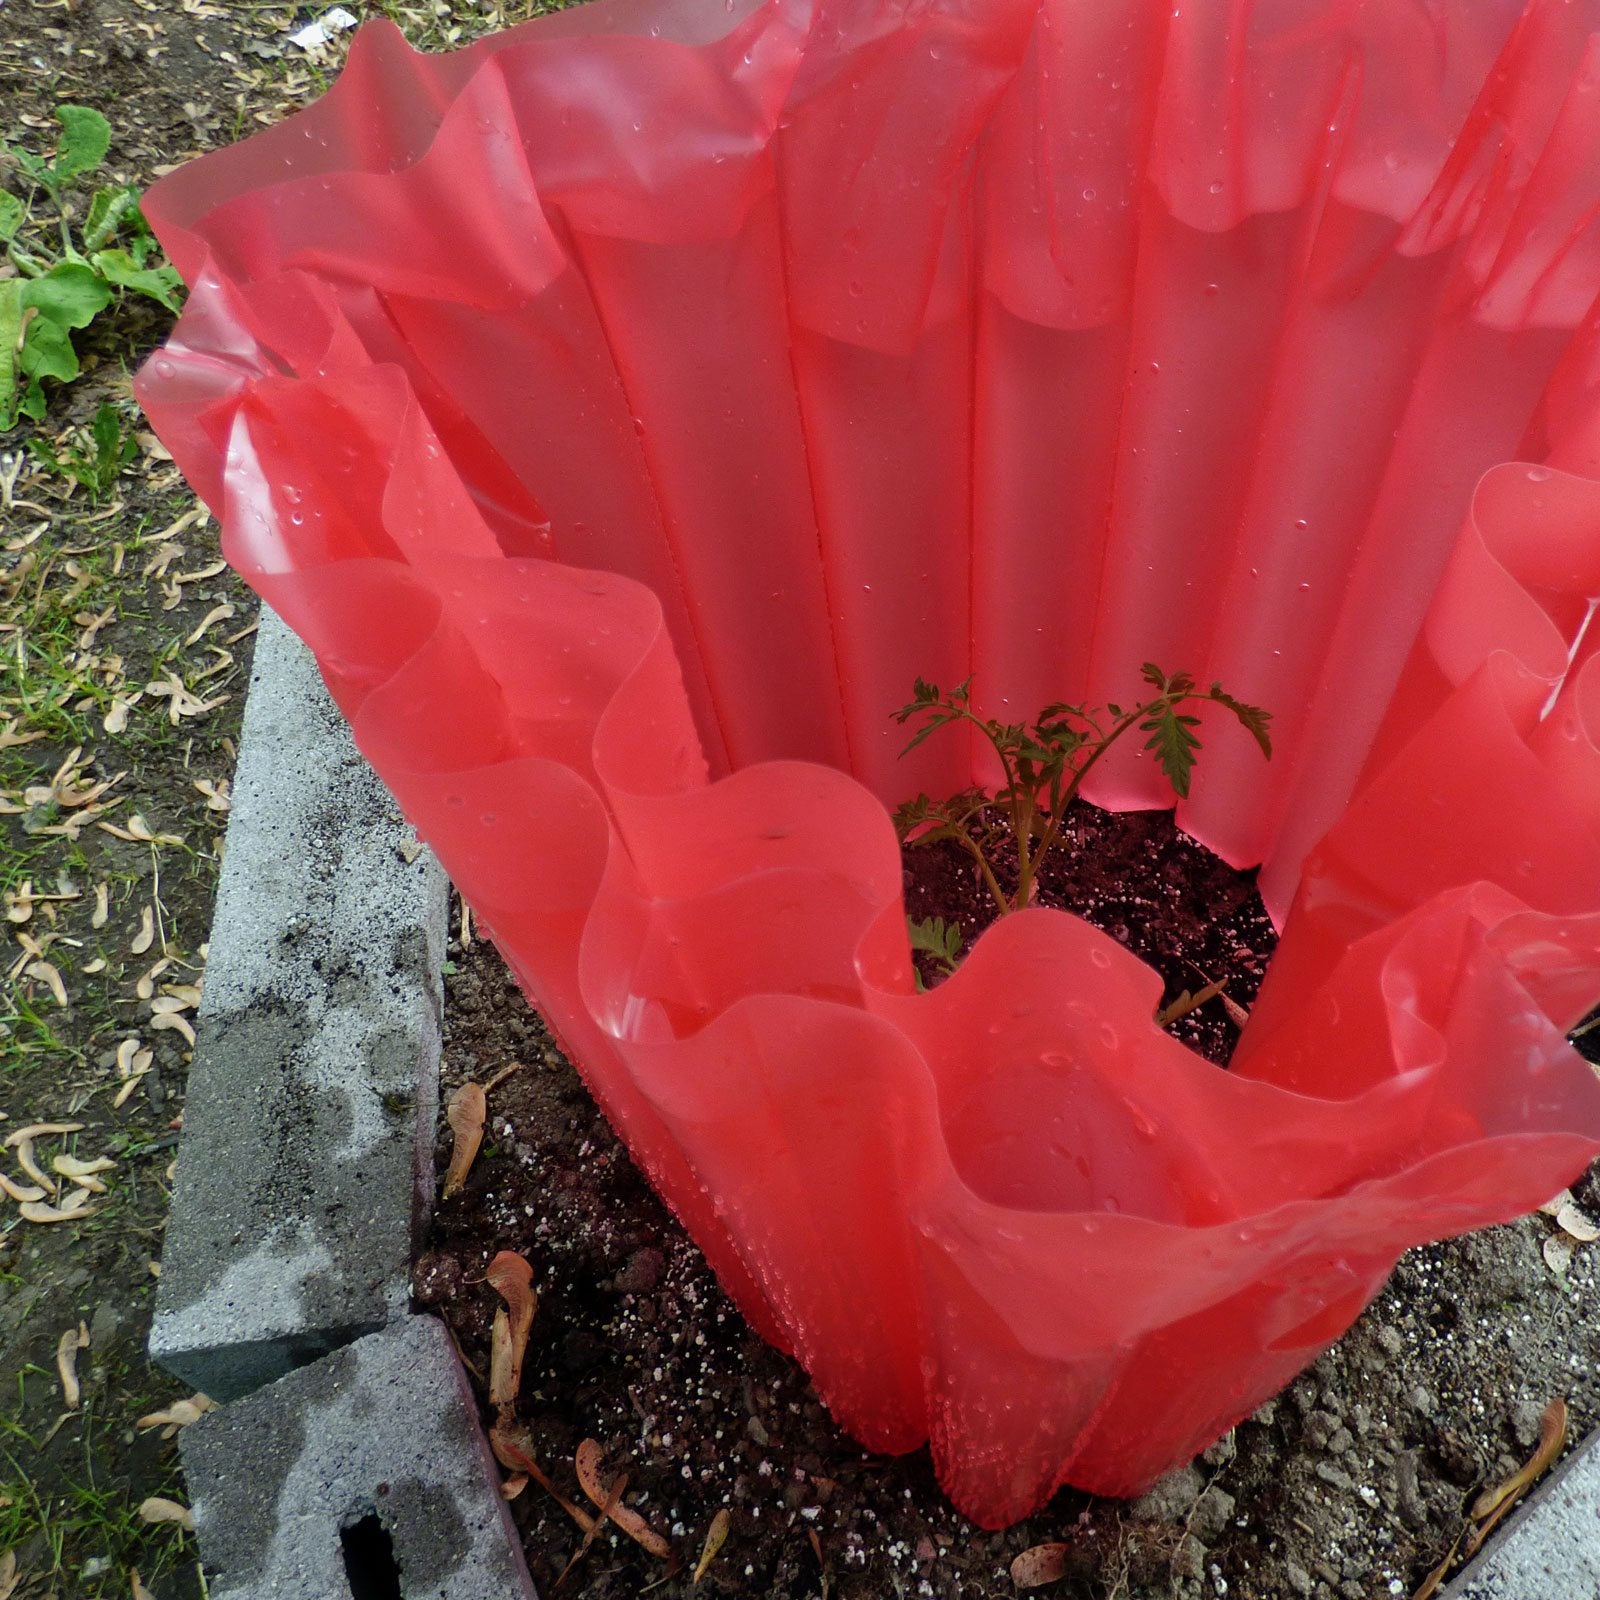
If you live in an area with a short growing season, you are always looking at ways to circumvent Mother Nature. One way to protect and grab a few early weeks at the front of the season is by using water wall plant protection. While it sounds complicated, it's really a simple and effective way to keep young, tender plants warm and protected against harsh temperatures and even cold winds. Let's learn more about using water walls for plants.
What are Water Walls?
Water walls for plants are most commonly used for tomatoes but work well for any vegetable plant and allow gardeners the opportunity to set out plants several weeks before the last expected frost. You can also extend the season on the other end, growing your plants beyond the first fall frost for a bit. Water walls can be purchased from retail providers or made at home. A wall of water is basically a heavy piece of plastic that is sectioned into cells that you fill with water. This creates the same effect as a greenhouse and gives off heat to protect from cool air and freezes.
How to Make Your Own Garden Water Walls for Tomatoes
Rather than spending the money on a retail wall of water for plants, you can make your own using recycled 2-liter soda bottles. The first step is to wash and remove the labels from the soda bottles. You will need approximately seven bottles for each small plant. It's beneficial to warm the soil for a few days before setting out your tomato plant by covering the area with a piece of black plastic. As the sun warms the plastic, it will also warm the soil below. Once the soil is warm, you can transplant the tomato to the ground. Dig a deep, 8-inch (20 cm.) hole that is 6 inches (15 cm.) wide. Add a quart of water into the hole and set the plant in the ground on a slight angle. Fill the hole and leave about 4 inches (10 cm.) of the plant above ground. This will help encourage a strong root system. Fill the soda bottles with water and place them in a circle around the plant. Don't allow any big gaps between the bottles, but do not put the bottles too close either, it needs room to grow.
Maintaining Your Water Wall Plant Protection
As the tomato plant matures, you will need to adjust the bottles and add more as needed. When the tomato plant has reached the top of the bottles, you can start to harden the plant off. Remove one bottle at a time and allow the plant to adjust. Give a day or two for the plant to get used to the outside air before removing another bottle. This slow adjustment process will help prevent shock and stunted growth. Follow the same procedure for other garden plants too.
Sign up for the Gardening Know How newsletter today and receive a free copy of our e-book "How to Grow Delicious Tomatoes".