5 Tips To Spruce Up Your Shed Before Spring – According To A Garden Buildings Expert
Awaken your shed from hibernation and get it ready for the onset of spring. These expert tips will help to restore your building and its surroundings to pristine condition.


If you haven’t visited your shed in a while, then it’s important to take some time to check it hasn’t suffered any winter damage.
When the weather is cold and wet, all that moisture can create serious issues for your shed and its contents – especially if you are storing items that shouldn’t be kept in the shed. It can also create the ideal conditions for pests to set up home.
Yet, just a bit of time spent sprucing up your shed each week will help to keep it in optimum condition, enabling you to put your growing plans into action as soon as possible.
‘Maintaining a shed might seem like a small task, but it plays a vital role in ensuring the longevity and functionality of the structure,’ says Peter Mortin, a gardening expert at Crane Garden Buildings.
‘A well-cared-for garden building not only lasts longer but also provides a comfortable and secure space for your belongings and activities.’
Performing a few simple maintenance tasks offers a great opportunity to secure your garden shed against thieves.
So, make some time to give your shed a health check and awaken it from its seasonal slumber.
Sign up for the Gardening Know How newsletter today and receive a free copy of our e-book "How to Grow Delicious Tomatoes".

1. Let in the fresh air
‘After the last bit of gardening towards the end of fall, many of us are guilty of putting our tools away and closing the shed up until we need it again in spring,’ says Peter. ‘In the wrong conditions, it can create a breeding ground for fungus and mold spores.’
Not only does this create an issue for the shed’s wooden frame, but it can have a harmful effect on tools and any other items stored in the shed.
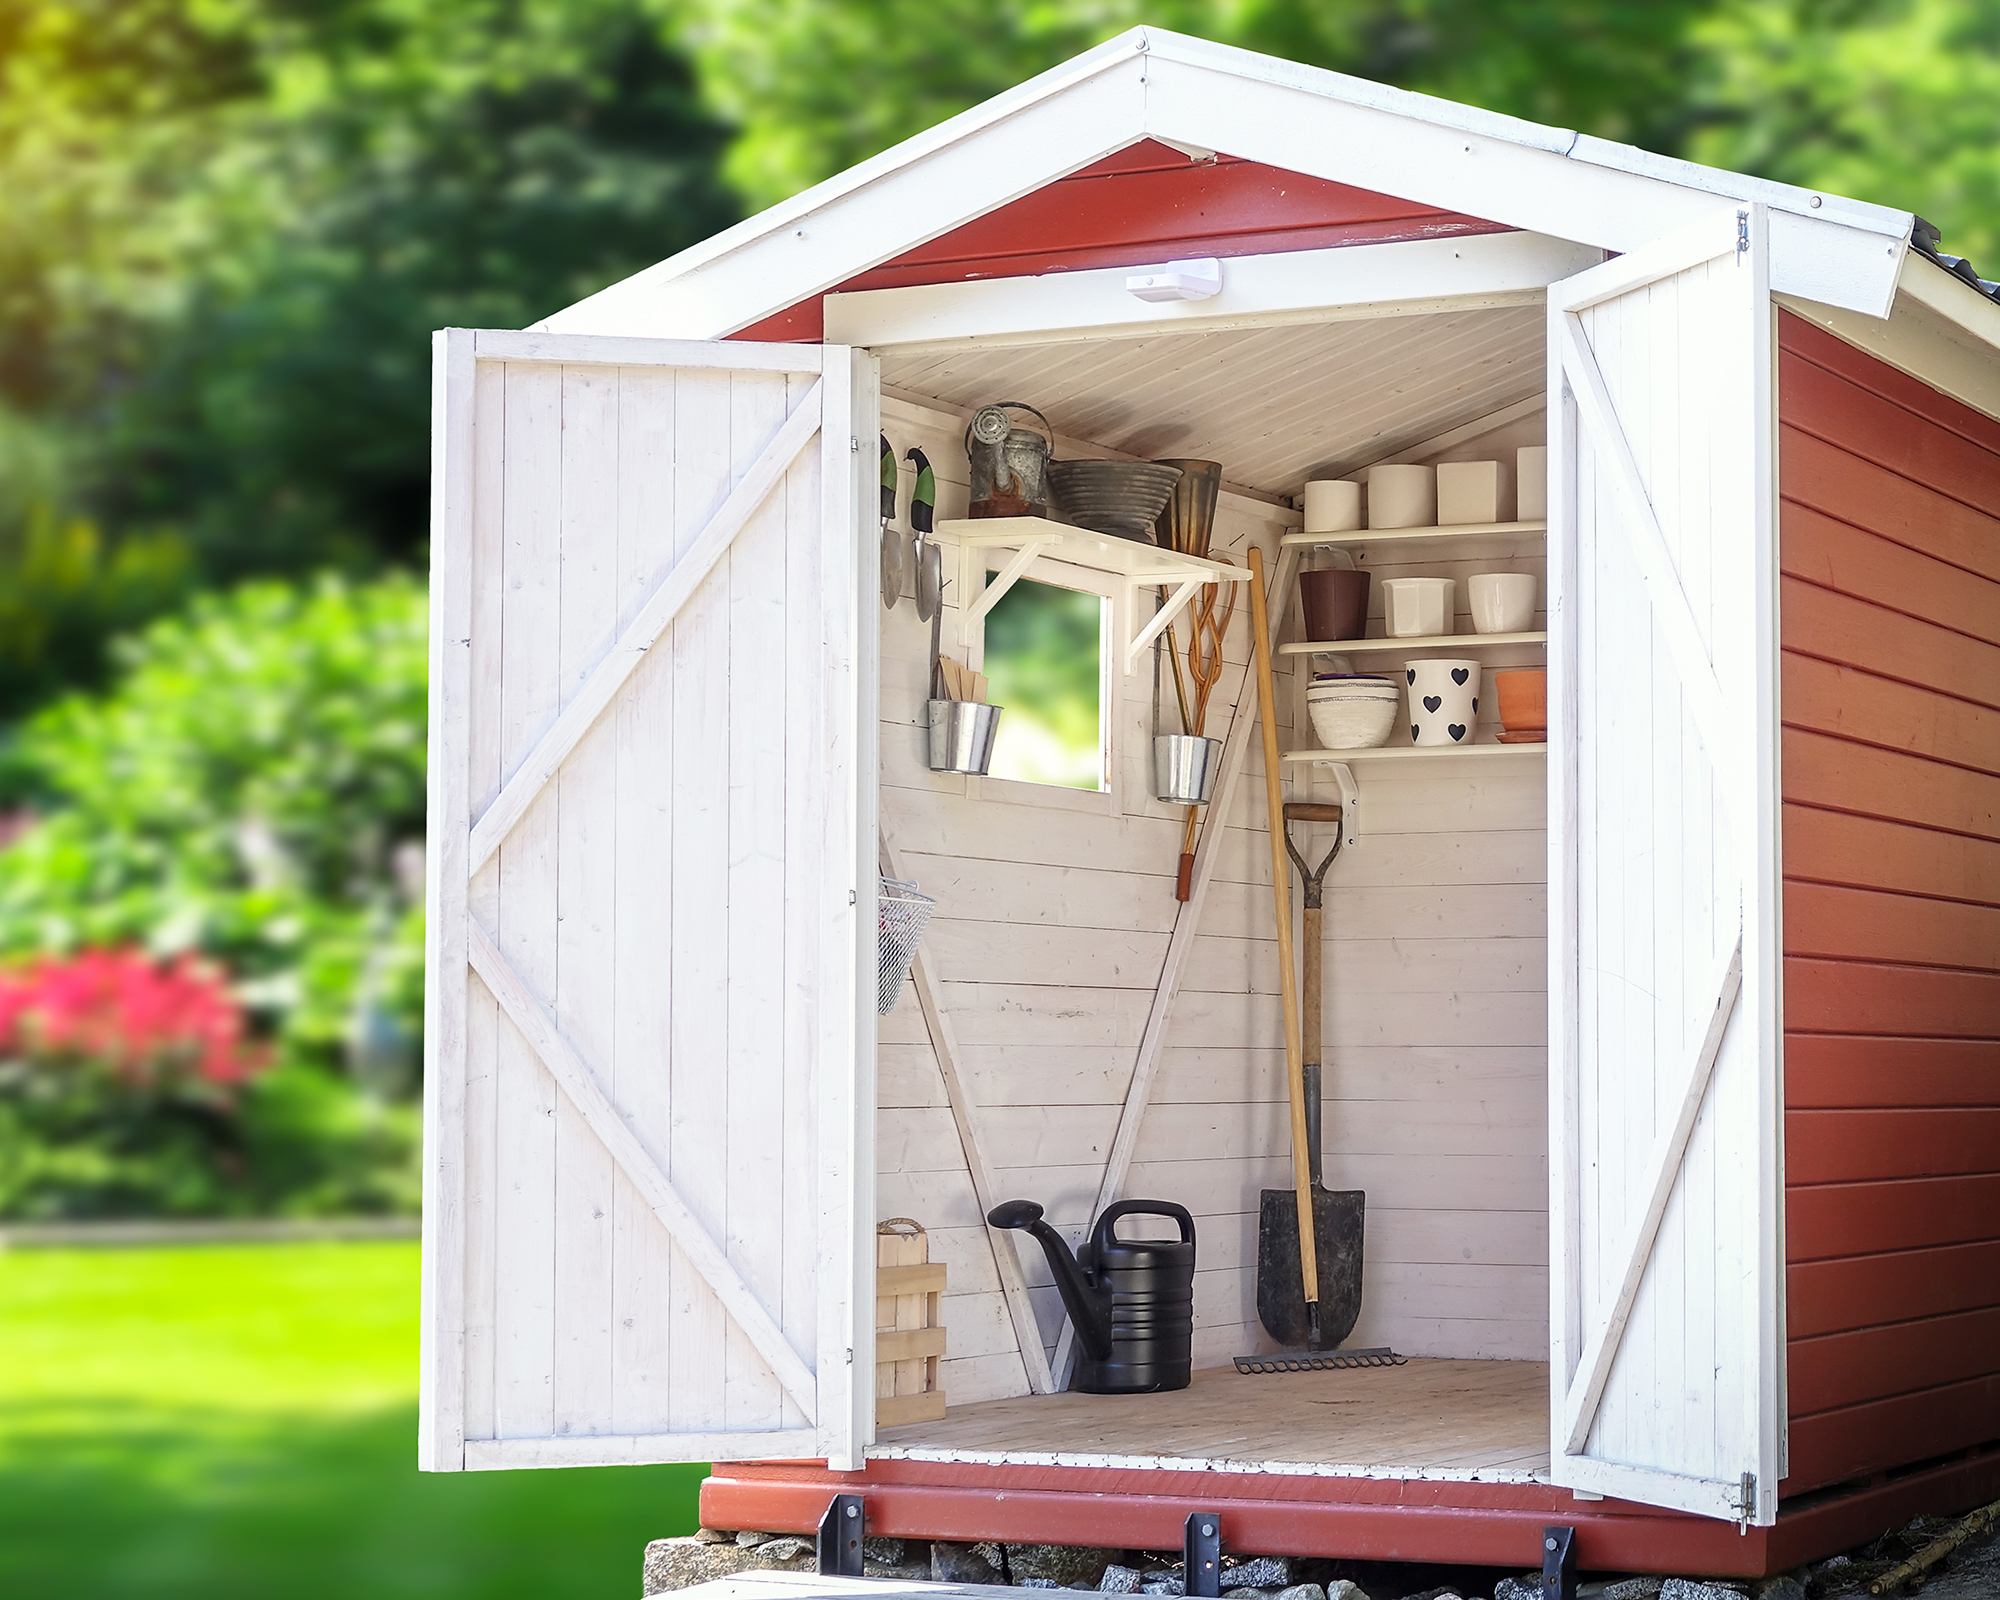
‘Open up your shed or garden building during the drier spells of weather to allow fresh air to fill the space,’ advises Peter.
Doing this will allow moisture to dry out, helping to keep mold and fungus at bay.
‘However, always ensure it is closed up in the evening. Otherwise, you'll get the dew coming down into the building and be left with a build-up of condensation, which will not only damage the building but the tools you leave in there, too.’

2. Remove moss and debris
It’s important to regularly check for garden debris that may be piling up around the door or base of the shed, as well as on the roof, as it could potentially cause damage to the structure.
‘Winter's reduced garden activity can lead to debris accumulation on roofs, moss growth, and leaves piling against the building's sides,’ says Peter.
‘Despite the cold weather, plants can thrive, brushing against roofing felt and causing damage.’
At least once a week, check over the building and remove any debris that has built up.
Cleaning moss off the roof should only need to be tackled once per year. If the roof is north facing, or located underneath trees, you are more likely to find a build-up of moss on the roof.
‘When cleaning roofs, a gentle approach is best to avoid damaging the roofing material,’ says Peter. ‘Using a soft-bristle brush or a leaf blower can help remove debris without causing harm. If moss has already developed, a mixture of water and mild detergent can be applied with a soft brush to scrub it away.
‘Avoid pressure washing, as it can damage the roofing material and worsen the situation. The key is to be thorough yet gentle to preserve the integrity of the roof.’
When cleaning the roof, safety is paramount, as moss-covered surfaces can be slippy. Use a safety harness, and if you're unsure about your safety, hire a professional to do the work for you.
3. Check for pests
Rodent and insect infestations are bad news for sheds and their contents, impacting their condition and lifespan. Pests also tend to attract more pests, so it’s important to deal with them as soon as you notice their presence.
To minimize the risk of pests gaining entry, do not store food, such as bird seed, in your shed. Check over the structure for any cracks, gaps or holes, and where present, seal them with caulk.
Have a good look around the shed for any nests, and remove where present. For rodents, traps can be employed, while insecticides can help to keep bugs at bay. For larger infestations, call in the experts.
Spiders are common residents in sheds, but in small numbers are not always undesirable. ‘Spiders can serve as helpful allies in your shed, keeping flies and midges in check,’ says Peter. ‘To manage their presence, routinely remove cobwebs with a feather duster.’
If you would prefer not to have so many spiders in your shed, then you can take steps to minimize them. Spiders prefer a dusty environment, so vacuum away any dust.
They dislike the smell of strong essential oils, so try putting a few drops of peppermint oil around your shed to deter them.

4. Clean the deck
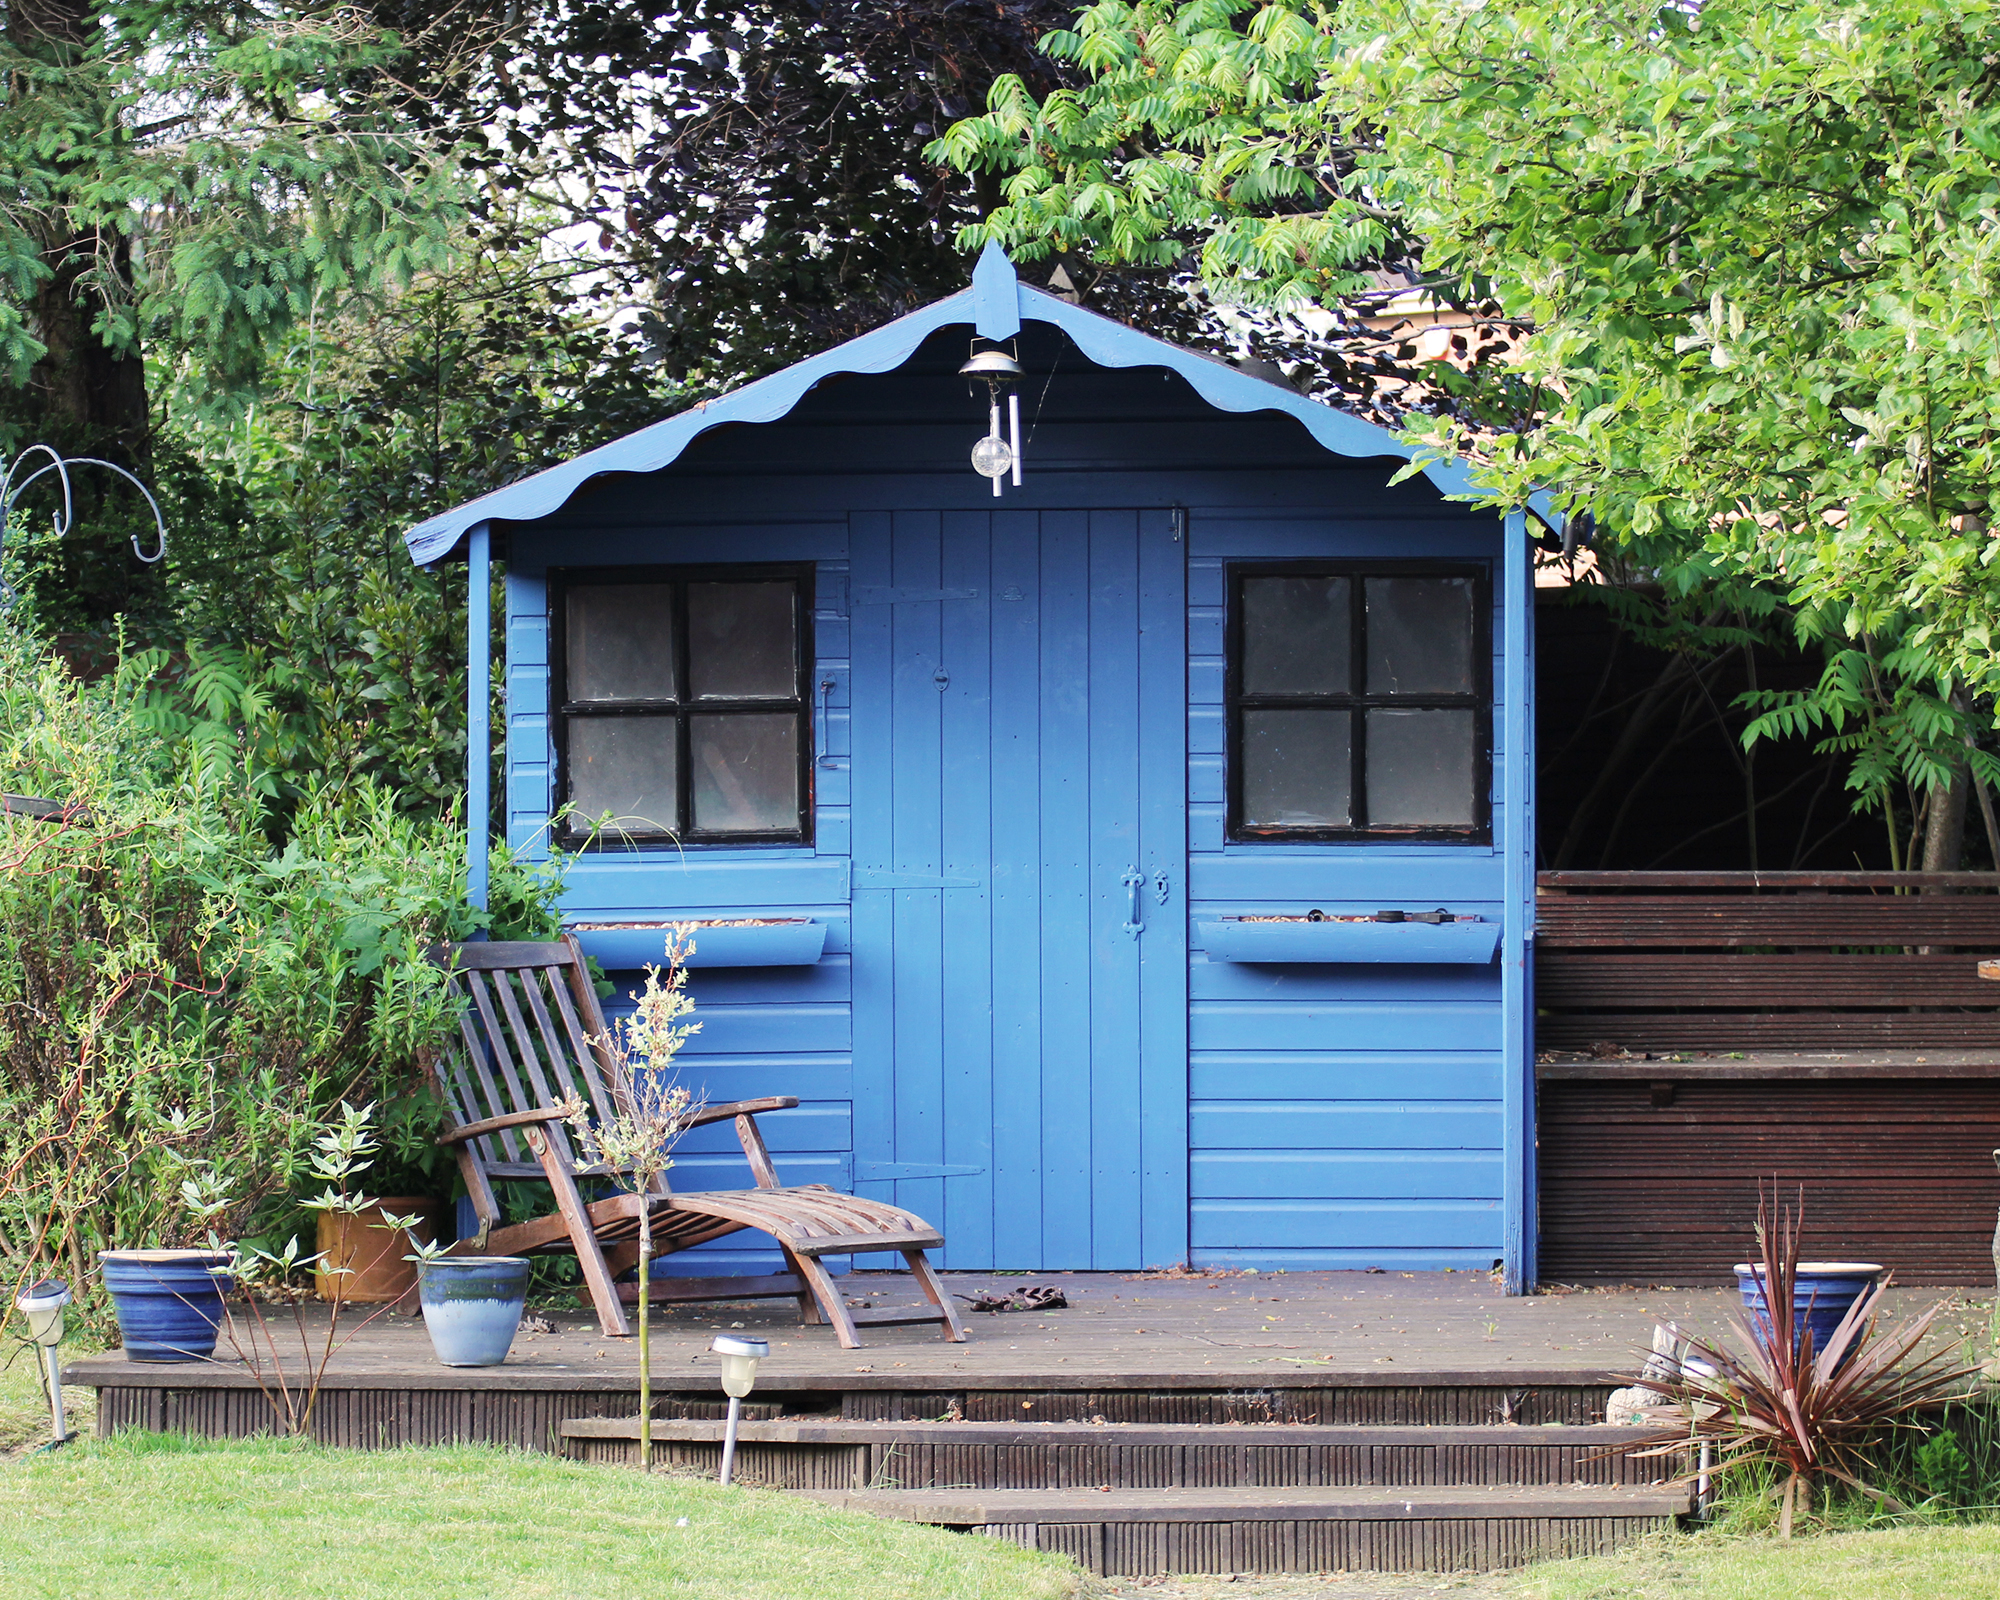
If you have a deck surrounding your shed, then it’s important to keep it well maintained to ensure it’s clear and safe to access your shed.
Wooden decks can develop algae, which creates a slippery surface. Composite decks are usually non-slip, but the presence of green algae growth does affect their appearance.
‘To combat this, spray the deck with a dedicated cleaner, making dirt removal easier,’ says Peter. ‘Follow this with a pressure wash or scrubbing brush to clean the material thoroughly. Rinse it off with a hose, eliminating algae effectively.
‘Once dried, apply a deck timber preservative to restore its natural look. Sometimes, the wood might appear lighter; to address this, add a deck stain or protection product to maintain its appearance and enhance its durability.’
5. Add a gravel strip
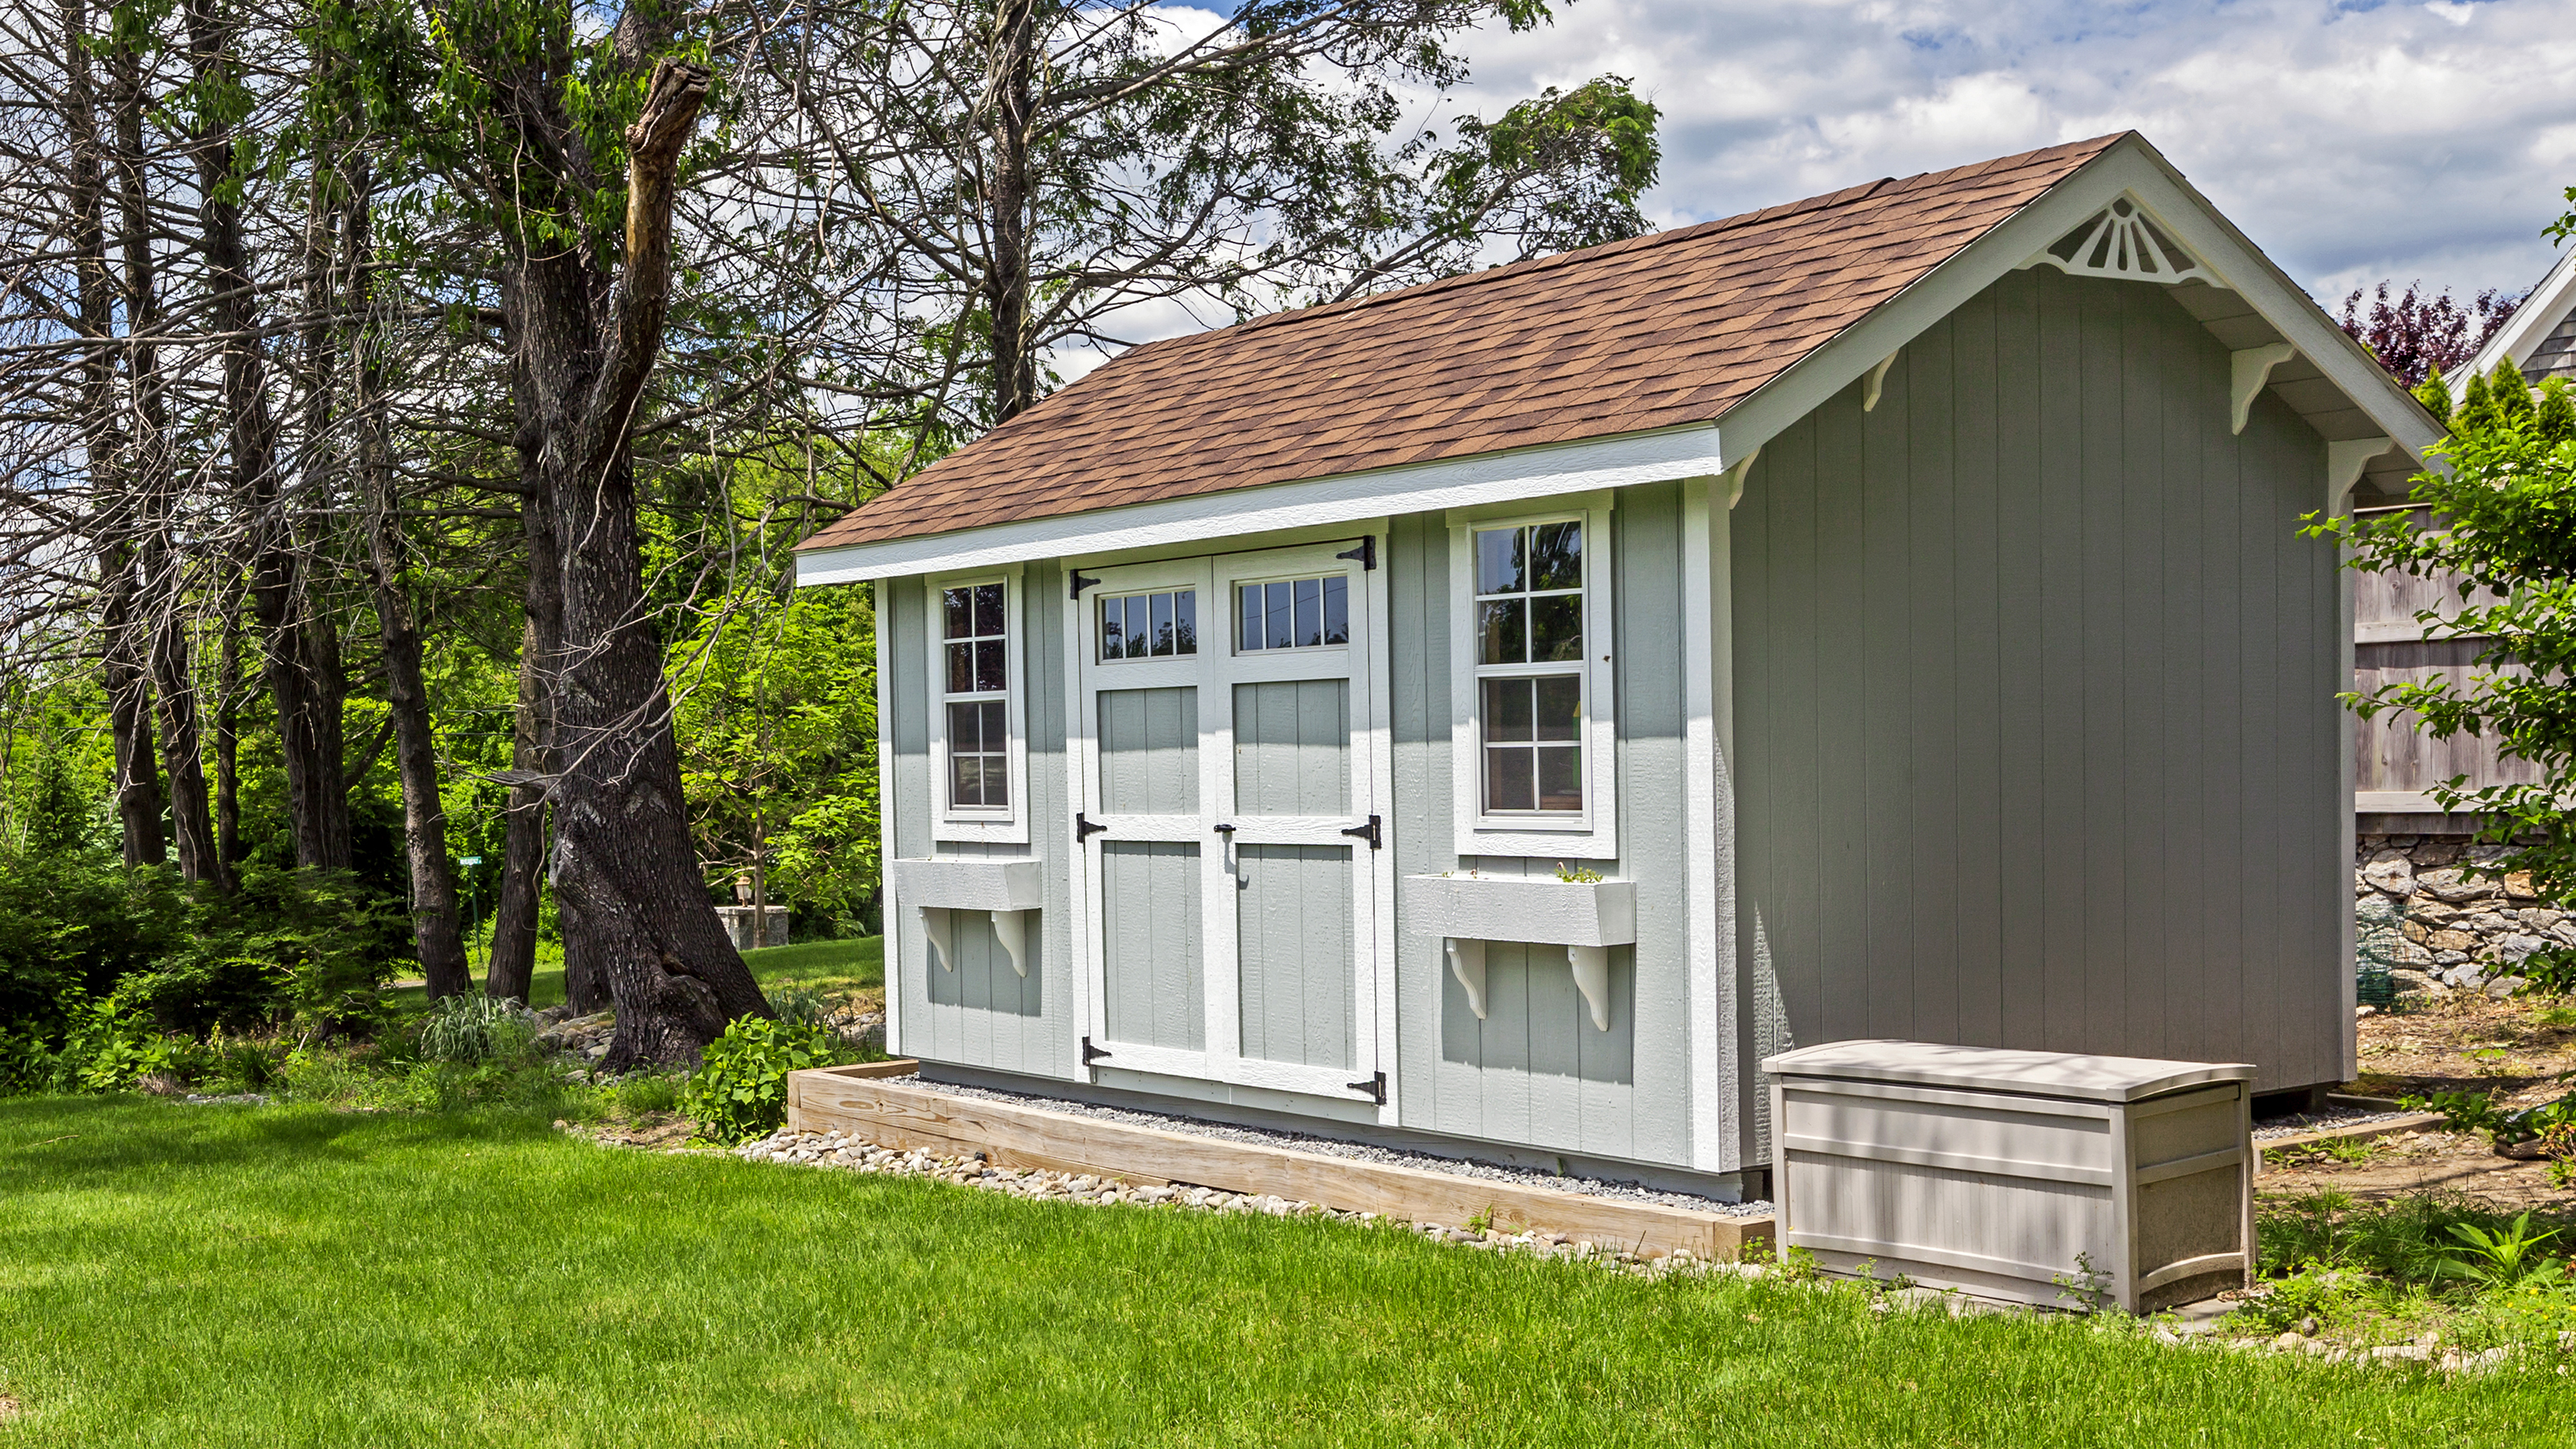
Installing a small gravel strip around the perimeter of your shed can offer significant benefits. ‘When rainwater runs down, it can splash mud against the building's sides,’ explains Peter. ‘This clinging mud, especially on the lower sections of the building, retains moisture longer, increasing the risk of wood rot due to prolonged dampness.’
A gravel strip can intercept the rain runoff, minimizing the amount of muddy water. ‘While some splashback might occur, it results in clean water hitting the building's sides,’ adds Peter. ‘When this clean water dries, it leaves no residue, ensuring a cleaner and drier environment for the building.’

Melanie is an experienced gardener and has worked in homes and gardens media for over 20 years. She previously served as Editor on Period Living magazine, and worked for Homes & Gardens, Gardening Etc, Real Homes, and Homebuilding & Renovating. Melanie has spent the last few years transforming her own garden, which is constantly evolving as a work in progress. She is also a passionate organic home grower, having experimented with almost every type of vegetable at some point. In her home, Melanie tends to an extensive houseplant collection and is particularly fond of orchids.