I Never Let My Spigot Go Into Winter Without This $8 Sock – It Takes 1 Minute to Fit and Prevents a $500 Disaster
Avoid a burst pipe or broken spigot this winter with this simple solution that takes one minute to install and gives you total peace of mind for less than $10.

Sign up for the Gardening Know How newsletter today and receive a free copy of our e-book "How to Grow Delicious Tomatoes".
You are now subscribed
Your newsletter sign-up was successful
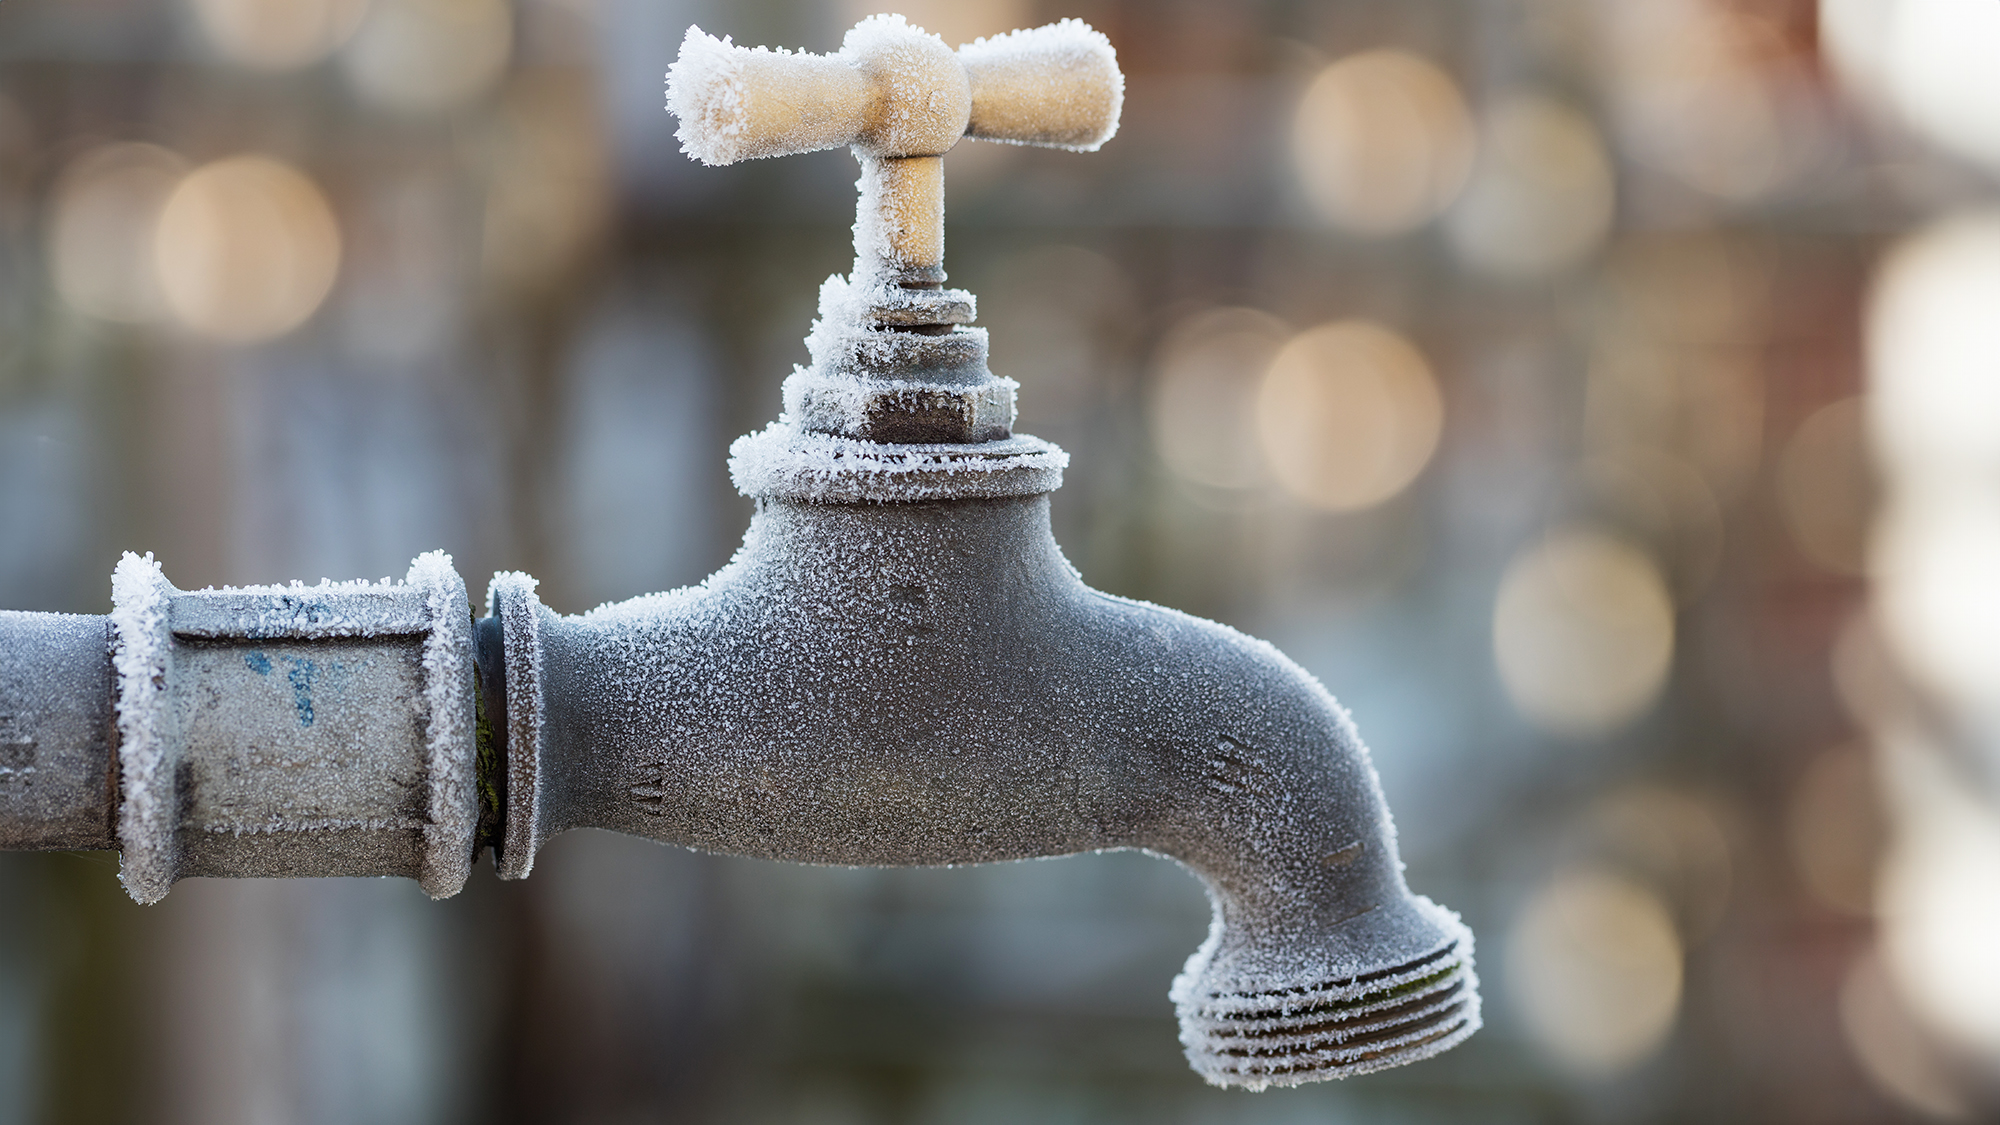
The first winter after having our new outdoor faucet installed, the frost damaged it, and in the spring, we had to call the plumber back to have it replaced. Before you ask, yes, we turned off the shut-off valve and drained the excess water, but the spigot still succumbed to the frost. Maybe we didn’t drain it properly, or maybe the seals or valve failed – either way, it was a surprise as we thought we had done everything right.
The next winter, we didn’t want to risk the same situation – or worse, a burst pipe. So, after doing some research, I decided to use a faucet sock. It’s the perfect set-and-forget November winterizing job, and I bought one exactly like this Hometopia 2-pack of outdoor faucet covers from Amazon, which cost less than $10.
Since we started using our faucet cover, we’ve gone through two winters problem-free. It’s such an easy, affordable solution that more people should know about.
What is a Faucet Cover?
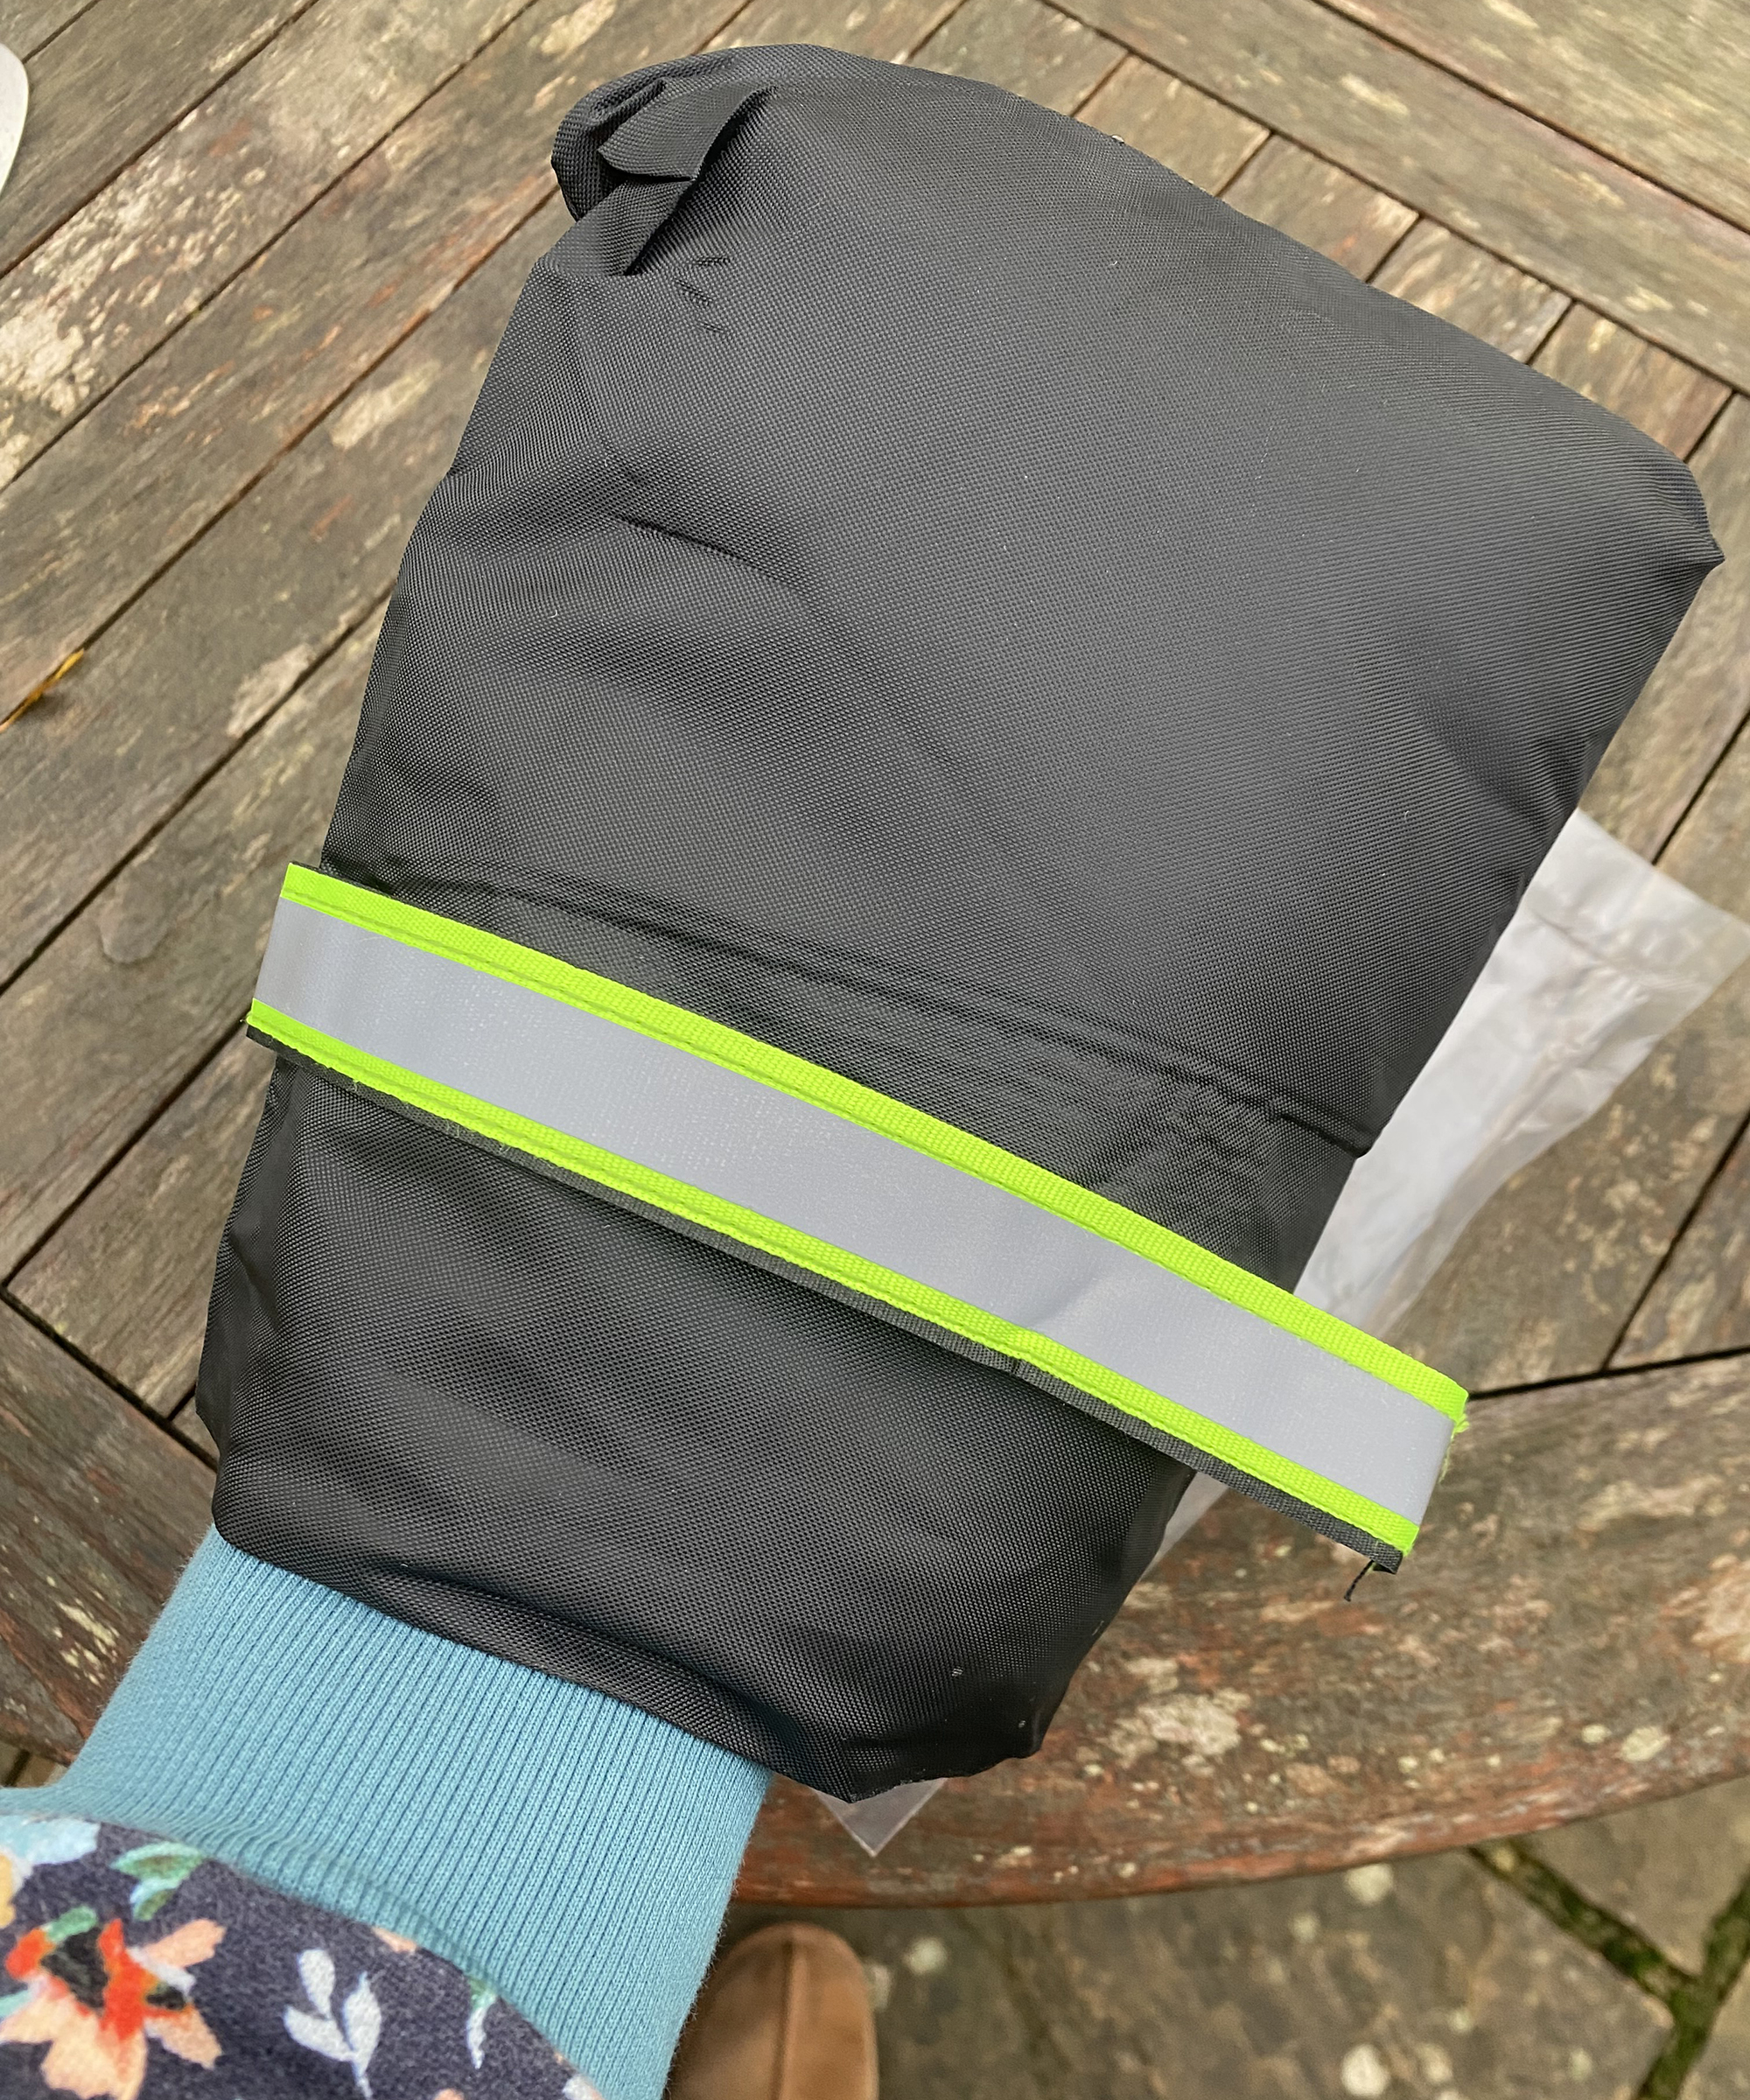
A faucet cover – or "sock" – is as simple as it gets. It looks like an oversized mitten and is made from durable, waterproof fabric with a thick inner layer of insulation, a bit like a padded winter coat.
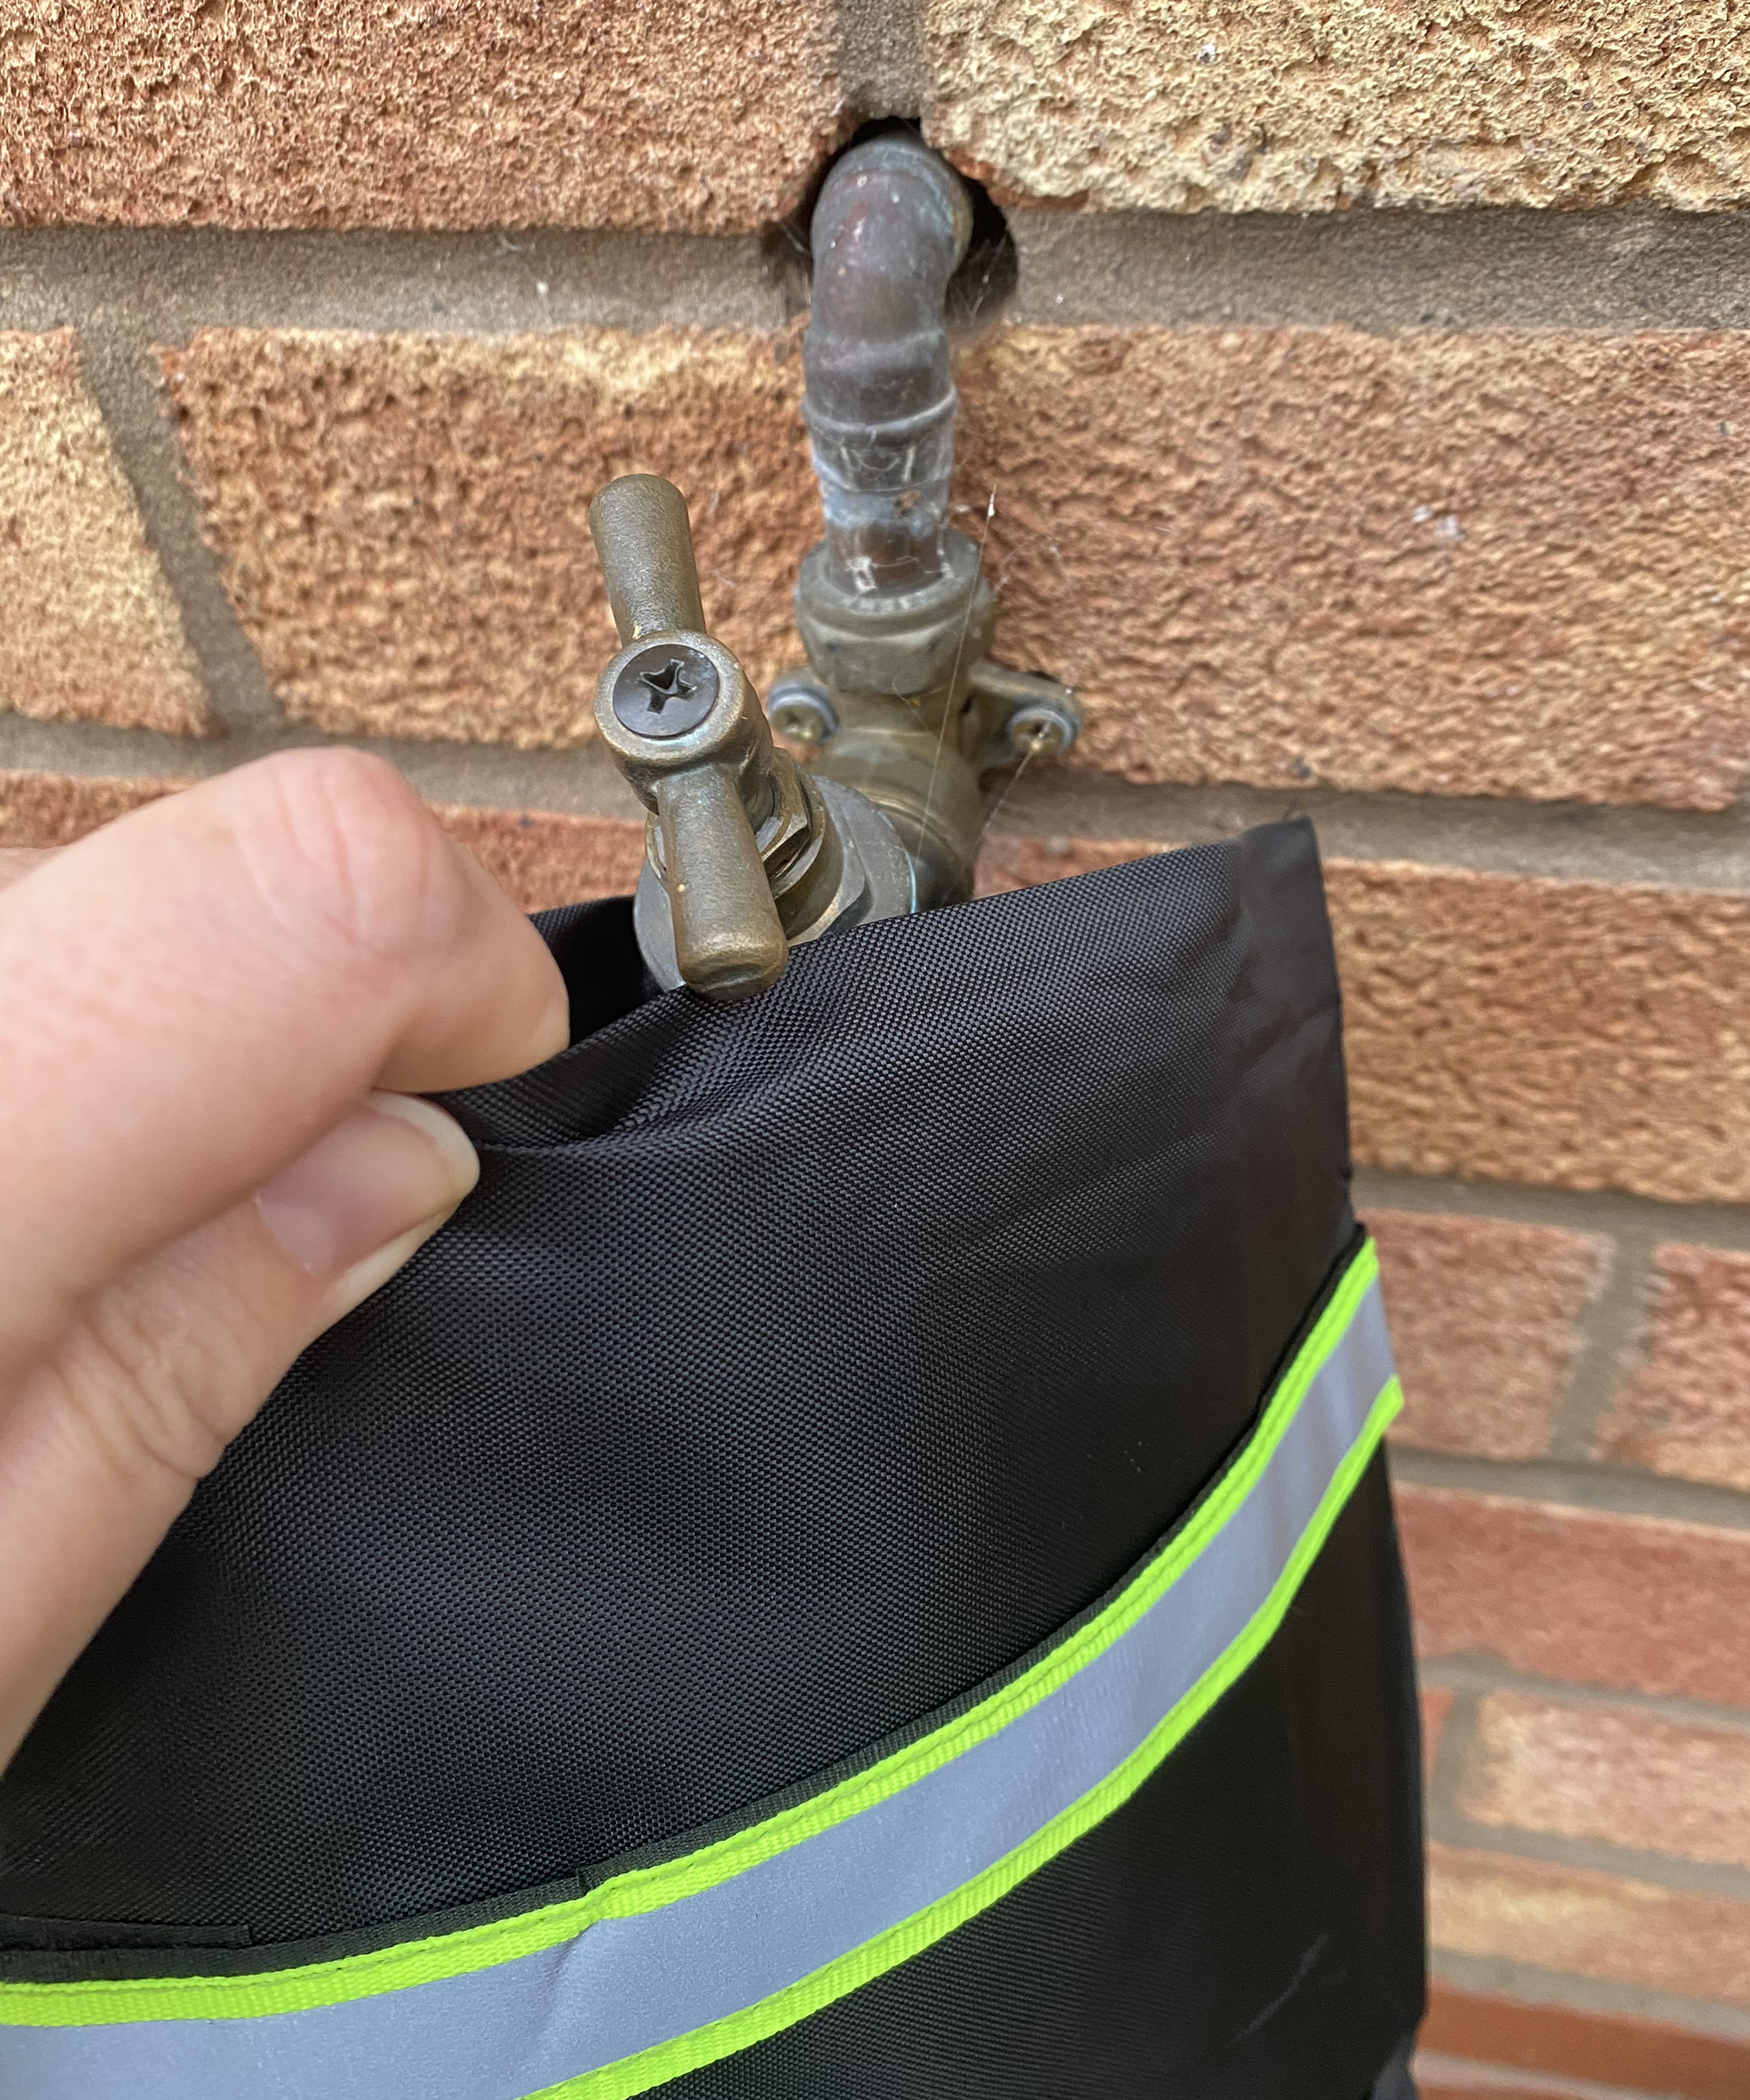
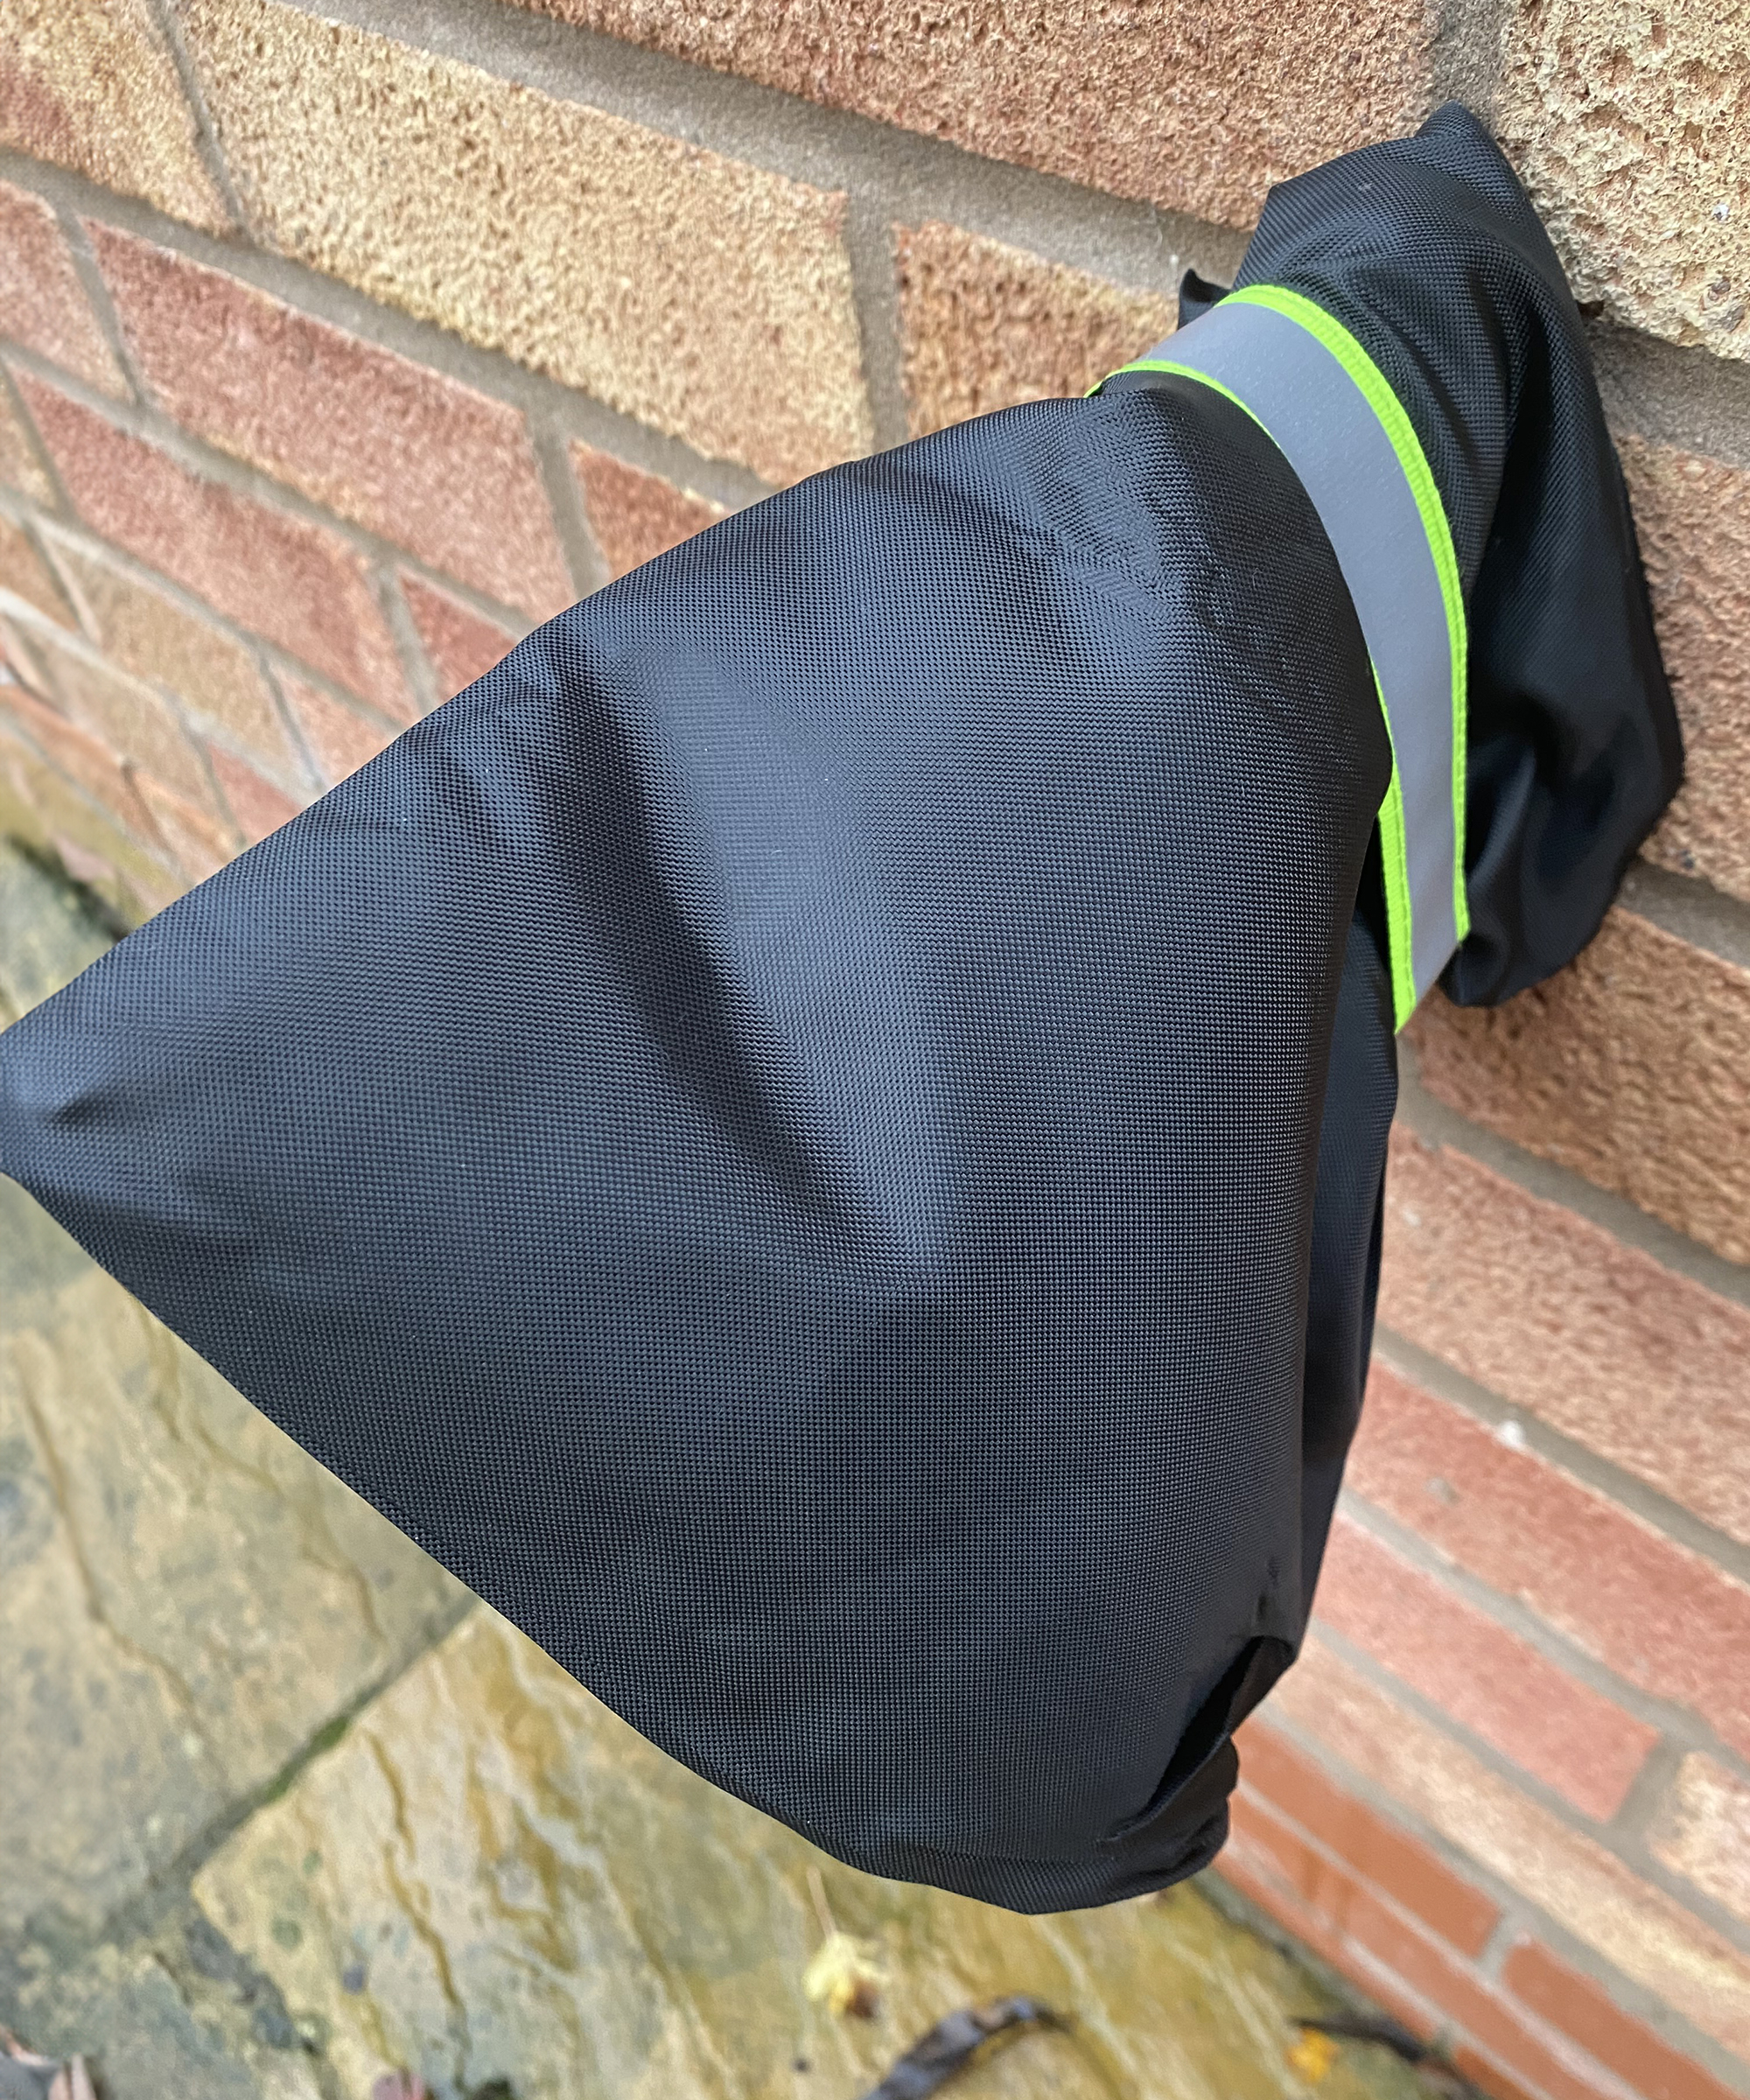
You just slip the sock over the entire spigot, then pull the drawstring cord or strap tight, with the open end flush against the wall, to keep it securely in place.
The cover works by trapping residual heat radiating from your home through the pipe and wall. This creates a small pocket of insulated air, keeping the spigot (and any stray water) from freezing, expanding, and bursting.
Do You Still Have to Shut Off the Valve?
Yes. A faucet cover is a last line of defence, not a complete winterizing solution. Before installing your cover, you must follow these steps:
Sign up for the Gardening Know How newsletter today and receive a free copy of our e-book "How to Grow Delicious Tomatoes".
- Shut Off the Water: Find the interior shut-off valve for the spigot (usually this is located in the basement, crawlspace, or under a sink) and turn it to the "off" position.
- Disconnect Your Hose: Drain your hose and store it for the winter. Many people forget this step and end up having to replace the hose in spring.
- Drain the Spigot: Go back outside and turn the spigot to the "on" position. This will drain all the water left in the pipe – don't worry if it sputters.
- Leave it Open: This is the most important part. Leave the spigot in the "on" position. This allows any water that does leak past a faulty valve to safely drip out instead of building up pressure.
- Add the Cover: Finally, slip your faucet sock over the open spigot and pull the strap or drawstring tight. Now you can rest easy until it's time to start watering plants in spring!
What if I Don't Have a Shut-off Valve?
If you don't have an interior shut-off, you may have a modern "frost-free" spigot, which is designed to self-drain. You just need to disconnect your hose, though adding a cover is still great extra insurance.
If your faucet looks older, then you may have a "live" pipe. This is a non-frost-free spigot with no shut-off, making it high risk of freezing. Protect it with electric heat tape, like this one from Amazon, and then place a faucet cover over the tape for insulation.
Given our past experience, we’ll never go through another winter without a faucet cover. It’s such an easy, affordable, and effective solution that really, every homeowner should be using one.
Spigot Winterizing Essentials
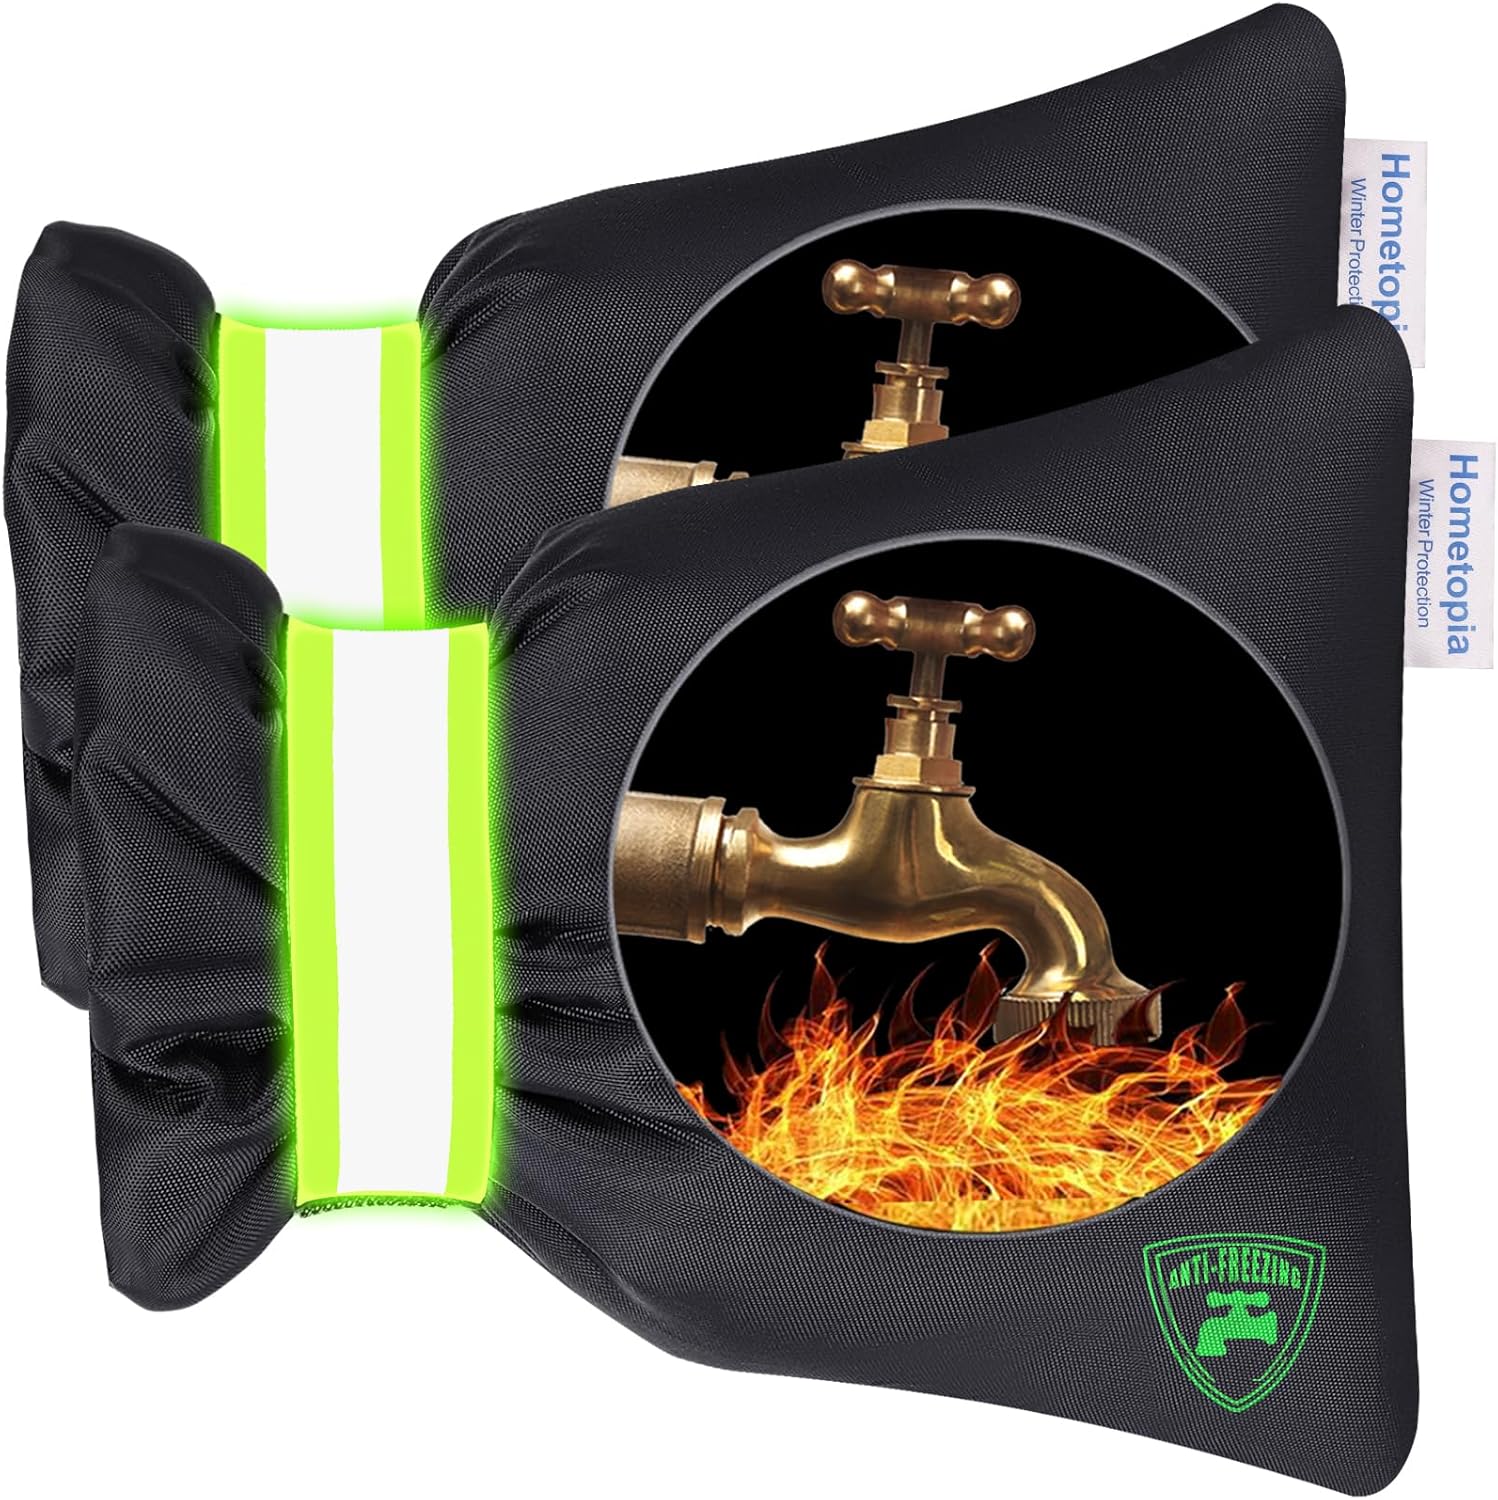
These covers work well with various outdoor faucet types, keeping them protected in freezing weather.
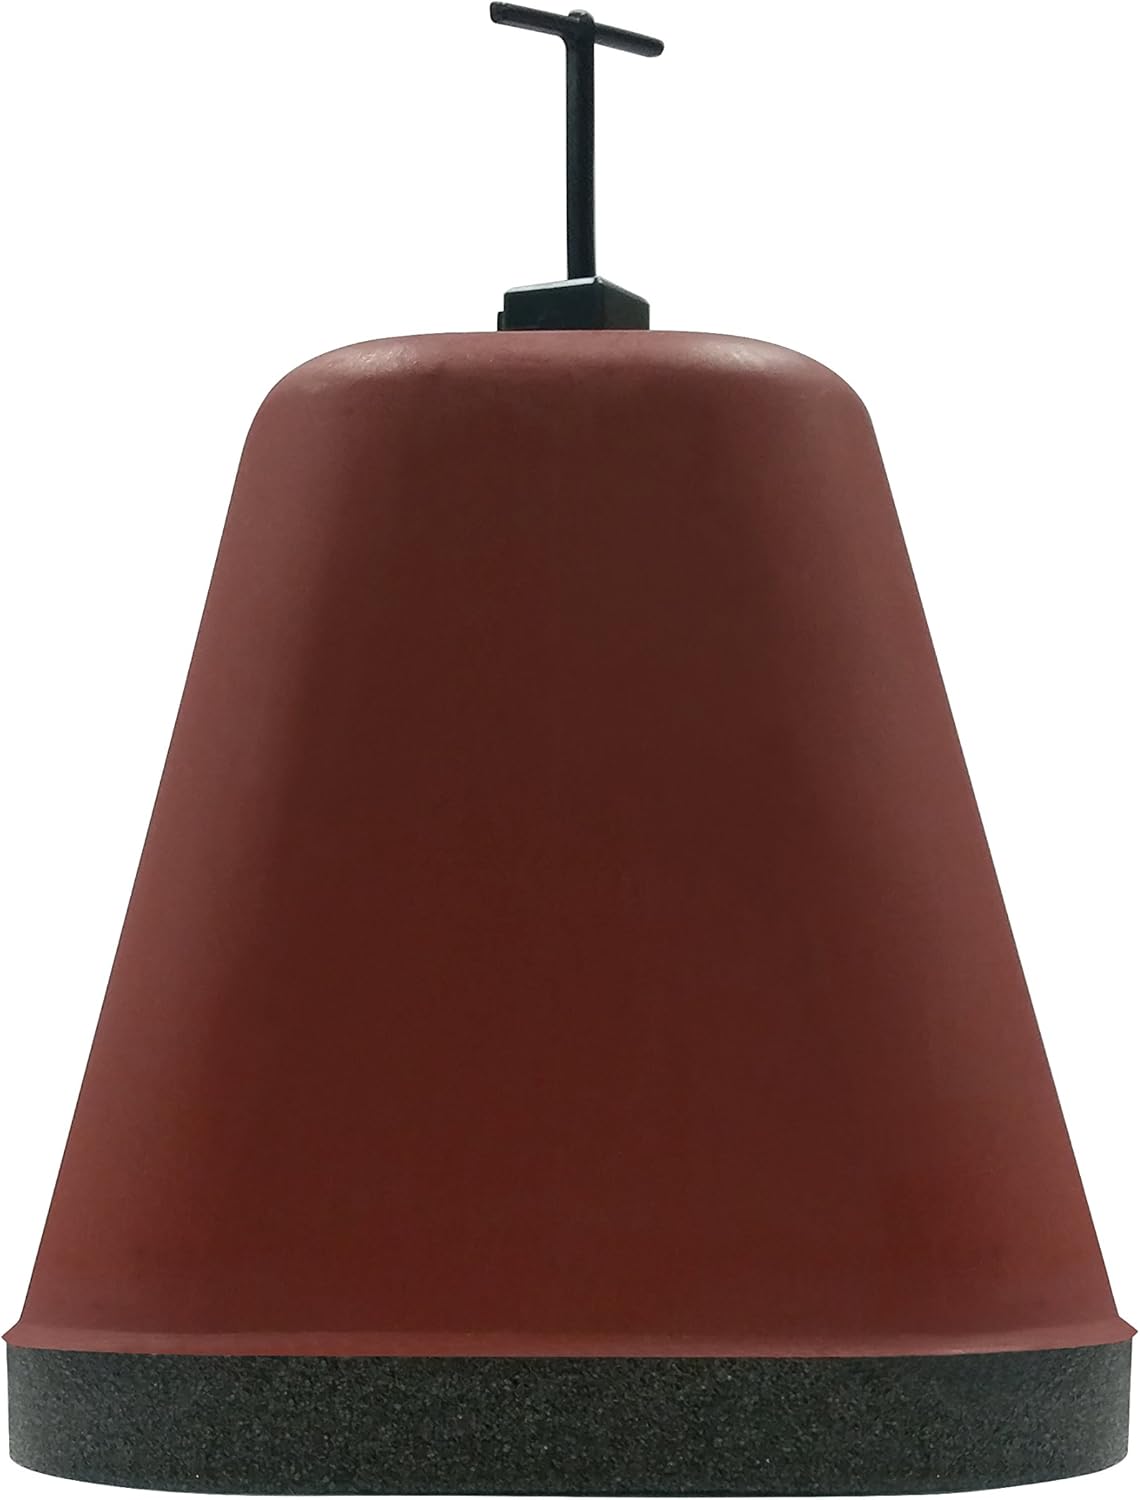
This plastic design is a robust solution that's almost as easy to install as a soft cover. Its hard shell will reduce the risk of your spigot freezing over winter.
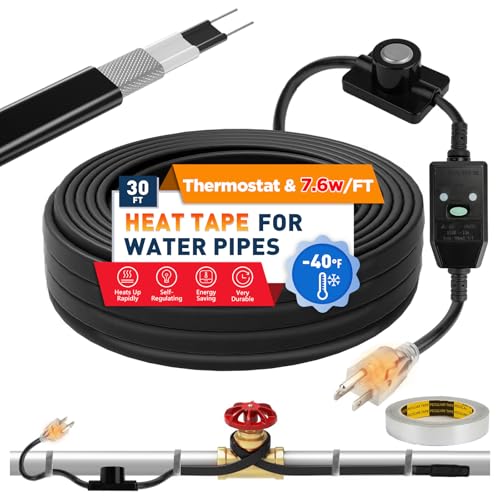
This heating cable uses an intelligent thermostat to safely protect all types of pipes from freezing while only using energy when it's needed.

Melanie is an experienced gardener and has worked in homes and gardens media for over 20 years. She previously served as Editor on Period Living magazine, and worked for Homes & Gardens, Gardening Etc, Real Homes, and Homebuilding & Renovating. Melanie has spent the last few years transforming her own garden, which is constantly evolving as a work in progress. She is also a passionate organic home grower, having experimented with almost every type of vegetable at some point. In her home, Melanie tends to an extensive houseplant collection and is particularly fond of orchids.