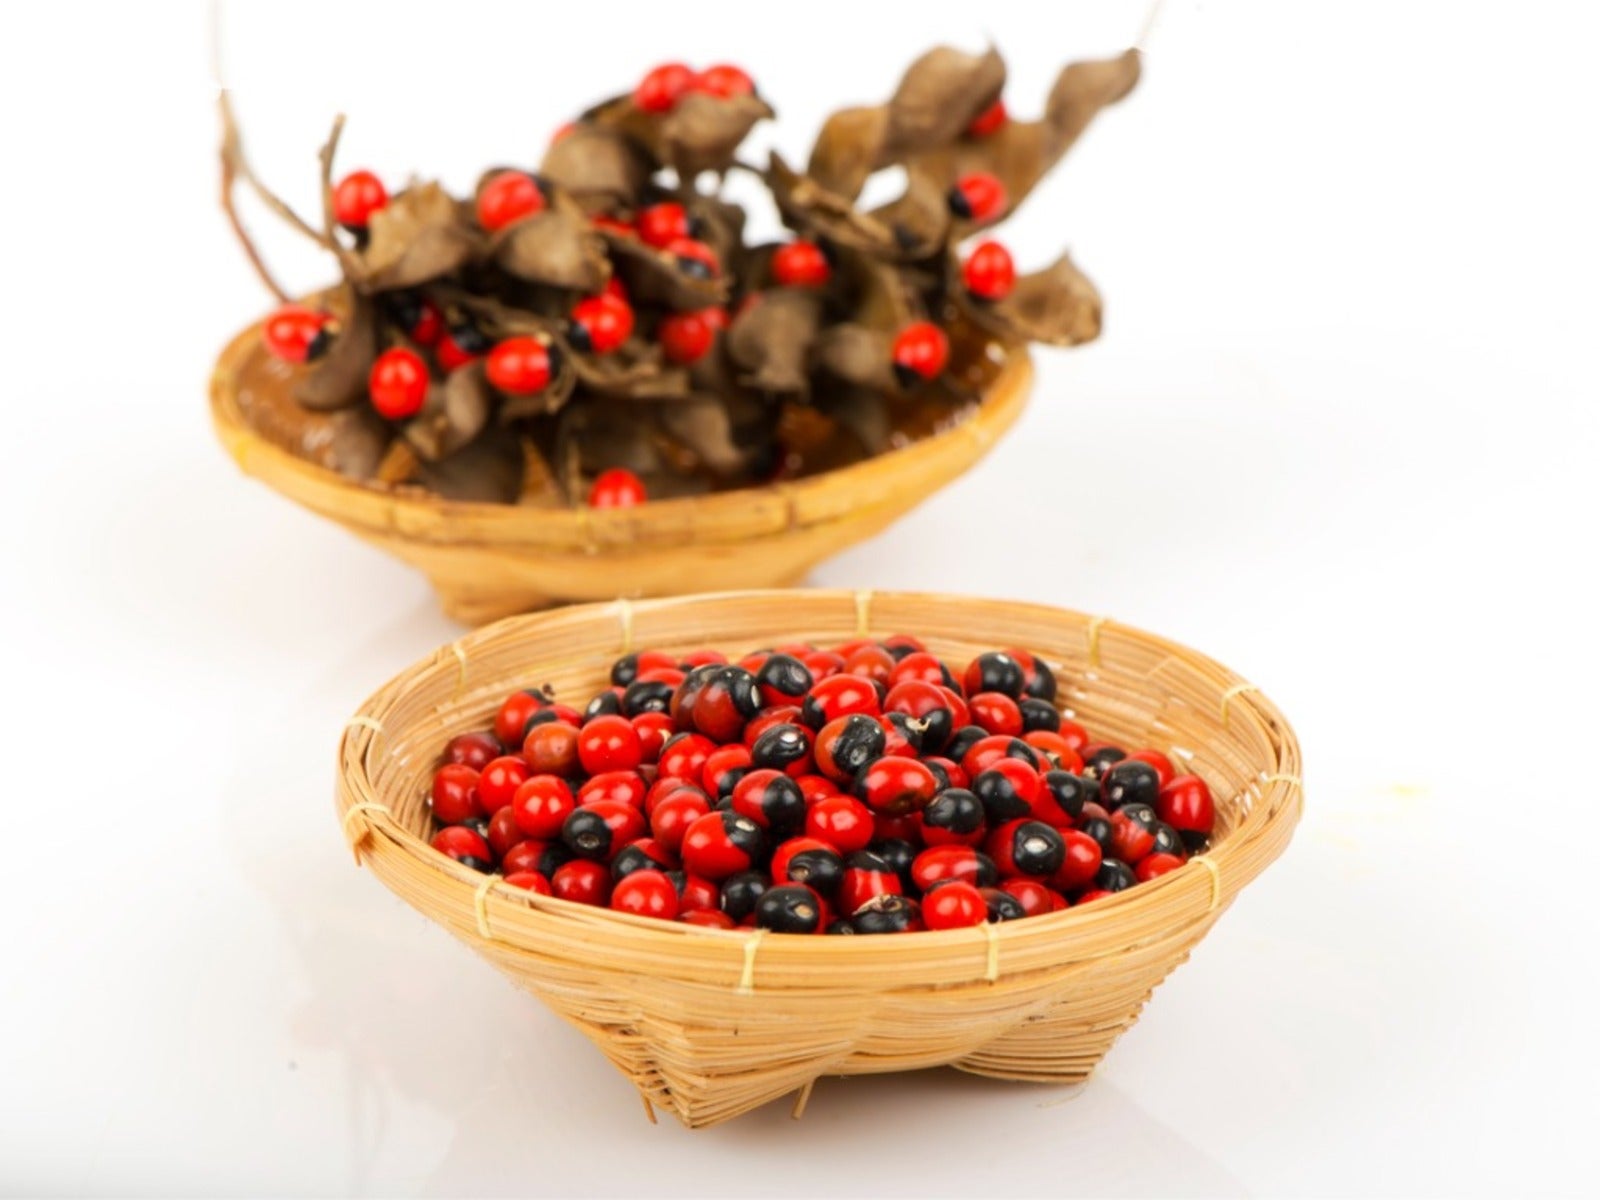
Human beings have been adorning themselves with botanical jewelry made from seeds for thousands of years, and so can you. Dried bean beads for jewelry are inexpensive and come in an array of colors and patterns, and you can even grow your own. Jewelry made from seeds is a relatively simple project -- the only difficulty being drilling a hole through the bean.
Bean Beads for Jewelry
Any type of dried bean can be made into bean beads for jewelry. Some of the heirloom varieties have fabulous colors and patterns but even the common black eyed pea or pinto bean look stunning when polished and buffed, encircling the wrist or throat.
Mescal bean beads have been a popular jewelry bead for centuries as well as being used for trading among many Native American people. Today, mescal bean beads can be purchased and they make beautiful jewelry with their deep red coloration.
Whatever type of dried bean beads you choose, prepare your seeds and beads for jewelry making by sorting through them and removing any broken or misshapen beans. Wash the beans if they are dirty and then polish them with a cotton cloth.
How to Use Seed Beans for Jewelry Making
- If you have harvested your own beans you must first let them dry. Lay them out flat in a dry area and allow them to cure for a few weeks, stirring occasionally.
- After the beans are completely dry, you need to drill a hole through them. Use a vise to hold the bean or make a depression that will fit the seed in a bench pin, then either drill a hole, burn through with a hot ice pick or use an awl to auger out a hole in the cried bean beads. Voila, you have seed beads for jewelry making.
- Once you have holes in the beans, you are ready to make jewelry made from seeds. All you need to complete your jewelry project is an idea and nylon fishing line or even better, waxed line. You can also use jewelers’ wire or even ribbon.
- String the dried bean beads according to your whim. Secure either by tying a knot at the end or by utilizing a bead clasp.
Sign up for the Gardening Know How newsletter today and receive a free copy of our e-book "How to Grow Delicious Tomatoes".

Amy Grant has been gardening for 30 years and writing for 15. A professional chef and caterer, Amy's area of expertise is culinary gardening.
