Garden Stone Walls – How To Build A Stone Wall For Your Garden

A stone wall garden may offer privacy, delineate an area, serve as slope protection, act as a barrier, be used to create a spa setting, or offer a combination of all these functions. The beauty of using garden stone walls is how they blend into the natural landscape and add a feeling of permanence. Interested in building a stone wall? Read on to learn how to build a stone wall and get some stone wall ideas.
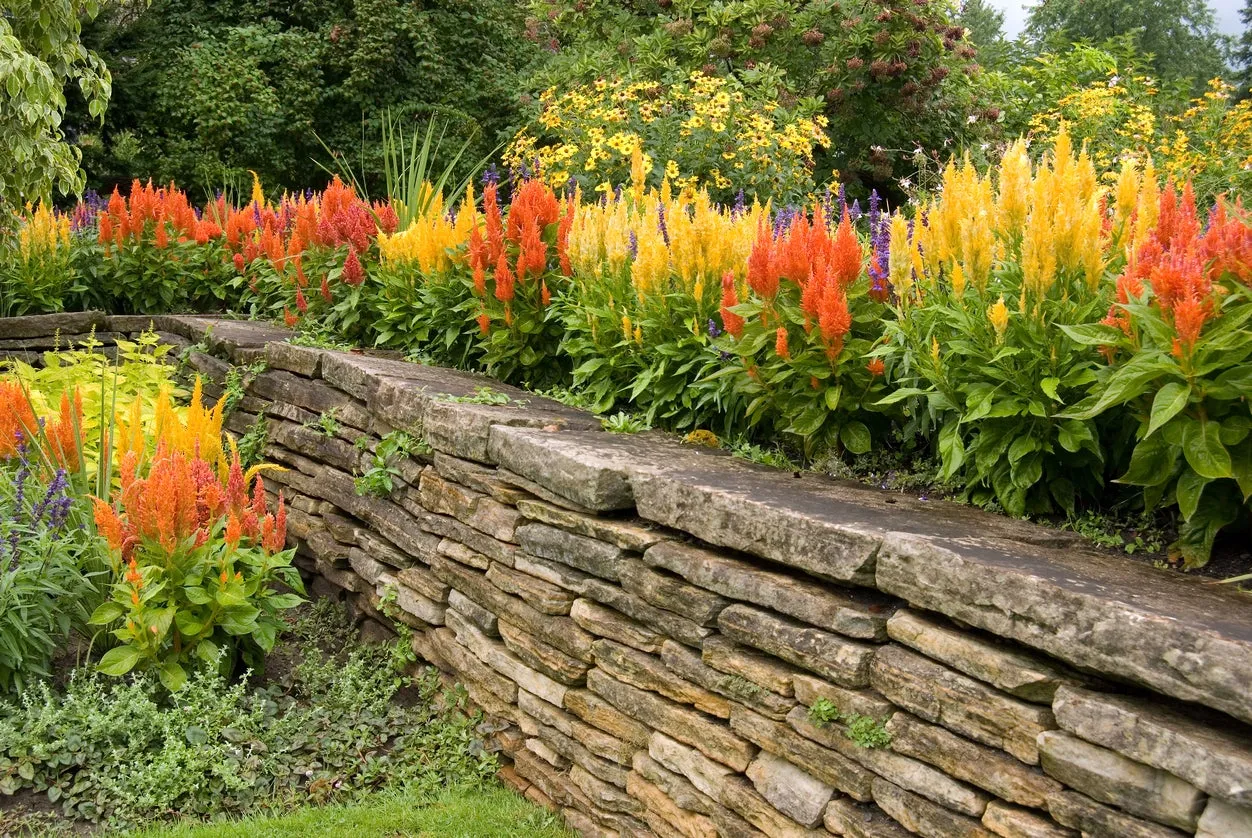
Stone Wall Ideas
Really, stone wall garden ideas are only limited by your imagination. There are plenty of pictures on the internet to help get you started, and once you begin looking, it may be difficult to settle on just one design. Garden stone walls may be made entirely out of stones or they can be a combination of stone and wood or even stone and metal. Stones may be purchased or, if you’re lucky, your property may yield enough stones for a wall.
A stone wall in the garden may be built on a slope and act as a retaining wall. This type of wall can also be planted, which makes it look even more a part of nature – as if it has been there forever. Stone walls don’t have to be tall, imposing structures. Low walls serve just as well to delineate or highlight an area.

How to Build a Stone Wall
First, you need to mark where the wall is going. If the wall is going to be straight, string and stakes make great markers; but if the wall is going to be curved, something like a garden hose, extension cord, or a length of rope works well.
Once you have a layout of where the wall is being built, dig out a 6 inch (15 cm.) deep trench to the width of the stones being used. Fill the trench with 3 to 4 inches (8-10 cm.) of fill gravel and tamp it down to about 2 inches (5 cm.).
The trench is the solid base upon which the wall is being built, so making sure the fill gravel is tamped down nice and level is essential.
Place the stones so they touch. Level each stone as you lay it. The stones should fit fairly snug. Use a level to check the evenness of your work and utilize the gravel to help level the stones. Some stones may need to be cut with a wet saw or a hammer and mason’s chisel to fit.
Once the first layer of stone has been laid, it is time to install the PVC pipe that will provide drainage. Add the gravel to the back of the first layer of stones. Put the gravel in the trench and tamp it down lightly. Lay the PVC pipe atop the gravel with the drainage holes face down. The pipe should run the length of the wall and out into the yard to drain.
When the drainpipe is in position, cover it with more gravel and then lay a layer of textile fabric on top. This will be used to line the trench and back of the wall and serves as an erosion barrier.
More on Building a Stone Wall
Some walls need mortar. If your plan requires mortar, it’s time to follow the manufacturer’s instructions to prepare it. The key here is to apply the mortar evenly onto the length of set stones. Once the mortar has been applied, use the trowel to cut it even with the wall face and then begin setting the next layer of stones.
As you set the stones, tuck the fabric into the dirt and tap the stones down into the mortar. Use a level front to back and side to side to ensure the layer is level. Tap the stones in with a trowel to get a tight fit.
As you build the next layer of stones, follow the lip on the backside of the first layer. The lip lets you know how far the stones need to slide forward on the row underneath. Each layer of stones needs to be staggered so the joint of two stones is covered by the center of the stone above them. Backfill the wall with soil as you build each layer of the wall.
When all levels are completed, tool the mortar and add the capstones. Use an adhesive in a caulk gun to apply two good beads to the top level of stones. Place the capstones onto the adhesive and then pick them up and put them back in place again to allow the adhesive to spread evenly. Stagger the stones so the centers of the capstones align with the joint of the stones underneath.
Now the garden stone wall is done, except you need to add the “garden” part. It’s time to finish the area off with the landscape plants of your choice that will accent your beautiful stone garden wall.
