

Gardeners who take the “no fuss” approach will love sempervivium plants. Sempervivum care and maintenance are almost task free and their lovely rosettes and hardy nature are stand outs among the garden. Not only do the plants thrive on neglect but they produce offsets, or new plants, every season that are simple to separate and grow as new specimens. Read on to get some sempervivum information, and learn how to grow and care for these amazing plants.
Sempervivum Information
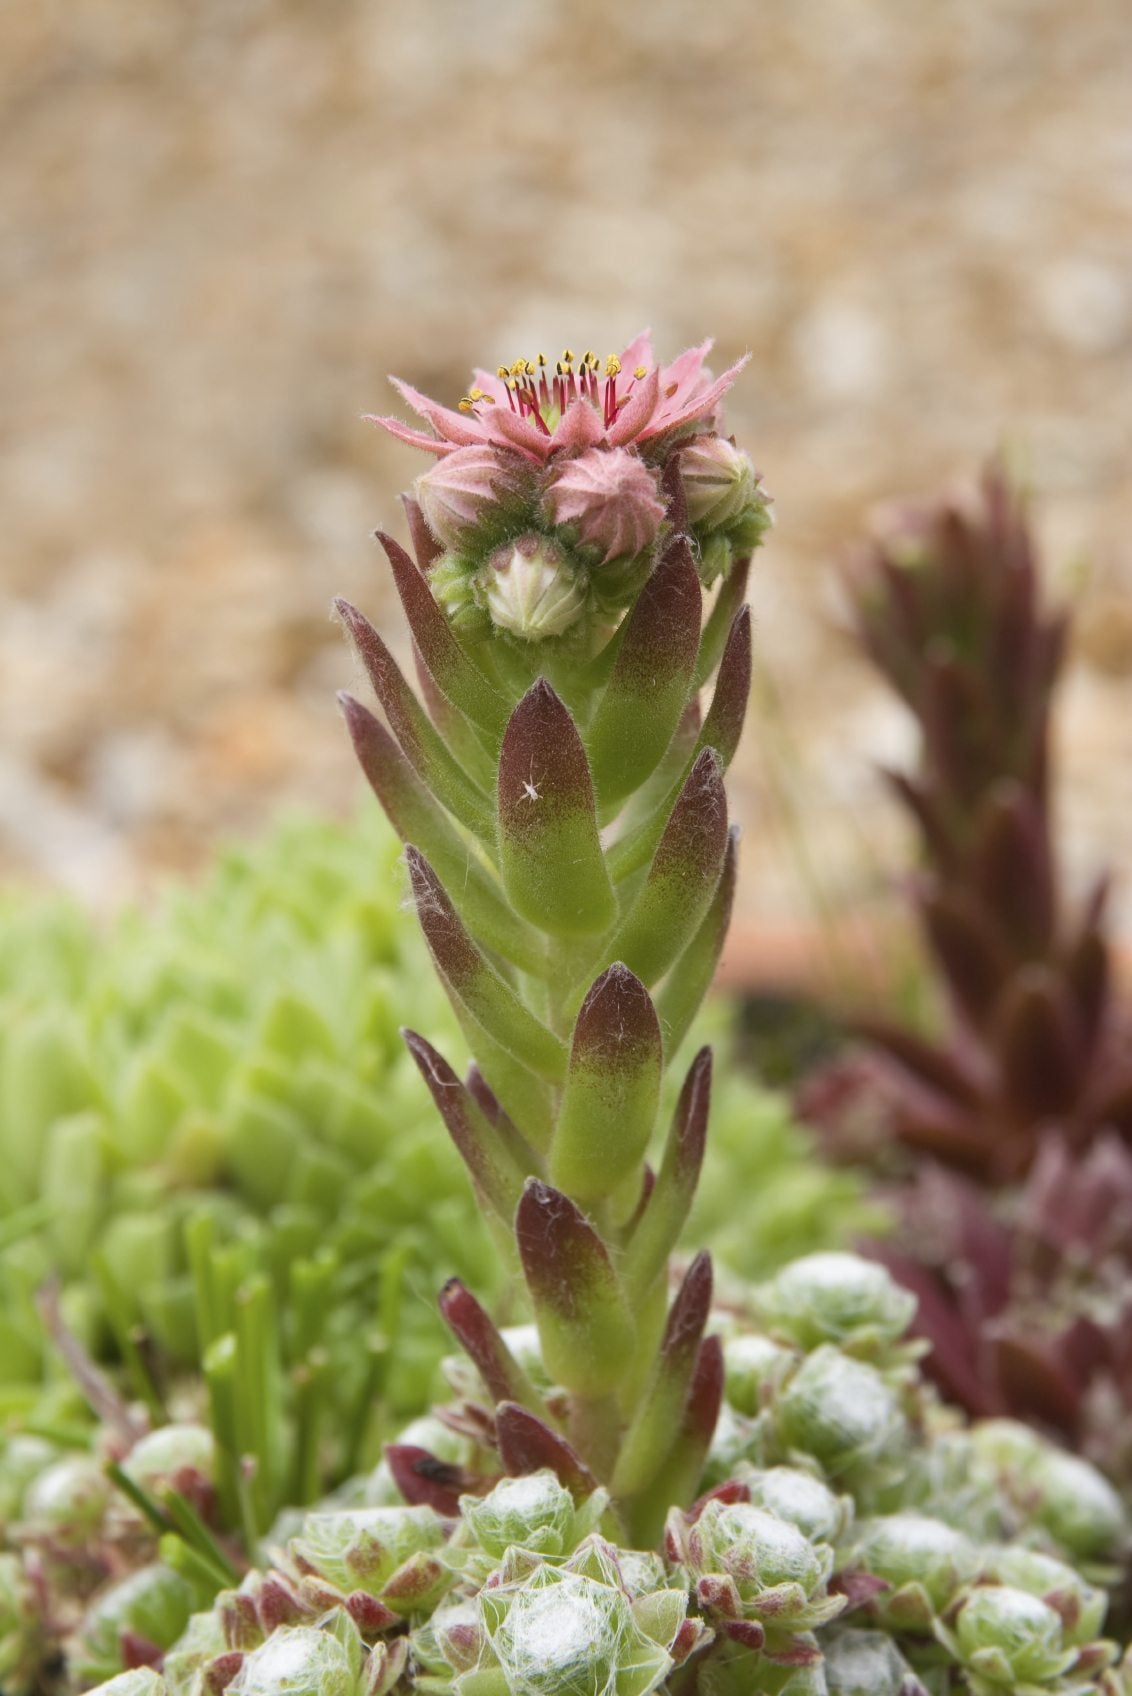
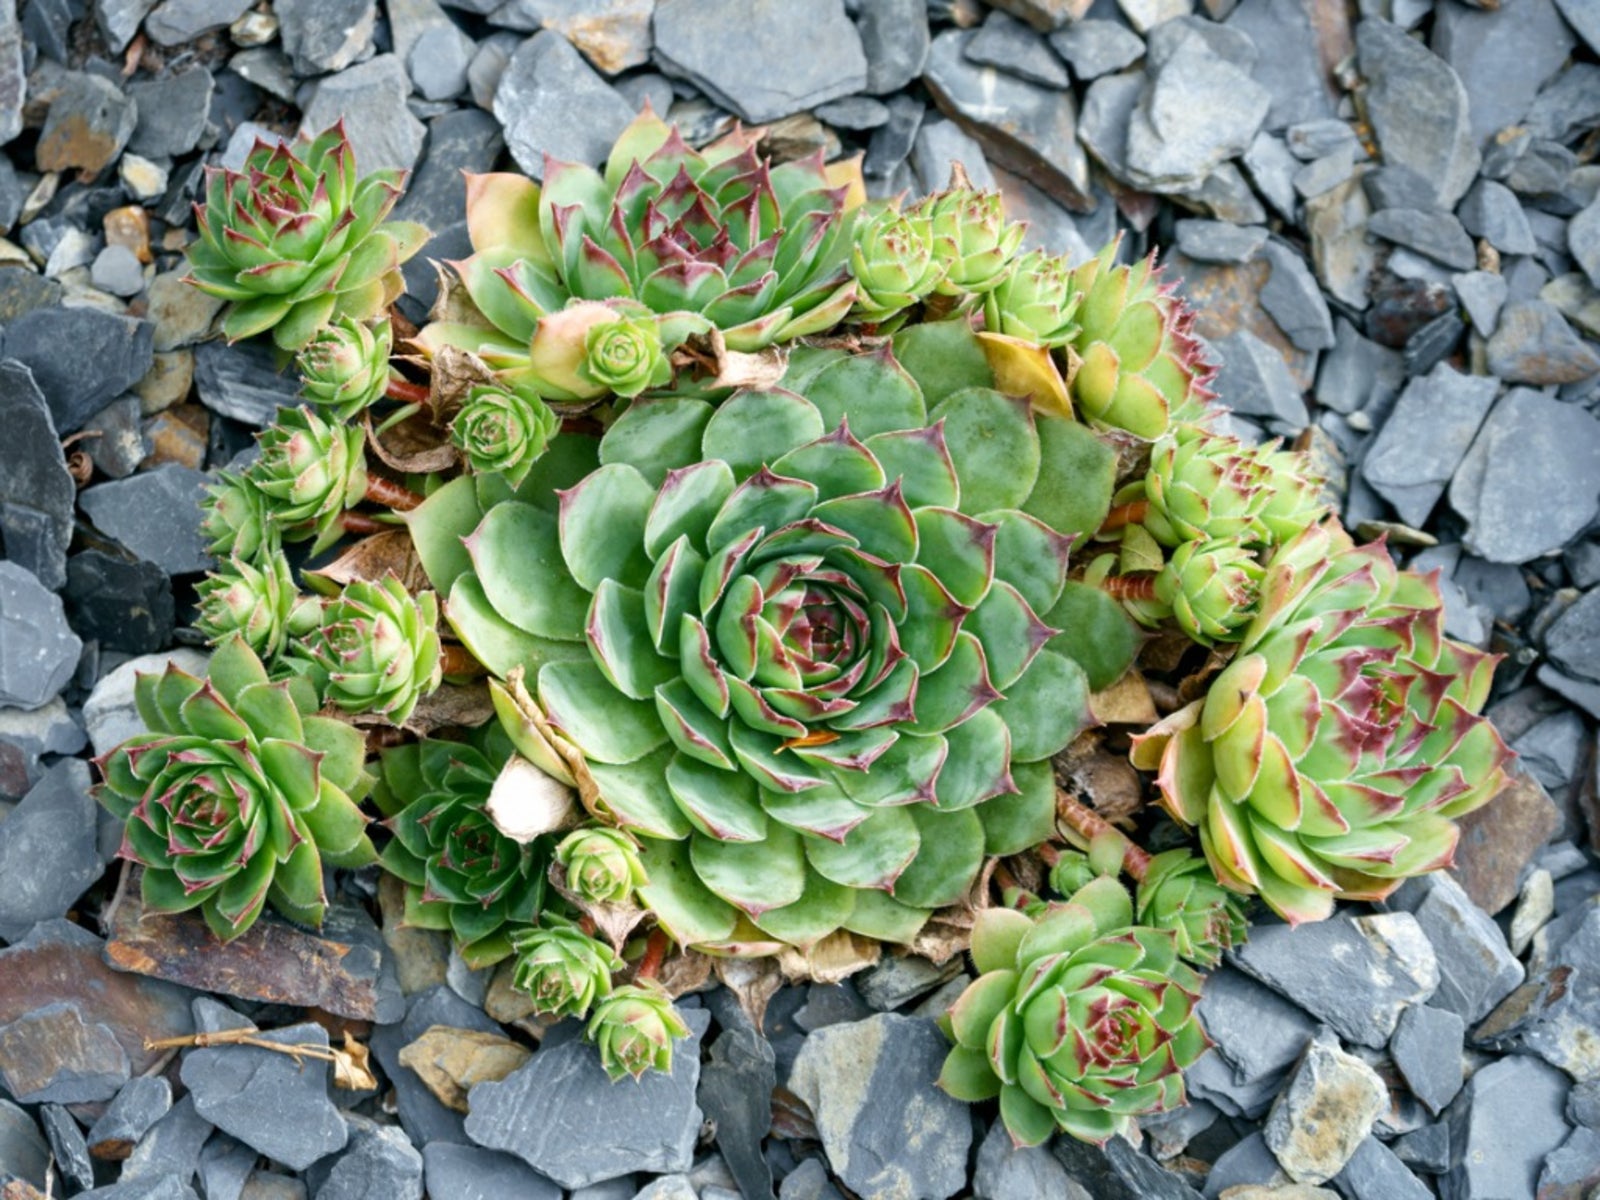
Plants that take a lot to grow, such as orchids, are a collector’s dream but their fussiness and specific needs take a lot of time and energy to sustain. For us lazy gardeners, sempervivum offers unique form and beauty without any of the effort. Try growing these succulent plants on a rockery, vertical wall, or even on driftwood. Sempervivum growing conditions are only limited by good drainage and sunlight. So you say you have a hot, dry spot in the garden with rocky or gritty soil and low fertility? What should you plant? This sounds like perfect sempervivum growing conditions. Not only can these fun little alpine succulents thrive in sites that would make most other plants faint, but they multiply and flower with ease. Sempervivum produces rosettes in a host of hues. They are low growing and adaptable to most soils but prefer full sun and a well-draining medium. Many of the varieties produce star-shaped flowers in pink, red, or occasionally yellow. The spiky leaves are trimmed with green, red, purple, or even shrouded in fine gossamer hairs. For sheer diversity of form, size, and color these plants are excellent in a host of situations.
How to Grow Sempervivum Plants
Growing plants from scratch is a fairly easy process with most plants, but if you want to grow sempervivum from seed you will need to know a few tricks. The initial process is easy and similar to any seed. Plant seeds in 2 inch (5 cm.) pots on the surface of the soil. Just press them into the soil. The seeds need light to germinate and temperatures of at least 70 degrees F. (21 C.). If they don’t germinate in four to five weeks, the experts say to put the pots in the refrigerator for two to four weeks and repeat the sun and temperature conditions. In most cases, the seed will germinate and you will get tiny rosettes over time. The tricky bit is that when you grow sempervivum from seed, the plants may not be true to form, as they tend to hybridize quite easily. You will still get some fine and interesting plants, just not the same form as the parent. The easiest way to grow sempervivum plants is to separate their offsets. These will be clones of the parent and have a jump start on life. Of course, you can also purchase nursery plants too.
Sempervivum Care and Maintenance
Sempervivum plants prefer well-draining compost with 25 to 50% sand or other grit. They may grow in trays, in ground, on wood, or in rock piles. Once established, the plant’s need no further care – in most cases. The majority of sempervivum are frost hardy but if you prefer to grow a variety that is not, plant it in a pot or flat and move indoors for winter. Sempervivum are monocarpic, which means that once a rosette flowers, it dies. Pull out the dead rosette and fill the hole with gritty soil. The plant will quickly fill in any empty spots with offsets. Note: If you wish to know how to grow sempervivum from seed, you first need to harvest it. Once flowers are spent, a small, dry, seed-filled fruit is produced. Remove these pods and allow the fruit to dry completely before crushing and removing the seeds. Refrigerate or chill the seeds for four weeks before sowing.

-
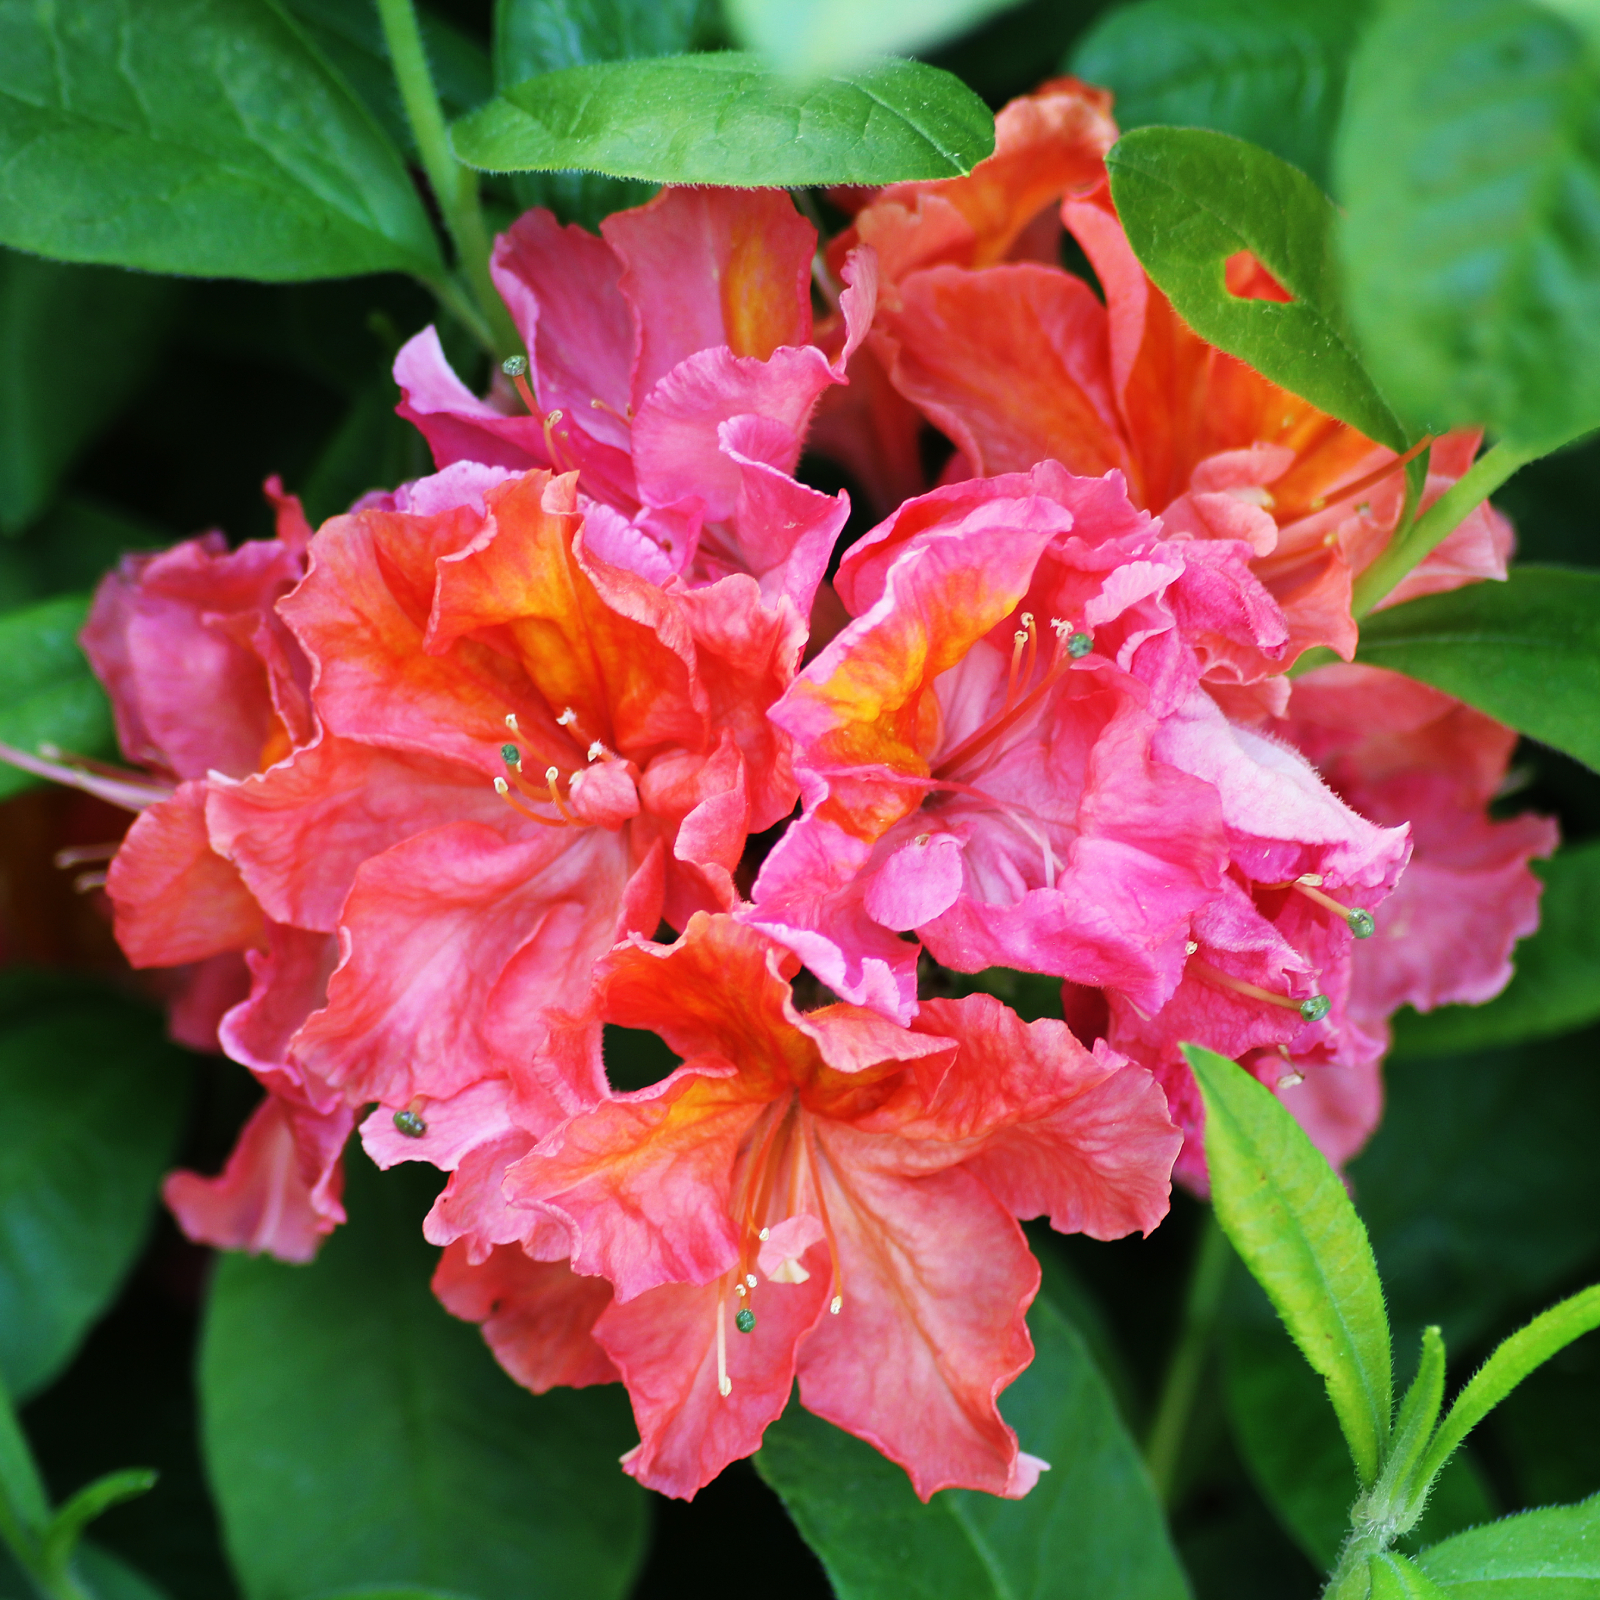 8 Noteworthy Native Azaleas Every Gardener Should Know – And Grow!
Native azaleas offer brilliant blooms in a range of colors and sizes. Here are a few favorites to get inspired and start working on a native shade garden!
-
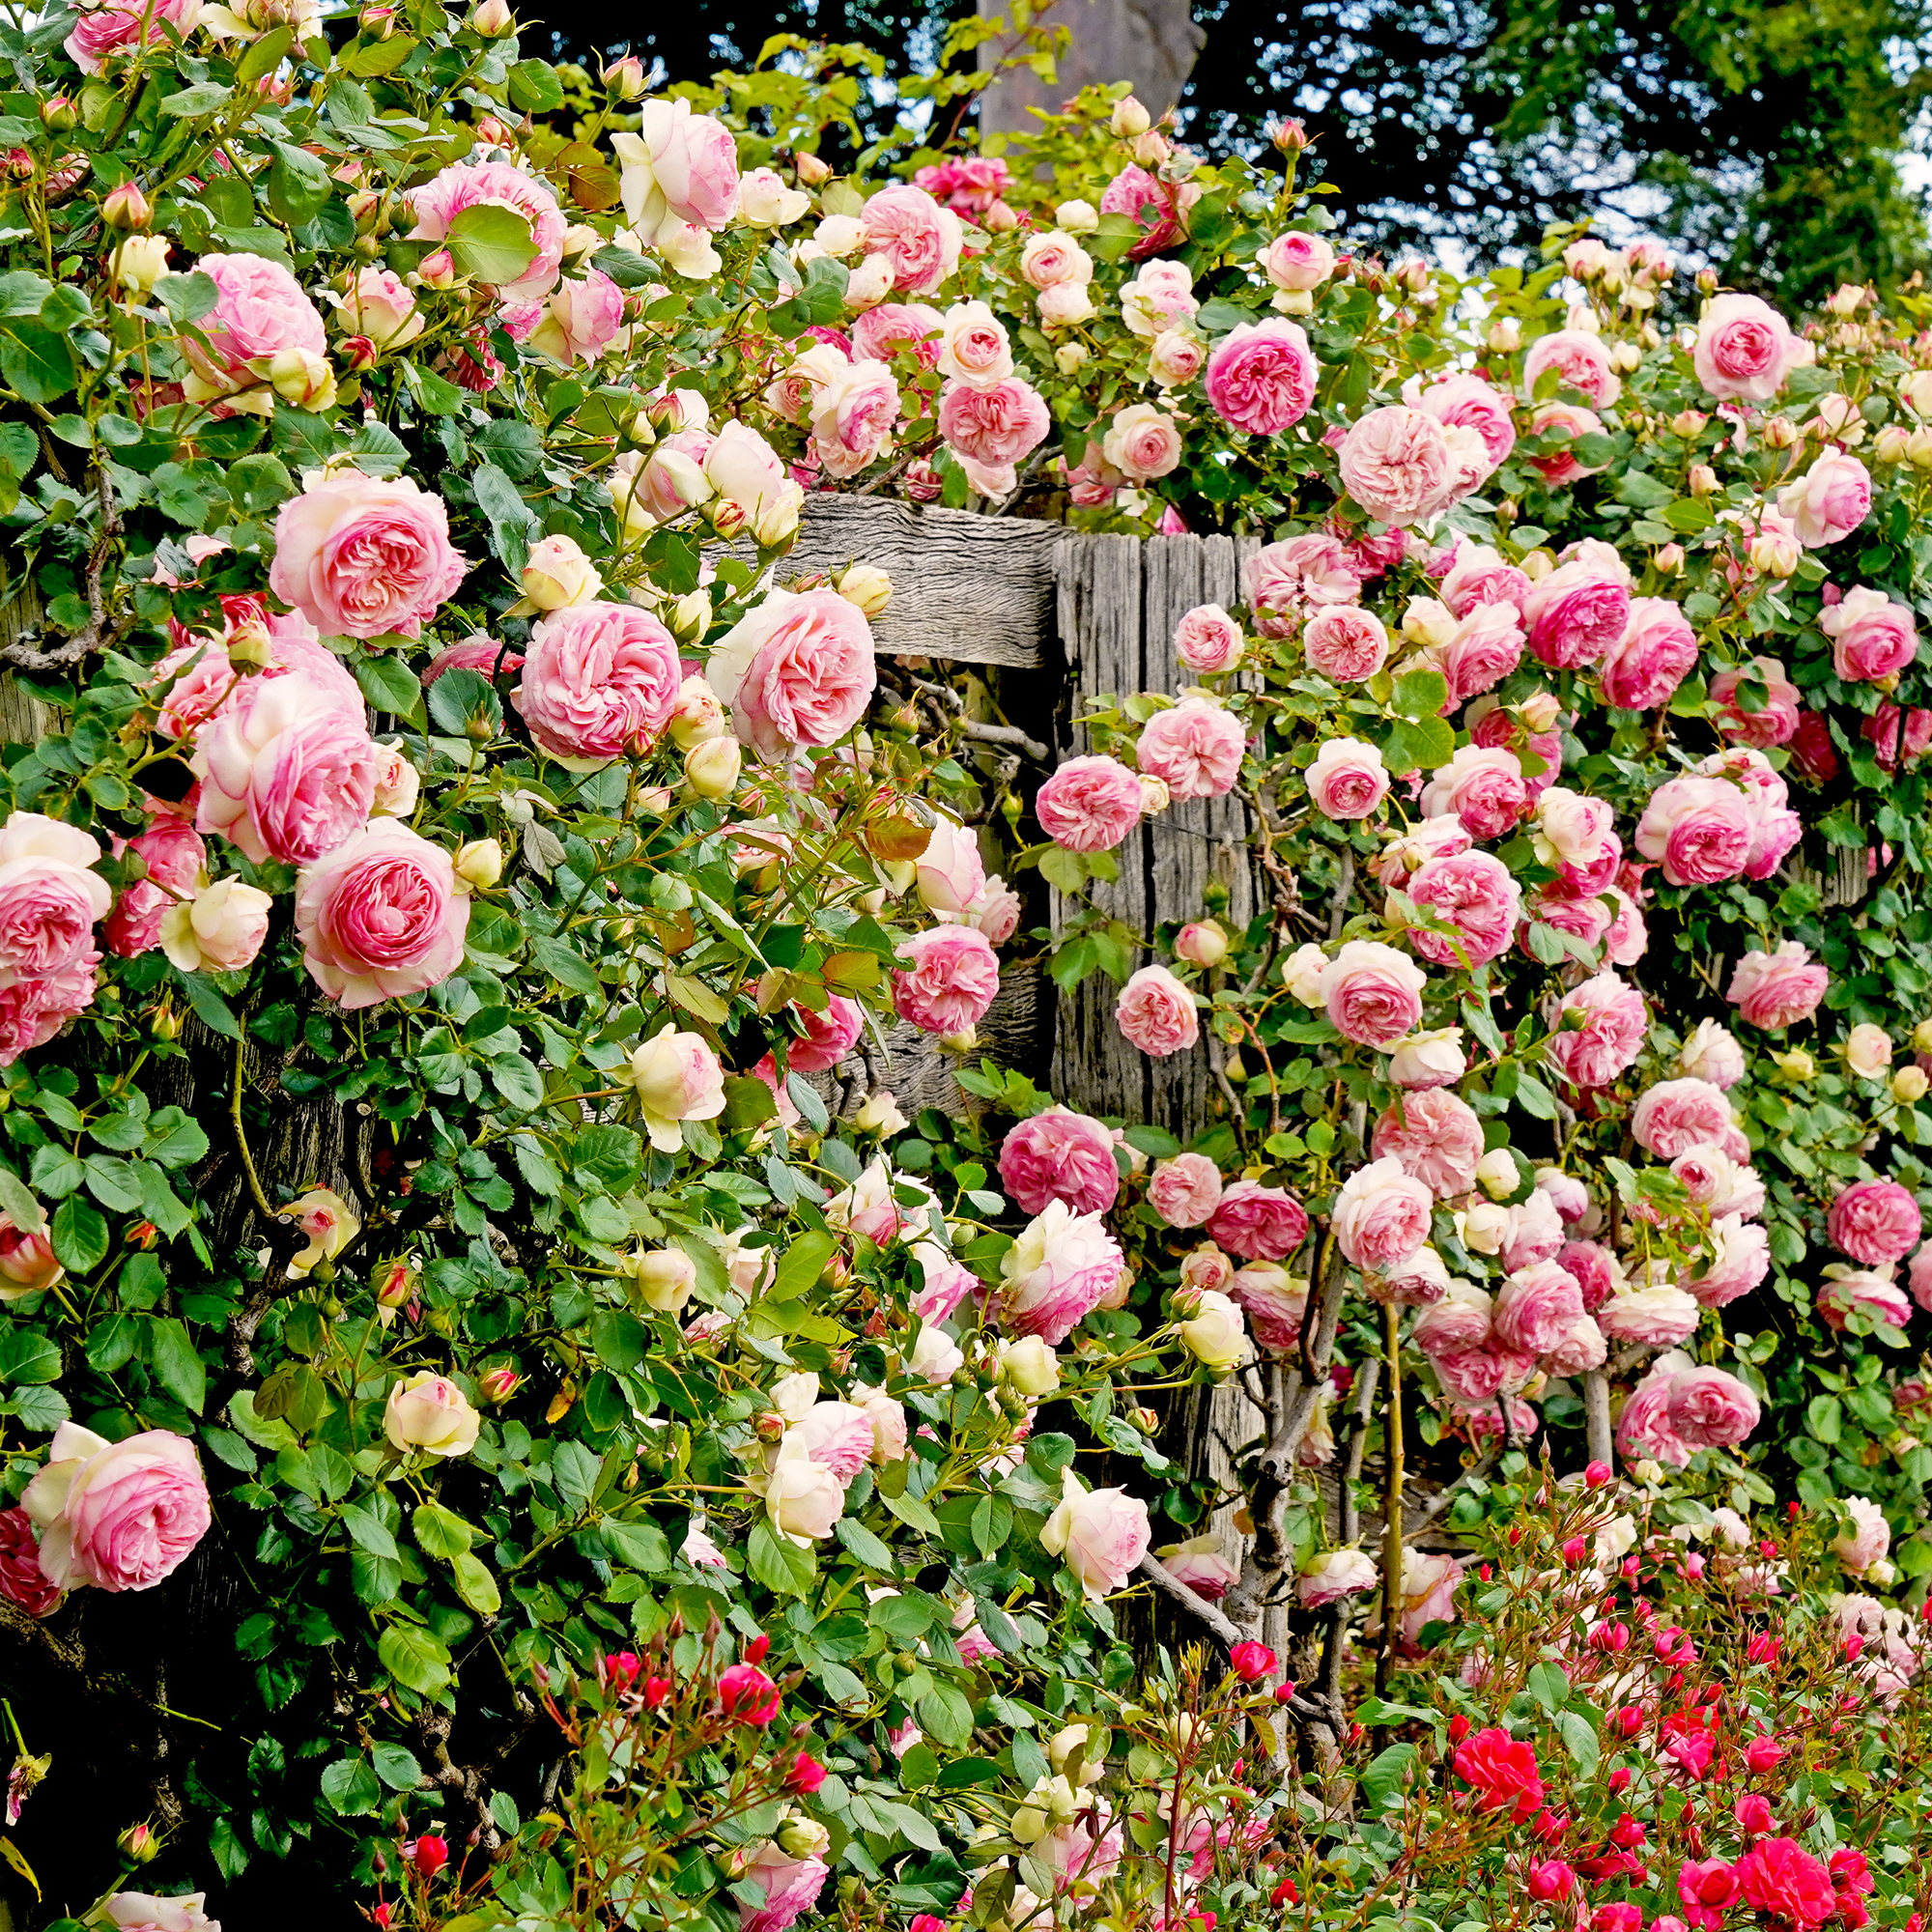 Growing Climbing Roses: How To Create Elegant Displays With Maximum Blooms
Master the art of growing stunning climbing roses with this essential guide to creating vibrant, fragrant walls and structures all summer long.


-
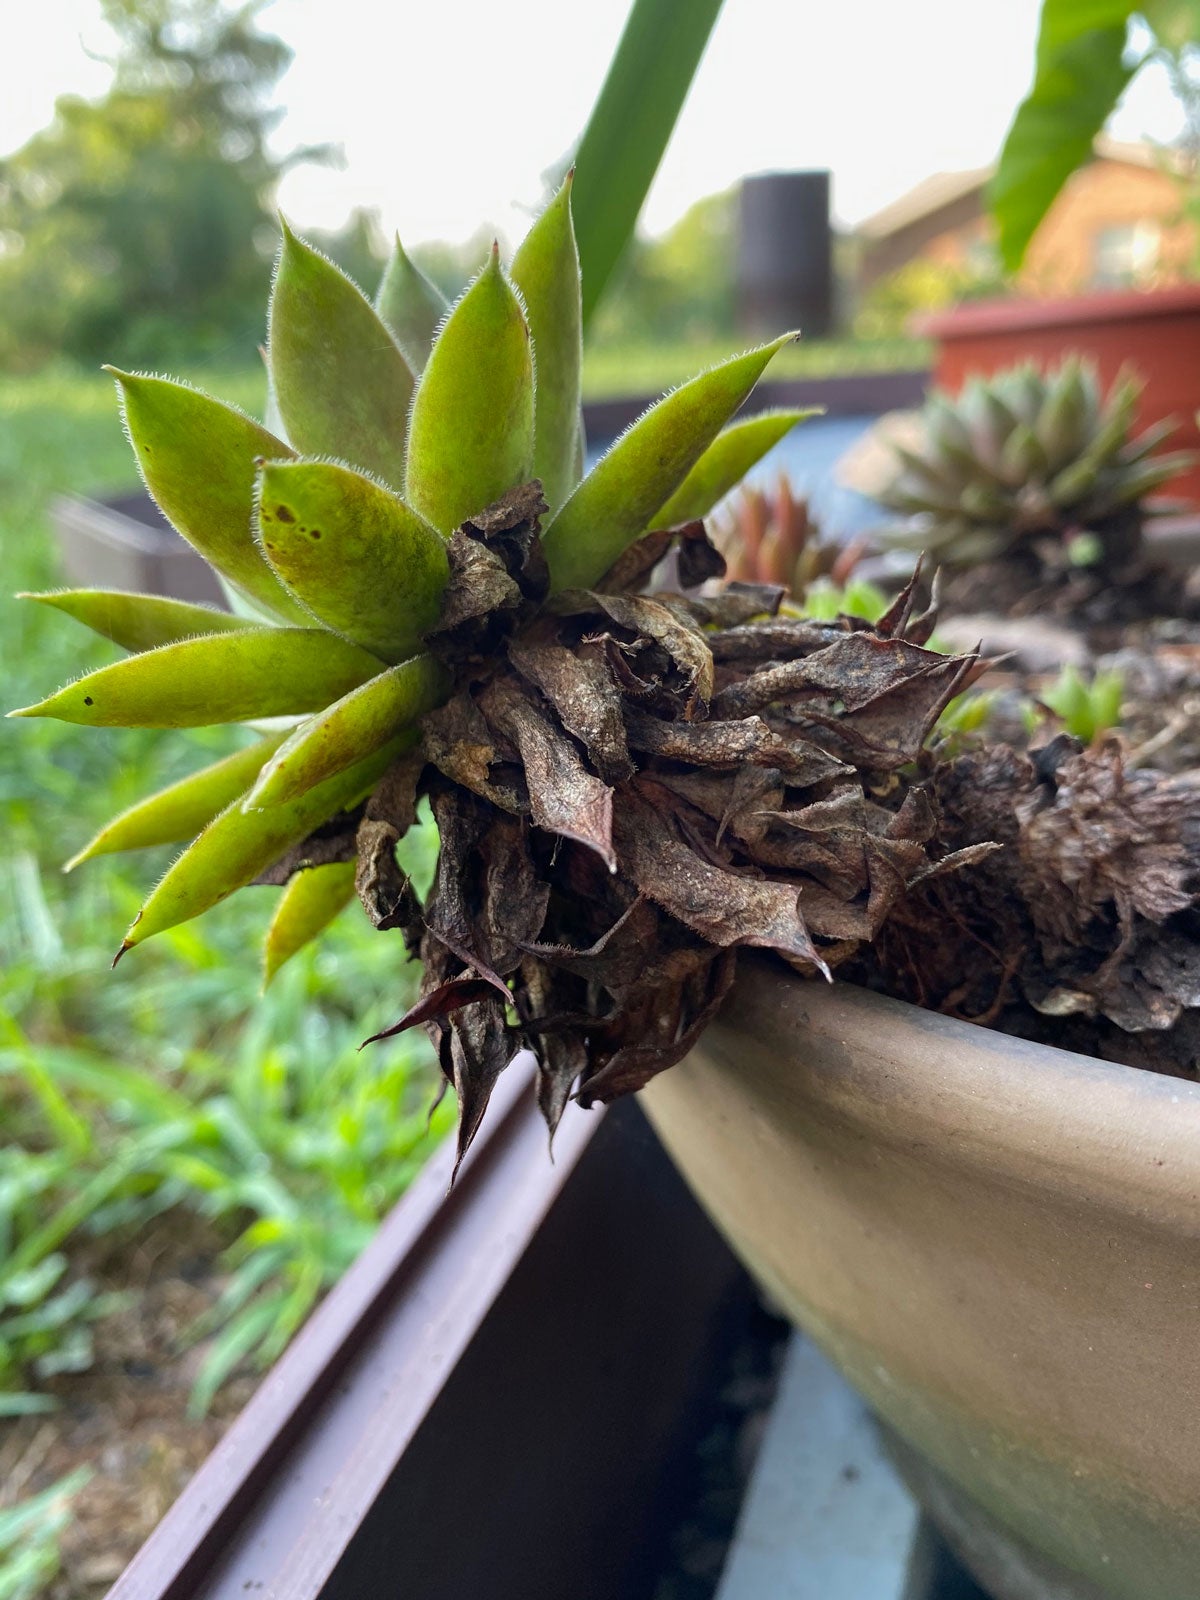 Sempervivum Is Dying: Fixing Drying Leaves On Hens And Chicks
If you’re growing hens and chicks plants, you may be wondering what causes them to die. Click here to find out and learn what to do.
-
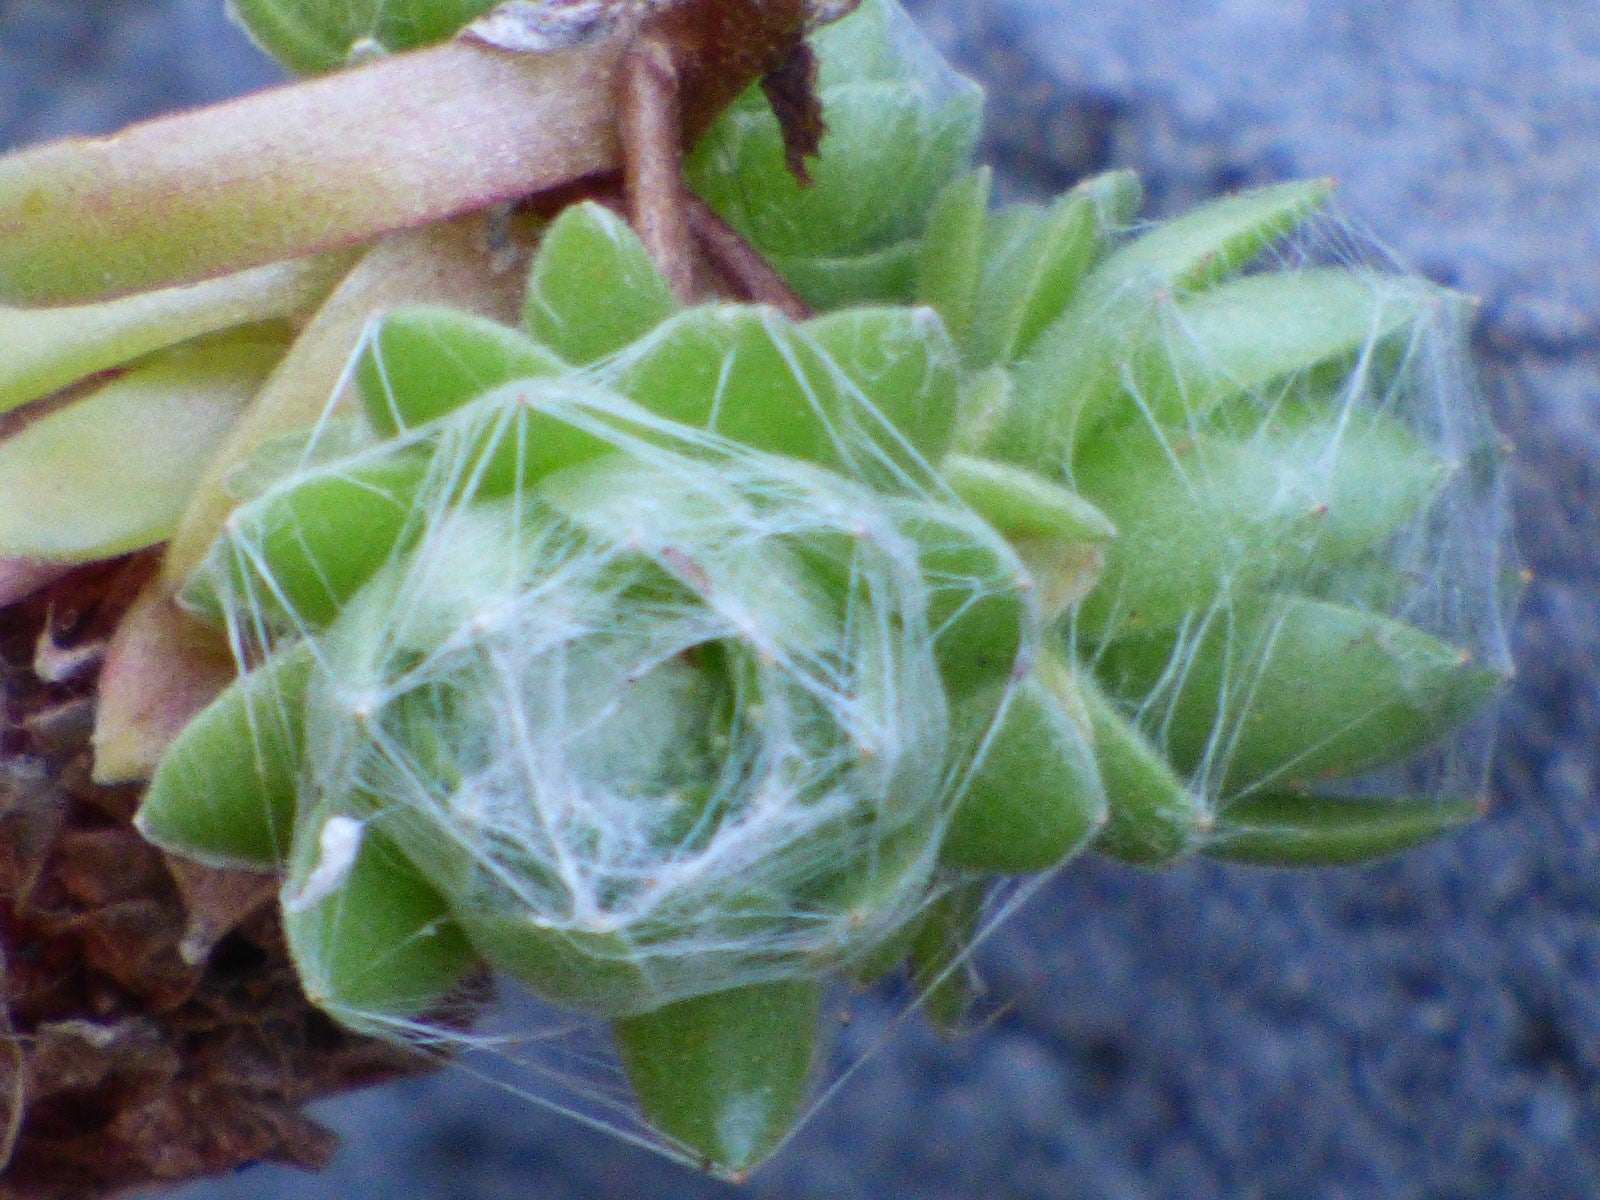 Cobweb Houseleek Care – Growing Cobweb Hens And Chicks
A favorite outdoor plant, cobweb hens and chicks may already be growing in your garden or container. This interesting plant is covered with a cobweb-like substance, making it much sought after by many growers. Click here to learn more about this succulent.
-
 Hens and Chicks Flowers: Do Hens And Chicks Plants Bloom
Hens and chicks have old-time charm and unbeatable hardiness. These little succulents are known for their sweet rosette form and numerous offsets or "chicks." But do hens and chicks plants bloom? Find the answer in this article.
-
 Growing Hens And Chicks - Using Hens And Chicks In Your Garden
Hens and chicks are members of the Sempervivum group of succulent plants. They are commonly called houseleeks and grow well indoors and out. Read here for tips on growing hens and chicks.


