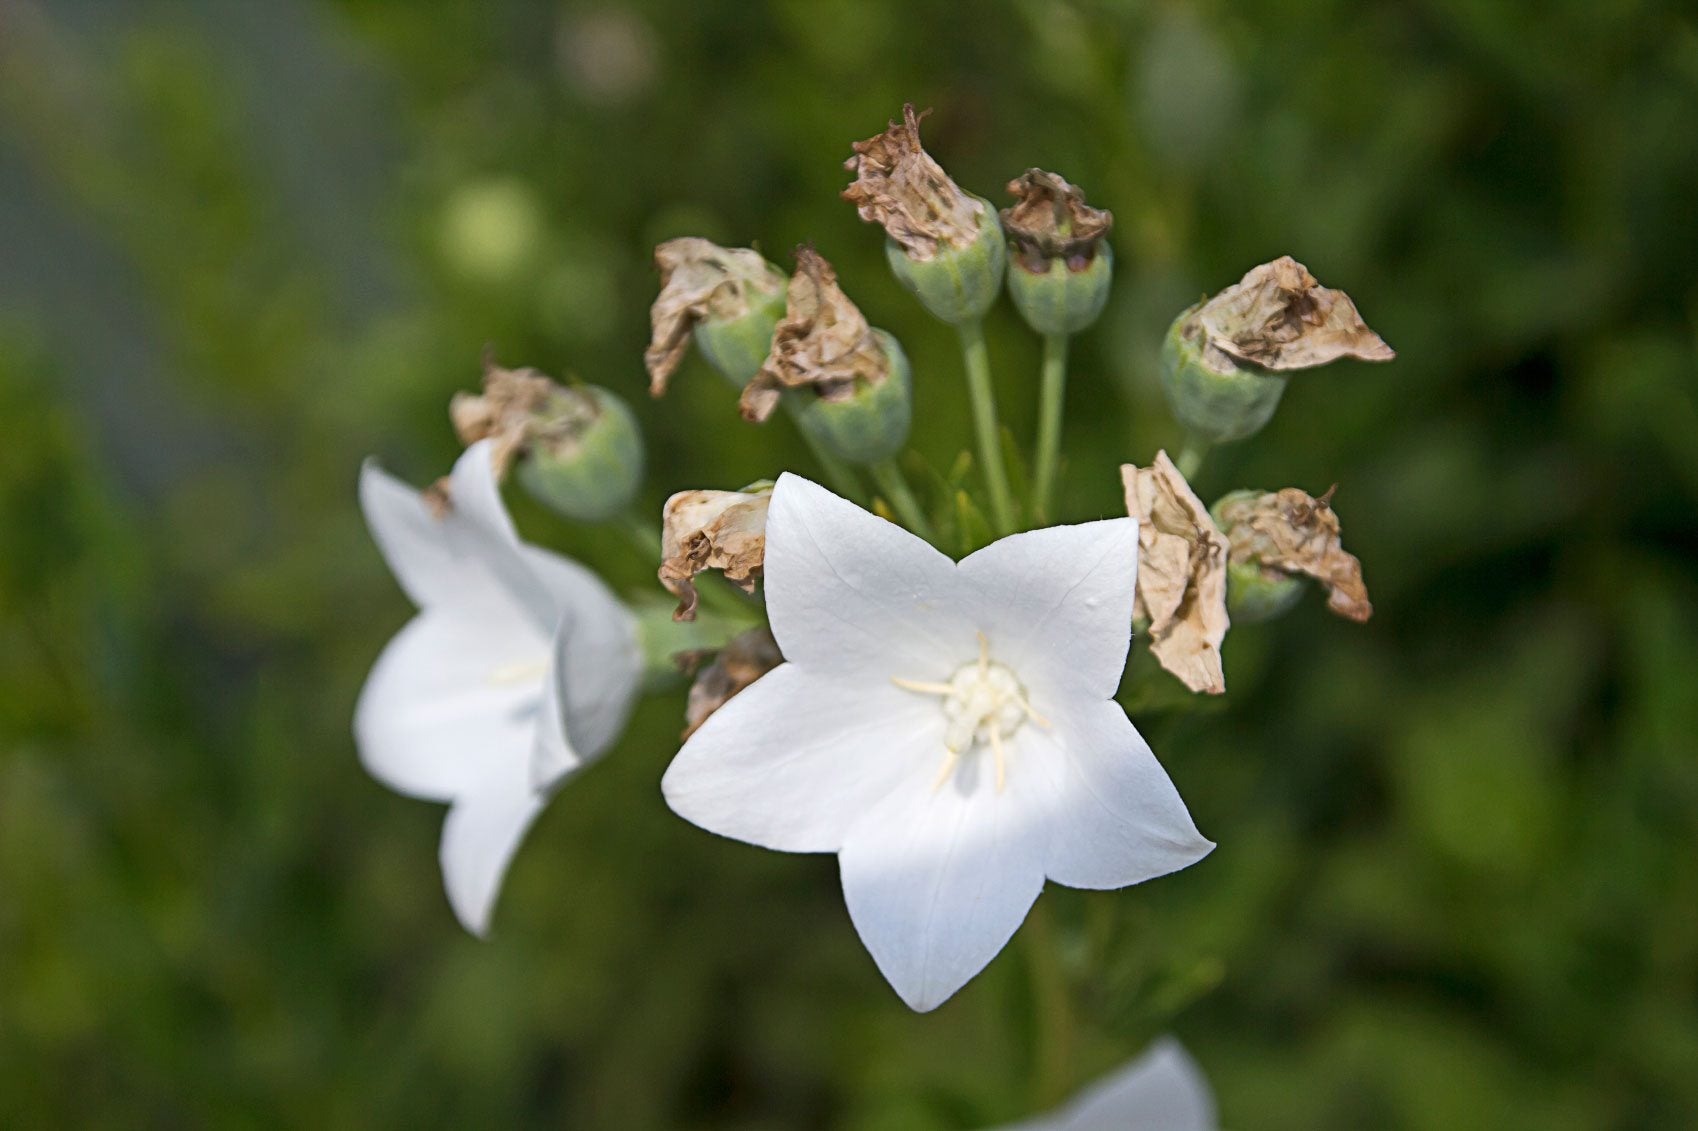
Balloon Flower Propagation: Tips For Seed Growing And Dividing Balloon Flower Plants

Balloon flower is such a solid performer in the garden that most gardeners eventually want to propagate the plant to create more of them for their yard. Like most perennials, propagating balloon flowers can be done in more than one way. Let's learn more about balloon flower propagation. Create new balloon flower plants by dividing existing mature plants, or by collecting the seeds in the fall and planting them the next spring. Using balloon flower seeds is very simple to do but dividing the plants can be a bit trickier.
Balloon Flower Seeds
Balloon flowers (Platycodon grandiflorus) are named because their bloom starts out looking like a purple, white, or blue balloon and then it pops open to a wide bloom. After the bloom dies off, you'll see a brown pod at the end of the stem. Wait until the stem and pod dry out completely, then snap the stem and place the pod into a paper bag. Once you break open the pods, you'll find hundreds of tiny, brown seeds that look like miniature grains of brown rice. Plant the balloon flower seeds in the spring when all chance of frost has passed. Choose a site that gets full sun to slight partial shade and dig a 3-inch (7.5 cm.) layer of compost into the soil. Sprinkle the seeds on top of the soil and water them. You'll see sprouts within two weeks. Keep the ground moist around the new sprouts. In most cases, you'll get flowers in the first year you plant them.
Dividing Balloon Flower Plants
Balloon flower propagation can also be done by dividing the plants. Dividing balloon flowers can be a bit tricky because it has a very long taproot and doesn't like being disturbed. If you want to try it though, choose the best, healthiest plant you have. Divide it in the spring when the plant is only about 6 inches (15 cm.) tall. Dig around the plant at least 12 inches (30.5 cm.) away from the main clump, to allow the least disturbance to the main roots. Slice the clump in half and move both halves to their new spots, keeping the roots moist until you bury them.
Sign up for the Gardening Know How newsletter today and receive a free copy of our e-book "How to Grow Delicious Tomatoes".