Propagating Sand Cherry Trees: How To Propagate A Sand Cherry
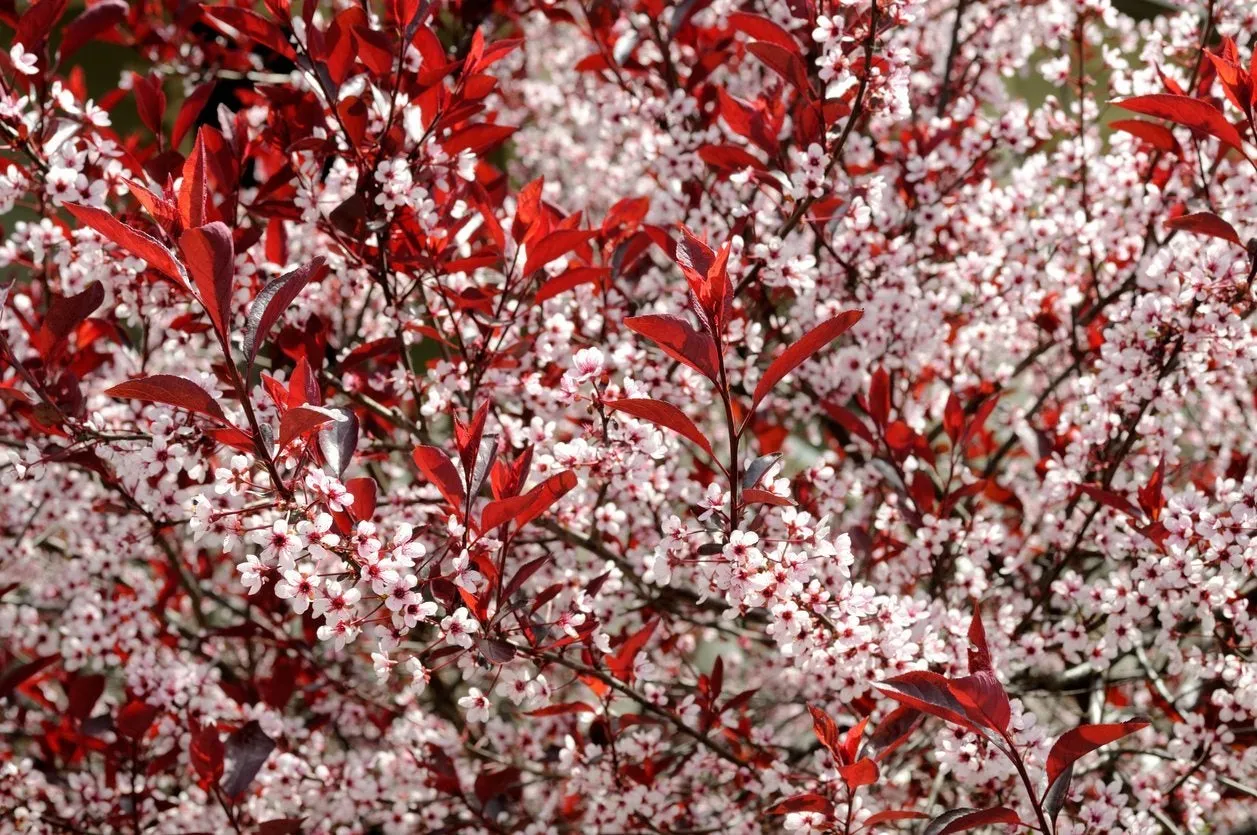
Also known as western sand cherry or Bessey cherry, sand cherry (Prunus pumila) is a bushy shrub or small tree that thrives in difficult sites such as sandy rivers or lake shores, as well as rocky slopes and cliffs. The small, purple-black fruits, which mature in midsummer after the white springtime flowers have faded, are highly prized by birds and wildlife. It is also one of the parent plants to the hybrid purple-leaf sand cherry. Propagating a sand cherry plant isn’t a difficult task, and there are several effective ways to propagate sand cherry trees. Read on to learn how to propagate a sand cherry for your garden.
Growing Sand Cherry from Cuttings
Take softwood cuttings from a healthy sand cherry plant in early spring. Cut 4 to 6 inch (10-15 cm.) stems, making each cut just below a leaf node. Remove the leaves from the bottom half of the cutting. Fill a small pot with potting mix. Water the potting mix thoroughly and allow it to drain overnight. The following morning, dip the tip of the stem in rooting hormone and plant it in the pot with the leaves above the soil. Cover the pot with a clear plastic bag secured with a rubber band. Check the cutting daily and water lightly if the potting mix is dry. Remove the bag as soon as new growth appears, which indicates the cutting has successfully rooted. Allow the seedlings to remain indoors at least until the following spring, then plant them outdoors when all danger of frost has passed.
Growing Sand Cherry from Seed
Harvest sand cherries when they are fully ripe. Put the cherries in a sieve and rinse them under running water as you squash them with your fingers. Put the mashed sand cherries in a glass jar filled with warm water. A small amount of liquid dish detergent added to the water during the soaking period may promote separation of seeds from pulp. Allow the seeds to remain in the water for no more than four days, then drain the contents through a sieve. The viable seeds should be at the bottom of the jar. Once the seeds are cleaned, plant them in the garden immediately. If you aren’t ready to plant directly into the garden, place the seeds in a plastic bag with a small amount of moist peat moss and stratify them in the refrigerator at 40 degrees F. (4 C.) for six to eight weeks before planting outdoors. Plant the seeds about 2 inches (5 cm.) deep and at least 12 inches (31 cm.) apart. Plant several in case some don’t germinate. Mark the area so you remember where you planted the seeds. Keep the area well-watered. If it’s too cold to plant the stratified seeds outdoors, you can plant them in celled trays filled with potting mix. Place the trays in filtered or indirect sunlight and keep the soil moist. Transplant the seedlings into a sunny, well-drained spot in your garden when they have at least two sets of leaves. Be sure all danger of frost has passed.

