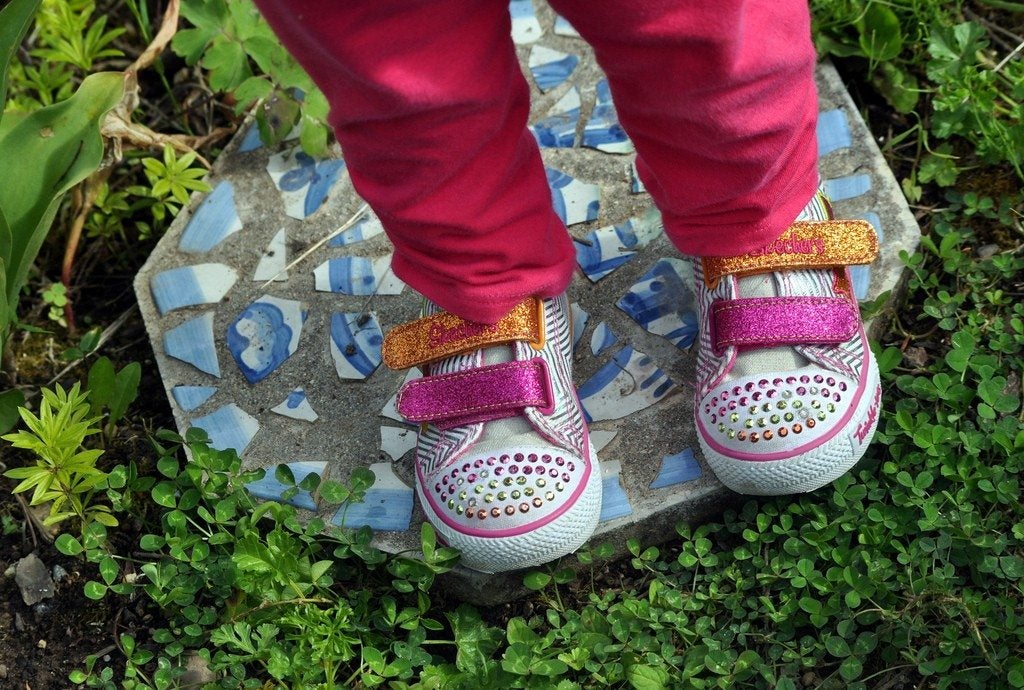
Garden Stepping Stones: How To Make Stepping Stones With Kids

Paths made from garden steppingstones make an attractive transition between separate parts of the garden. If you're a parent or grandparent, steppingstones for kids can be a charming addition to your landscape design. Get the kids involved by allowing each child to decorate his or her own stone with personalized objects or decorative designs with individual taste in mind. These children's steppingstone projects are a great way to spend a weekend afternoon and will give you a memento that will last for years.
Children's Steppingstone Projects
Gathering molds is the first step in teaching kids how to make steppingstones. The plastic saucers from planters are ideal, but your child may want to experiment in size and shape by choosing a pie or cake pan, a dish pan, or even a cardboard box. As long as the container is relatively sturdy and at least 2 inches (5 cm.) deep, it will work for this project. You'll need to lubricate the mold just as you would grease and flour a cake pan, and for the same reason. The last thing you want to happen after all your child's careful work is to have the stone stick inside the mold. A layer of petroleum jelly covered with a sprinkling of sand on the bottom and sides of the mold should take care of any sticking problems.
Making Homemade Steppingstones for Kids
Mix together one part of quick concrete powder with five parts of water. The resulting mix should be as thick as brownie batter. If it's too thick, add water 1 tablespoon (15 ml.) at a time until it's right. Scoop the mix into the prepared molds and smooth off the surface with a stick. Drop the mold on the ground a couple of times to allow air bubbles to come to the surface. Let the mix set for 30 minutes, then put kitchen gloves on your kids and let them have fun. They can add marbles, shells, broken bits of dishes, or even board game pieces to their design. Give them each a small stick for writing their name and date on the stone. Dry the homemade steppingstones in the molds for two days, misting with water twice a day to prevent cracking. Remove the stones after two days and let them dry for another two weeks before planting in your garden.
Sign up for the Gardening Know How newsletter today and receive a free copy of our e-book "How to Grow Delicious Tomatoes".