Sign up for the Gardening Know How newsletter today and receive a free copy of our e-book "How to Grow Delicious Tomatoes".
You are now subscribed
Your newsletter sign-up was successful
If you’re lucky enough to have eaten Italian frying peppers, you no doubt want to grow your own. Growing your own Italian frying peppers is probably the only way many of us will ever be able to replicate this Italian delicacy, unless you live near a market that specializes in Italian cuisine, of course. Those who have never consumed this delight are wondering, “What are Italian frying peppers?” Read on to find out about Italian peppers for frying and what Italian frying pepper varieties are available.
What are Italian Frying Peppers?
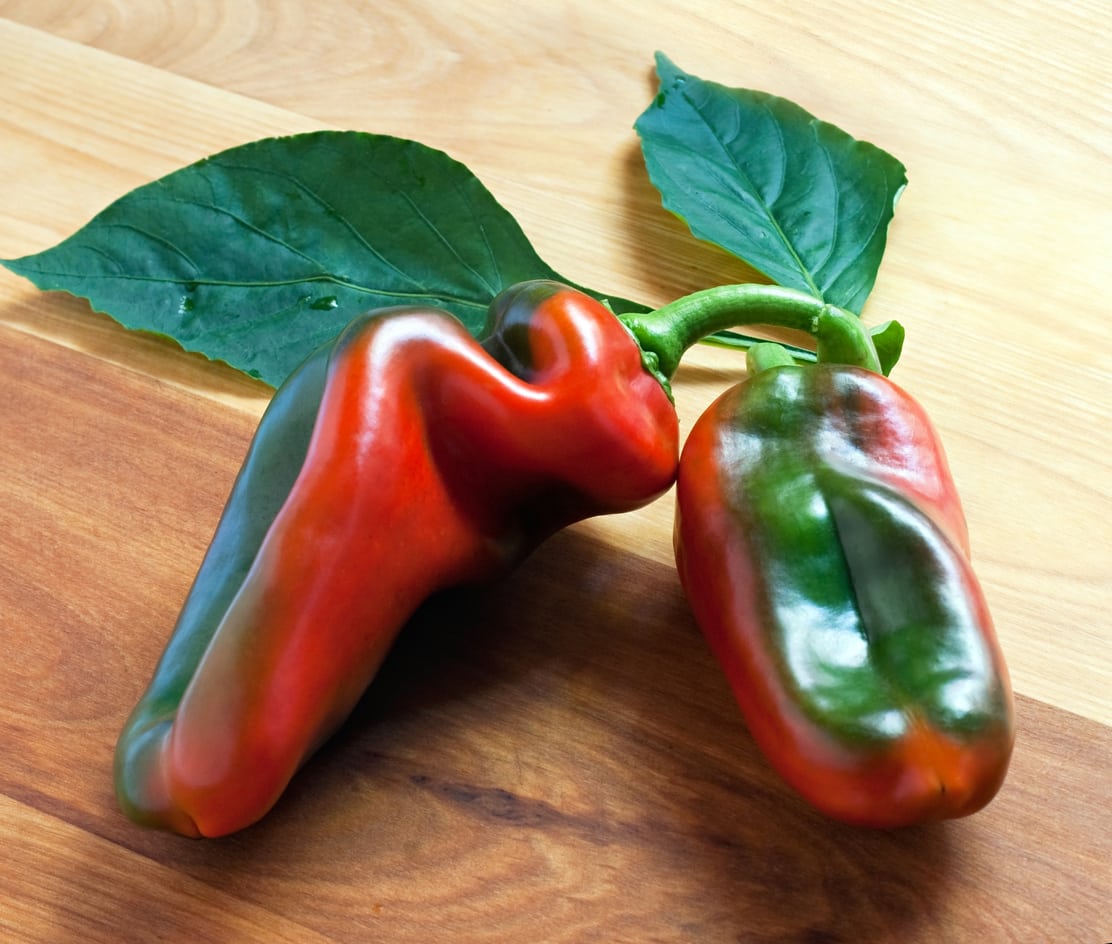
Italian frying peppers are a type of Capsicum annum variably referred to as Cubanelle, Italianelles, or Sweet Italian Long peppers. Unlike many unripe peppers which are bitter in flavor, Italian frying peppers are sweet at every stage from green to yellow to red. In color, they range from bright citron to deep forest green ripening to orange and then red when fully ripe. Italian peppers for frying are common features of Italian cuisine. They are both sweet and slightly spicy, about 6 inches (15 cm.) long and tapered from the stem to the tip. The flesh is thinner than bell peppers and with few seeds, they’re perfect for slicing and frying. Raw, they are crisp and sweet/spicy, but frying them imparts a delicate smoky flavor. There are a number of Italian frying pepper varieties but the most commonly found Italian heirloom seed variety is “Jimmy Nardello.” This variety was donated to Seed Saver Exchange in 1983 by the Nardello family. They were brought over from the Southern Italian coastal town of Ruoti in 1887 by Guiseppe and Angela Nardello. The variety is named after their son, Jimmy.
Growing Italian Frying Peppers
Italian frying peppers take 60 to 70 days to reach maturity. To enjoy an earlier harvest, start seeds indoors eight weeks early. They can grow in most temperate climates with moderate rain and thrive in the heat of the summer. They should be grown in an area with at least six hours of sun per day. To grow Italian frying peppers, sow the seeds about ¼ inch (6 mm.) deep in well-draining potting mix and water in until the soil is moist. Keep the soil moist. Keep the container in an area that is consistently 70 to 75 degrees F. (21-24 C.) or warmer. When the seedlings have two full leaf sets, thin the seedlings by cutting them at soil level. Move the pepper transplants outside when the average nighttime temperatures are at least 55 degrees F. (13 C.). Allow the transplants to acclimate to the outdoor temperature by gradually increasing the time they spend outside over the course of a week. When ready to plant the transplants, select a site that receives full sun. Amend the garden soil with equal parts compost and manure. With a hoe, create planting furrows that are 2 feet (61 cm.) apart. Set the transplants 18 inches (46 cm.) apart in the furrows. Surround the plants with a few inches (8 cm.) of mulch to help retain moisture, retard weeds, and insulate the roots. Set a stake into the ground near the plant and tie the stalk of the plant to the stake loosely with soft twine. Keep the soil moist, at least an inch (2.5 cm.) a week depending upon weather conditions. Fertilize with a complete fertilizer such as 5-10-10 when blooms begin to form, or spread compost or manure around the base of the plants and water in thoroughly. When the peppers are ready, cut them from the plant. Now all you have to do is decide how to cook them. A simple Italian recipe for these peppers involves frying the peppers in a hot pan seasoned with salt, then finishing them with a sprinkling of parmesan cheese. Buon appetito!
Sign up for the Gardening Know How newsletter today and receive a free copy of our e-book "How to Grow Delicious Tomatoes".

Amy Grant has been gardening for 30 years and writing for 15. A professional chef and caterer, Amy's area of expertise is culinary gardening.
