How to Grow Shallots: A Complete Guide for a Bumper Harvest
Easier to grow than onions, shallots are the gourmet allium you can grow year after year with little investment and easy care. Learn the secrets to success.

Sign up for the Gardening Know How newsletter today and receive a free copy of our e-book "How to Grow Delicious Tomatoes".
You are now subscribed
Your newsletter sign-up was successful
Growing shallots at home is a smart move for gardeners who love a flavorful allium that plays beautifully in the kitchen. Better yet, shallots are surprisingly easy to grow. They form tight clusters of small bulbs and develop a mellow, tangy-sweet flavor that brightens sauces, vinaigrettes, and sautés. Their compact size in the garden makes them a satisfying vegetable to plant once and harvest many times.
Shallots (Allium cepa var. aggregatum) are native to the Mediterranean and parts of Southwest Asia, and have long been cultivated in France, Spain, and central Europe. Similar to growing onions, they thrive with plenty of sun and fertile, well-drained soil, yet prefer cooler temperatures. Shallots tolerate a wide range of USDA zones and generally need less fuss than many specialty crops.
With a little attention to soil and proper placement in the yard, even beginning growers starting a vegetable garden can expect a reliable shallot harvest that will shine in the many dishes and dressings prepared in your own kitchen.
Quick Shallot Facts
Botanical Name | Allium cepa var. aggregatum |
Plant Type | Bulb vegetable |
Height | 1-2 feet (30-60 cm) |
Spread | 6-12 inches (15-30 cm) |
Light | Full sun |
Soil | Well-draining soil; pH 6.0-7.0 |
Hardiness | USDA Zones 2-10 (Not in the US? Convert your zone) |
Growing Season | Plant in late fall or early spring; harvest in late spring or late summer, respectively |
Time to Harvest | 7-9 months for fall planting; 3-4 months for spring planting |
What Is a Shallot?
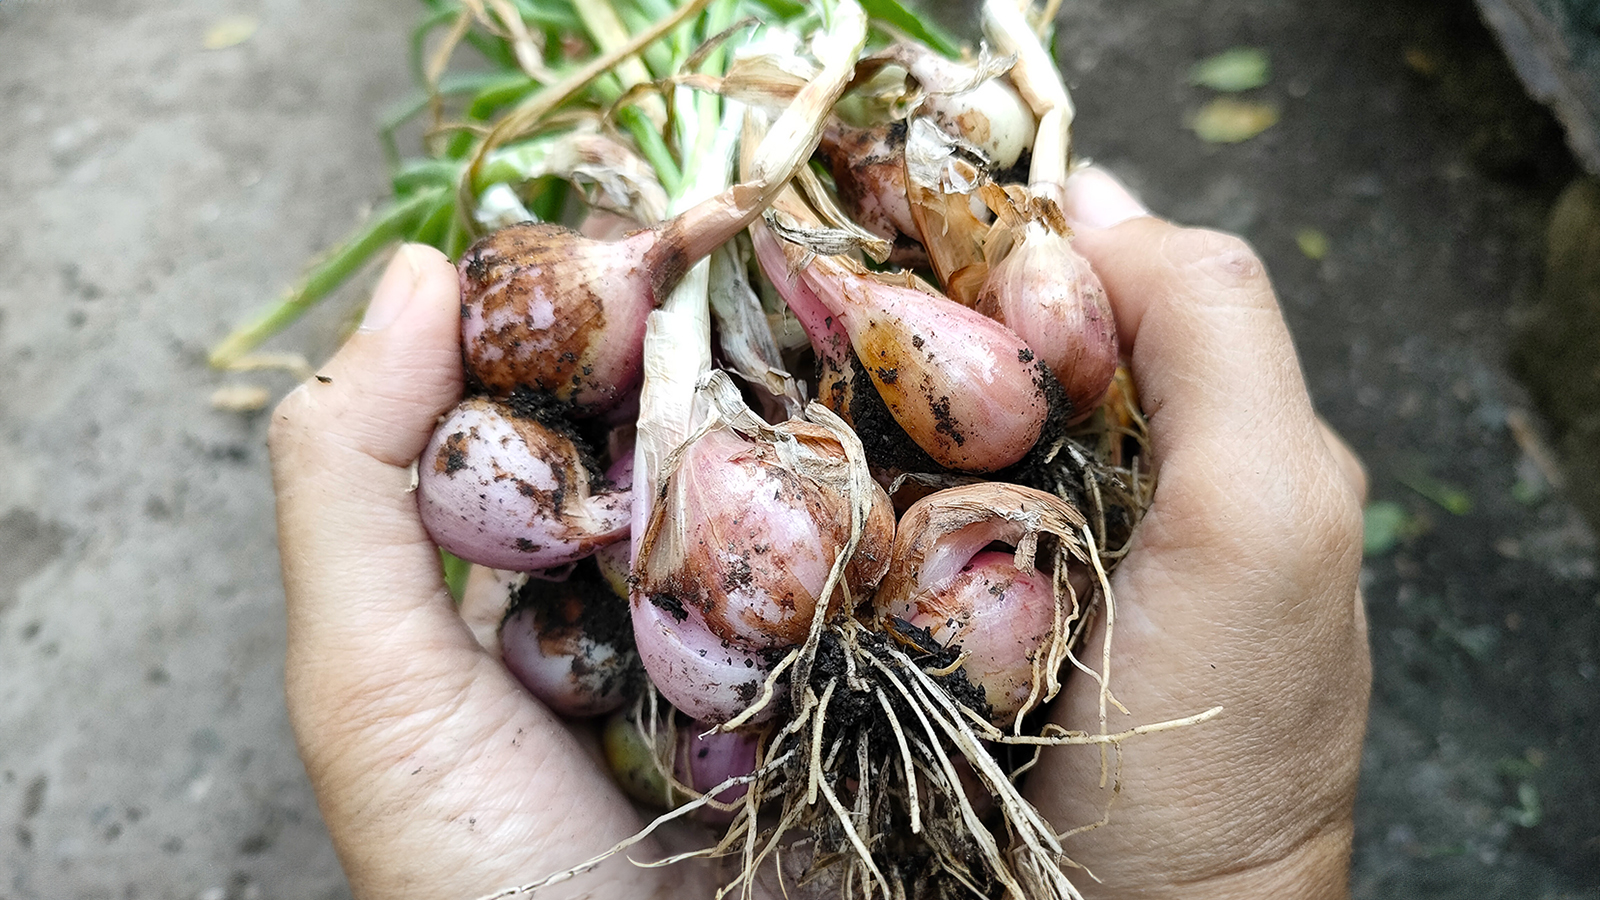
Although they're often confused with green onions and other plants in the allium family, shallots are quite different. With their mild onion and garlic flavor, shallots are considered an essential ingredient for flavoring nearly any dish. The most distinguishing factor that sets shallots apart from other members of the onion family can be found by close examination of the bulbs. Unlike onions or leeks, shallots are made up of cloves, much like that of garlic.
Types of Shallots
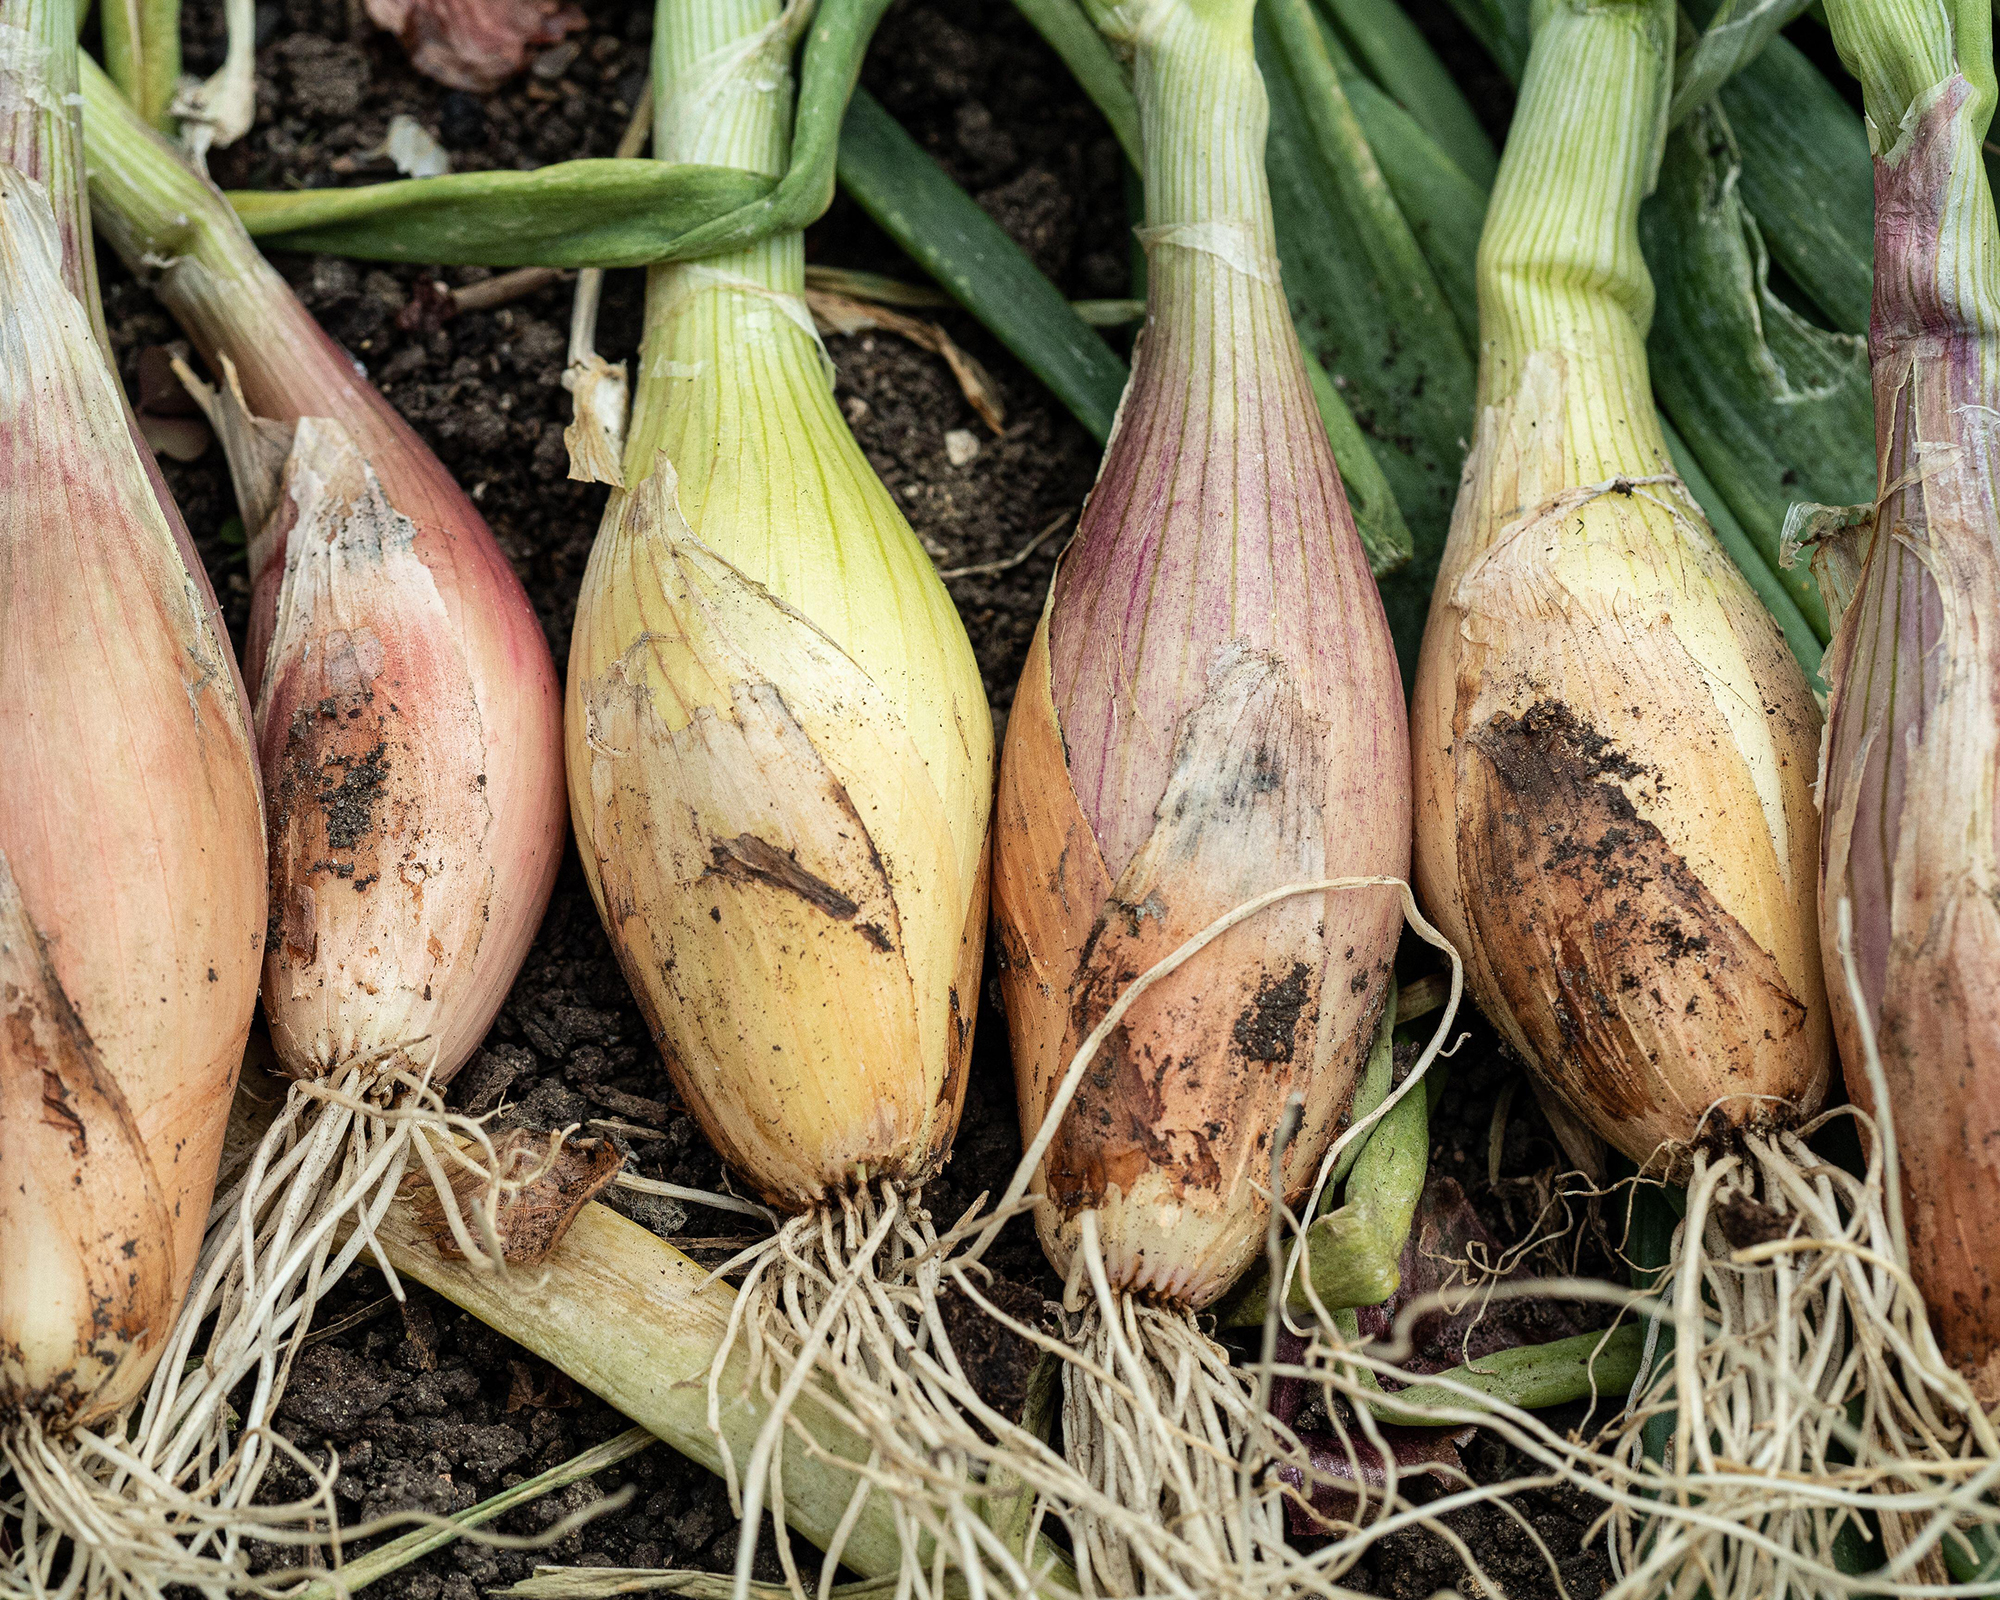
French Gray Shallots: Also known as 'Griselle', these are small, elongated bulbs with grayish skin and purple flesh. They have the strongest flavor of the three types, and are what most people think of when it comes to using shallots in the kitchen. These are best used in cooked dishes.
Jersey or Pink Shallots: These bulbs have a rounder and larger shape and pink skin. These have a milder taste than French Grays and are a better option for eating raw in salads, dressings, and dips. Popular varieties in this category include 'Red Sun', 'Ambition', and 'Mikor'.
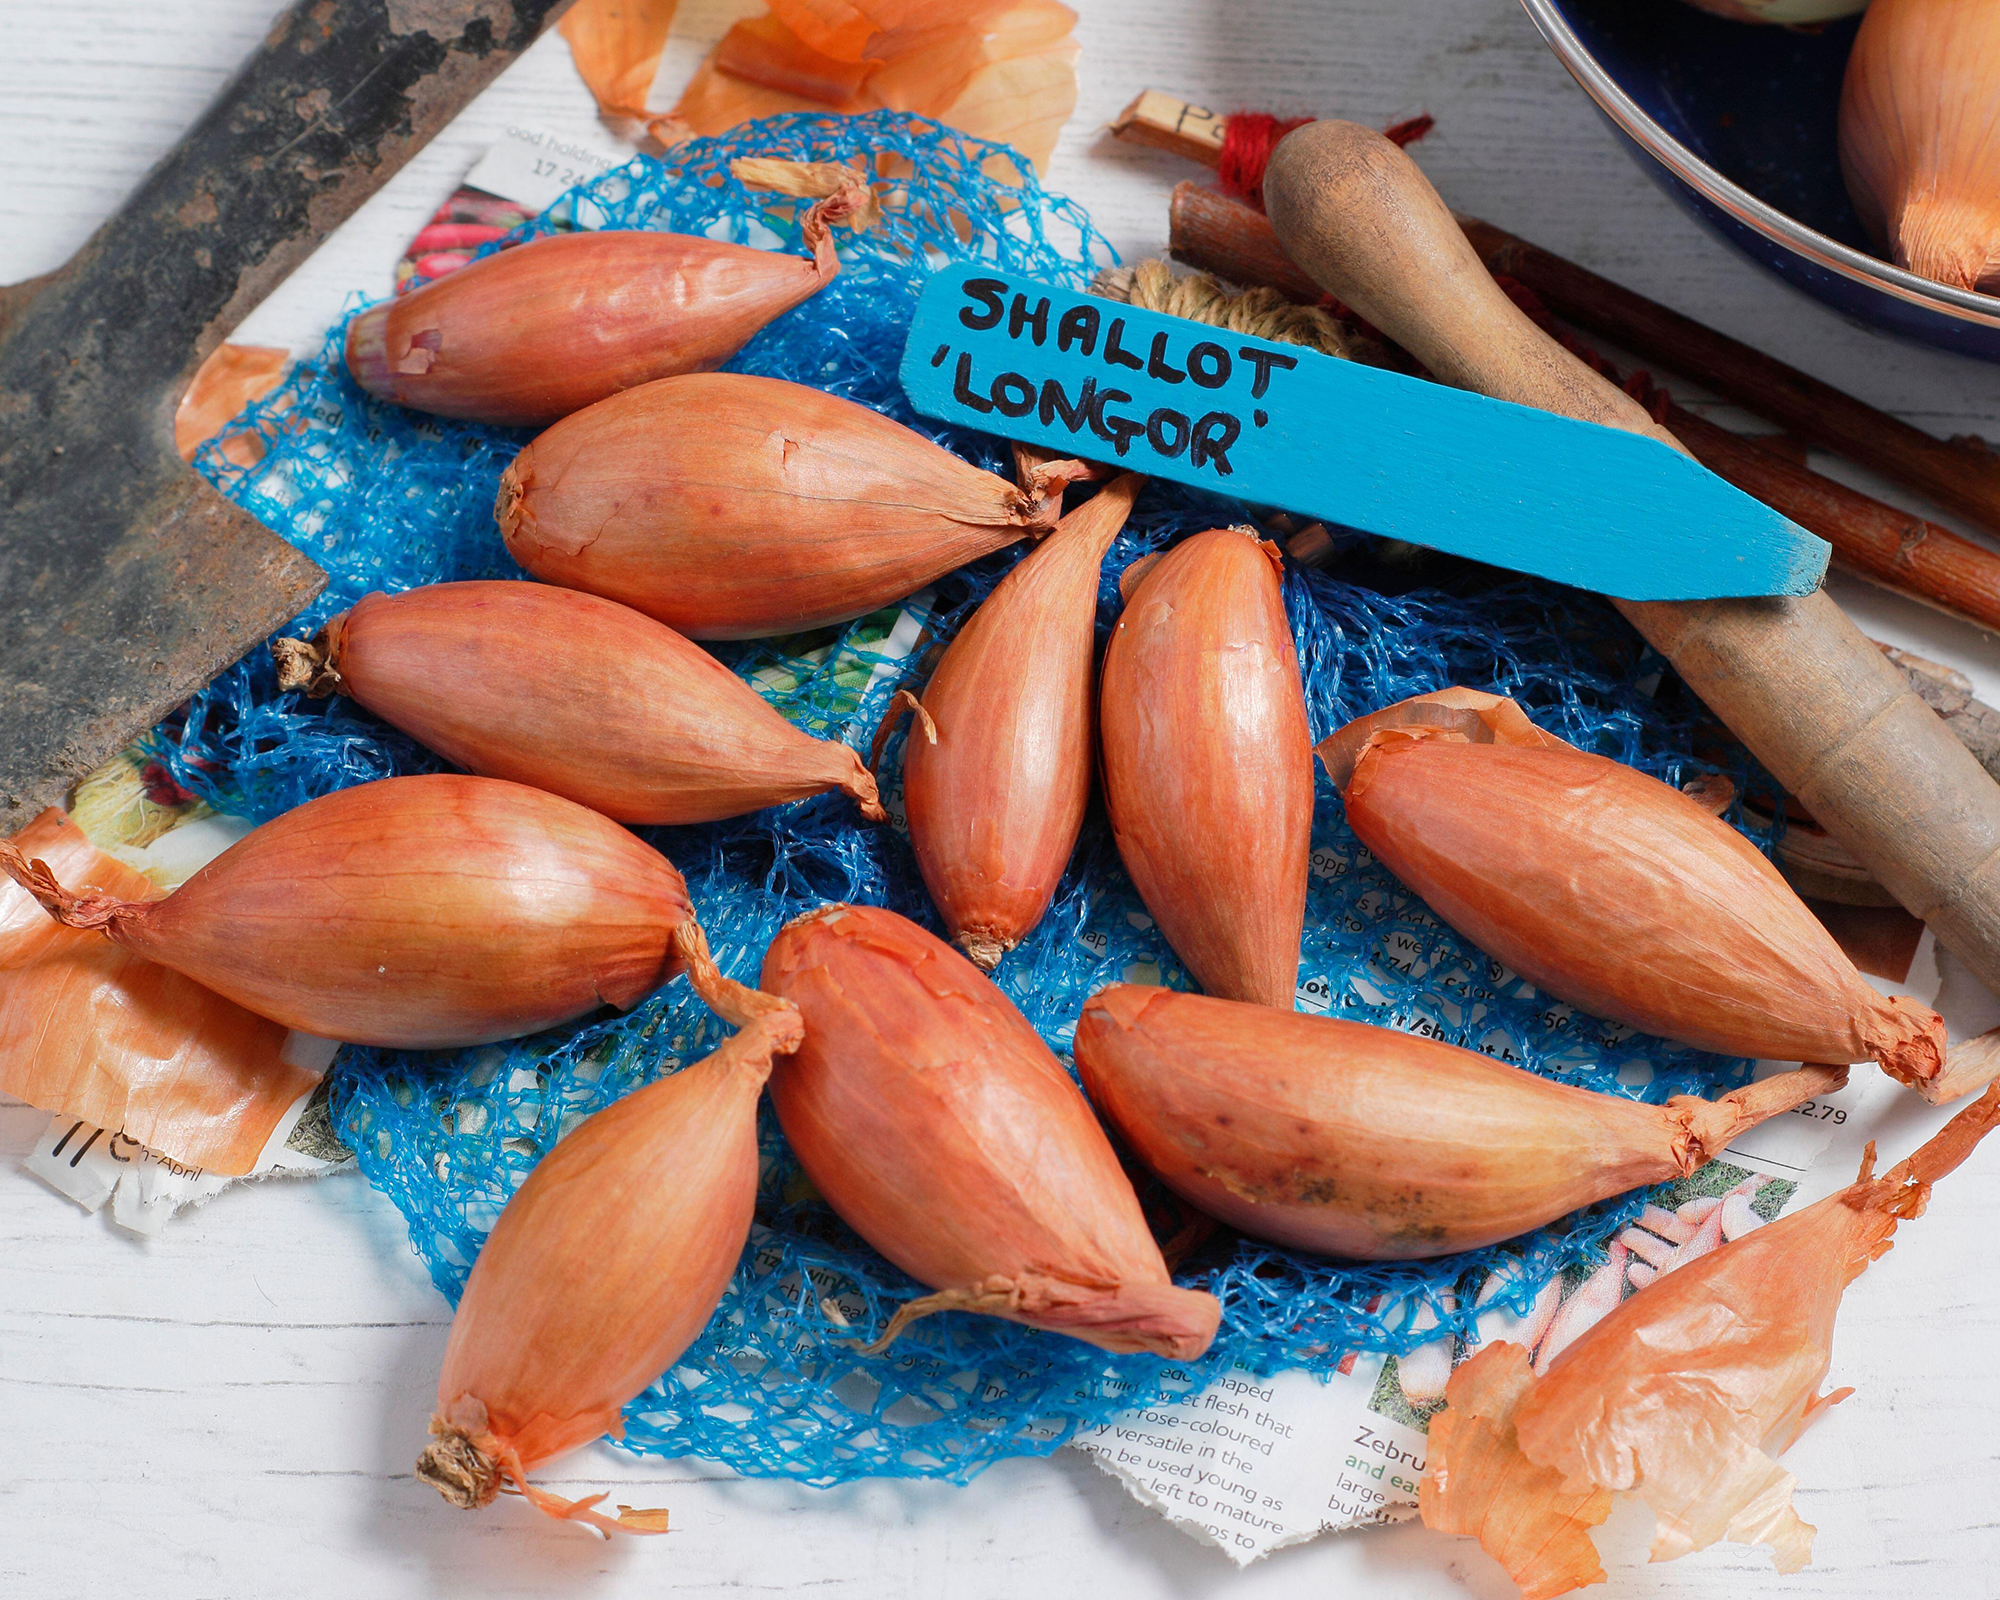
Echalion or Banana Shallots: These are a cross between a shallot and an onion, and have a large torpedo shape. Easy to peel, these have a flavor that leans more toward shallot than onion, and are a good all-purpose shallot option. Popular varieties of this type include 'Longor', 'Zebrune', and 'Jermor'.
Sign up for the Gardening Know How newsletter today and receive a free copy of our e-book "How to Grow Delicious Tomatoes".
Planting Shallots
Growing a crop of shallots is an easy and rewarding experience. Best of all, it’s a very easy process. Shallots can be grown from shallot sets and also from seeds, which is explained below.
Whichever you choose, be sure to purchase quality sets or seeds. Burpee offers a variety of flavorful shallot sets as well as shallot seeds. For sets, the bulbs should be firm with no soft spots. Seeds should have an active “plant by” date; expired seeds will produce a low germination rate and a disappointing yield.
Shallot Sets or Seeds?
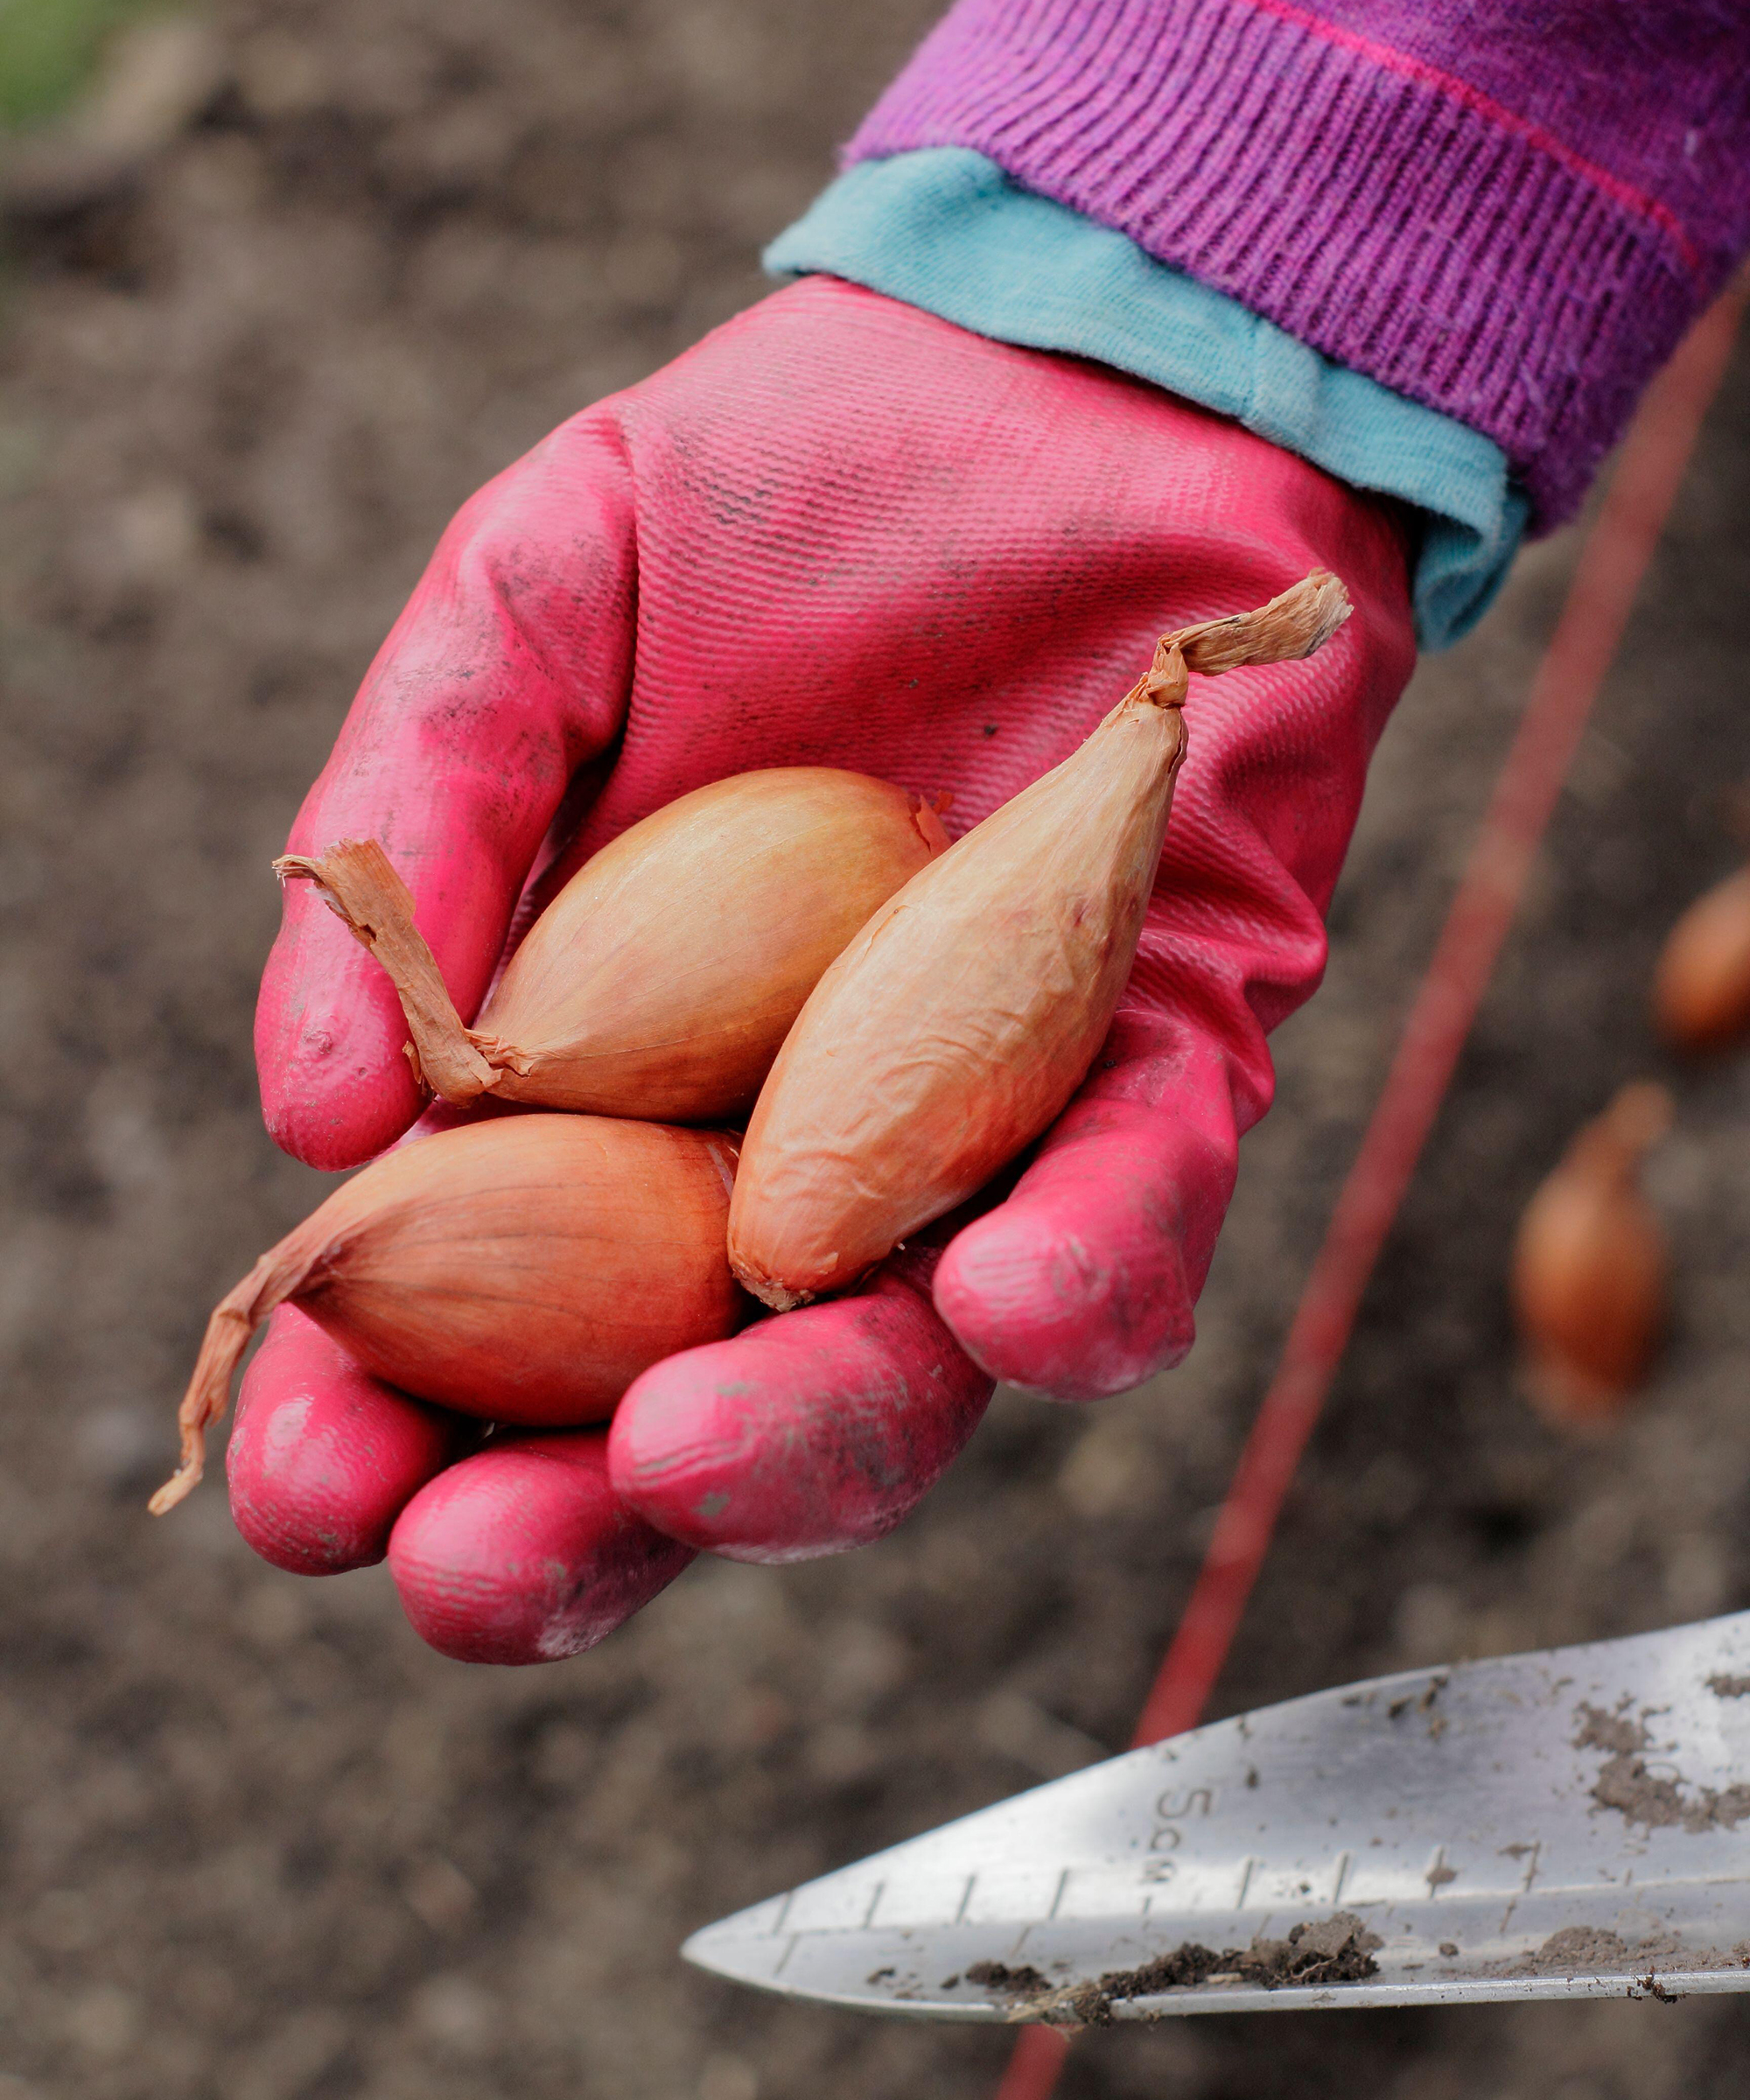
A shallot set is a grouping of small individual shallot bulbs generally purchased from a garden center, nursery or online. A 1-pound (0.5 kg) shallot set is enough to plant a 20-foot (6 m) row, depending on the number of bulbs in your set. This 1-pound (0.5 kg) shallot set will yield 10-15 times as many mature shallots.
Shallot seeds are just seeds, not full bulbs. They need to be sown like other seeds, and therefore take a bit longer to come to maturity. Seeds will cover a larger area more easily and cheaply than shallot sets. However, given the large number of shallots reaped from just one set (see above) and the longer growing time when planting by seed, most of us will choose to plant shallot sets.
When to Plant Shallots
Shallots can grow in USDA zones 2-10 and can be planted in either fall or spring, depending on your climate. Again, you have the option to plant sets or seeds.
In mild regions (USDA Zones 6-9), plant shallot sets in fall, about 4-6 weeks before your first hard frost. The shallots’ roots will establish before winter dormancy, leading to larger bulbs at summer harvest. In colder regions (Zones 3–5), plant in sets in early spring as soon as the soil can be worked. Spring’s cool, moist conditions will encourage strong growth.
Shallot seeds can be started indoors or sown outdoors, depending on your USDA zone. In milder climates (USDA Zones 7-9), shallot seeds can be sown directly into the garden in early spring when the ground is workable. For colder climates (below USDA Zone 7), start seeds indoors in trays or pots 8-10 weeks before your last expected frost date. This is usually late January to March, depending on your Zone. Keep the seeds under lights for roughly 14 hours per day with the temperature between 65-70°F (18-21°C). Once the soil temperatures are consistently at least 40°F (4°C), transplant them into the ground.
Best Soil for Shallots
Shallot sets grow best in loose, well-drained, fertile soil that is rich in organic matter. A loamy or sandy loam texture is ideal because it holds moisture without becoming waterlogged, which helps prevent bulb rot. Aim for a soil pH between 6.0 and 7.0, slightly on the acidic to neutral side. Use a testing kit, like the MySoil Test Kit, available on Amazon. This kit also analyzes the nutrients in the soil.
Before planting, work in a few tablespoons of well-aged compost or a balanced organic fertilizer – like this Espoma Organic Garden-Tone at Walmart – into each hole to boost fertility and structure.
For raised beds, use a light soil blend that is specifically meant for raised beds. A healthy, aerated soil encourages strong root growth, which translates into larger, well-formed shallot bulbs at harvest.
Light Requirements
Shallots grow best in full sun, needing at least 6 to 8 hours of direct light each day to develop strong bulbs and great flavor. Choose an open garden space where sunlight reaches the soil evenly throughout the day. While shallots can tolerate a light partial shade – especially in hot climates – not enough sunlight can lead to smaller bulbs and weak foliage.
Choose a planting site away from tall neighboring plants or structures such as a house or garden shed that cast long shadows. In cooler regions, full sun also helps warm the soil more quickly in spring. This encourages early growth and a productive and uniform shallot harvest.
How to Plant Shallots – Step by Step
With your planting time chosen, be sure the site you’ve selected is large enough to give your shallots plenty of room to grow.
- Prepare the soil. Good drainage prevents bulb rot, so work the bed to a loose texture. Mix in 2–4 inches of well-aged compost and adjust pH toward 6.0–7.0 if needed. Where soil is too acidic to grow garlic, it can be amended by adding lime, like this Earth Science Fast-Acting Lime on Amazon. If you need to make soil more acidic, then mix in a good amount of compost and mulch that is high in acidity, like pine needles and oak leaves.
- Separate sets or prepare seedlings. Break apart bulb clusters so each bulblet is planted individually. If transplanting seedlings, harden them off for a week before planting.
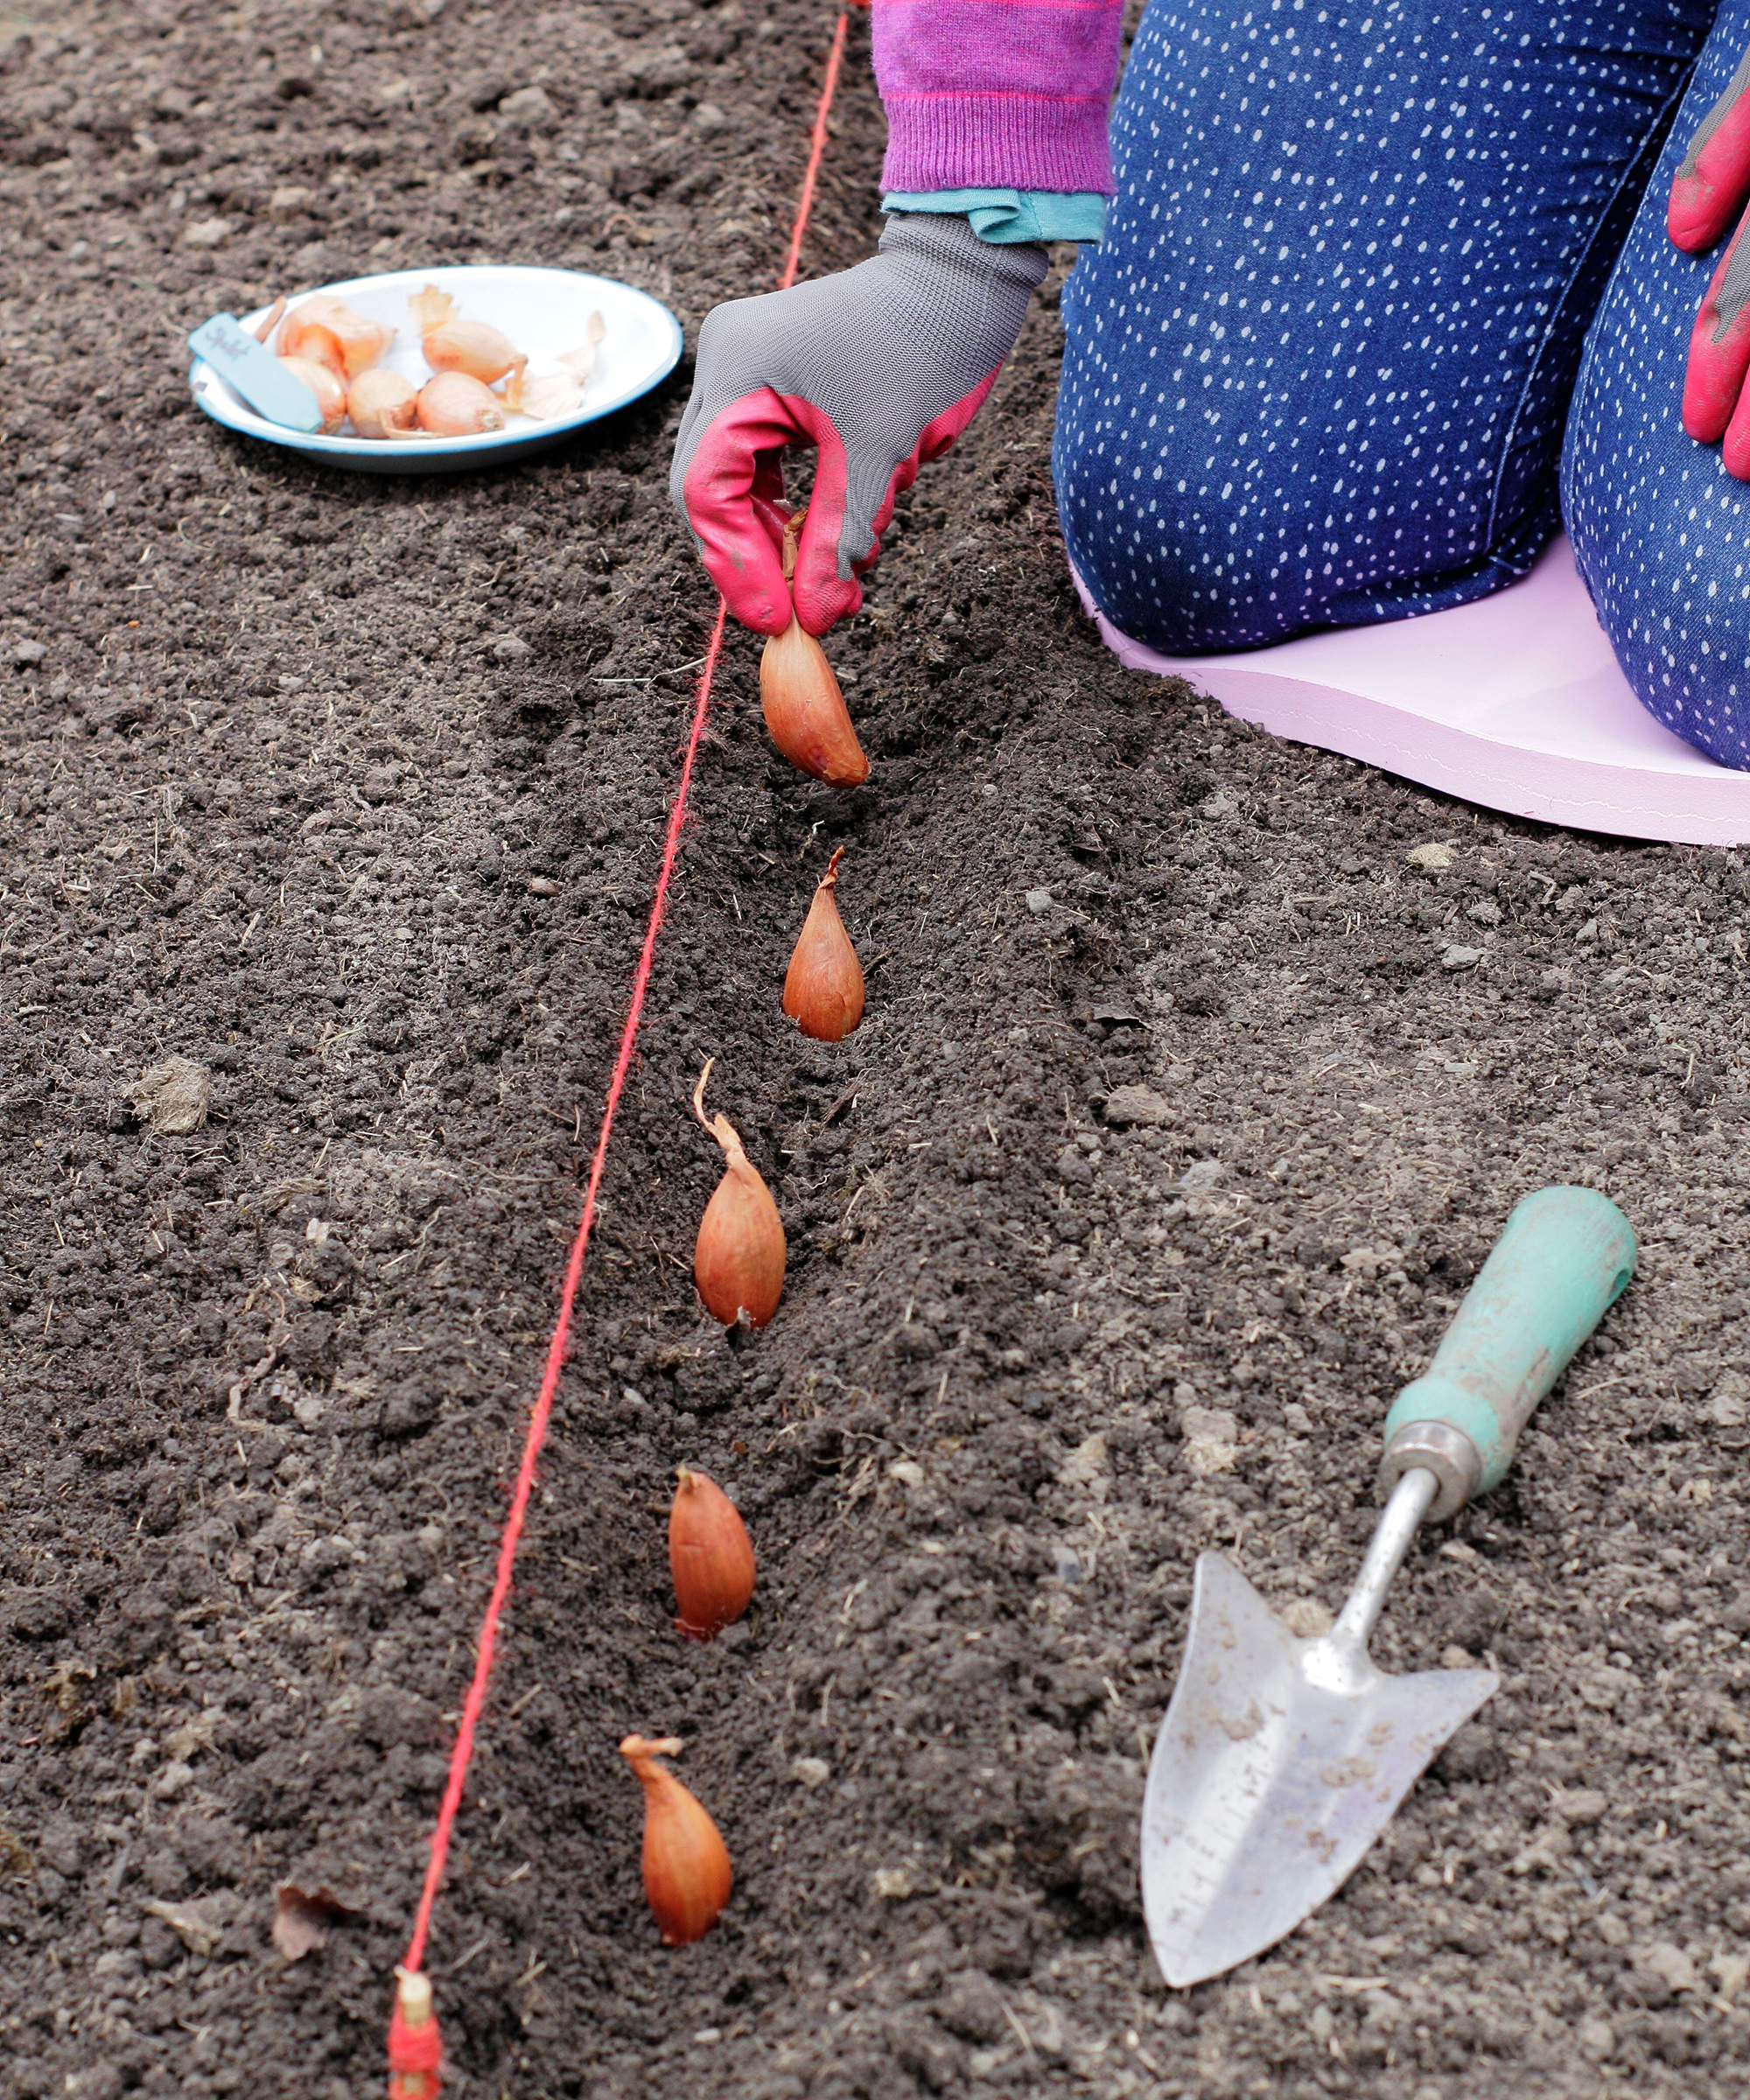
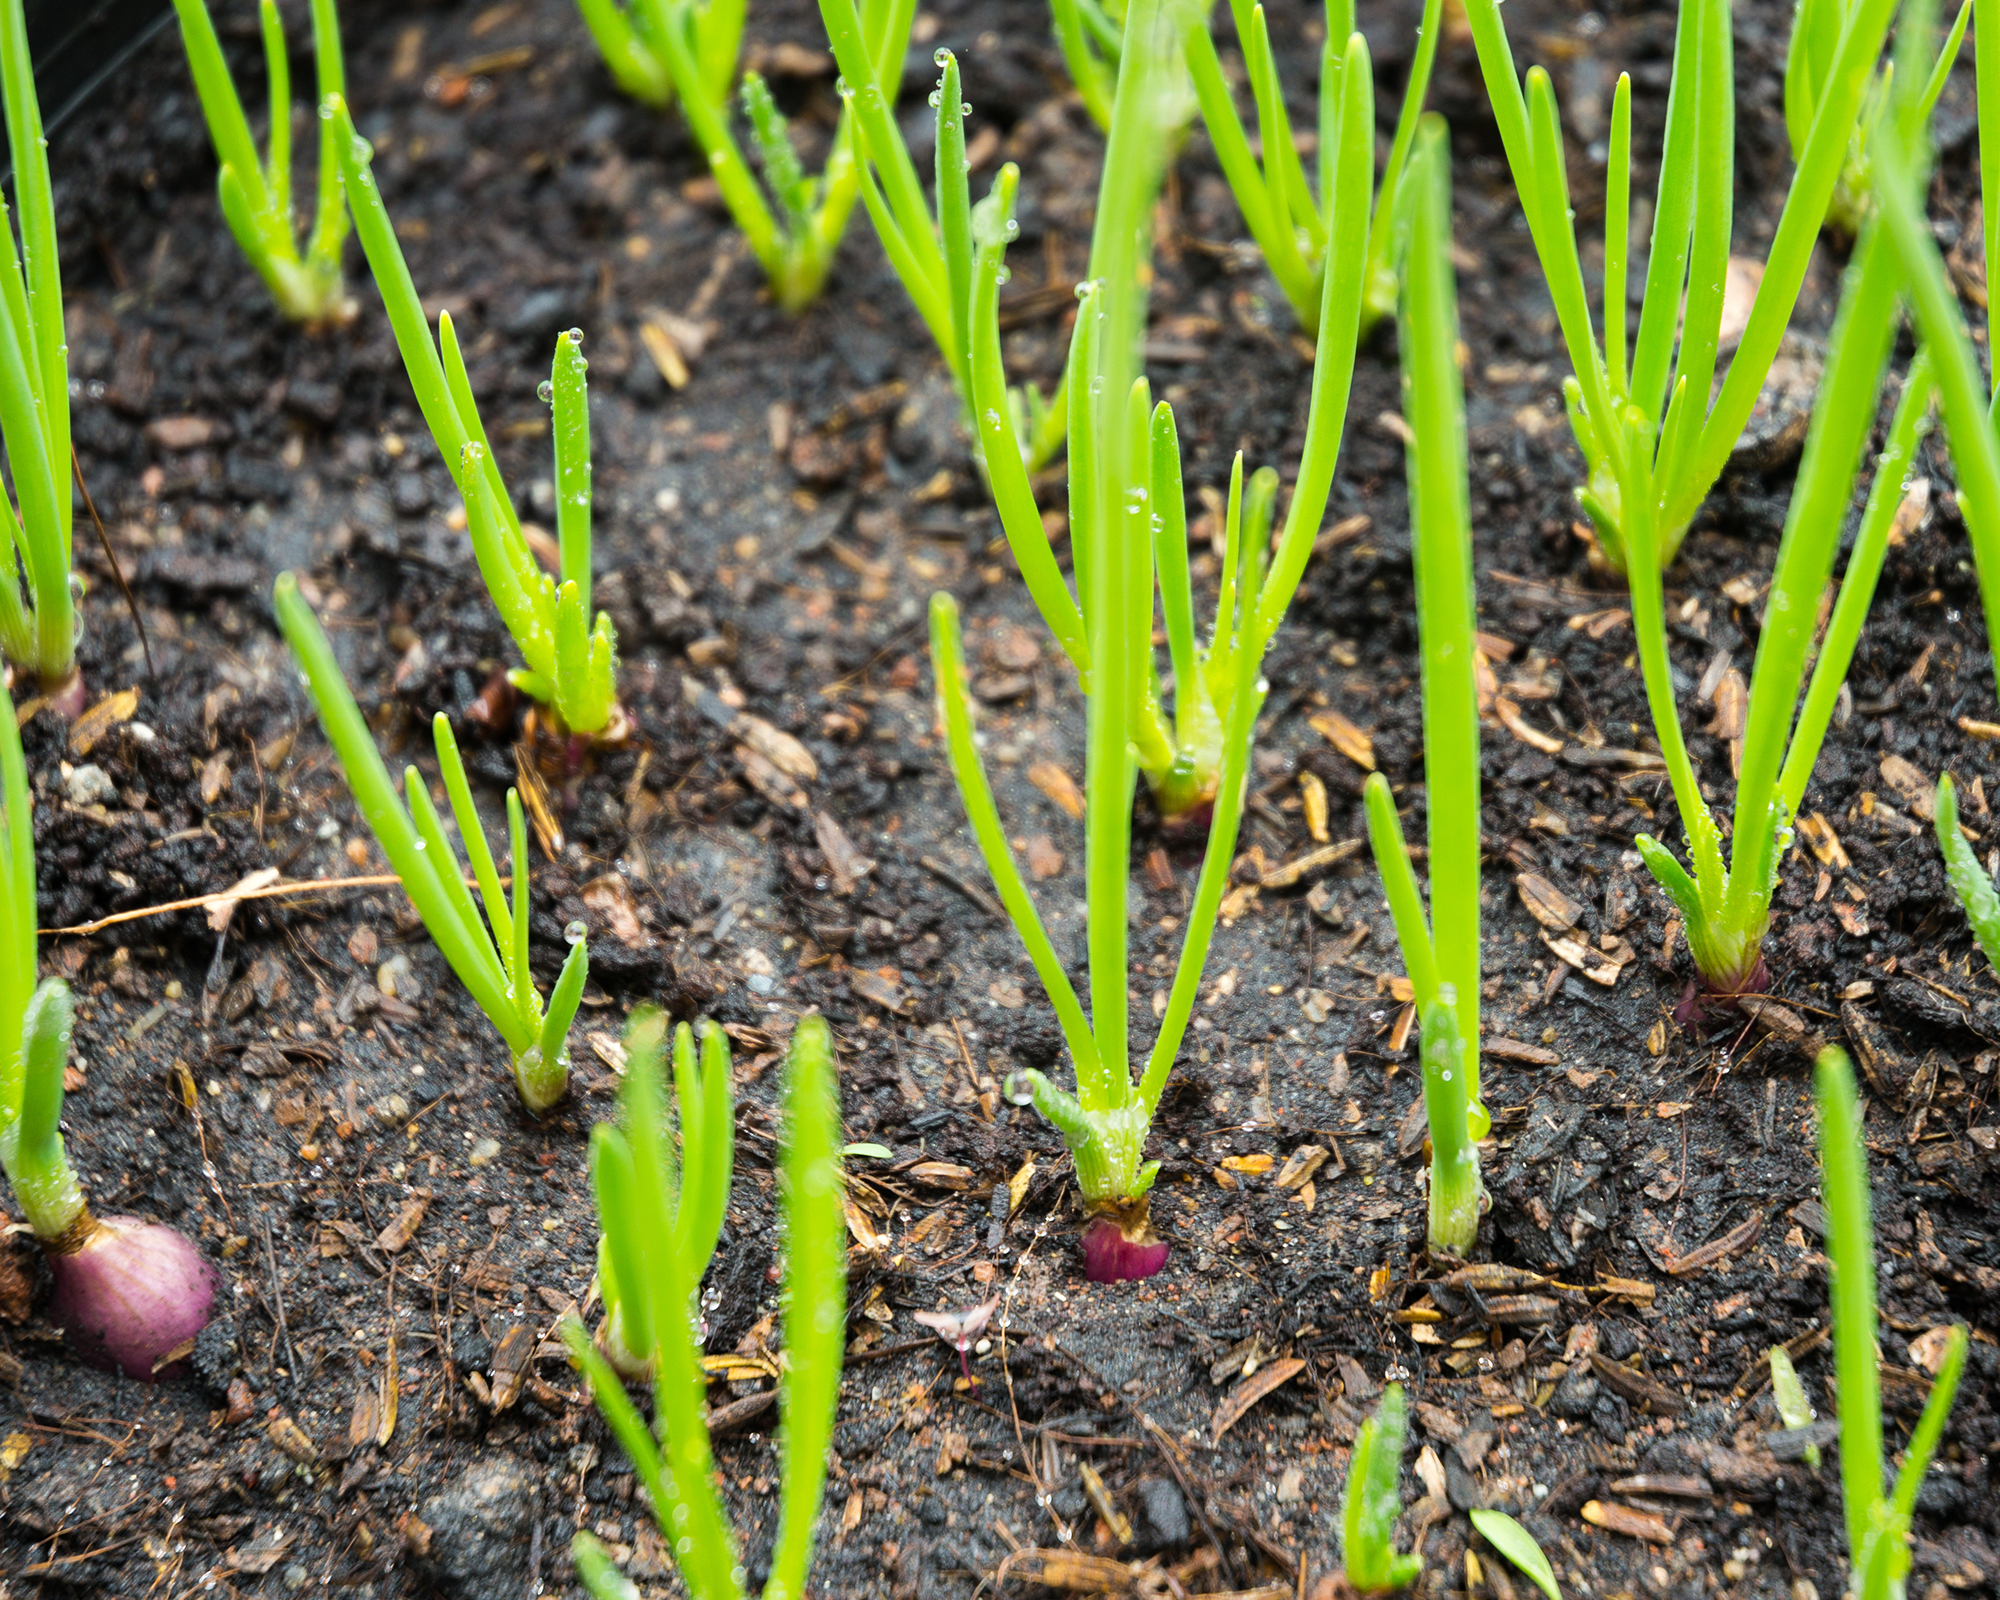
- Planting depth and orientation. Place each set with the root end down and the pointy tip up. If planting in the spring, ensure the pointy tip is just peaking above the soil. If planting in the fall, plant deep enough to just cover the tip of the bulb. If sowing seeds, sow them ¼ to ½-inch deep.
- Spacing and rows. Space sets about 3 to 6 inches apart with rows 12 to 18 inches apart. For seed-grown shallots, thin seedlings to 2 to 4 inches between plants.
- Water in and mulch. Lightly water after planting to settle the soil. Apply a thin layer of mulch to conserve moisture, suppress weeds, and moderate soil temperature. Keep soil evenly moist but never waterlogged.
- Label and monitor. Don’t neglect to tag the planting row with the planting date and variety.
Shallot Care
While shallots are a relatively low-maintenance crop with a quick turnaround, you can take some precautions to ensure your harvest is the best it can be.
Watering Shallots
At fall or early spring planting: Water lightly to help sets or seedlings establish roots. No additional water is necessary in winter for fall-planted shallots. Mulch can help retain moisture and moderate soil temperature.
Spring to early summer (active growth): Increase watering as shoots grow; shallots need even moisture to produce full, healthy bulbs. Allow for about 1 inch (2.5 cm) of water per week, taking into consideration any rainfall. Water at the base to avoid wetting foliage and reducing the risk of disease.
Late summer/near harvest: Reduce watering as tops begin to yellow and fall over, a sign they are ready for harvest. Drying the soil helps shallot bulbs cure naturally in the ground and improves storage life.
Fertilizing Shallots
Shallots thrive in fertile, well-amended soil, and providing the right nutrients at the right time ensures strong growth and flavorful bulbs.
Before planting, incorporate well-aged compost or a balanced granular fertilizer into the soil to provide an initial dose of essential nitrogen, phosphorus and potassium. This helps support early root and shoot development.
During the active growing season, usually in spring, shallots benefit from side-dressing with nitrogen-rich fertilizer or compost tea. Apply lightly around the base of each plant, avoiding direct contact with the bulbs. This encourages leaf growth, which itself supports bulb expansion underground. Consistent, moderate feeding avoids the risk of burning roots with heavier applications.
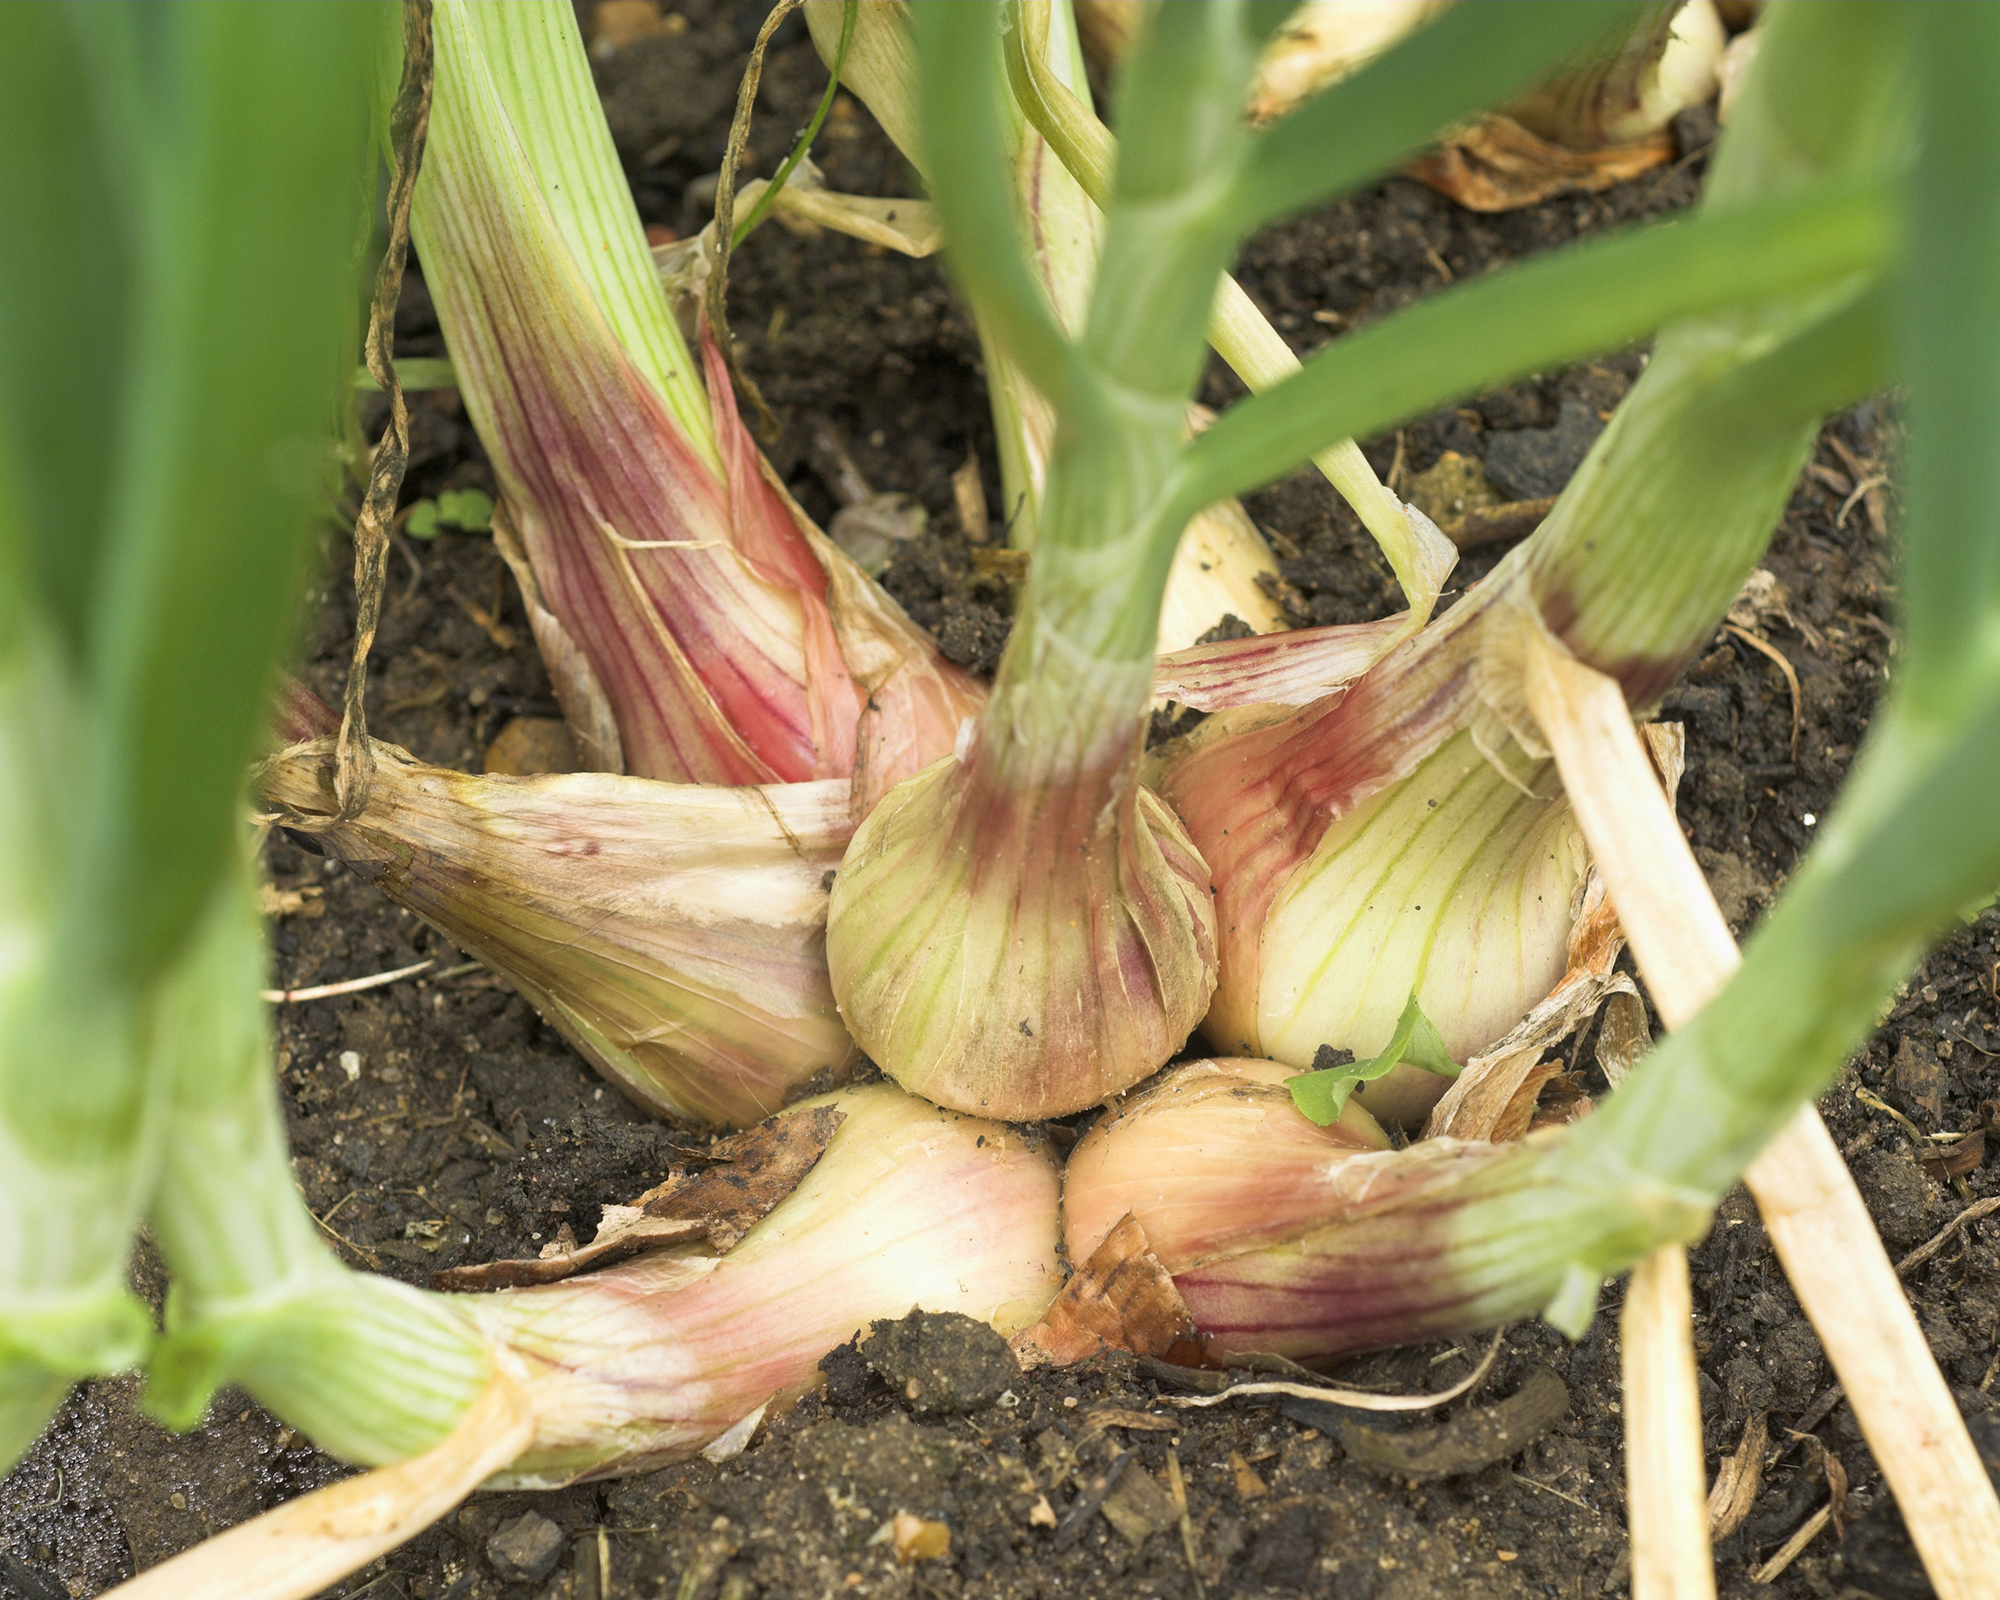
Yellowing leaf tips indicate the shallots are approaching harvest time. Stop fertilizing at this point, as excess nutrients late in their growth cycle can hinder proper curing, reduce storage life, and soften bulbs.
Mulching Shallots
Mulching shallots supports healthy growth and improves yields. A layer of organic mulch – such as straw, shredded leaves, or grass clippings – helps conserve soil moisture, reduce evaporation, and maintain more consistent soil temperatures. Mulching is key during early spring and also in warmer climates that experience inconsistent temperatures and dry conditions that can stress young plants.
Mulch also acts as a natural weed barrier. It limits sunlight on the soil surface, reduces weed competition, and allows shallots to focus their energy on bulb development.
As shallots approach harvest time, keep the mulch slightly lighter to allow the soil to dry, helping the crop’s tops dry and yellow naturally. The bulbs will begin to cure in the ground, and this reduces the risk of rot.
Pruning Shallots
Shallots do not require heavy pruning in the traditional sense, but they do benefit from a few light maintenance activities during their growth. These quick tasks will help optimize their growth.
- Remove flowering stalks, also known as scapes. Pinch off these flowering stalks to help prevent the plant’s growth from being diverted into flower production. This will help the bulbs grow bigger. You can eat these stalks, much like garlic scapes.
- Trim damaged or yellowing leaves. Trim anything that looks diseased, yellow, or damaged. This reduces the risk of ill health.
- Avoid cutting healthy foliage. Lush green foliage is good for the plant! Keeping it going will feed the underground bulbs and your future shallot crop.
Harvesting Shallots
Some people have a difficult time knowing when to harvest shallots. Both the plant tops and the bulbs can be eaten, so the time to harvest a shallot plant depends on the part you will be using.
The tops can be harvested within 30 days and are commonly used in soups, salads and stews.
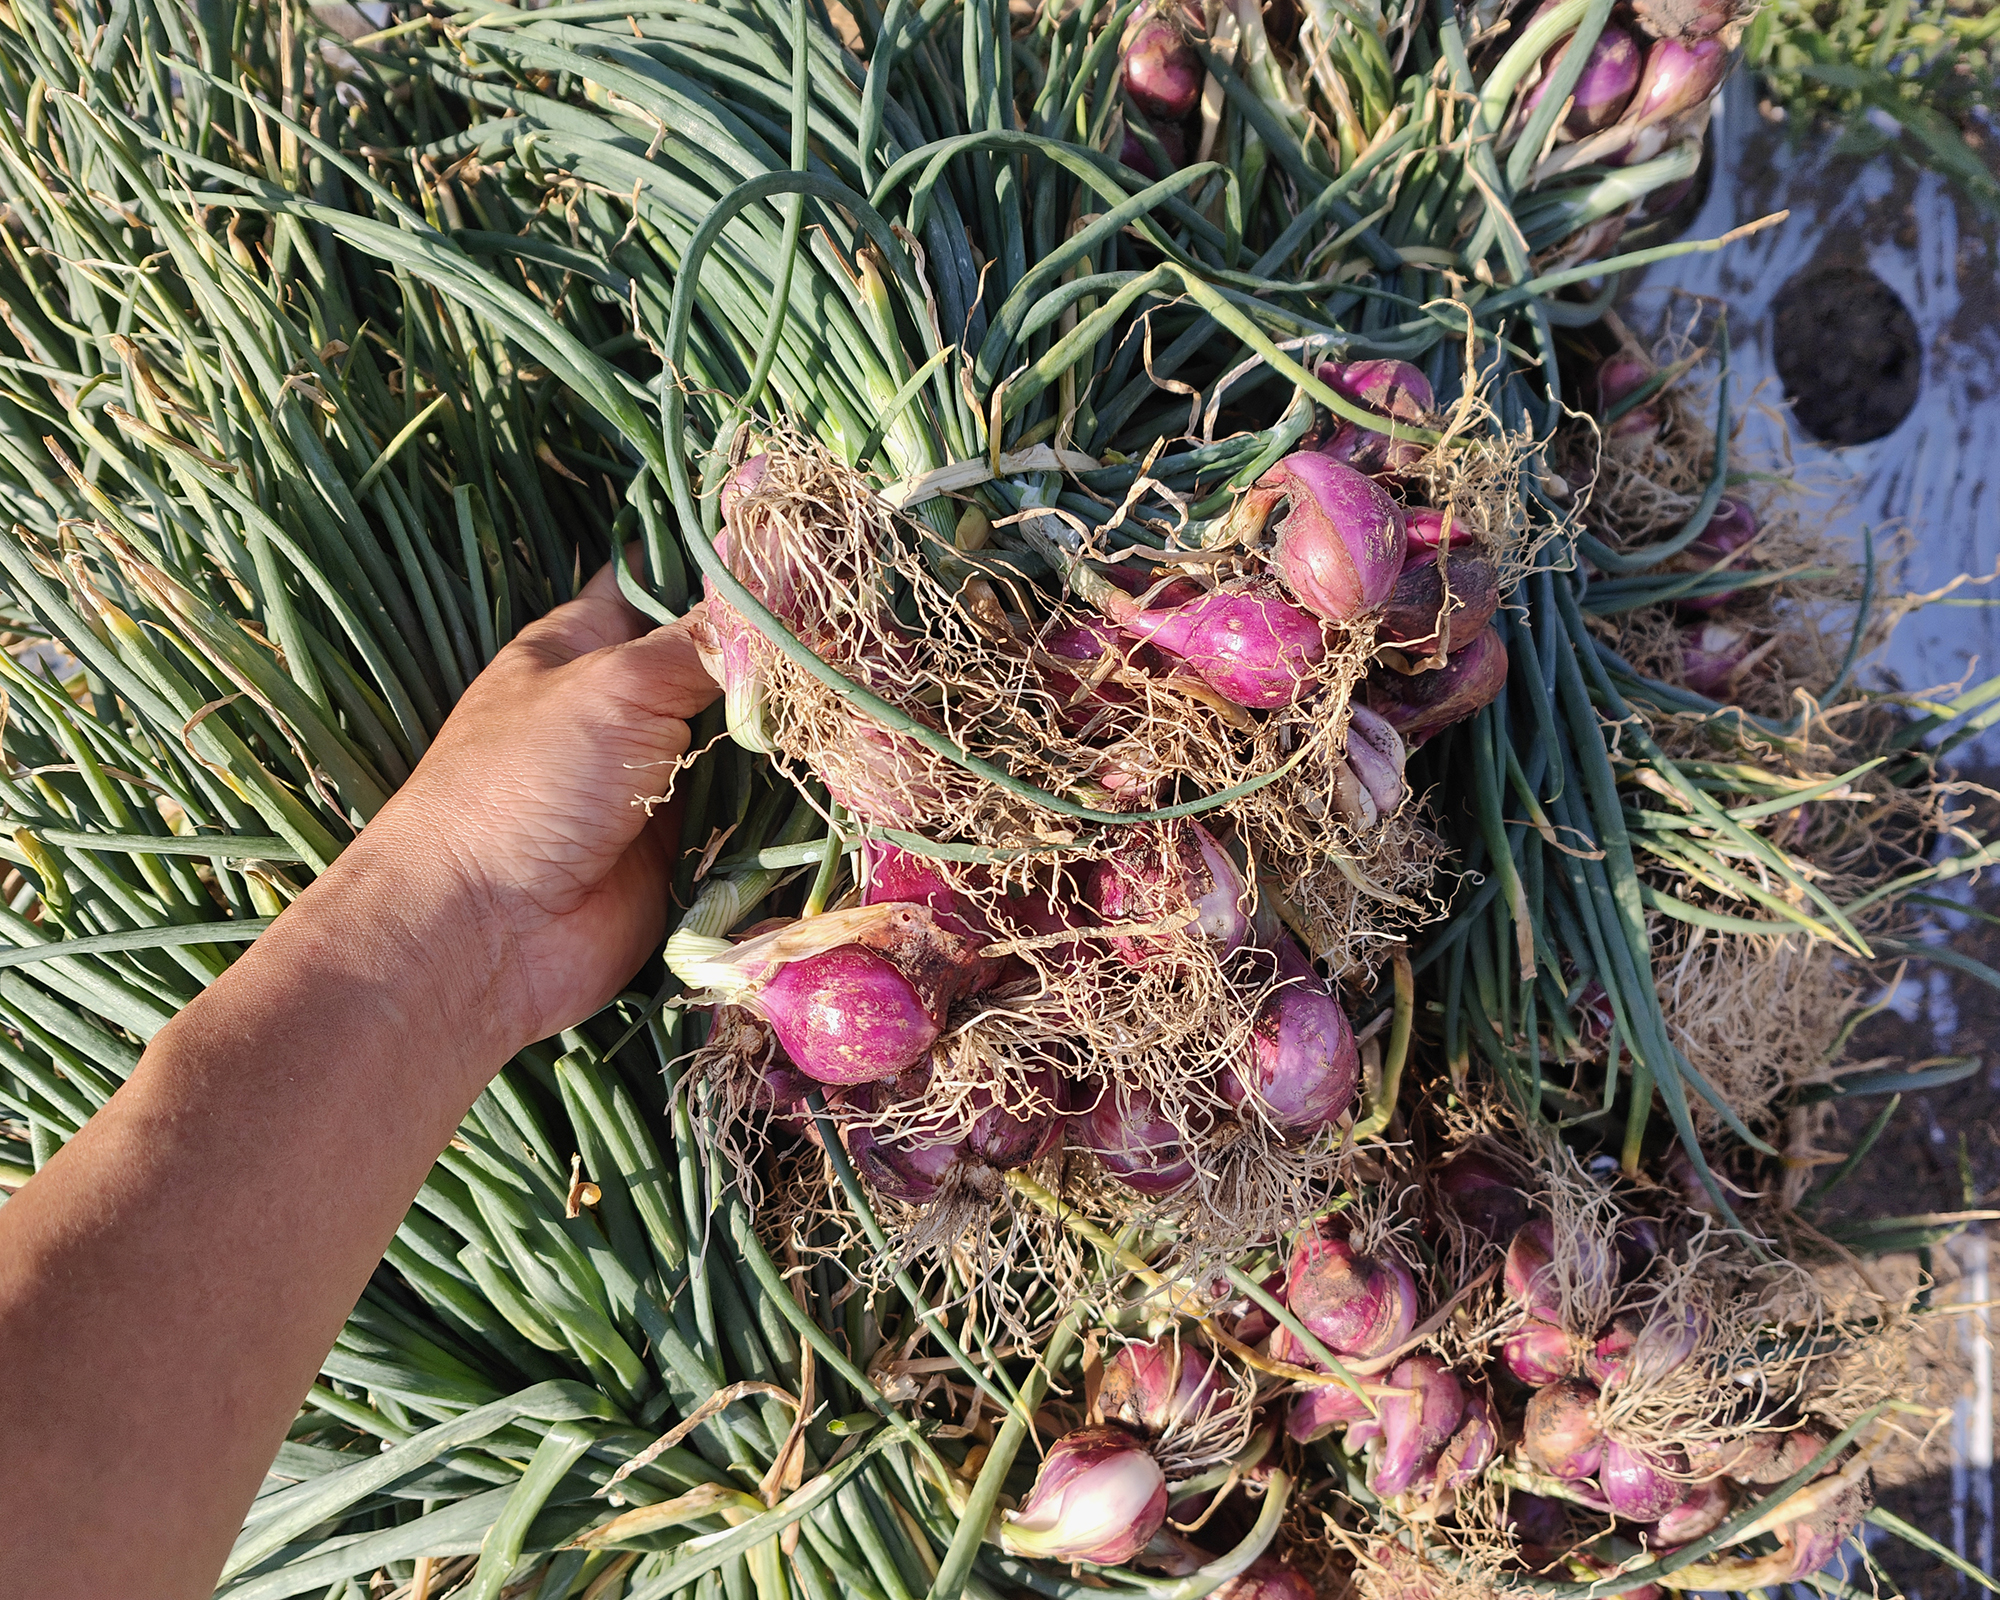
The bulbs will take around 90-120 days to mature. Begin to harvest the bulbs when the greens of the plant start to wither, fall over, and die. They will turn brown and become droopy, while the bulbs will protrude from the soil, and the outer skin will become papery. This usually happens in mid to late summer.
When it is time to harvest a shallot plant bulb, dig the bulbs, shake off the dirt, braid the tops, and let them dry.
Use a digging fork – such as this Horijunkie garden fork available on Amazon – to gently lift the entire clump out of the ground and gently shake off the soil. Shake off any soil and allow the bulbs to dry out in the garden for about a week or so, weather permitting.
Shallots Care Calendar
| Header Cell - Column 0 | Spring | Summer | Fall | Winter |
|---|---|---|---|---|
Plant sets | ✓ | Row 0 - Cell 2 | ✓ | Row 0 - Cell 4 |
Start seeds indoors | Row 1 - Cell 1 | Row 1 - Cell 2 | Row 1 - Cell 3 | ✓ |
Fertilize | ✓ | Row 2 - Cell 2 | Row 2 - Cell 3 | Row 2 - Cell 4 |
Mulch | ✓ | Row 3 - Cell 2 | ✓ | Row 3 - Cell 4 |
Harvest | Row 4 - Cell 1 | ✓ | Row 4 - Cell 3 | Row 4 - Cell 4 |
Curing and Storing Shallots
After leaving in the garden for a week, separate the bulbs and dry them in a warm (80°F/27°C), well-ventilated area for two to three weeks to allow them to cure. Braid the dried tops together or lop off and store in aerated bags hung in a cool, humid area like an unheated basement. These GINFH reusable hanging mesh storage bags available from Amazon are well-suited for the job. Save a few of the sets for replanting in the fall or early spring.
Propagating Shallots
As with other alliums, an initial investment in buying shallot sets or seeds can be the only expenditure you make in growing this crop, thanks to its ease of propagation from last year’s harvest.
The shallot bulbs you harvest are exact replicas of the sets you planted at the beginning of the season. Saving a few of these bulbs from your harvest will give you all you need to plant your crop for the next season. Just peel the cloves away from the shallot set and plant them individually. This vegetative propagation method is fast and reliable for the casual home gardener.
Seed propagation, on the other hand, is a longer process to produce a mature crop. Seeds can be started indoors in late winter and transplanted outdoors for a productive summer harvest. Alternatively, direct sow seeds outdoors in early spring. To try your hand at growing from seed, order seeds from a reputable seed producer, or let a shallot plant from your own garden go to seed for a do-it-yourself seed experiment.
Shallot Problems
As mentioned previously, shallots are a relatively low-maintenance, care-free crop. However, some problems can arise during the growing season. Keeping a close eye on the crop’s growth week to week will help you nip any pests, diseases or other crop problems in the bud before they get out of your control.
- Onion maggots are the larvae of small housefly-like insects. The cream-colored larvae are about ¼ inch (6 mm) long with a ridged body that tapers toward the head. Onion maggots feed on shallots and cause severe damage as they tunnel inside the bulbs. Prevention is the best method for controlling onion maggots. The adult flies are drawn toward decaying organic matter, so do not add this to your soil. Clean up all plant debris from the garden in the fall, as well. Row covers combined with crop rotation are also useful for preventing the adult flies from laying eggs in the soil surrounding the shallot plants.
- Bolting is a common issue. As biennials, shallots are programmed by nature to flower when exposed to cold temperatures following a warm spell. To prevent this, plant fall crops late in the year and spring crops after warm temperatures are here to stay. Shallot sets are more likely to bolt than plants started from seeds. Planting shallot sets smaller than an inch (2.5 cm) in size can reduce bolting. Additionally, avoid heat and water stress, as this can also trigger biennials to bolt. If your shallots do bolt, immediately clip off the flowering stem. Otherwise, the stems will enlarge and thicken inside the bulb, which vastly shortens storage life.
- Black mold (Aspergillus niger) on shallots in storage is not uncommon. Surface mold can be washed off the bulbs and consumed by those not allergic or susceptible to this fungus. Heavily molded shallots are not safe to eat and should be discarded. To prevent mold on shallots, handle the bulbs gently when harvesting to prevent damage. Injuries give the mold spores entry to the inside of the onion. To prevent surface mold from forming, properly cure harvested shallots and store the bulbs below 59°F (15°C). Bear in mind, moving cold shallot bulbs to a warm environment can cause condensation to form on their surface and lead to mold formation.

Growing Shallots in Containers
It’s possible to grown shallots in containers if you follow some basic considerations. Because this is a bulb crop, you’ll need a deep pot, one that is at least 10 inches tall. It needs to have several drainage holes to prevent soggy soil, which can lead to rotting bulbs.
Fill the container with a loose, well-draining potting mix enriched with compost. Containers dry out faster than garden beds, so you’ll need to keep an eye on its moisture content to make sure it is evenly moist. Avoid overcrowding the container with too many shallot sets, spacing them at least 4 inches apart. Place the container in full sun for at least 6–8 hours daily.
Feed with a balanced fertilizer for healthy growth and flavorful bulbs.
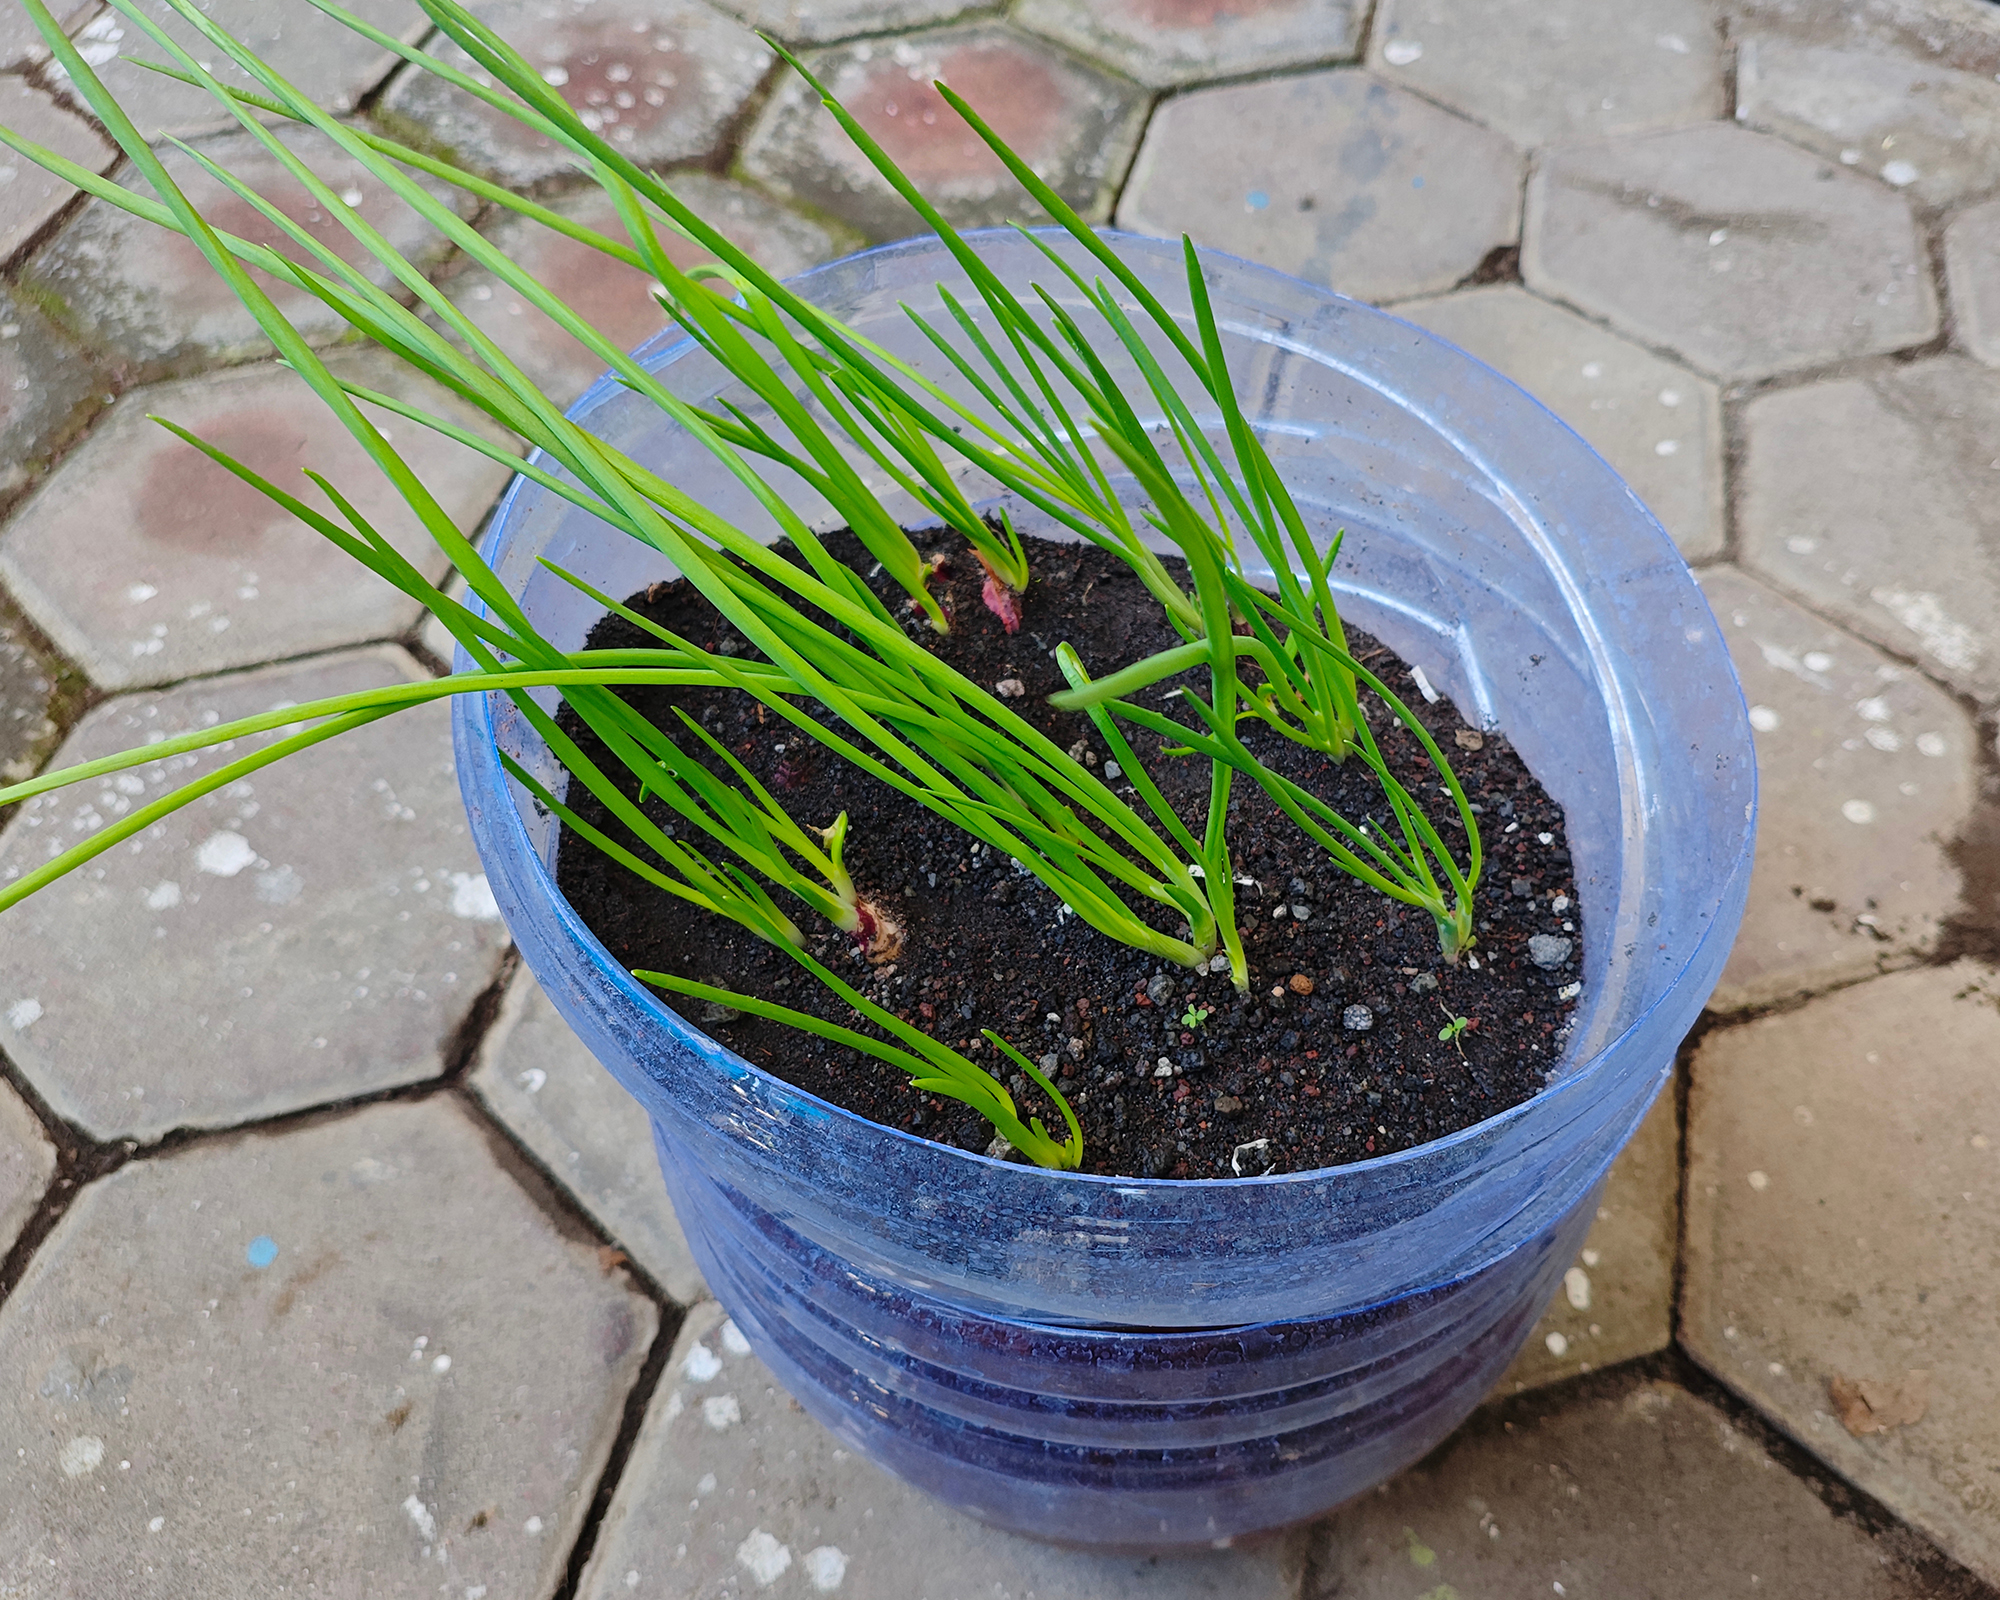
Growing Shallots Indoors
It is possible to grow shallots indoors, though it isn't a common practice, as it takes many months to produce bulbs. Plant shallots as you would for growing in containers outside, and then place the containers in a bright, sunny window that receives at least 6-8 hours of light per day, or use grow lights for 12-16 hours daily to promote strong growth. Indoor-grown shallots won’t produce large clusters like garden-grown ones; however, they will yield tender green shoots and small bulbs perfect for fresh kitchen use.
A fun project to take on with kids is growing shallots from kitchen scraps. If you have a leftover shallot with an intact root base, you can use it to start new growth. Just let that root base dry out for a day or two, place it root-side down in well-draining soil with the soil just covering it, and then place it in a brightly lit window. Keeping the soil evenly moist but not soggy, you’ll see new green shoots emerging in a week or two. You likely won’t grow a full bulb, but you can harvest – and keep harvesting – flavorful green tops for use in dishes and dips.
Companion Planting
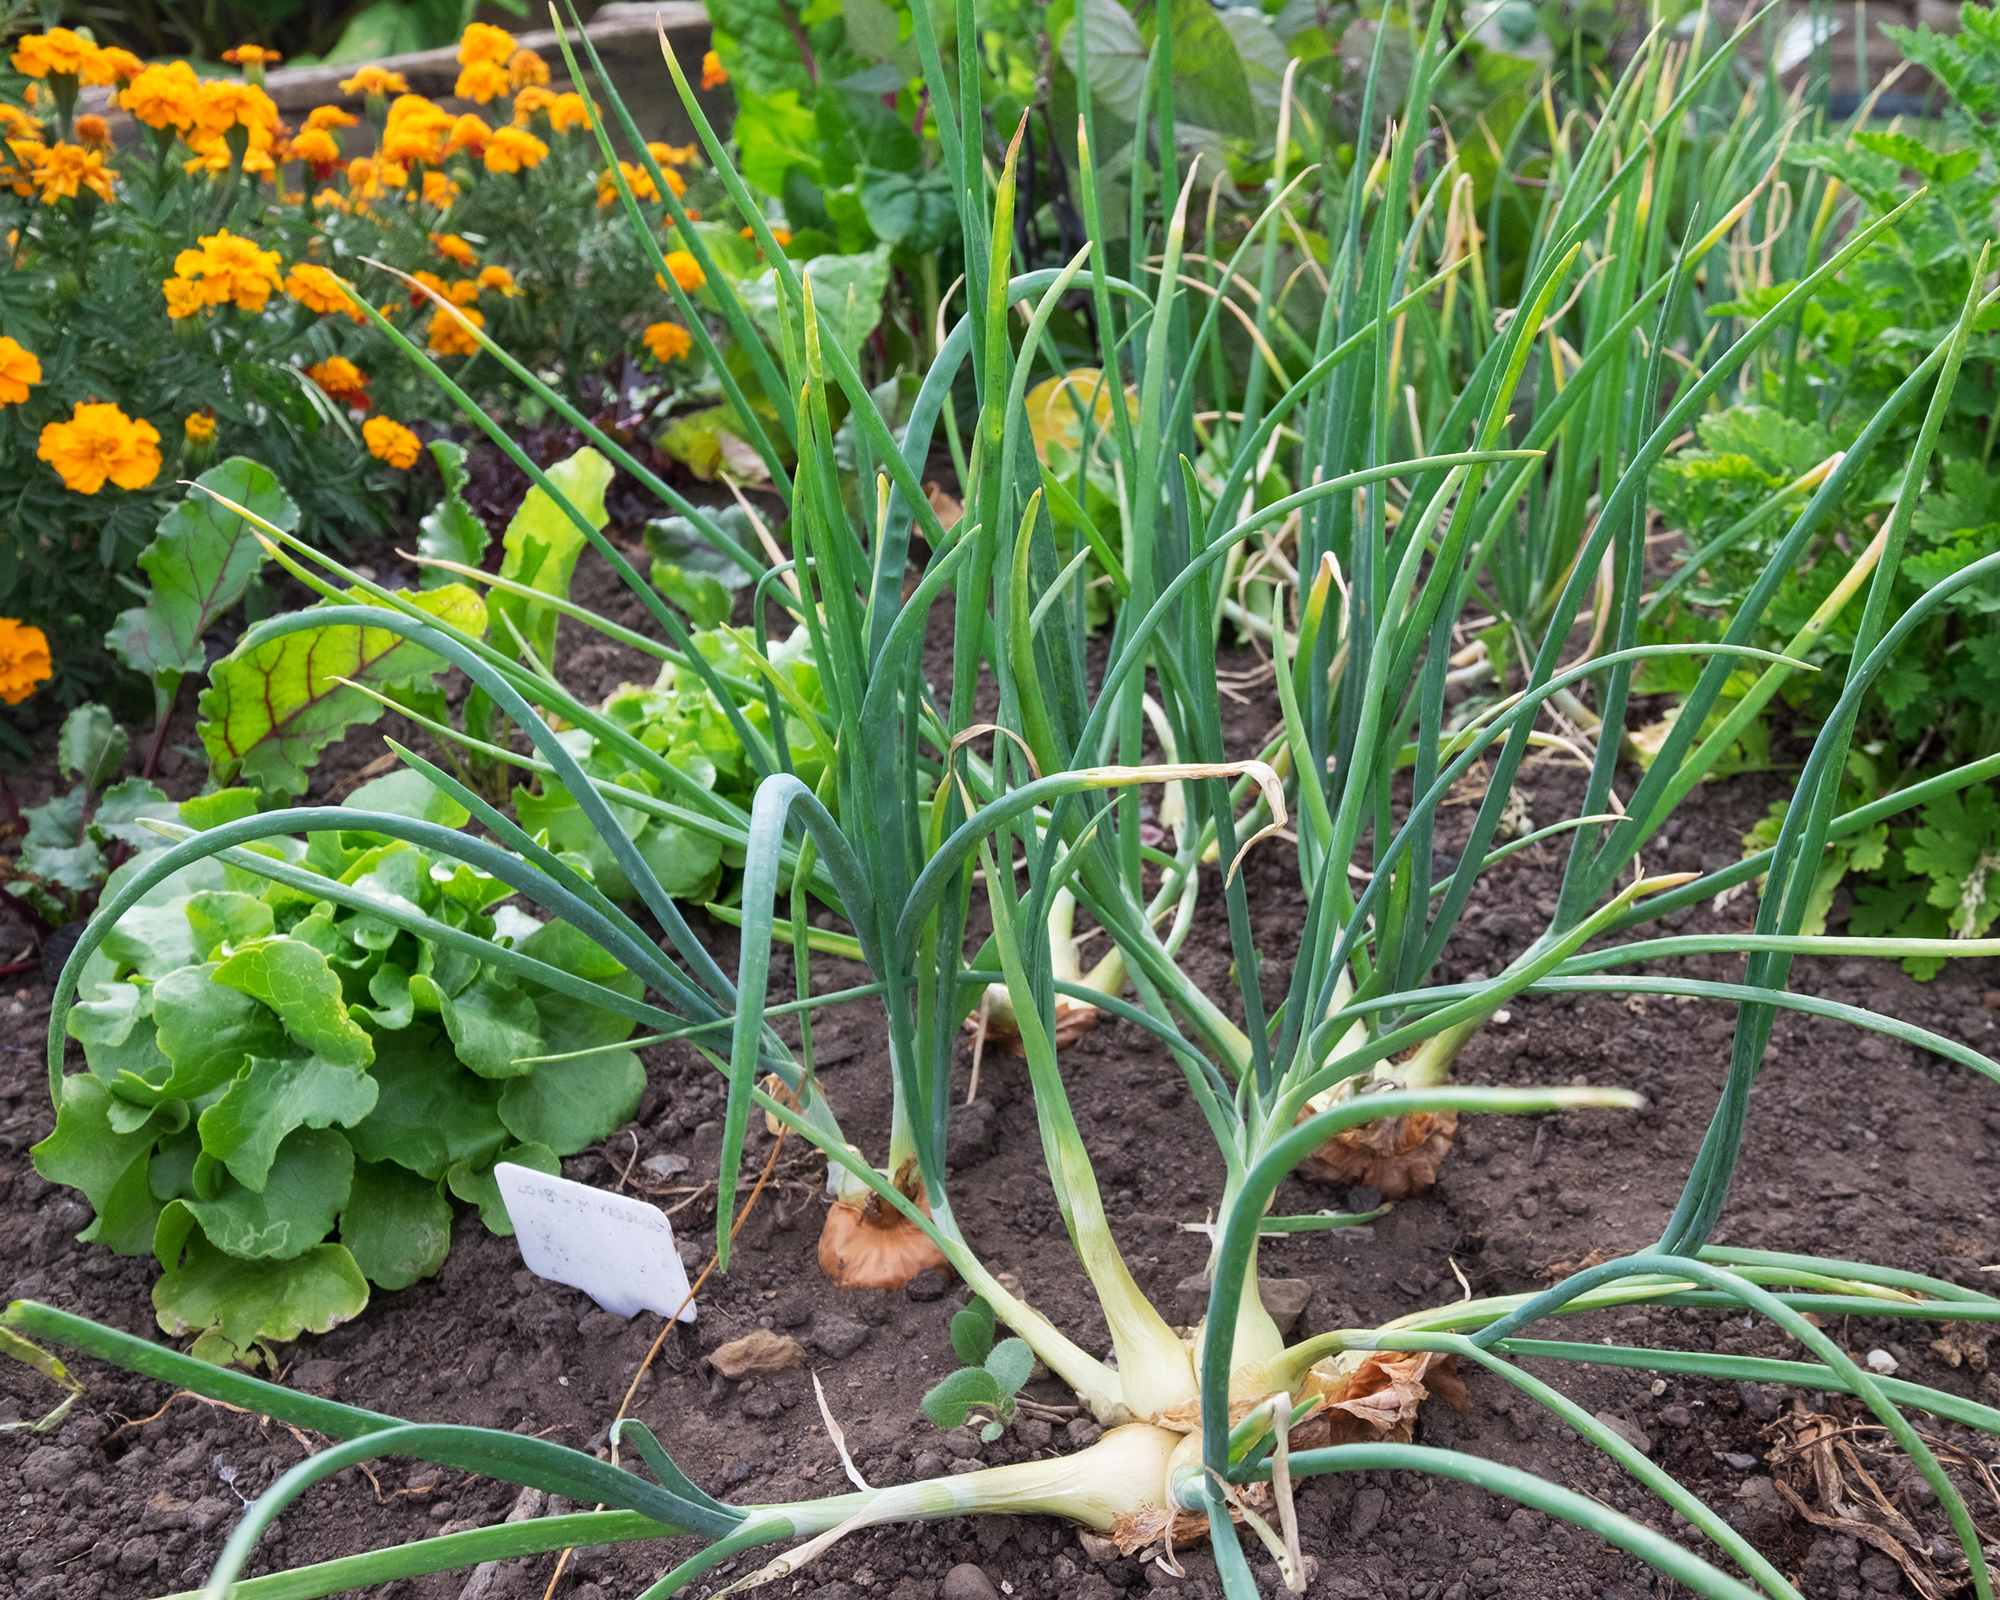
Shallots make excellent companion plants in the garden due to the mild sulfur compounds they emit. These compounds help to repel pests and enhance the growth of nearby crops. Shallots can deter carrot flies, aphids, and spider mites and are therefore beneficial when planted near carrots, beets, parsnips, tomatoes, and peppers. Shallots are also purported to discourage fungal growth in nearby crops such as strawberries and even improve the flavors of some herbs, such as dill and chamomile.
Shallots aren’t a friend to all crops, however. As a member of the allium family, shallots can inhibit the growth of beans and peas and should not be planted near them.
Frequently Asked Questions
How many shallots grow from one bulb?
Each shallot set (bulb) usually produces a cluster of 4 to 12 new bulbs, depending on the variety and growing season. Good soil fertility and consistent moisture help increase yield and bulb size.
What's the best way to store harvested shallots?
After curing for 2 to 3 weeks in a warm, airy spot, store shallots in a cool, dry, well-ventilated area. Mesh bags, baskets, or paper sacks work well. Properly cured bulbs can last up to 6 to 8 months without sprouting or rotting.
Can shallots survive winter in the ground?
Yes – if you live in USDA Zones 5-9, fall-planted shallots can usually overwinter outdoors. In colder regions, protect them with a thick layer of mulch to insulate against freeze-thaw cycles.
Shallot Growing Essentials
- Start with the best shallot sets and seeds – Burpee stocks a myriad of flavorful varieties.
- Test your soil with the MySoil Test Kit, available on Amazon to be sure its pH suits your shallots’ needs.
- When harvesting shallots, using the Horijunkie Garden Fork from Amazon makes the job easier without damaging bulbs.
- This Espoma Organic Garden-Tone at Walmart gives your shallots the boost they needs to start growing into flavorful bulbs.
- You worked hard for those shallots—make sure they are stored well using these GINFH reusable hanging mesh storage bags available from Amazon.

Ellen Wells is a horticultural communications consultant with 30 years of experience writing about all aspects of the gardening world.
She has worked for many of horticulture’s biggest brand names, writing blog posts, articles, press releases, and design and instructional pieces. Her previous roles include Senior Editor and Editor-at-Large for Ball Publishing.
Ellen is based in New England where she gardens in Zone 7a. She loves tending to flower-filled containers on the patio and puttering around her vegetable garden.
- Amy GrantWriter
- Nikki TilleySenior Editor
- Susan Patterson
- Laura MillerWriter