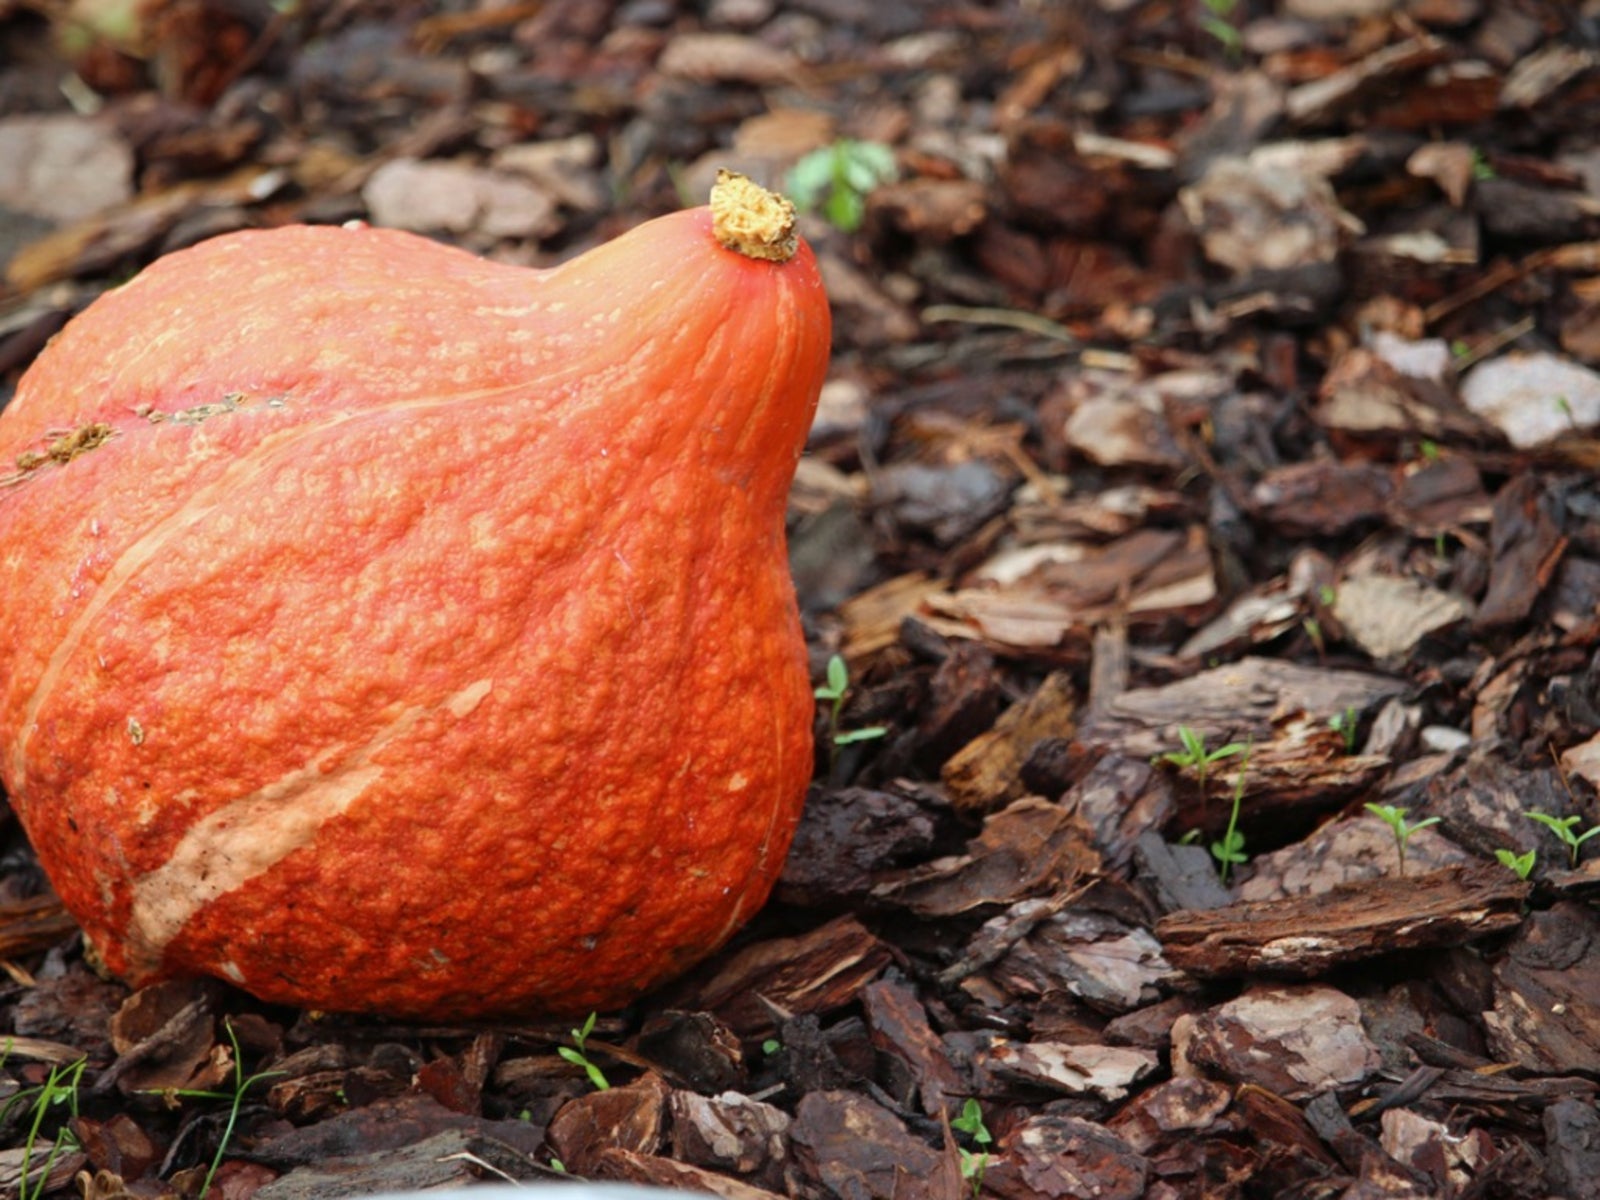
A type of winter squash, the hubbard squash has a variety of other names under which it may be found such as ‘green pumpkin' or ‘buttercup.' Green pumpkin refers not only to the color of the fruit at the time of hubbard squash harvest, but also to its sweet flavor, which can be substituted for pumpkin and makes a fabulous pie. Let's learn more about how to grow hubbard squash.
Hubbard Squash Information
The hubbard squash has an extremely hard outer shell and can, therefore, be stored for long periods of time-- up to six months. The green to gray-blue shell isn't edible but the orange flesh inside is delicious and nutritious. Consistently sweet, hubbard squash has virtually no fat and is low in sodium. A cup of this squash has 120 calories, a good amount of dietary fiber, and vitamins A and C. Hubbard squash can be substituted for most other winter squash and is great for cooking or baking whether peeled and boiled, roasted, steamed, sautéed, or pureed. The easiest method, because of that tough outer layer, is to cut in half, de-seed, and rub the cut side with a bit of olive oil, and then roast cut side down in the oven. The result can be pureed for soups or stuffed inside ravioli. You can also peel the hubbard squash and cut up, of course, but this method is quite difficult because of that thick hull. This squash variety can attain an extremely large size of up to 50 pounds (23 kg.). For this reason, hubbard squash is often found for sale at the local supermarket already cut in more manageable pieces. Originally brought to New England from South America or the West Indies, the hubbard squash may possibly have been named by a Mrs. Elizabeth Hubbard in the 1840s who apparently gave seeds to friends. A neighbor with whom she shared the seed, James J. H. Gregory, introduced this squash to the seed trade. A more recent variation of the hubbard squash, the golden hubbard, can now be found but it lacks the sweetness of the original, and in fact, tends towards a bitter aftertaste.
How to Grow Hubbard Squash
Now that we have extolled its virtues, I know you want to know how to grow a hubbard squash. When growing hubbard squash, seeds should be sown in the spring in an area which receives lots of sun and plenty of space for the long vines. You will need to maintain adequate moisture for the growing hubbard squash and a bit of patience as it requires 100 to 120 days to mature, likely at the end of the summer. Seeds saved from the hubbard are quite resilient and can be saved for future planting.
Hubbard Squash Harvest
Hubbard squash harvest should occur prior to heavy frost, as the cucurbit is a tropical plant, and the cold weather will damage its fruit. If frost is predicted, cover the plants or harvest. The rock-hard exterior will not be an indicator of the fruits readiness nor will its green color. You will know when to harvest this squash when the maturation date of between 100 to 120 days has passed. In fact, the best way to tell if the squash is ripe is to wait until the vines begin to die. If some of the squash are large and seem ready for harvesting before the vines die back, then look at the first few inches (8 cm.) of stem attached to the squash. If it has started to dry and appears cork-like, then it's okay to harvest because the squash is no longer receiving nourishment from the vine. If the stem is still moist and viable, don't harvest, as it's still receiving nourishment and has not yet reached its full potential of flavor, sweetness, or seed viability. Cut the fruit off the vine, leaving 2 inches (5 cm.) attached to the hubbard. Leave the vine remnant on the squash to cure for ten days to two weeks, which will help to sweeten the flesh and harden the shell for longer storage.
Hubbard Squash Care and Storage
Proper hubbard squash care will extend the life of this fruit allowing for storage up to six months. The hubbard will continue to ripen after picking, so do not store near apples, which give off ethylene gas and will hasten ripening and shorten storage time. Store this winter squash between 50 and 55 degrees F. (10-13 C.) at a relative humidity of 70 percent. Leave at least 2 to 4 inches (5-10 cm.) of stem on each squash when you put it into storage. Prior to storage, wipe the squash off with a weak bleach solution of six parts water to one part bleach to prevent rot and extend shelf life.
Sign up for the Gardening Know How newsletter today and receive a free copy of our e-book "How to Grow Delicious Tomatoes".

Amy Grant has been gardening for 30 years and writing for 15. A professional chef and caterer, Amy's area of expertise is culinary gardening.
