3 Clever Ways To Use Up Yard Trimmings And Clippings – For a Zero-Waste Garden
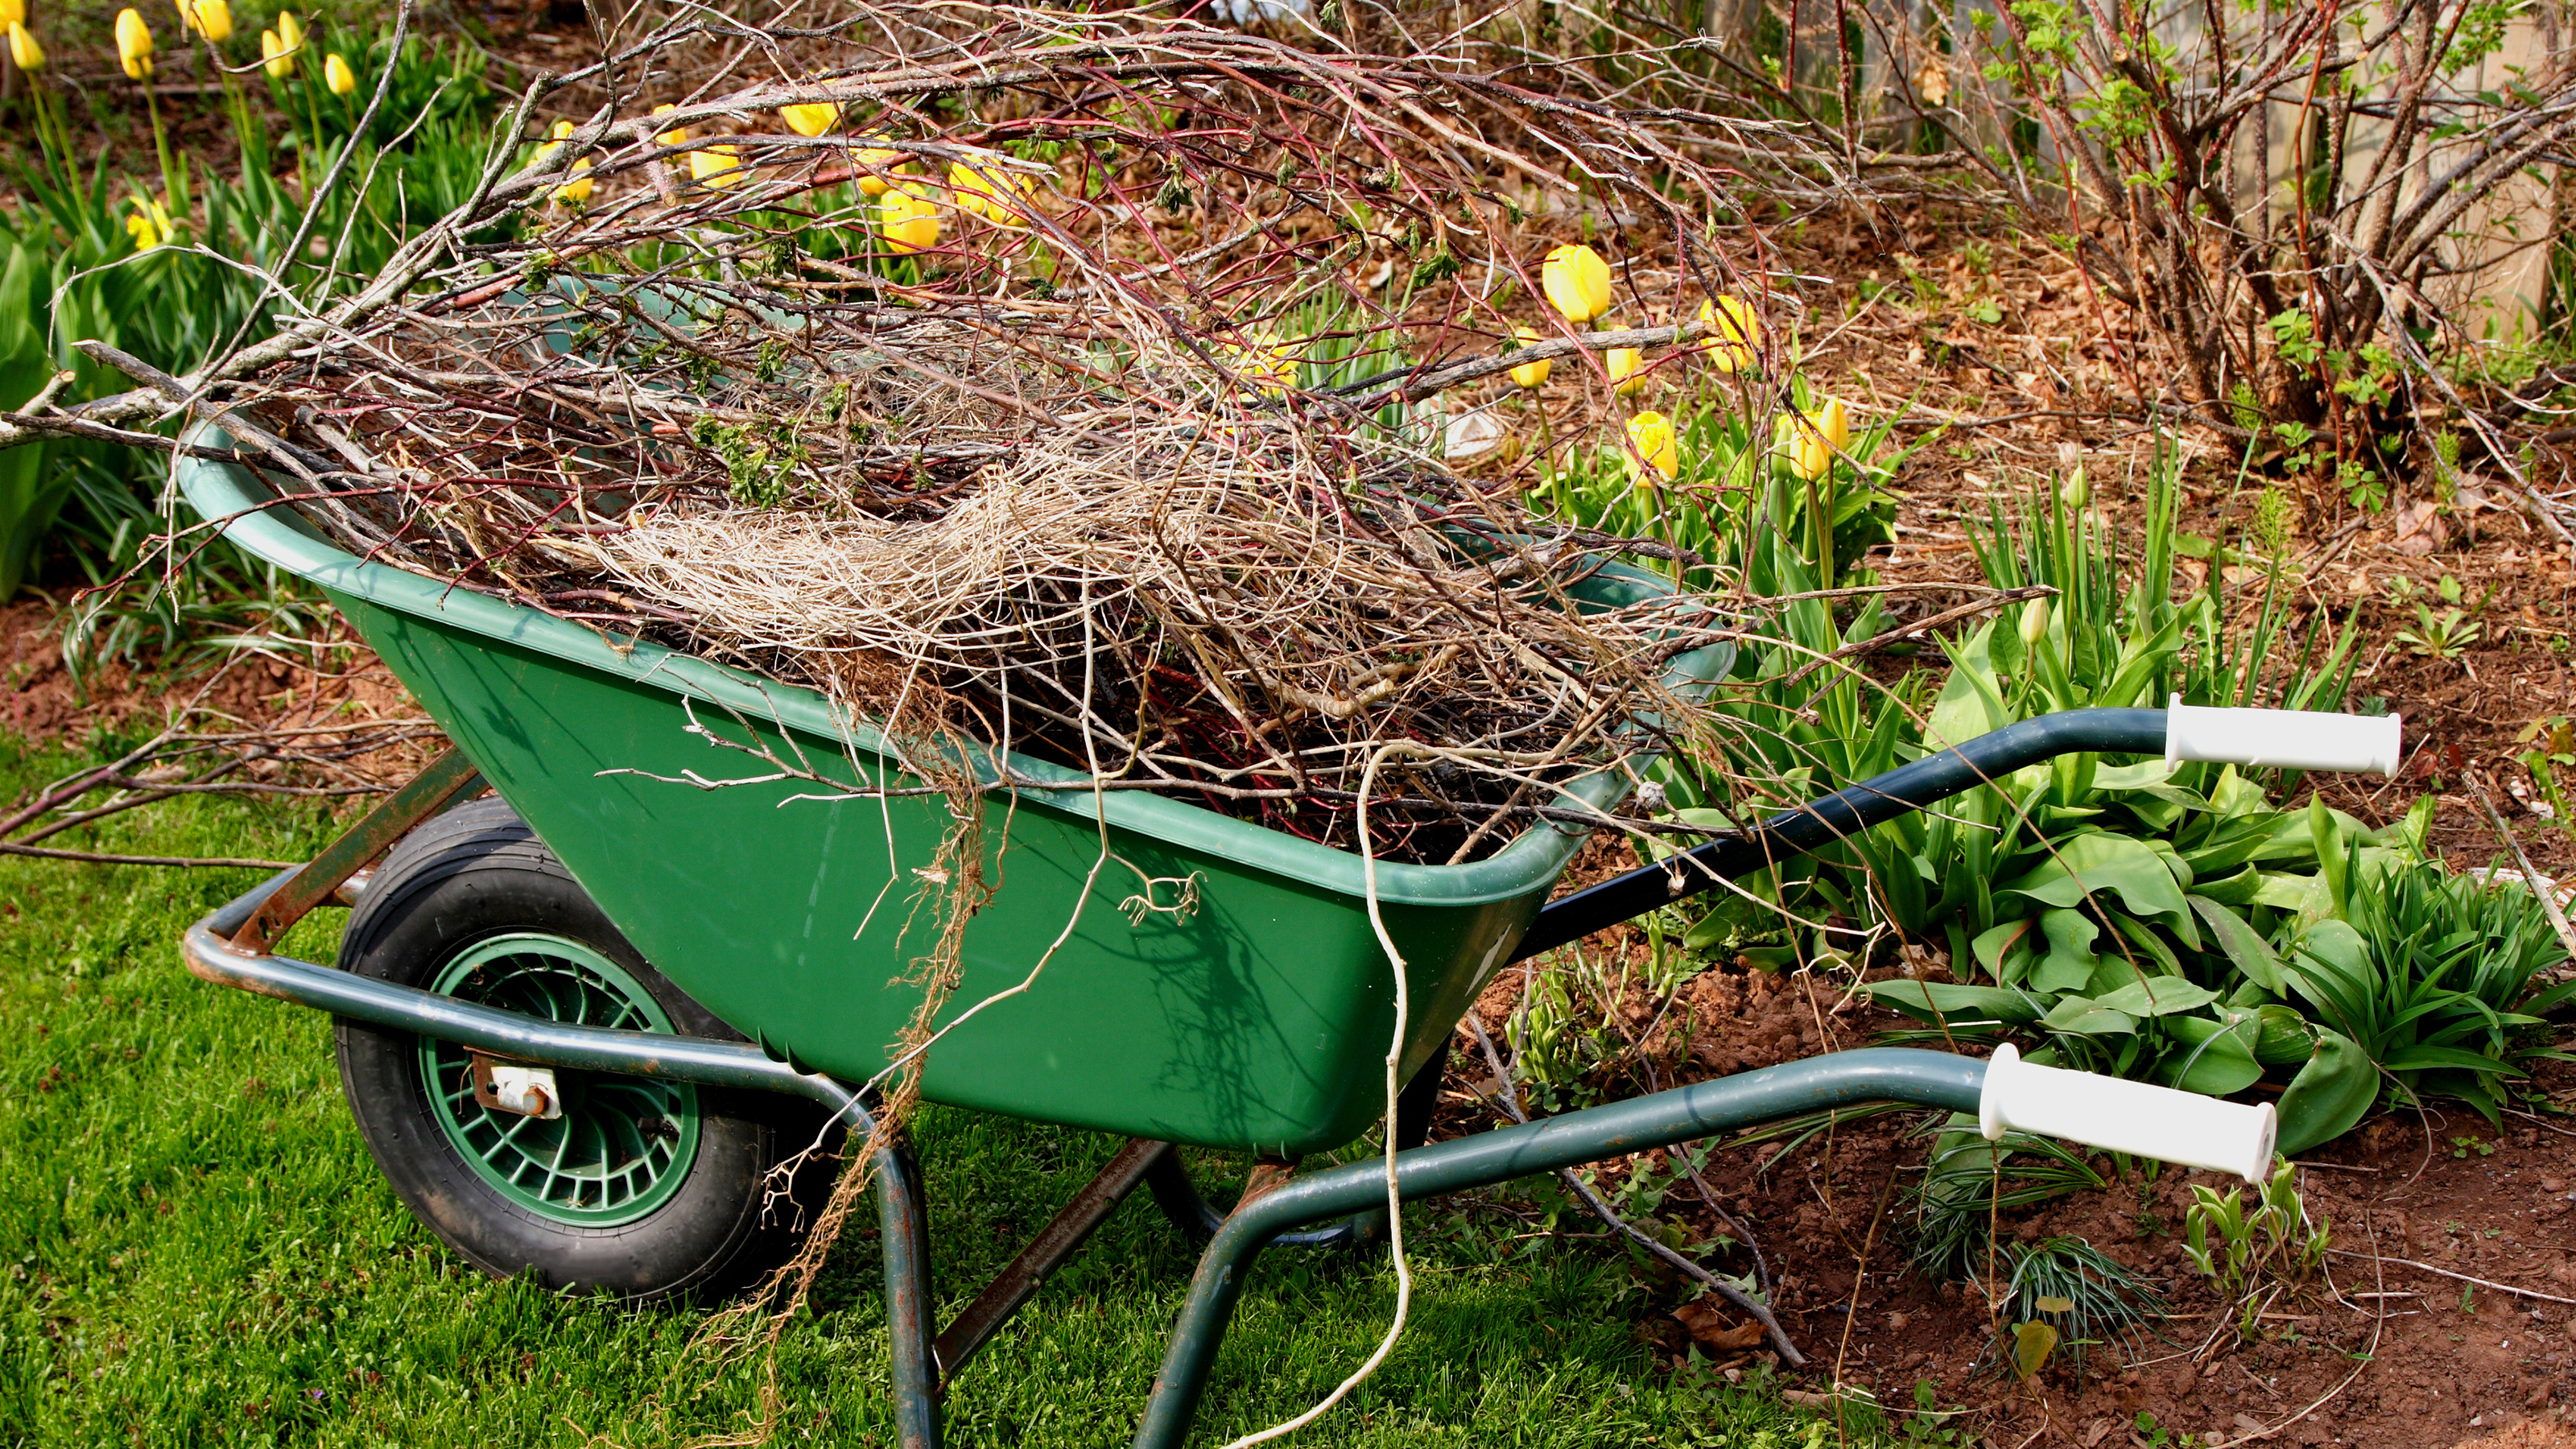
If your compost bin is bursting at the seams, then it’s time to get smart about using up garden waste. Rather than send it to landfill, these sustainable ideas will nurture plants, support biodiversity, and save you money.


Sign up for the Gardening Know How newsletter today and receive a free copy of our e-book "How to Grow Delicious Tomatoes".
You are now subscribed
Your newsletter sign-up was successful
Reducing yard waste should be a major priority for all gardeners. Every year, an estimated 10.5 million tons of trimmings and clippings are sent to landfill, rather than being composted.
When this organic material is mixed with other waste it can break down and produce harmful gases that are bad news for the environment. What’s more, many gardeners often dispose of their yard waste in plastic bags.
However, most of the trimmings from trees and shrubs, as well as grass clippings from the lawn, can be reused throughout the landscape.
Not only is this more sustainable and beneficial to the biodiversity of your yard, but it can save you money on purchasing mulch and compost.
If you don't currently have a compost heap, then that’s an excellent place to start. However, if you’re looking to take your sustainable gardening to the next level, then these tips will go towards growing a no-waste garden.
The exception to reusing trimmings is where plants are diseased – this material should be disposed of, or burned.
1. Create a Hugelkultur raised bed

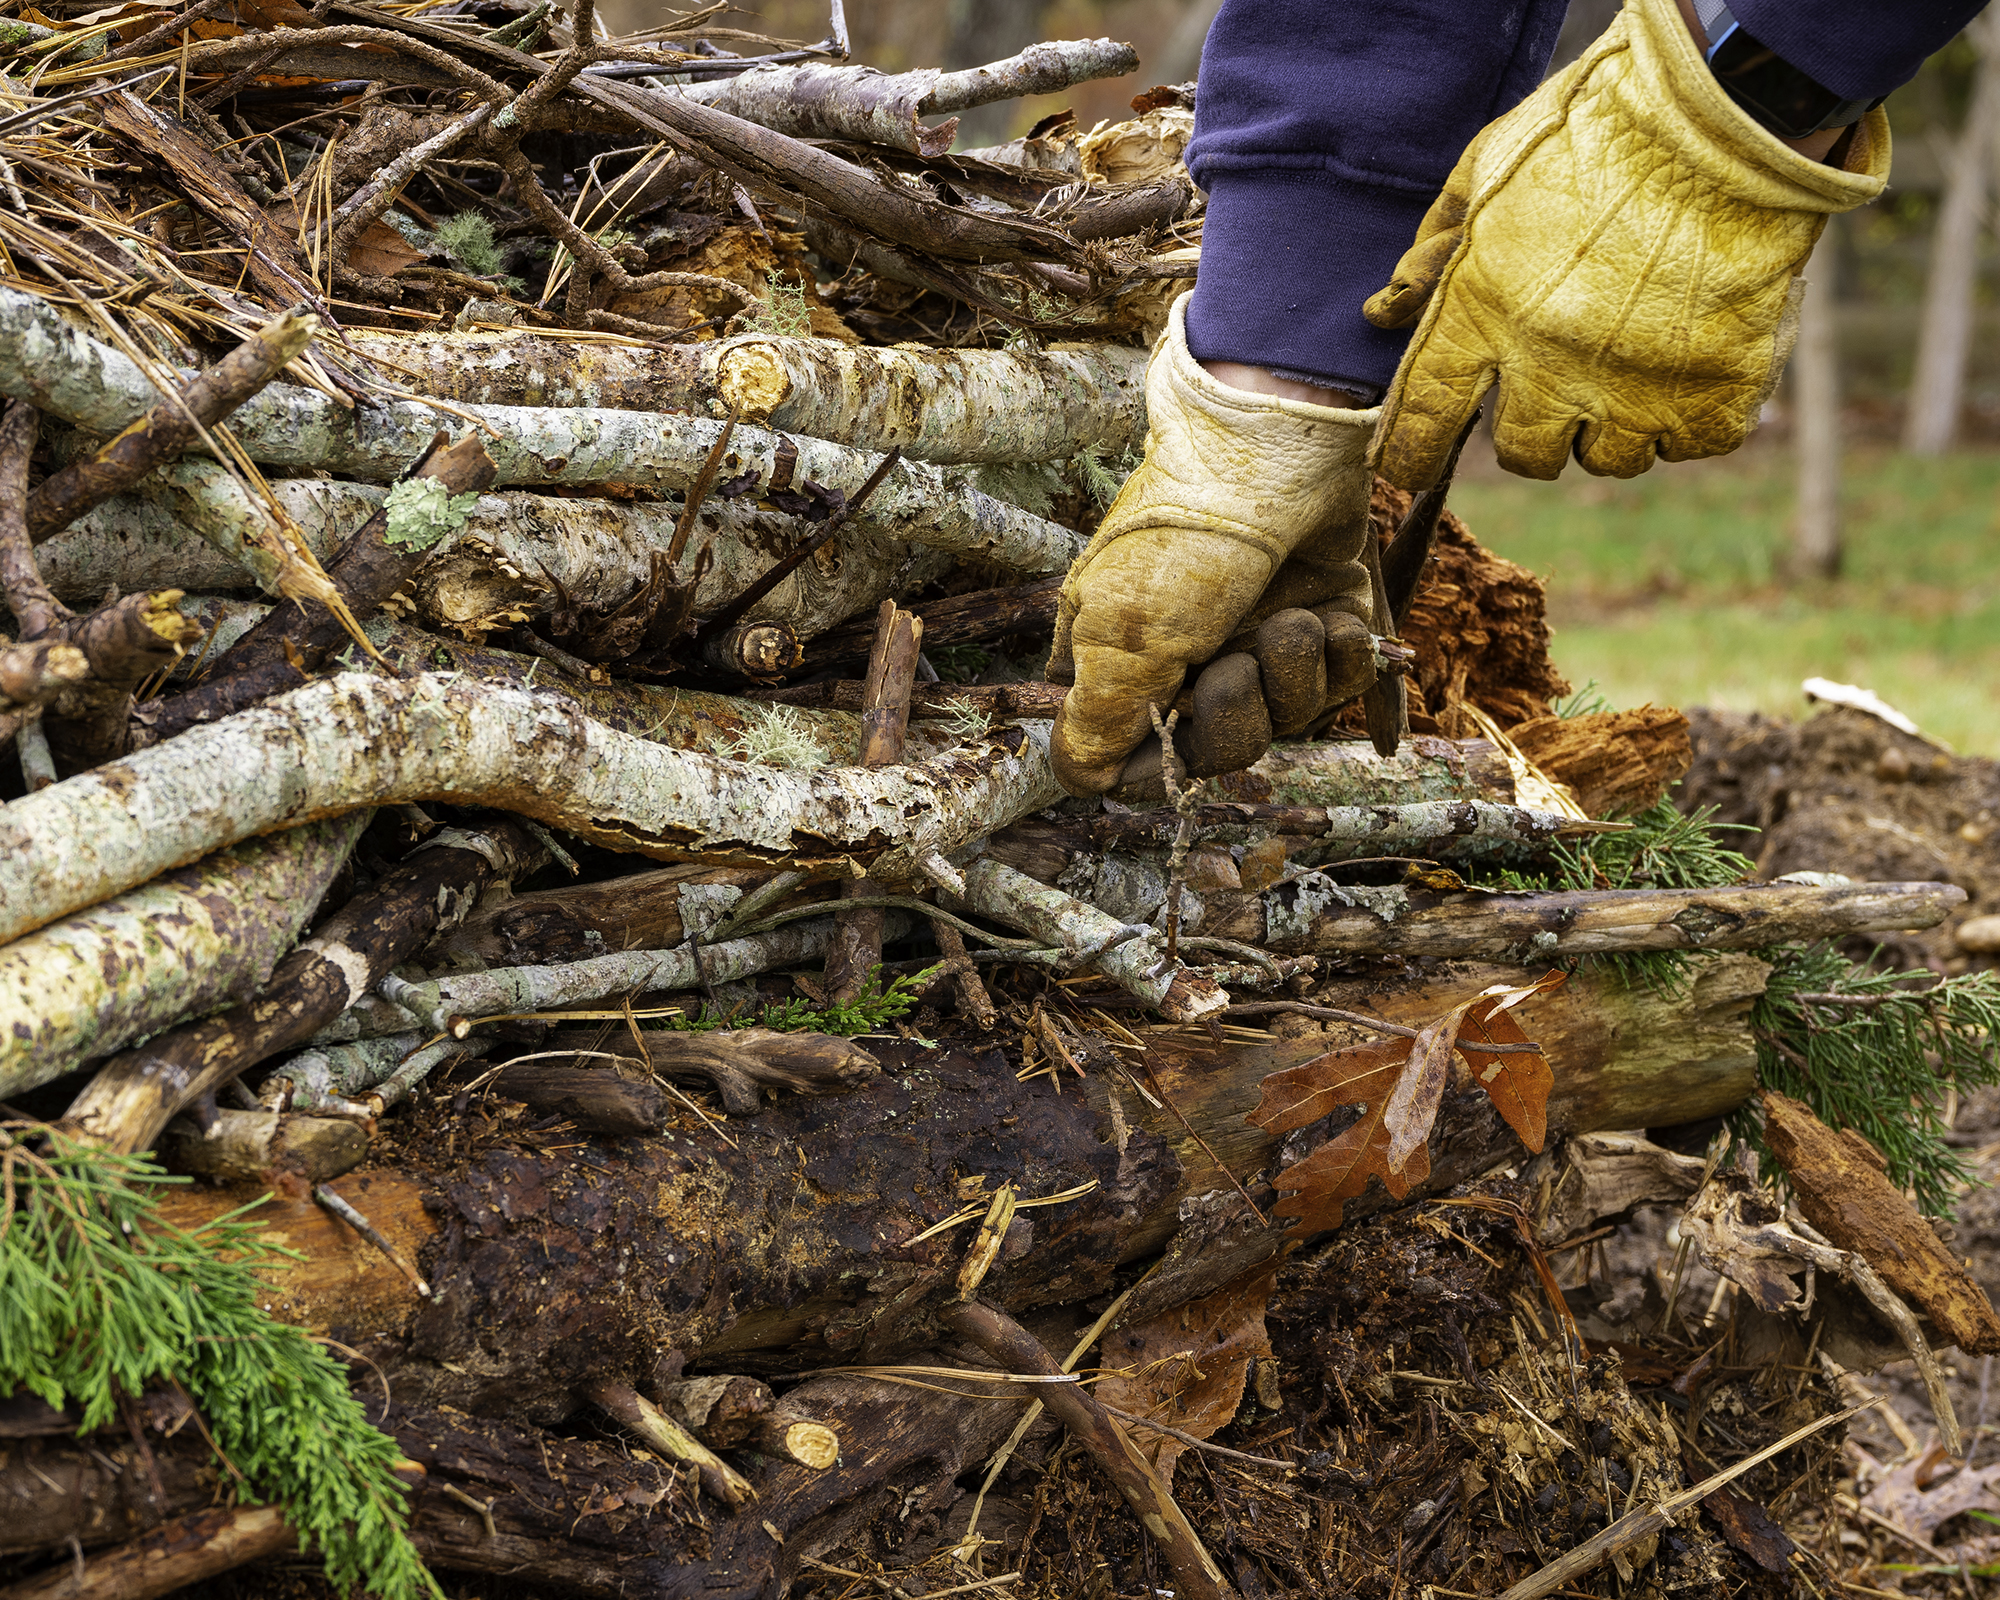
If you have plenty of branches and logs in the garden, then use them as the basis of a raised bed for growing edibles or flowers.
Sign up for the Gardening Know How newsletter today and receive a free copy of our e-book "How to Grow Delicious Tomatoes".
Raised beds can be expensive to fill if you buy new bags of soil and compost. However, this cost can be dramatically reduced by utilizing the Hugelkultur system, which is a traditional eastern European gardening method that layers up woody materials and other organic debris.
Over time, the matter breaks down to create a fertile, moist, but well-draining growing medium. In tests, vegetables cultivated in Hugelkultur beds grew bigger and were more productive. The beds are usually warmer than traditional raised beds, too, allowing you to get a head start on the growing season.
To make a Hugelkultur raised bed, you need to cut out a 1 foot (30 cm) deep trench. This can be whatever size you want your bed to be, although around 4 foot wide (120cm) should be narrow enough for you to reach the center. Fill the hole with logs, twigs, and branches, going up to the rim of your hole. Give these a thorough watering.
Next, add some of the turf that you dug out the planting hole, grass clippings, leaves, and other organic matter, such as manure. You can also add kitchen scraps, newspaper, and straw. Layer this up like a lasagna and pack it in firmly. You are aiming for the bed to be around 2-3 feet (60-90cm) high.
Finally, top off the bed with 2-3 inches (5-8cm) of topsoil and a layer of mulch, then give it a thorough watering.
The logs and branches will become spongy as they decompose and soak up a lot of water. This means that the bed won’t require a lot of watering in the future.
It will take around 4-6 months before your Hugelkultur bed is ready for planting and you can reap the rewards of a bountiful harvest.
2. Make organic mulch

There are numerous types of mulch that you can make using garden waste. Mulch adds nutrients to the soil, helps to retain moisture, insulates against cold weather, and also keeps down weeds.
Matchstick mulch uses the stems of herbaceous perennials and ornamental grasses to create a nutritious organic addition to your beds. Simply cut the stems into matchstick-length pieces using hand shears, and then spread these around your plants.
Wood chip mulch is useful where you have a lot of logs and access to a wood chipper – if not, you could consider renting one. Wood chips are a magic mulch material that will transform your garden. They are eco-friendly and often freely available. As well as mulch, wood chips can be used to make informal paths.
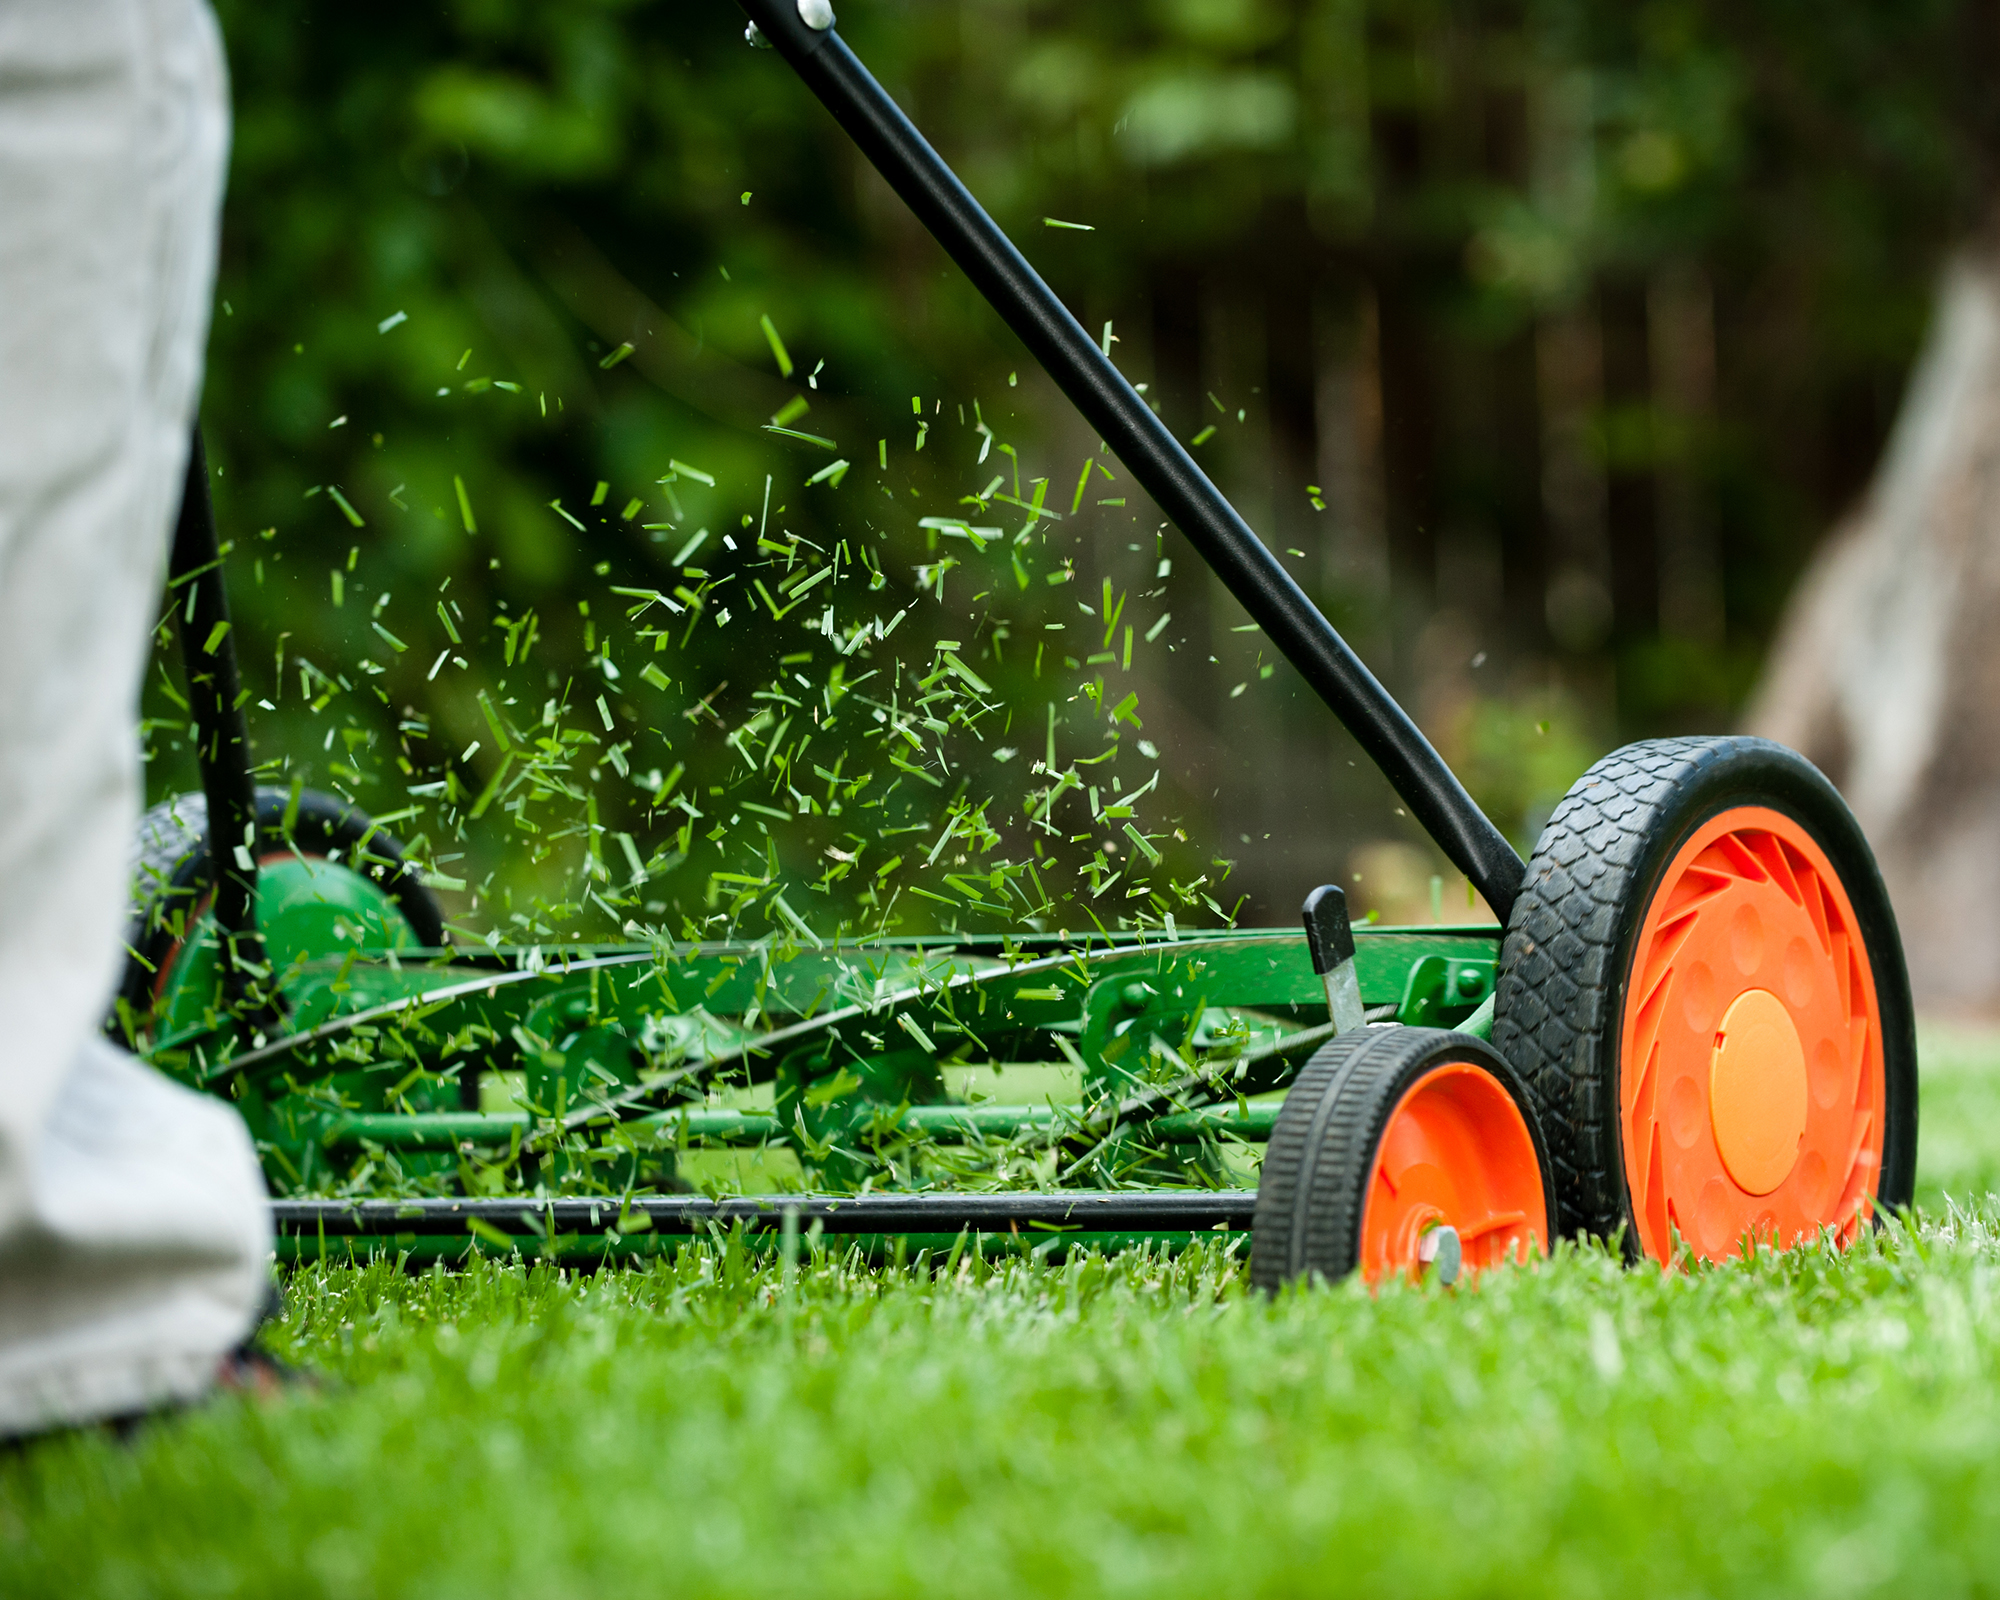
Leaf mulch is easy to make using a lawn mower. Most gardens have a pile up of leaves in their garden during fall and winter, and they are filled with nutrients that can benefit the soil. It’s best to dry the leaves before shredding them, but you can also use leaves after the season that have been moist and developed into leaf mold. Spread your leaf mulch around 2 to 3 inches (5 to 7.5cm) thick over perennial beds.
Grass mulch enables your grass clippings to be recycled back down into the lawn – also known as grasscycling. The easiest way to do this is to use a mulching lawn mower, which will finely shred the blades and distribute them into the grass. However, as long as you do not cut off too much grass at any one time, you can use a regular mower with the collection box removed. Clippings shorter than 1 inch (2.5cm) will quickly break down into the soil. Longer clippings can be collected and either used as mulch around established plants, or dug into the soil.
3. Build a home for wildlife

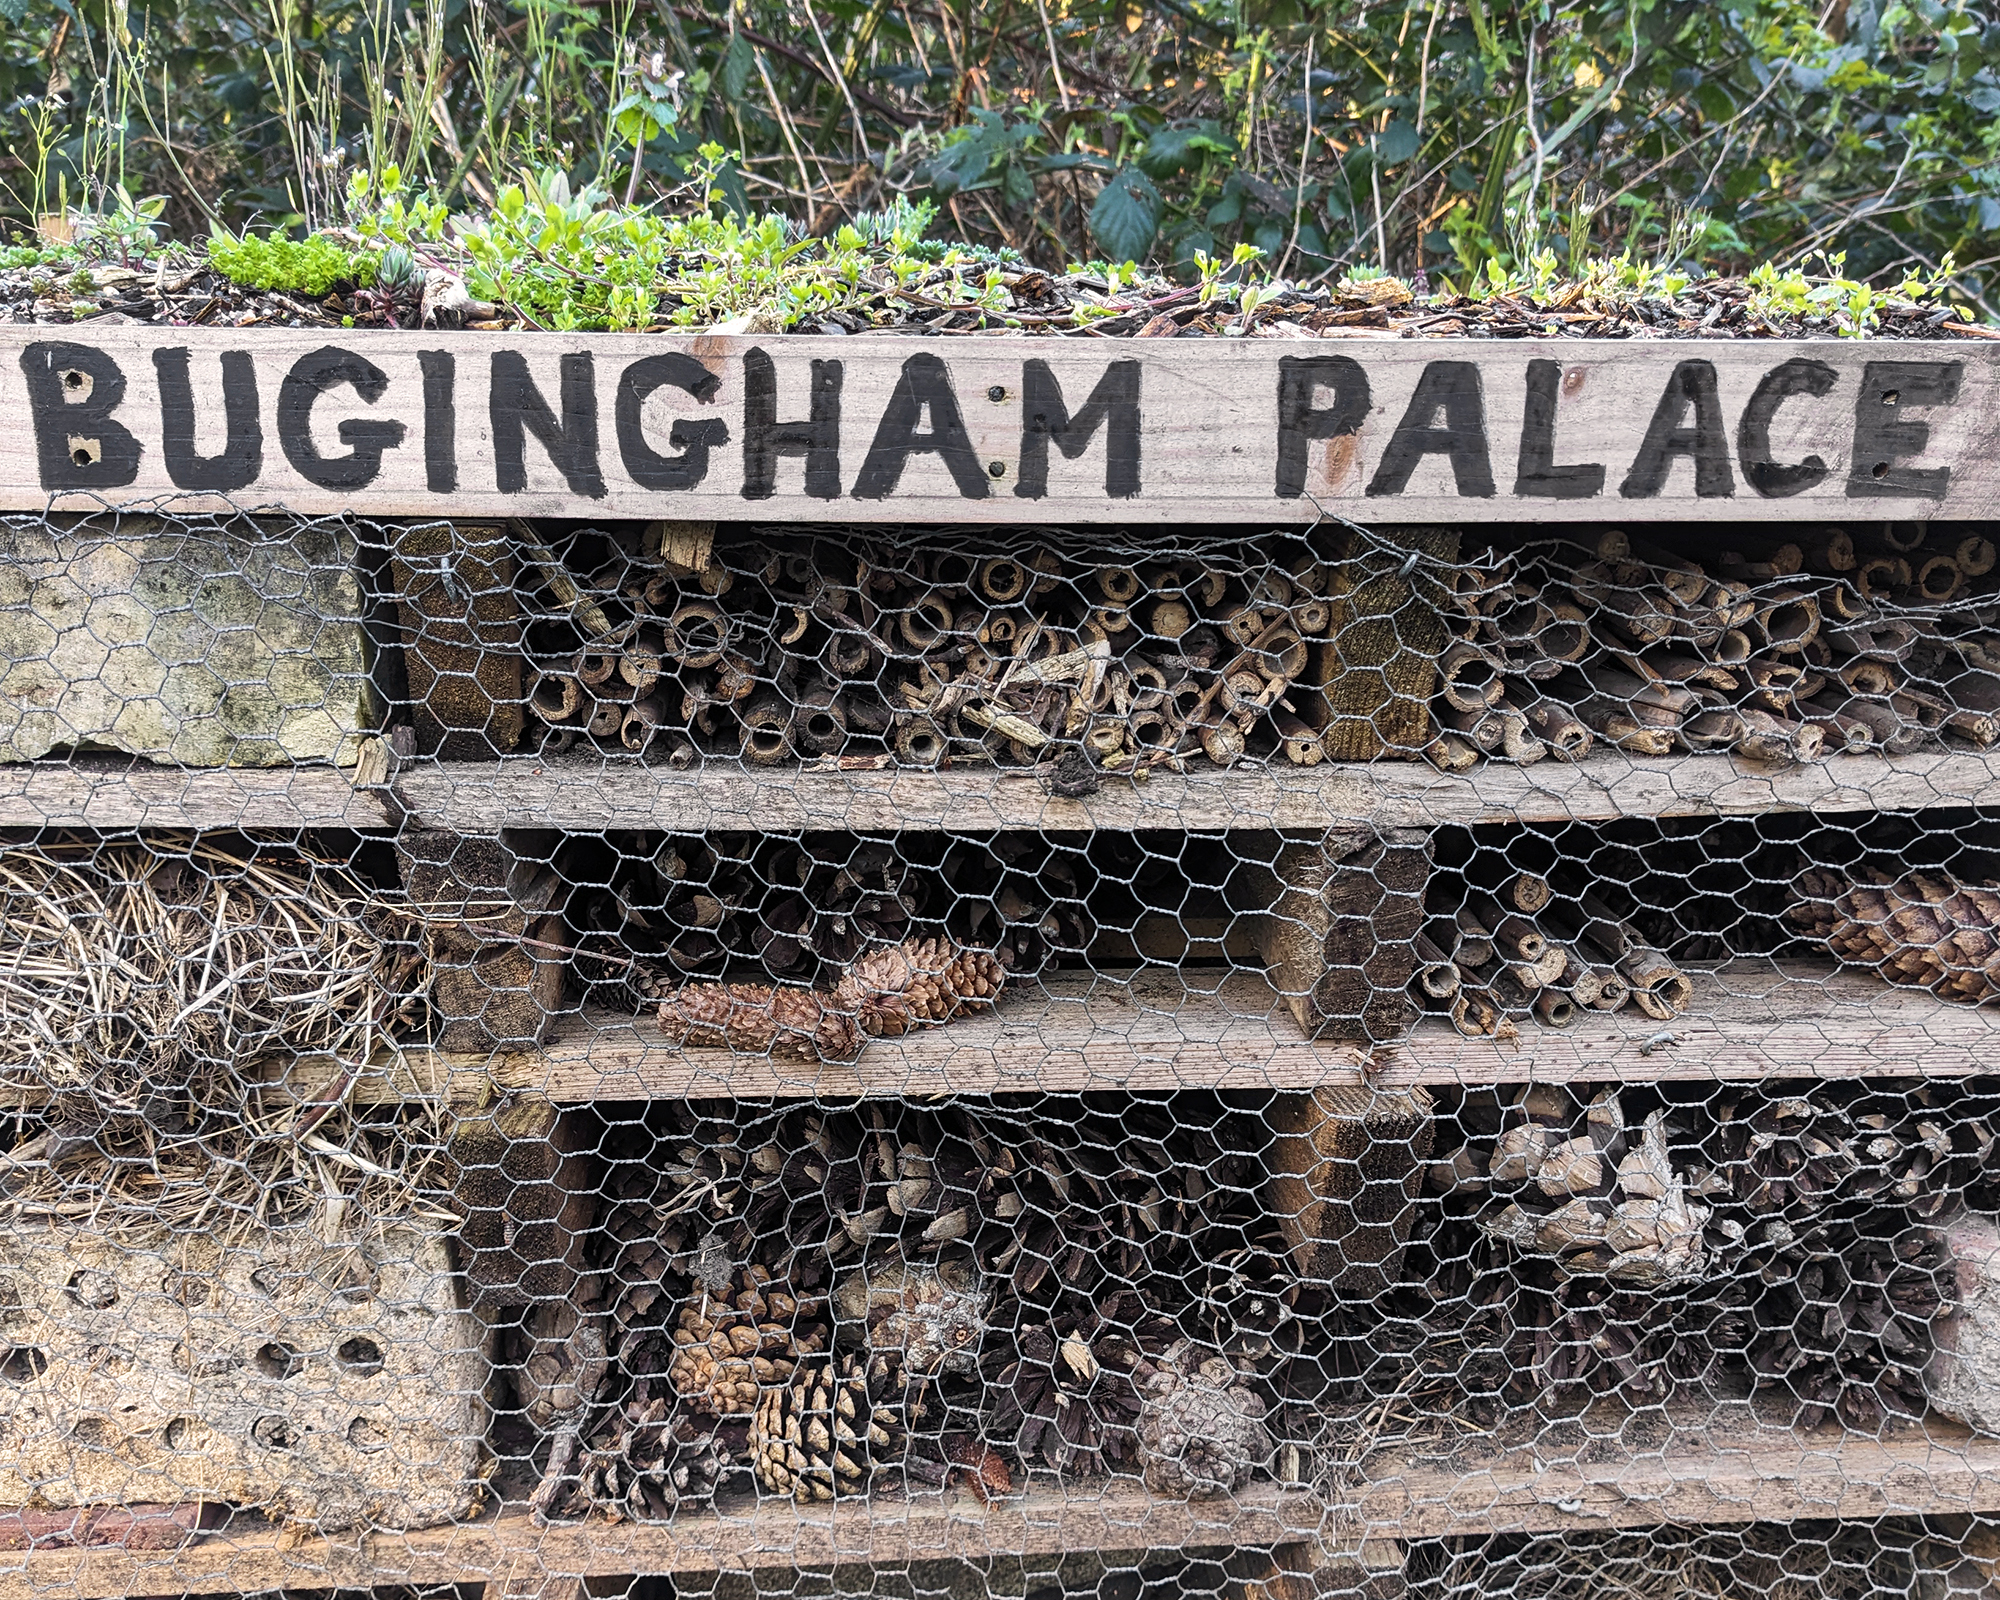
A pile of logs, sticks, and dried, hollow plant stems makes a wonderful home for creepy crawlies. Add structure with bricks and old terracotta pots, include some pinecones, and stuff in dried leaves between the gaps.
Once the wood starts to break down, your bug hotel will be teeming with minibeasts – which will be a draw for other beneficial wildlife.
A bug hotel might not be the most glamorous addition to the garden, but it will help to promote biodiversity and support local wildlife.

Melanie is an experienced gardener and has worked in homes and gardens media for over 20 years. She previously served as Editor on Period Living magazine, and worked for Homes & Gardens, Gardening Etc, Real Homes, and Homebuilding & Renovating. Melanie has spent the last few years transforming her own garden, which is constantly evolving as a work in progress. She is also a passionate organic home grower, having experimented with almost every type of vegetable at some point. In her home, Melanie tends to an extensive houseplant collection and is particularly fond of orchids.