How To Remove Grass For A Garden Using The Simple And Sustainable No-Till Method
Kick grass to the curb! Turn your boring lawn into a beautiful garden with the easy and eco-friendly no-till method.

Sign up for the Gardening Know How newsletter today and receive a free copy of our e-book "How to Grow Delicious Tomatoes".
You are now subscribed
Your newsletter sign-up was successful
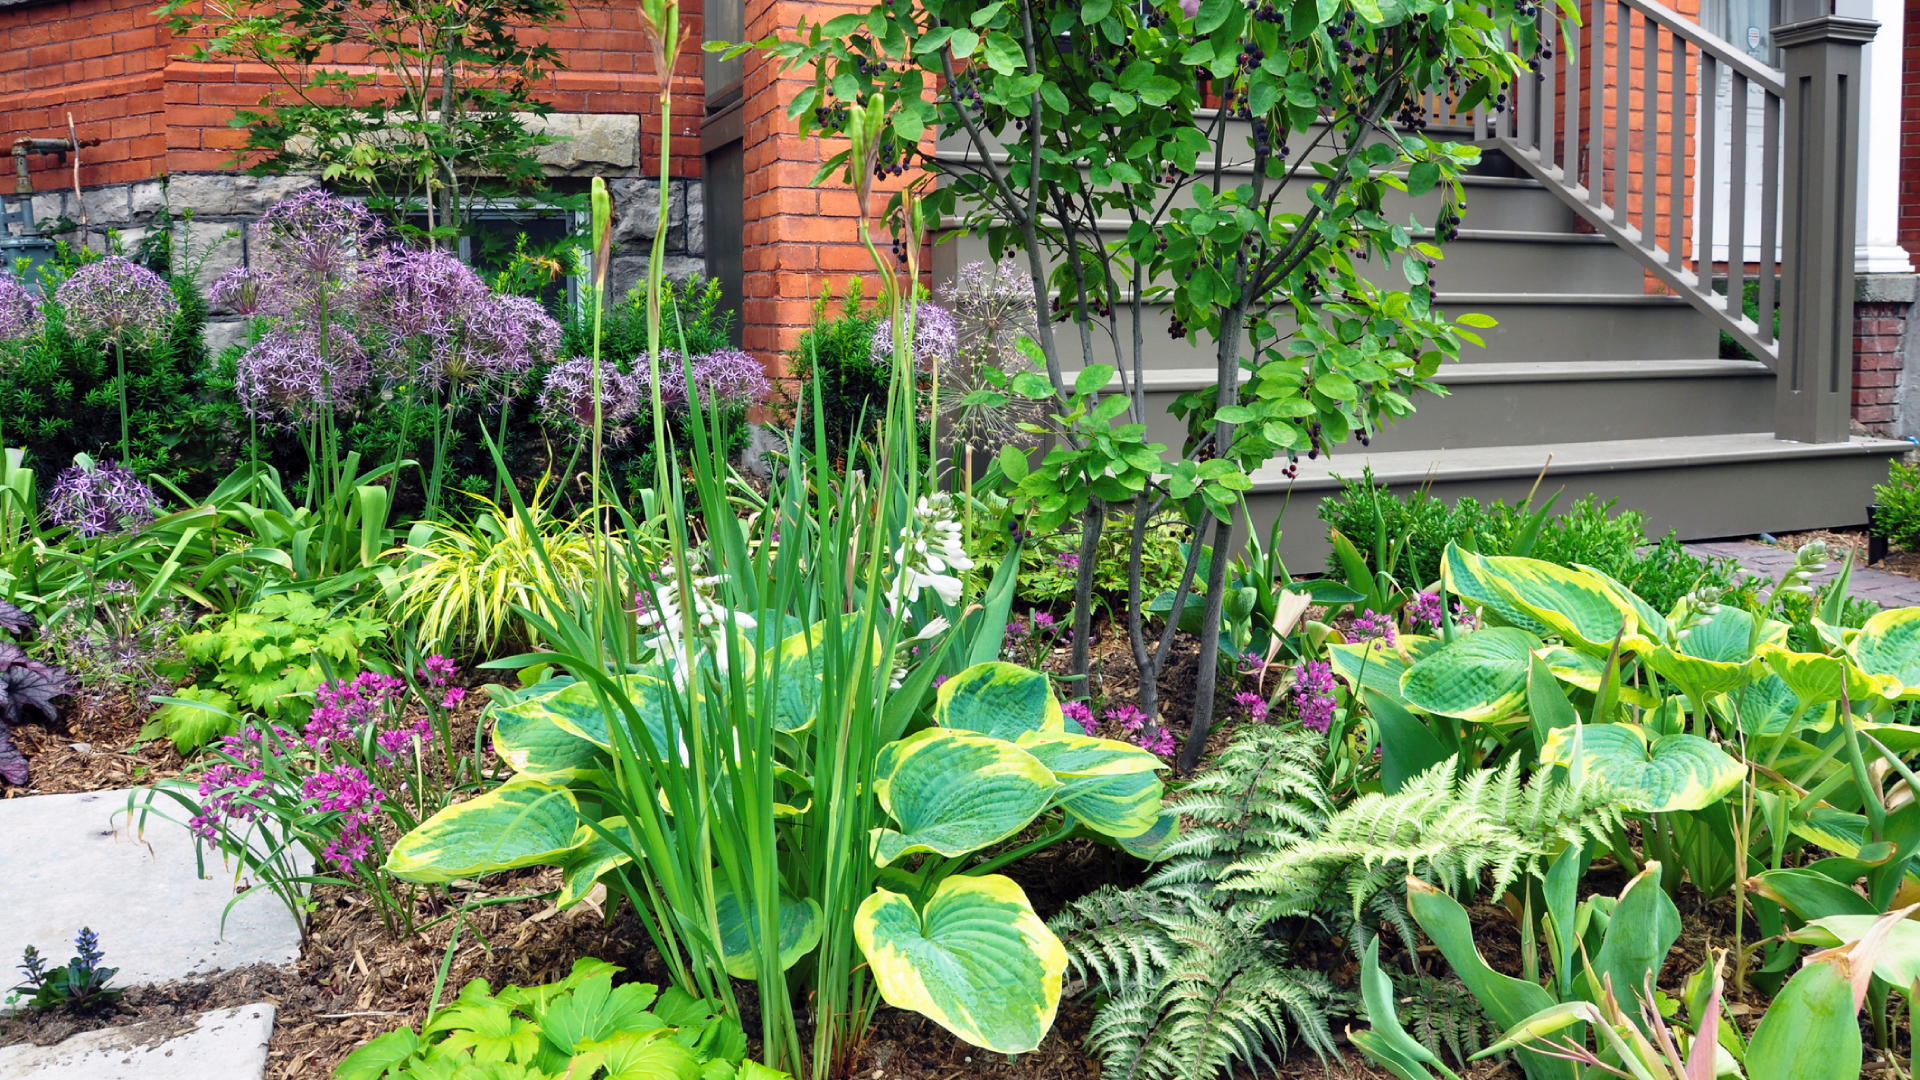
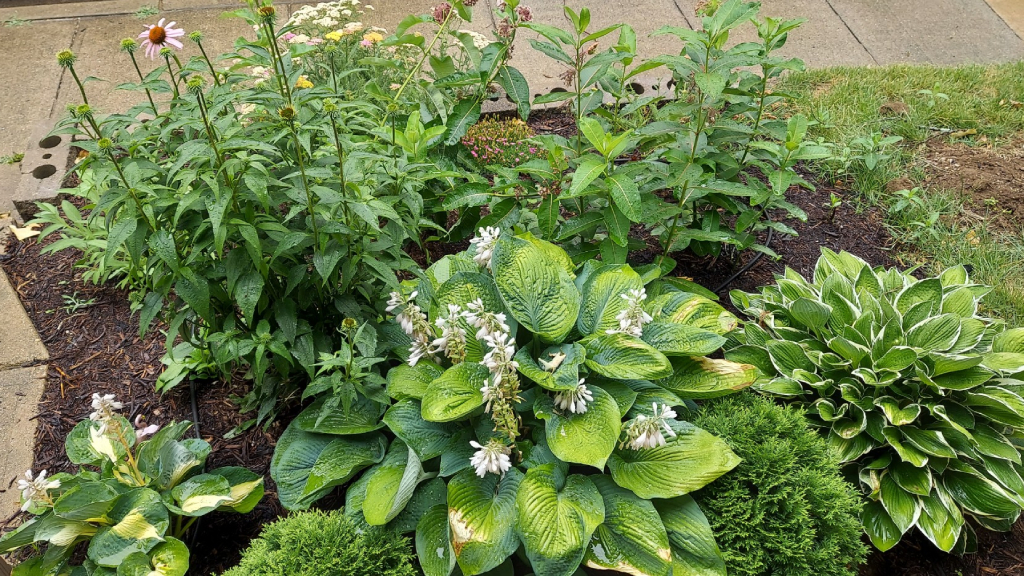
If you’re wondering how to remove grass for a garden, no-till gardening is the best method. It’s easy, eco-friendly, affordable, and really works. That sounds like a bad infomercial, but it’s true. Since discovering no-till gardening, I’ve used it to shrink my own lawn and helped my sister completely get rid of the grass in her front yard. Let’s go over how to turn your monoculture lawn into a beautiful, biodiverse garden.
Why Convert Your Lawn to a Garden With the No-Till Method
No-till or no-dig gardening is a sustainable method of gardening that, you guessed it, doesn’t require digging. That’s great news for gardeners and plants. No-till gardening is accessible and can help prevent back pain as well as improve your soil, which in turn helps plants.
It’s Good for Soil
Tilling can disrupt important organisms in the soil, bring buried weed seeds to the surface, and contribute to both soil erosion and compaction. The no-till method eliminates those problems. It helps build healthy soil and suppresses weeds.
Think of a no-till garden as a compost pile in situ. It is composed of layers of newspaper or cardboard, compost, and mulch placed on top of the lawn you want to convert to garden. As the grass breaks down and decomposes, it adds nutrients to the soil of your new garden bed.
It’s Sustainable
No-till gardening, also known as sheet mulching, is sustainability at its finest. It doesn’t create waste–in fact it puts waste like newspaper and cardboard to good use–and it doesn’t require harmful chemicals like pesticides to kill grass for a garden bed.
How to Convert Your Lawn to a Garden
Converting your lawn to a garden is simple. Here’s how to do it in 5 easy steps:
1. Cut the Grass
Mow grass short and leave clippings in place. They will be the first layer of compost in your no-till garden. At this stage, you can also use an edger to create a clean break between the remaining lawn and your new garden bed, but this is optional.
Sign up for the Gardening Know How newsletter today and receive a free copy of our e-book "How to Grow Delicious Tomatoes".
2. Cover With Newspaper or Cardboard
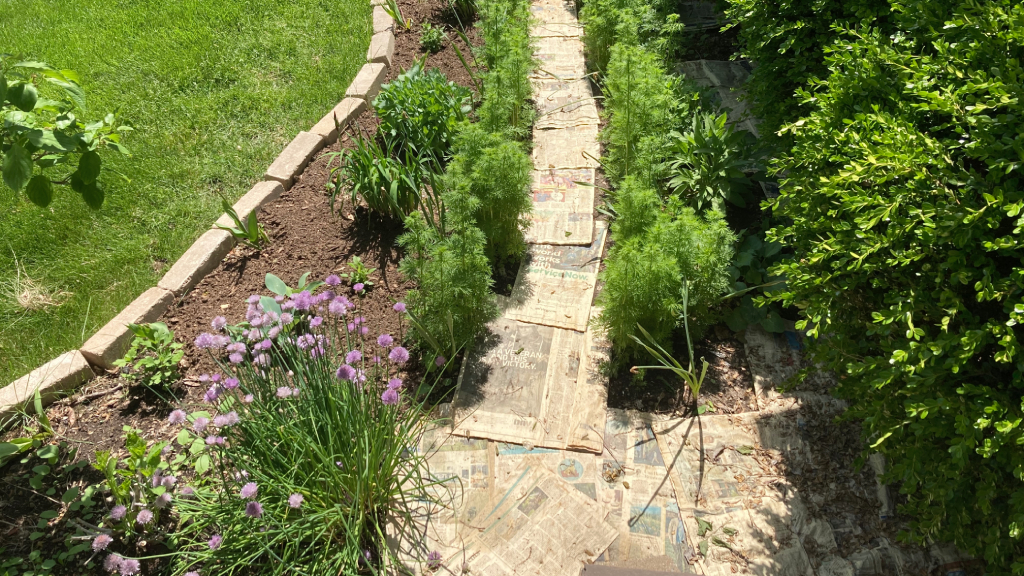
Cover the desired area with 4-6 layers of newspaper or 1-2 layers of cardboard (make sure to remove any adhesive labels or tape). You can also use brown paper bags from the grocery. When killing grass with cardboard or paper, it’s essential to overlap the sheets by at least 2 inches (5 cm.) or else grass will grow through the cracks.
3. Water
Once you’ve covered the desired area, thoroughly wet the cardboard or papers with water. If you use newspaper or brown paper bags, it’s good to water as you cover the area. One gust of wind can send papers flying. Avoid stepping on the papers after watering. The wet newspapers are easy to tear and any holes you create will become weak points where grass can regrow.
4. Add Compost and Mulch
Spread at least 2 in. (5 cm.) of mature compost over the wet cardboard or paper and top with 2-4 in. (5-10 cm.) of mulch.
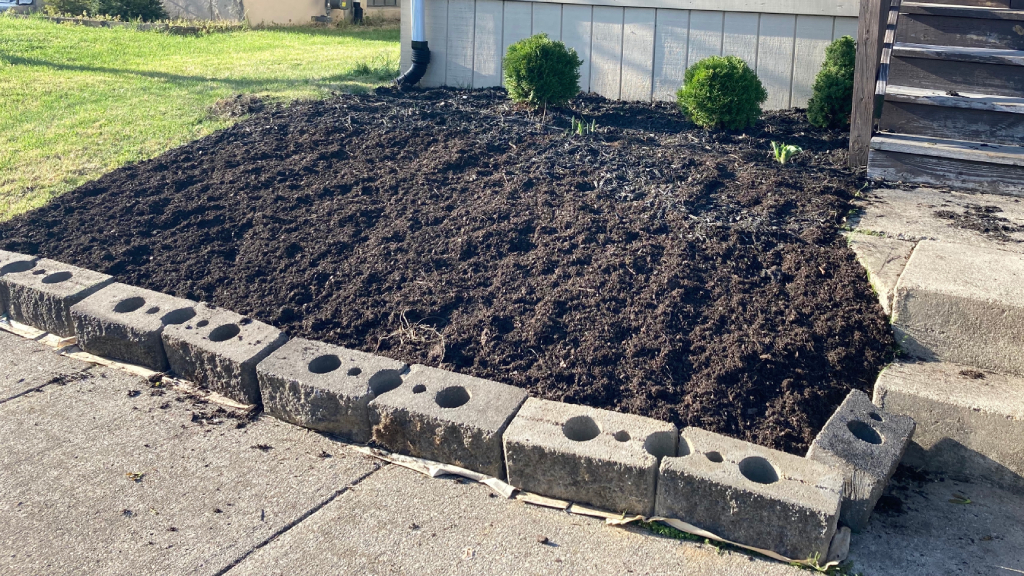
If you don’t have compost that’s ready for use, spread 2 in. (5 cm.) of green material, like grass clippings or animal manure, then top with 2 in. (5 cm.) of brown material, like dry leaves or wood chips.
Alternate layers of green and brown material until the bed measures about 18 in. (46 cm.) tall. This seems high, but by layering organic material you are essentially creating a compost pile. It will shrink as the material decomposes and forms the soil of your new garden bed. Top with 2-4 in. (5-10 cm.) of mulch and water again.
5. Plant
If you used layers of green and brown compost to build your no-till bed, you need to wait until the layers decompose before you plant. Create your garden bed in fall so it has all winter to decompose. Then in spring, your new bed will be ready to plant.
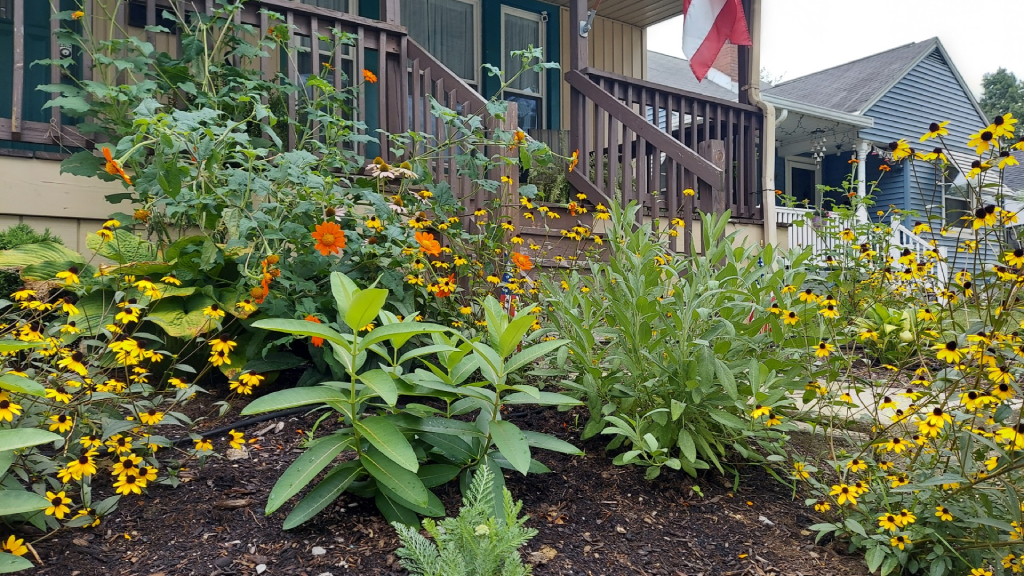
If you created your no-till bed with mature compost, you’re ready to plant now! You can sprinkle seeds over the new bed to turn your lawn into a prairie garden. Perennials will take a year or two to bloom, but annuals will give you gorgeous flowers the first year.
Want an instant facelift for your front yard? Choose your favorite plants from the nursery and plant directly into your new bed. This is the only digging you will need to do in your new no-dig front yard garden.

Laura Walters is a Content Editor who joined Gardening Know How in 2021. With a BFA in Electronic Media from the University of Cincinnati, a certificate in Writing for Television from UCLA, and a background in documentary filmmaking and local news, Laura loves providing gardeners with all the know how they need to succeed, in an easy and entertaining format. Laura lives in Southwest Ohio, where she's been gardening for ten years, and she spends her summers on a lake in Northern Michigan. It’s hard to leave her perennial garden at home, but she has a rustic (aka overcrowded) vegetable patch on a piece of land up north. She never thought when she was growing vegetables in her college dorm room, that one day she would get paid to read and write about her favorite hobby.