Digging Into Different No-Till Gardening Methods – Which One Is Right For You?
No-till gardening methods are trending, and for good reasons. Do yourself and the Earth a favor by learning some easy alternatives to tilling garden soil.


Sign up for the Gardening Know How newsletter today and receive a free copy of our e-book "How to Grow Delicious Tomatoes".
You are now subscribed
Your newsletter sign-up was successful
No-till or no-dig gardening methods are a growing trend, both in agriculture and home gardening. Tilling the soil has been found to be more damaging than beneficial to soil and plants. These alternatives to tilling will help you improve your soil and boost plant health in your garden.
Tilling garden soil is an old agricultural practice, but it has been reconsidered in recent years with a no-till garden trend. The no-till movement has taken off for field crops, but home gardeners are getting in on the practice too. Find out why it’s better not to till and some alternatives to tilling that you can use at home.
About No-Till Practices
Tilling has traditionally been used to break up soil for planting and to mix in organic matter, like compost. Agricultural research has shown that this practice might cause more harm than good. Tilling can actually lead to greater compaction of the soil, which restricts the flow of oxygen, water, and nutrients.
Tilled soil can also increase surface runoff and erosion. Tilling disrupts microorganism ecosystems in the top few inches of soil that benefit plants. All this evidence against the practice has led to a no-till movement in farming but also for home gardeners.
Different No-Till Gardening Methods
If you’re used to tilling the soil in spring, you might find no-till methods a little unusual at first. In the long run, these no-till gardening techniques will improve your soil and plant health. Here are some ideas to get you started.
Sheet Mulching or “Lasagna Style”
The lasagna gardening method uses layers of organic material to create rich, healthy soil. You can use compost with this method, or create compost in place using various types of organic waste. It starts with a layer of paper or cardboard to smother weeds and to create a dark, moist environment for worms to gather and decompose materials.
Next, you can add either pre-made compost or layers of brown and green organic waste. Start with a layer of brown material, like leaves, straw, wood ash, and sawdust. Then, add a layer of green material, like grass clippings and kitchen food waste. Keep layering material to create a rich soil and top with wood chips to retain moisture and further suppress weeds.
Sign up for the Gardening Know How newsletter today and receive a free copy of our e-book "How to Grow Delicious Tomatoes".
Ruth Stout

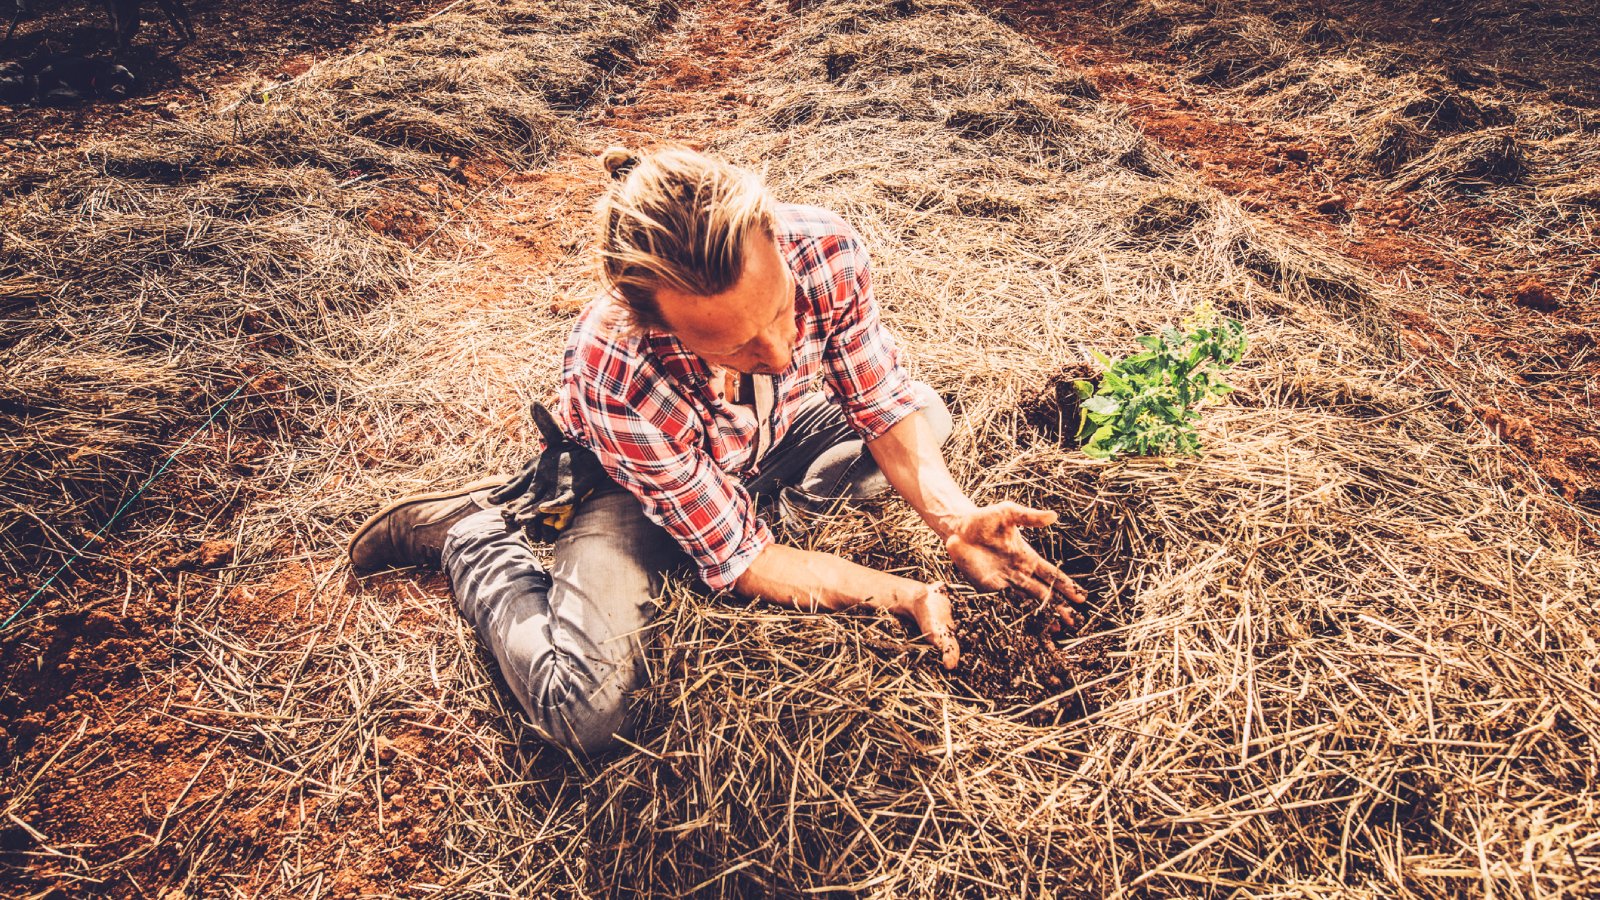
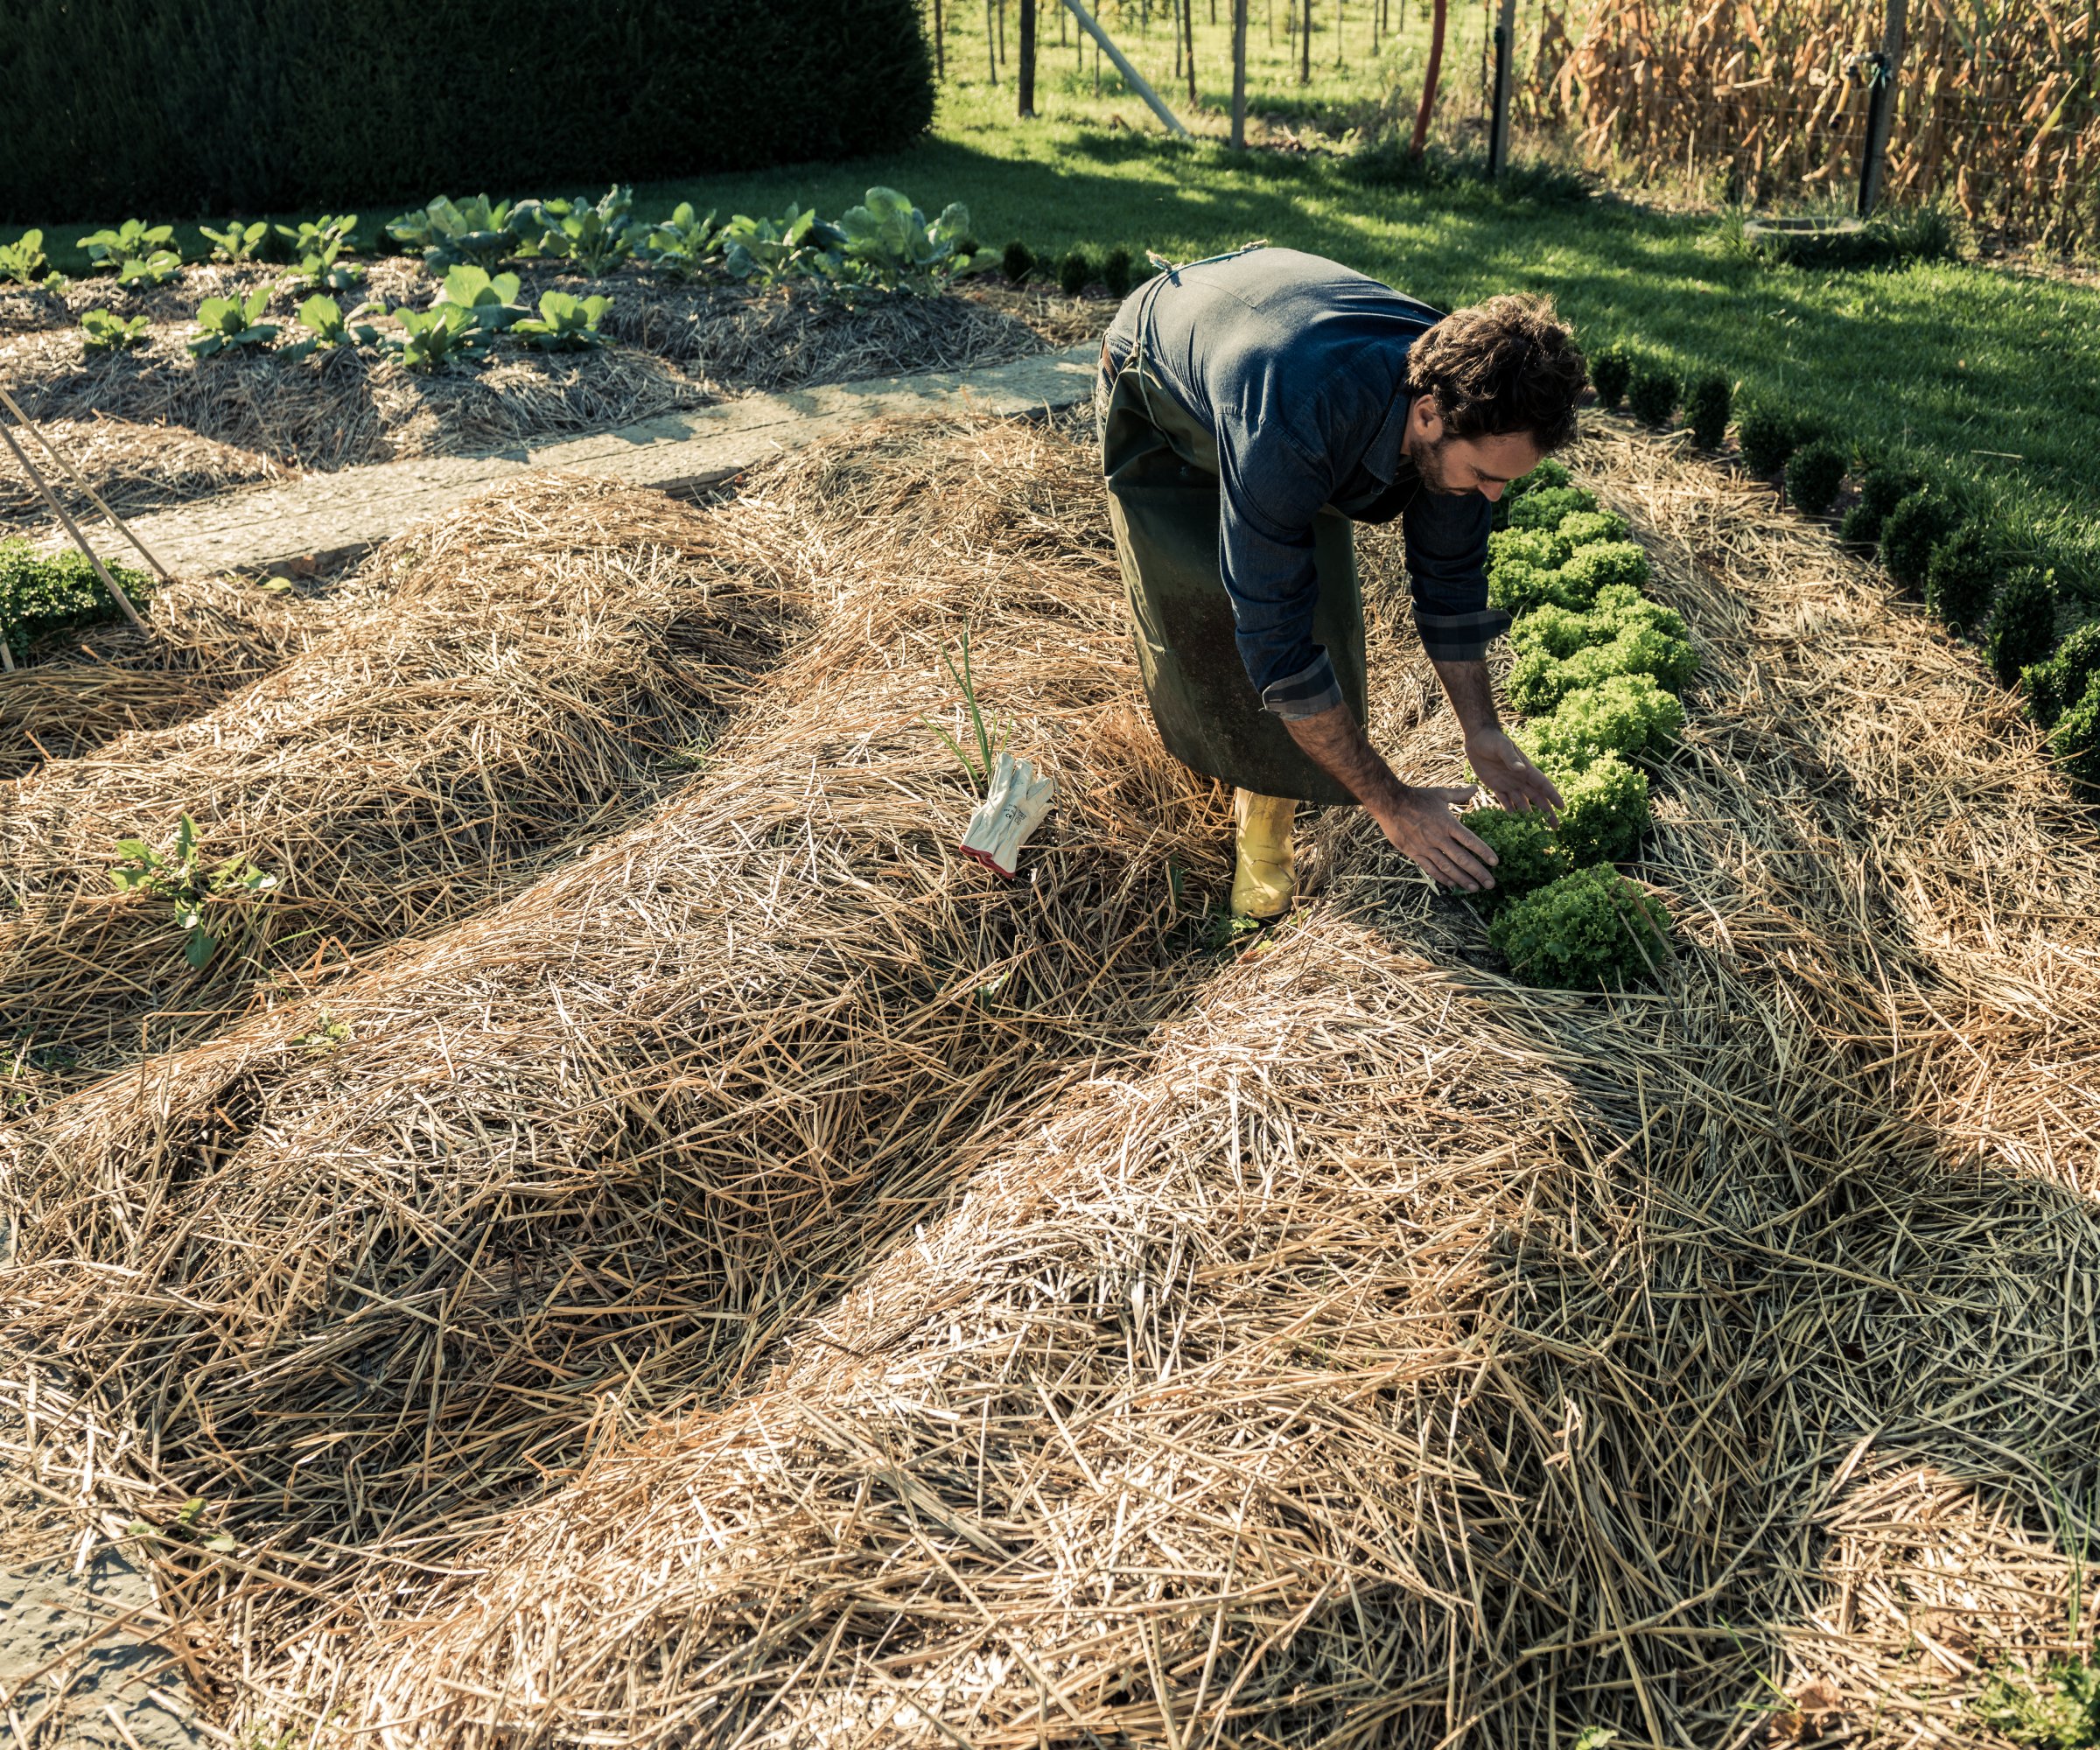
Ruth Stout, also known as “the Mulch Queen,” pioneered this style of gardening in the 1920s. The Ruth Stout Method is a very easy no-till strategy anyone can use. Simply add a layer of hay as mulch to the surface of soil and let nature take over. Add more hay every year, and it will decompose and add nutrients to the soil. When applied fresh, it acts like a mulch.
Hugelkultur

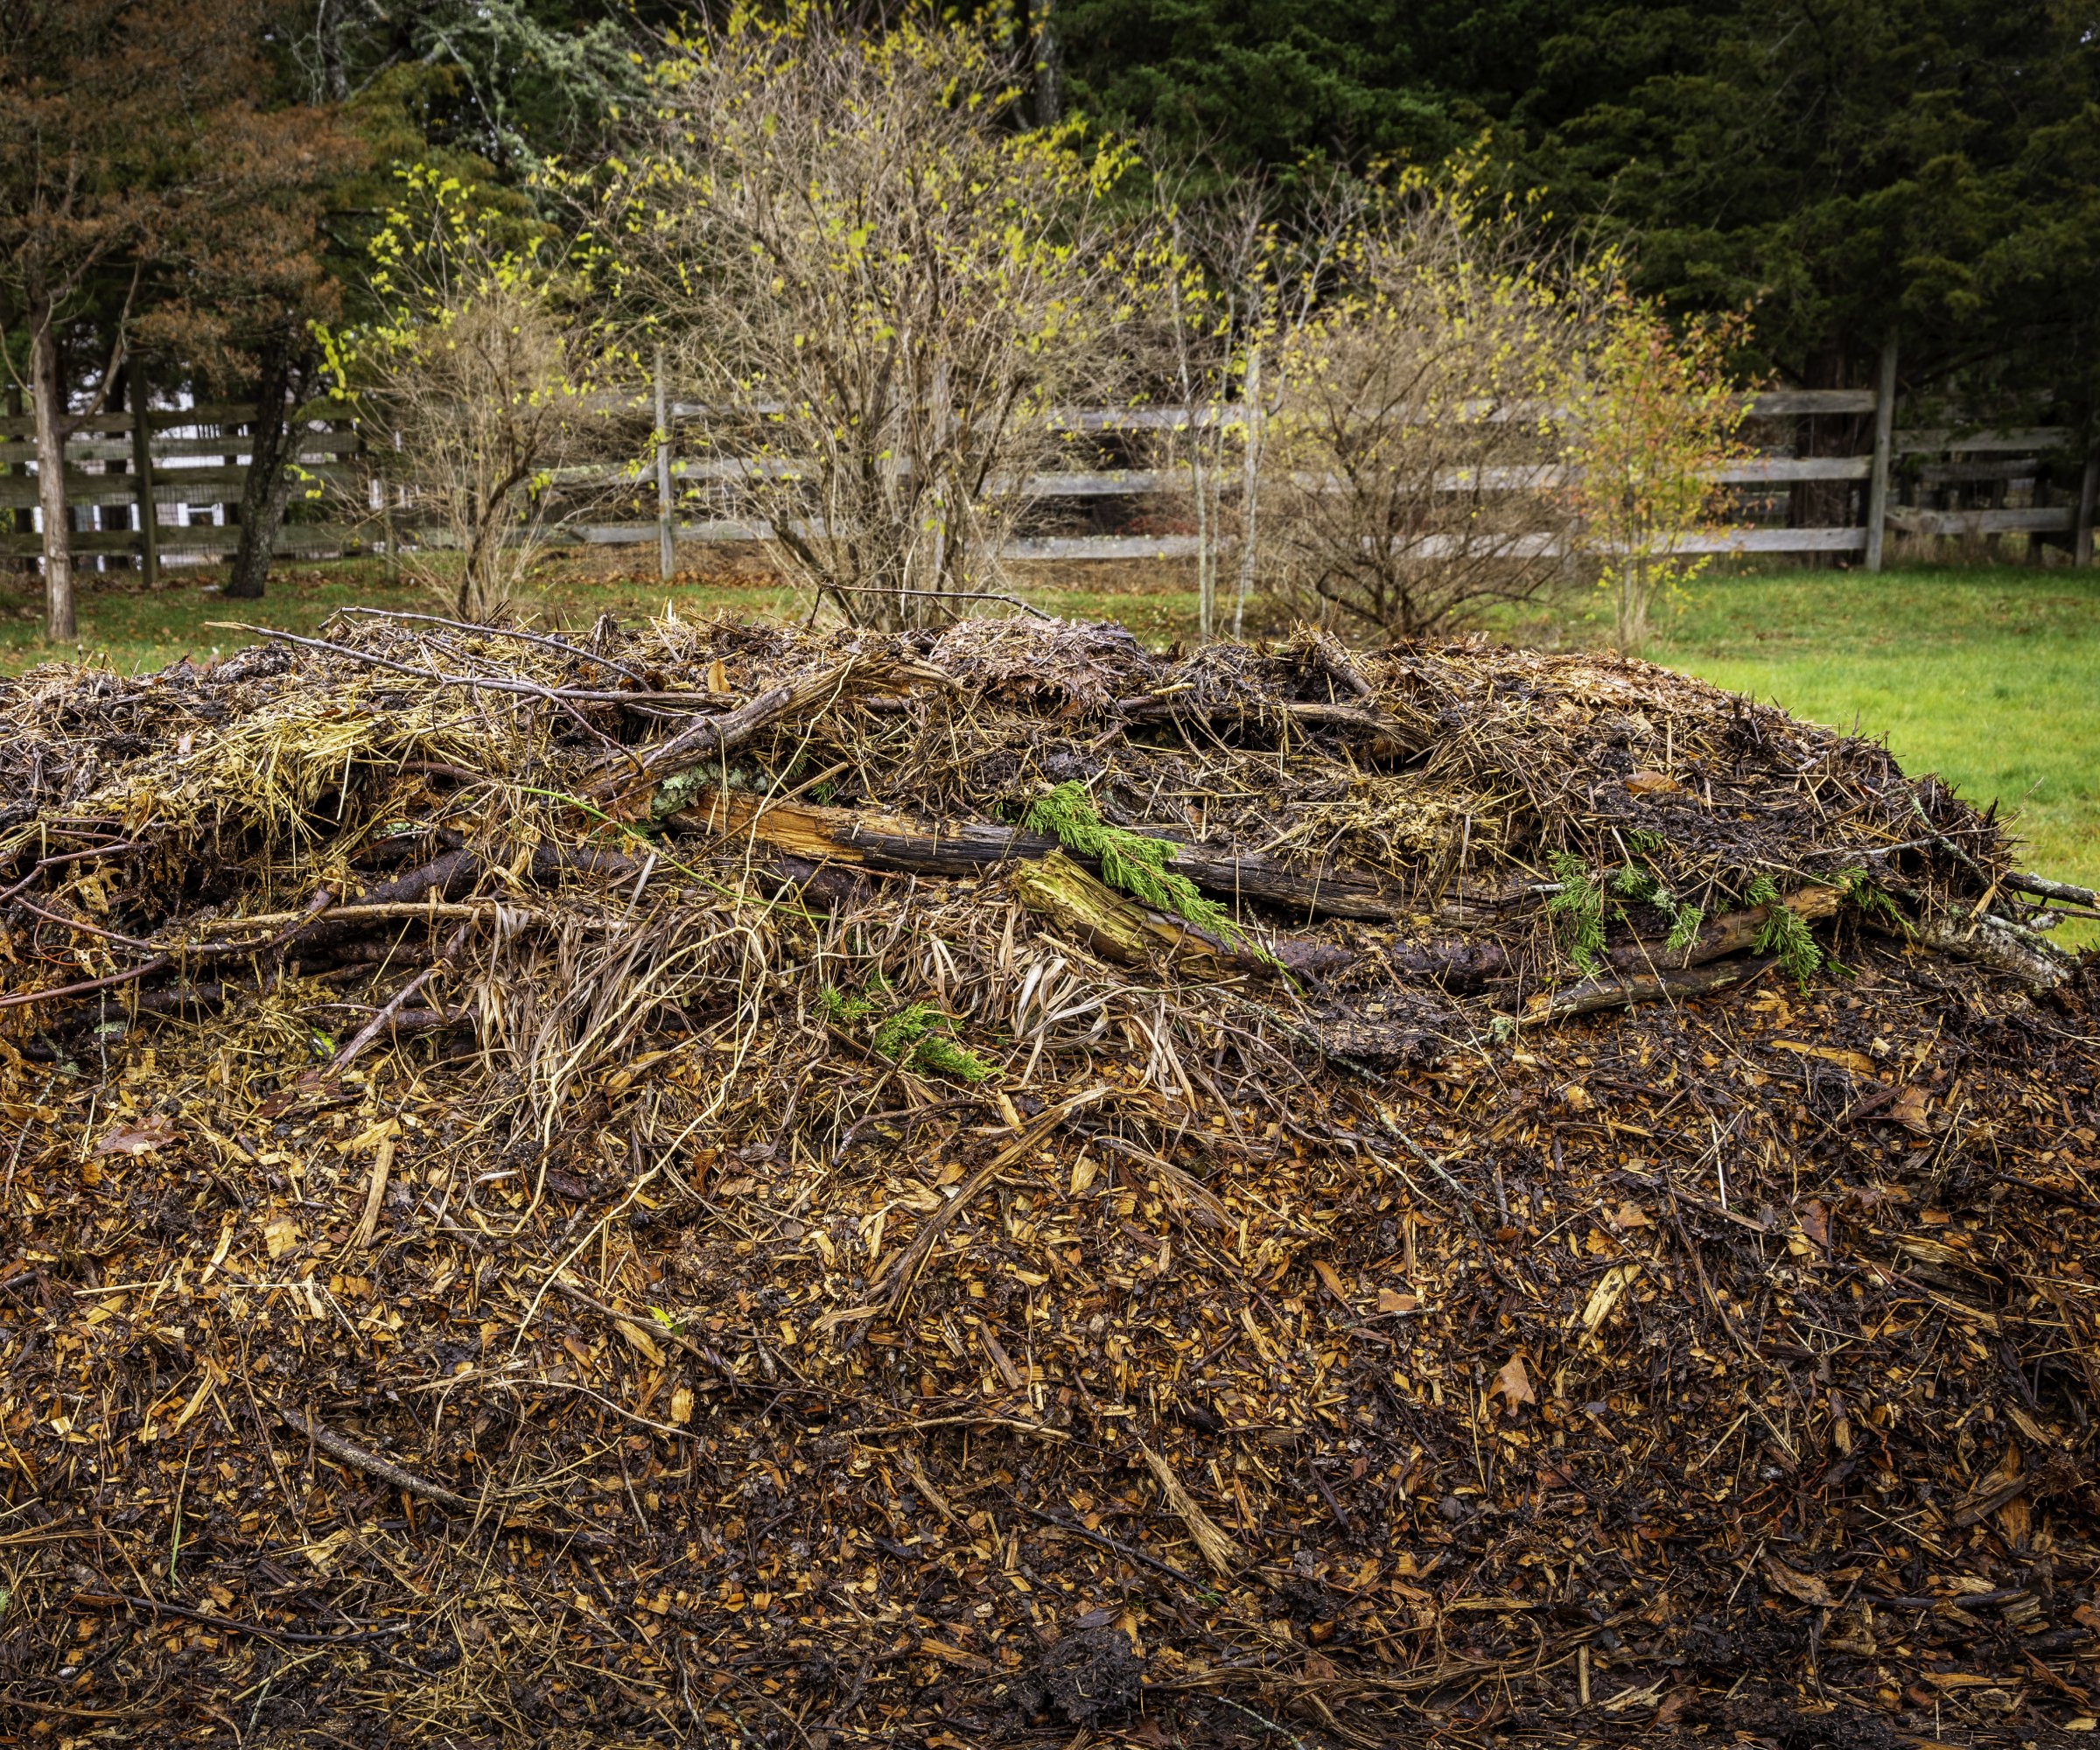
Hugelkultur means hill culture in German. It involves using raised, sloped beds made with soil, wood, and other organic materials. If constructed properly, it should retain moisture by catching using runoff. It also self-composts.
Hugels are constructed with logs and sticks on the bottom to form the basic sloping structure. On top of the wood go yard waste and other organic materials, followed by compost and topsoil as the top layer.
Back to Eden
The Back to Eden method is a type of layering or lasagna style no-till technique. It starts with a weed-smothering layer of paper or cardboard. This is followed by a layer of compost. The third and final layer is a thick layer of wood chips, about four inches (10 cm).
The wood chip layer is the characteristic step of the Back to Eden gardening method as compared to other layering techniques. The idea of creating this layer is that, over time, the wood chips break down and create nutrient-rich soil. If done correctly, like the Hugelkultur method, a Back to Eden bed self-composts. If you start the process early enough, you don’t need compost. The decomposing chips will enrich the existing soil.
Straw Bale Gardening

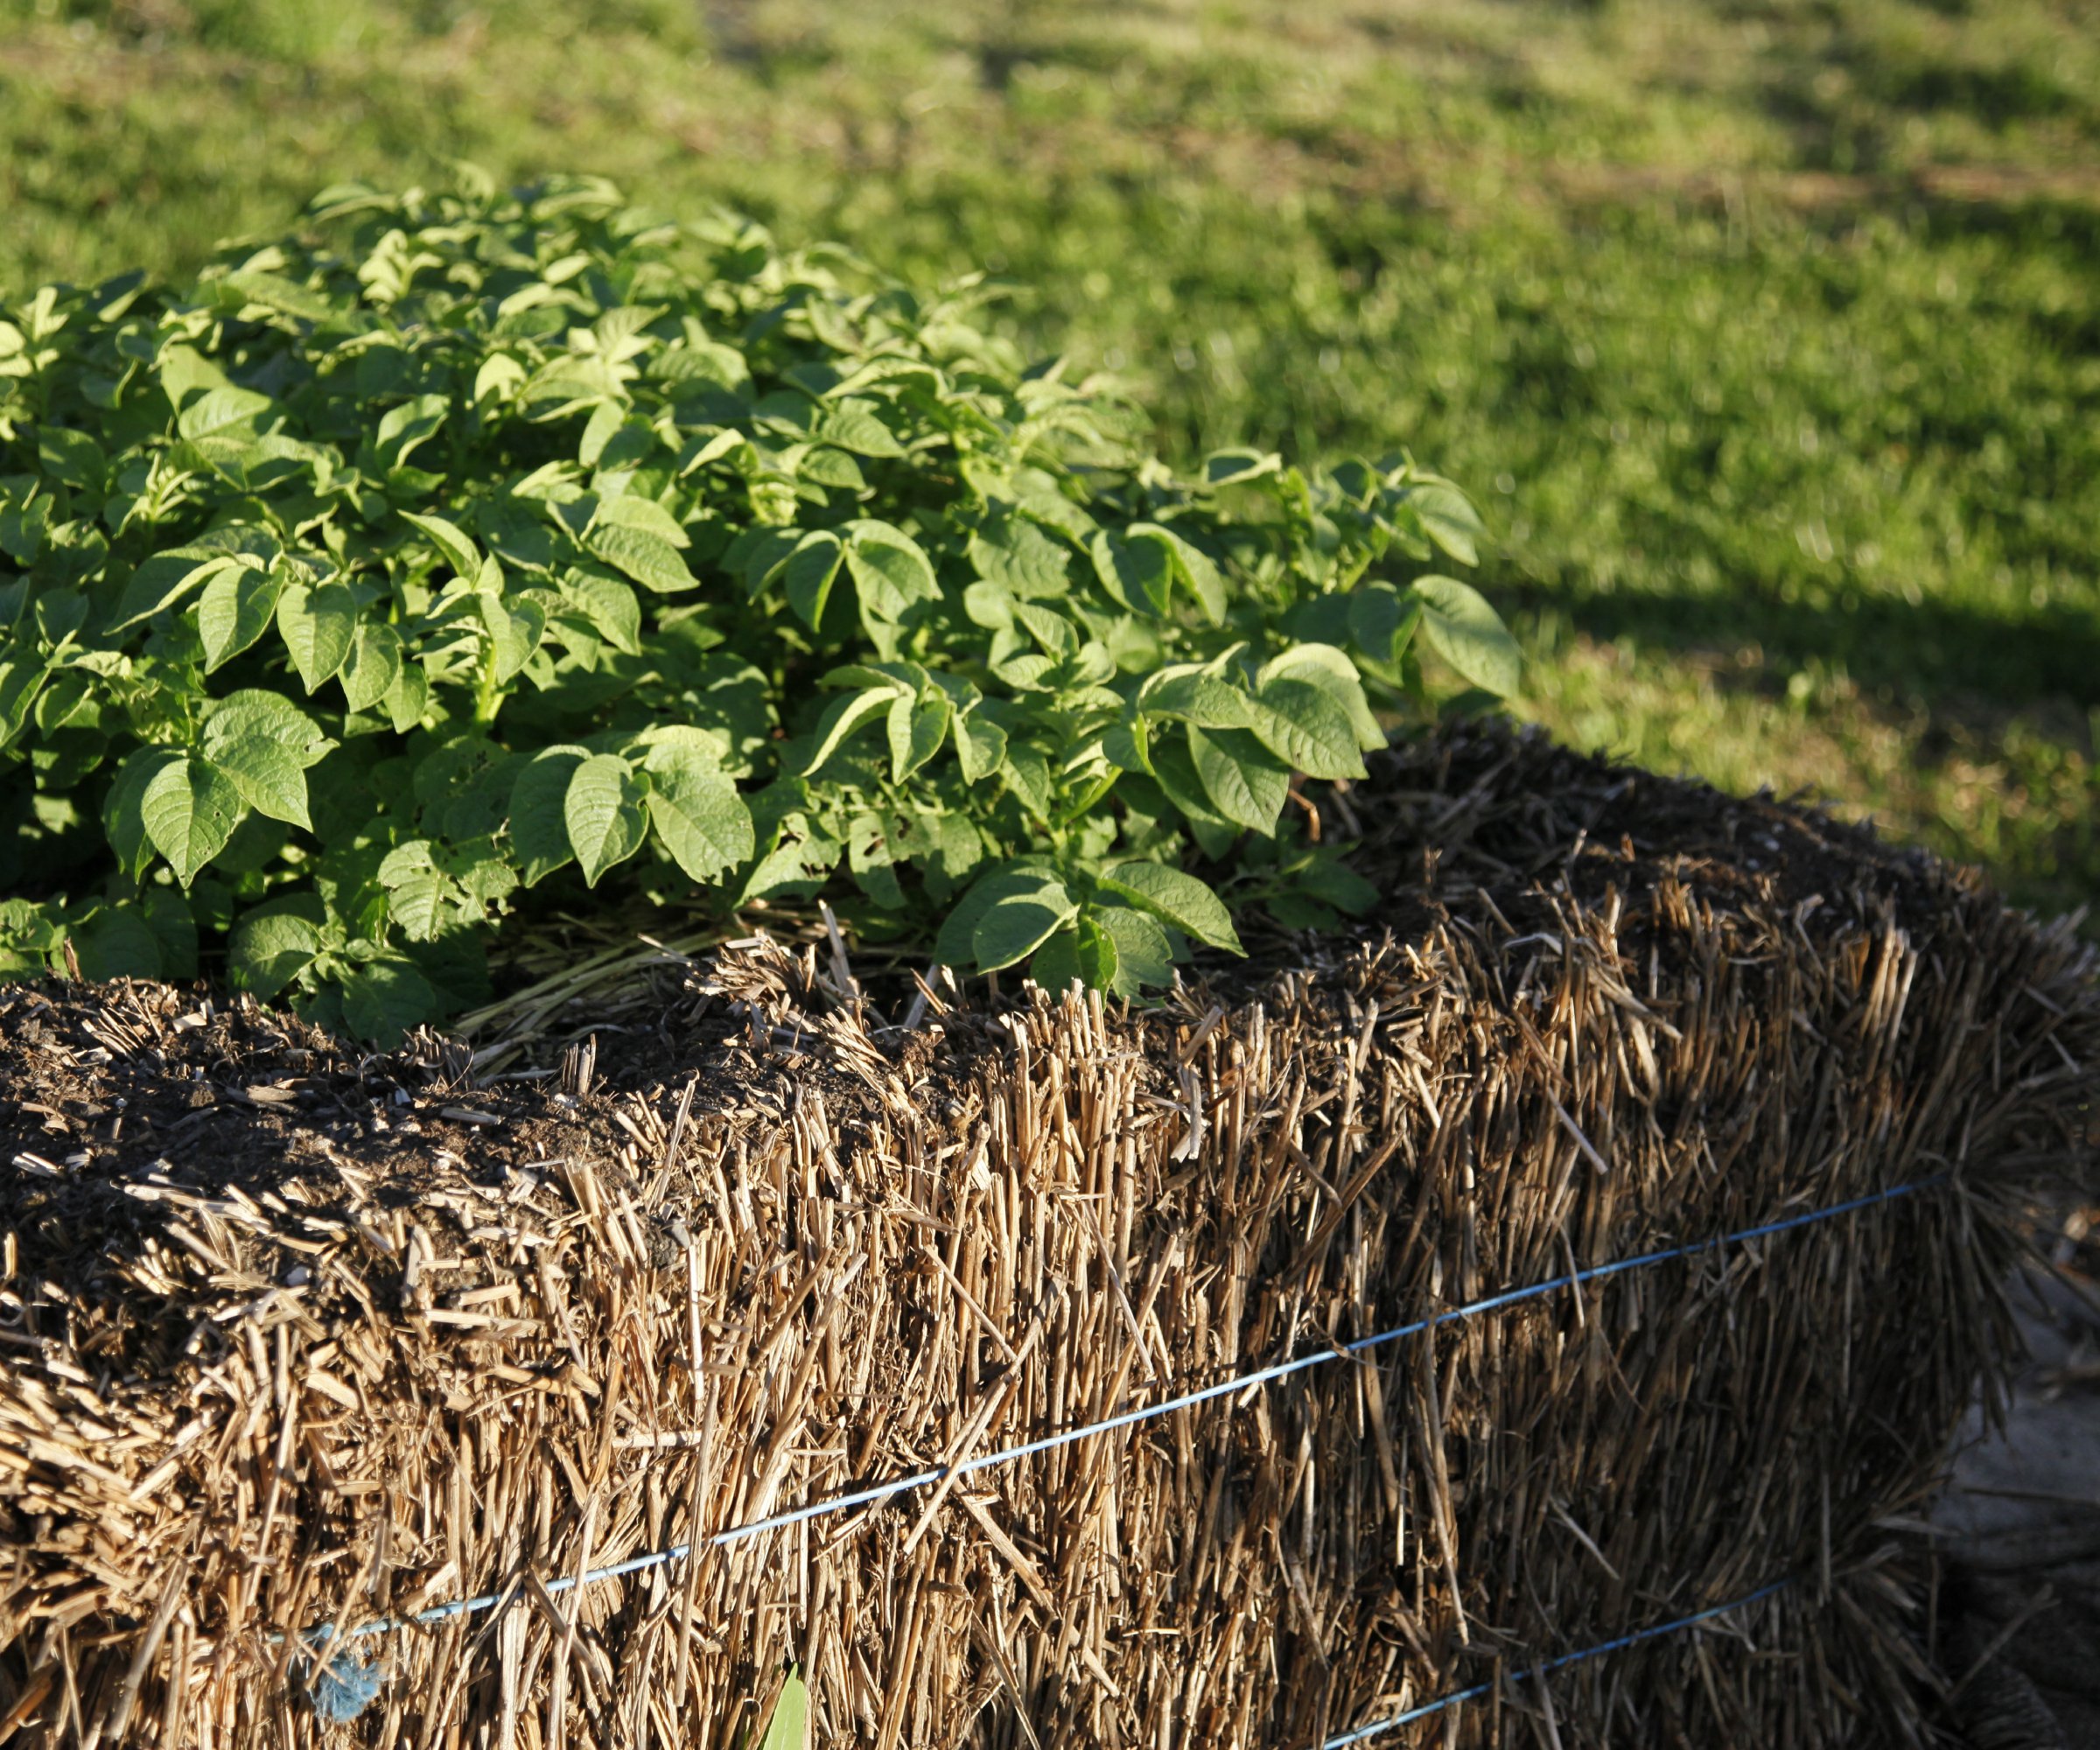
In a straw bale garden, the plants grow right in a bale of straw. It starts with watering bales and adding fertilizer for a couple of weeks. Keeping them moist and adding nutrients stimulates decomposition and creates a good environment for plants to grow.
When it’s ready, add a thin layer of soil to the top of the bale and sow seeds. You can also skip the soil and poke seeds directly into gaps in the straw. Keep the bales moist throughout the growing season and add fertilizer as needed.
All of these methods can be used in spring, but for the best results, prepare no-till beds in fall. This allows time for decomposition and to create a very healthy environment for plants.

Mary Ellen Ellis has been gardening for over 20 years. With degrees in Chemistry and Biology, Mary Ellen's specialties are flowers, native plants, and herbs.