Sign up for the Gardening Know How newsletter today and receive a free copy of our e-book "How to Grow Delicious Tomatoes".
You are now subscribed
Your newsletter sign-up was successful
Making pebble walkways is a good way to keep people and critters from tromping all over your hard labor, plus a walkway leads not only the eye but the feet down a trail to discovering new areas within the garden. An outdoor pebble carpet also keeps debris contained within a border which offsets plant groupings and adds a bit of pizzazz.
There are a number of pebble walkway ideas, from the simplest to the more complex, such as creating a mosaic pebble pathway. The following article contains ideas and instructions on making pebble walkways and how to create a pebble mosaic walkway.
DIY Pebble Walkway Ideas
Sure, you can use pavers or even have a pathway poured, but a much more natural approach is making meandering pebble walkways that look much more natural within the landscape. You can choose the shade of pebbles that will most complement your plants or opt for a unique, contrasting color scheme.
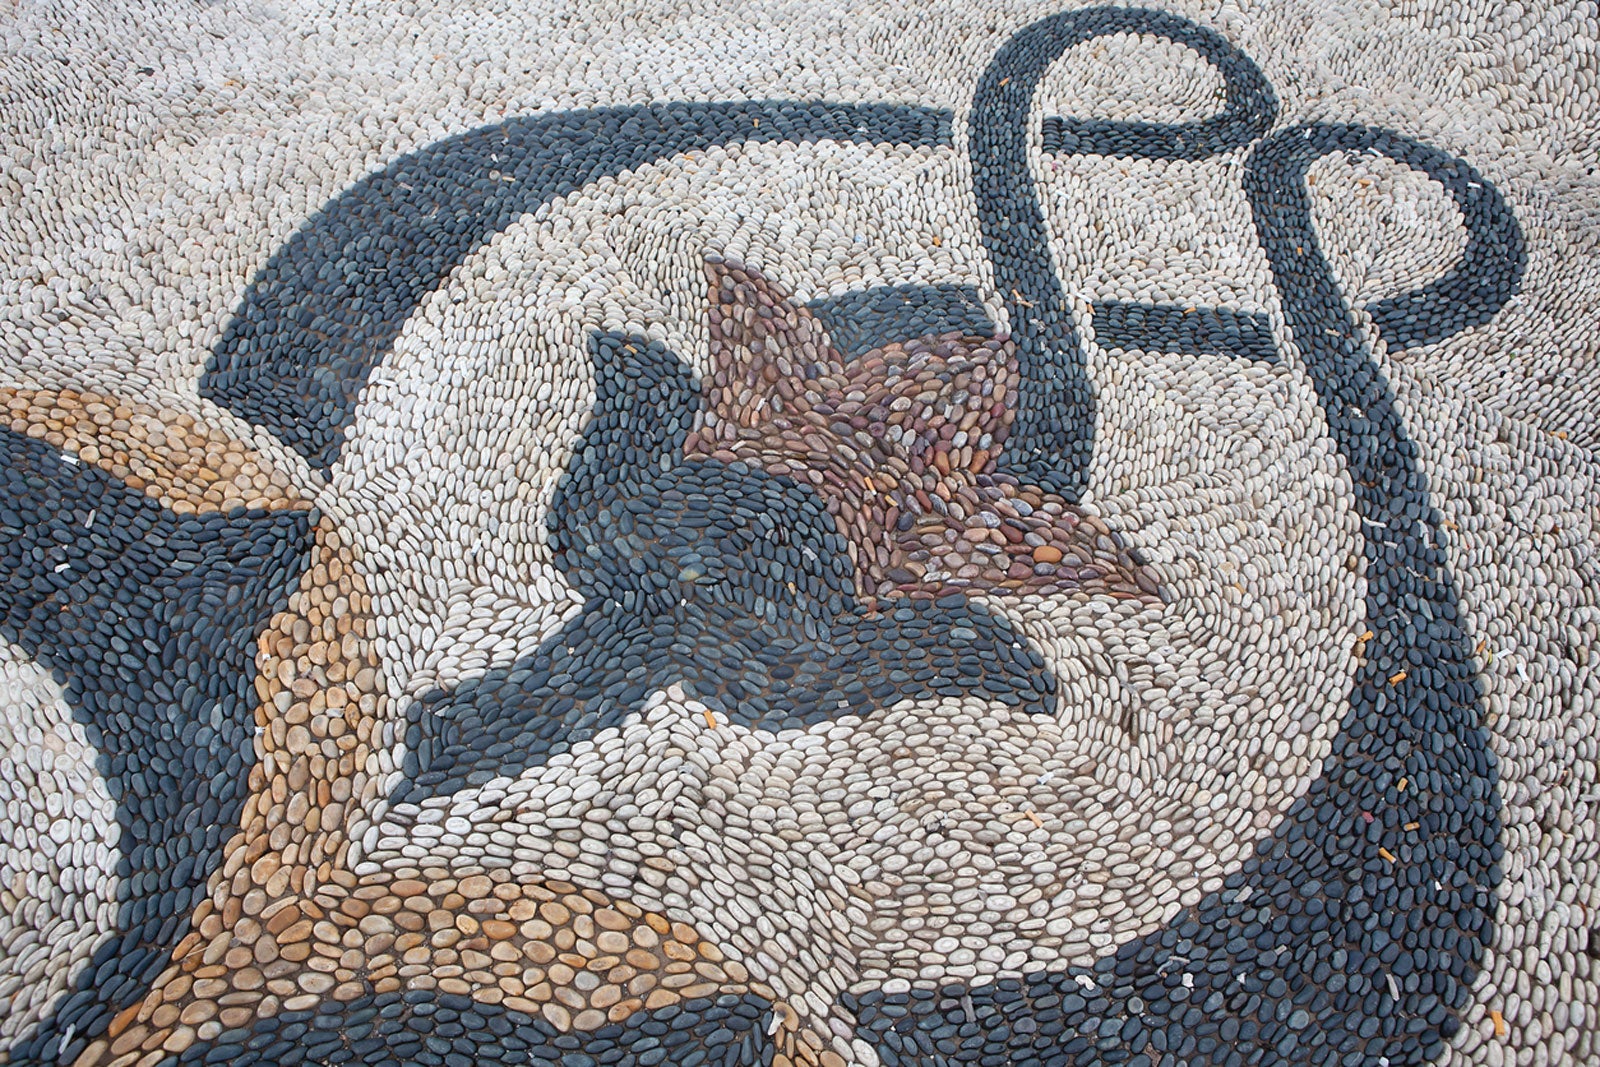
Another DIY pebble walkway idea begins simply with stones but ends up being anything but simple. A mosaic pathway incorporates the same ideas as a natural pebble walkway but amps it up a notch or two.
Pebble mosaic walkways were first evident in Mesopotamia in the 3rd millennium BC. They were created in Tiryns in Mycenean Greece and during the classical Ancient Greek and Roman histories. A mosaic is a pattern or design created out of pebbles. More modern mosaics may be made out of glass, shells, or beads.
Making Pebble Walkways
Making a pebble walkway is fairly simple. First, the path is laid out using string. Then grass and soil are removed from within the path outline. The bottom of the path is raked smooth and tamped down to a depth of about 4 inches (10 cm.).
The bottom of the path is then lined with 2-3 inches (5 to 7.5 cm.) of crushed stone, which is also raked smooth. This is misted with a hose and then tamped down. The first layer of stone is then covered with landscape fabric, shiny side up, and folded to fit the curves of the pathway.
Sign up for the Gardening Know How newsletter today and receive a free copy of our e-book "How to Grow Delicious Tomatoes".
Install either metal or plastic edging along both sides of the path. Tamp the edging down. The spikes on the edging will push through the landscape fabric and hold it in place.
Pour a final layer of pebbles over the landscape fabric and smooth with the back of a rake until level.
How to Create a Pebble Mosaic Pathway
A mosaic pathway essentially becomes an outdoor pebble carpet complete with texture and design. Stones and pebbles can be gathered over time from nature or purchased. Either way, the first order of business is to sort the stones according to color and size. Wetting rocks is the best way to see their colors. Place sorted stones in buckets or other separate containers.
Stone sizes can and should vary in size and a good bit of pea gravel to act as filler is also a good idea. Look for stones that have a flat side that will end up being on the surface of the mosaic.
The next step is to make a drawing of the mosaic. This isn’t strictly necessary but will help to keep you on track, although spur-of-the-moment creativity just might happen. What you choose to incorporate in the mosaic pathway is up to you. It may be fraught with symbolism or just organized chaos.
Once you have a design in mind, dig out the pathway, as above for the pebble walkway. Line the path with edging and spread a couple of inches (5 cm.) of compacted crushed rock and 3 inches (7.5 cm.) of mortar for the base of the mosaic. A deeper gravel base is needed for areas of frost heave or you may choose to pour a path of concrete and build the mosaic on top.
Use either your feet, a tamper, or, for large projects, a vibrating plate compactor to make a nice, solid base.
Allow the base to cure for a couple of days and then prepare your mortar. Mix small batches of mortar at a time, until it is the consistency of stiff pudding. You will need to work fairly quickly. A good idea is to plan on making a mosaic pathway on a cool, cloudy day. Wear gloves and a mask as you mix the mortar.
Pour a layer of the mortar on the compacted gravel base, spreading it to fill the edges. This layer should be a half-inch lower than the finished product to allow for the pebbles.
Wet your stones prior to setting them in the mortar so you can see their colors and striations. Set smaller pebbles on the edges. Space stones close together so the least amount of mortar shows. If need be, remove some mortar when setting larger stones.
As you work along pathway sections, place a piece of plywood over the finished portions and walk on it to press the pebbles level. When it is level, spray the mosaic until it is clean and trim any leftover mortar with a trowel.
Keep the mortar damp on your mosaic pebble pathway for a few days to slow the drying process, which will make it stronger. If there is a mortar residue on the pebbles after the path has cured, remove it with hydrochloric acid and a rag. Wear protection and then rinse the acid off with water.

Amy Grant has been gardening for 30 years and writing for 15. A professional chef and caterer, Amy's area of expertise is culinary gardening.
