How to Make a DIY Moss Pole for Houseplants – It's the Best Way to Support Monstera, Pothos & More
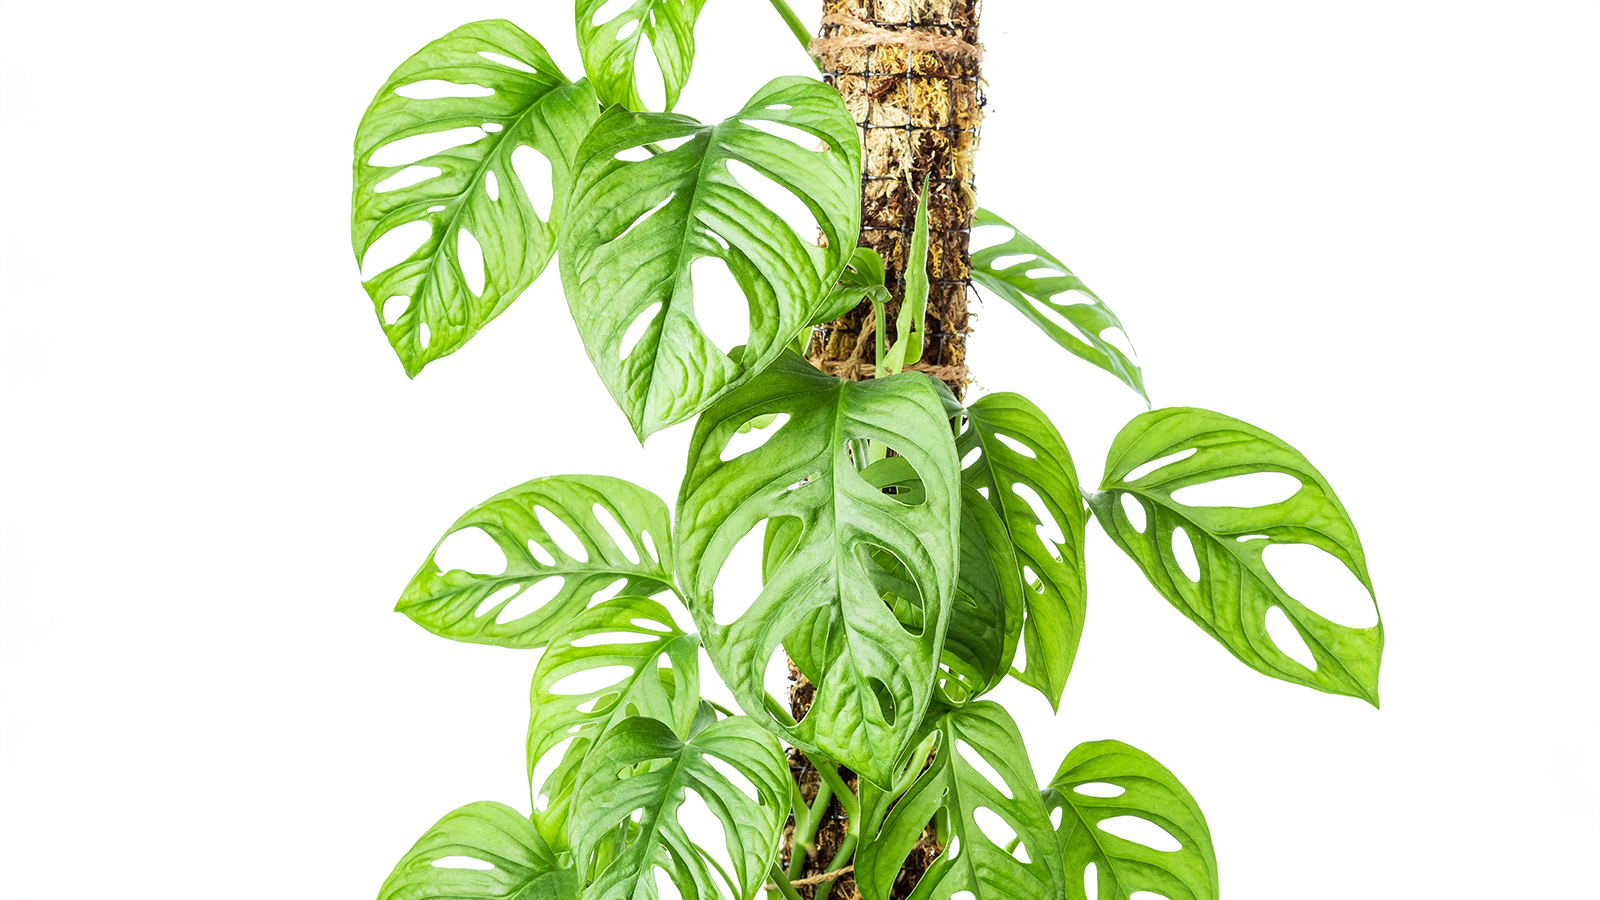
Making a moss pole is a quick and easy way to create an attractive support for popular climbing houseplants such as monstera, pothos, and philodendron.


Sign up for the Gardening Know How newsletter today and receive a free copy of our e-book "How to Grow Delicious Tomatoes".
You are now subscribed
Your newsletter sign-up was successful
A DIY moss pole is a fun and useful addition to your houseplant collection. Moss poles are perfect natural supports for vining tropical plants, allowing their foliage to be shown off for a dramatic display and encouraging healthy growth. Whether you're nurturing a vining pothos or majestic monstera, making your own moss pole is an easy and satisfying way to help plants reach their full potential.
Many houseplants are climbers or epiphytes in their natural environment, meaning they grow on trees and other surfaces, rather than in the ground. A moss pole recreates this environment, providing a sturdy support for plants to attach themselves to. If you notice your plants are starting to droop or sprawl out, then it's a good time to support climbing houseplants with something more natural than a plastic stake or trellis.
Monstera deliciosa, pothos, and philodendrons are among the most popular indoor plants that love to climb. These species have vigorous growth habits, which means they respond beautifully when given a suitable vertical surface to cling to. They'll not only grow taller but often develop larger, more fenestrated leaves with stronger stems. This benefit is magnified when plants' aerial roots can connect with moisture and organic matter like moss.
What Are the Benefits of a Moss Pole?
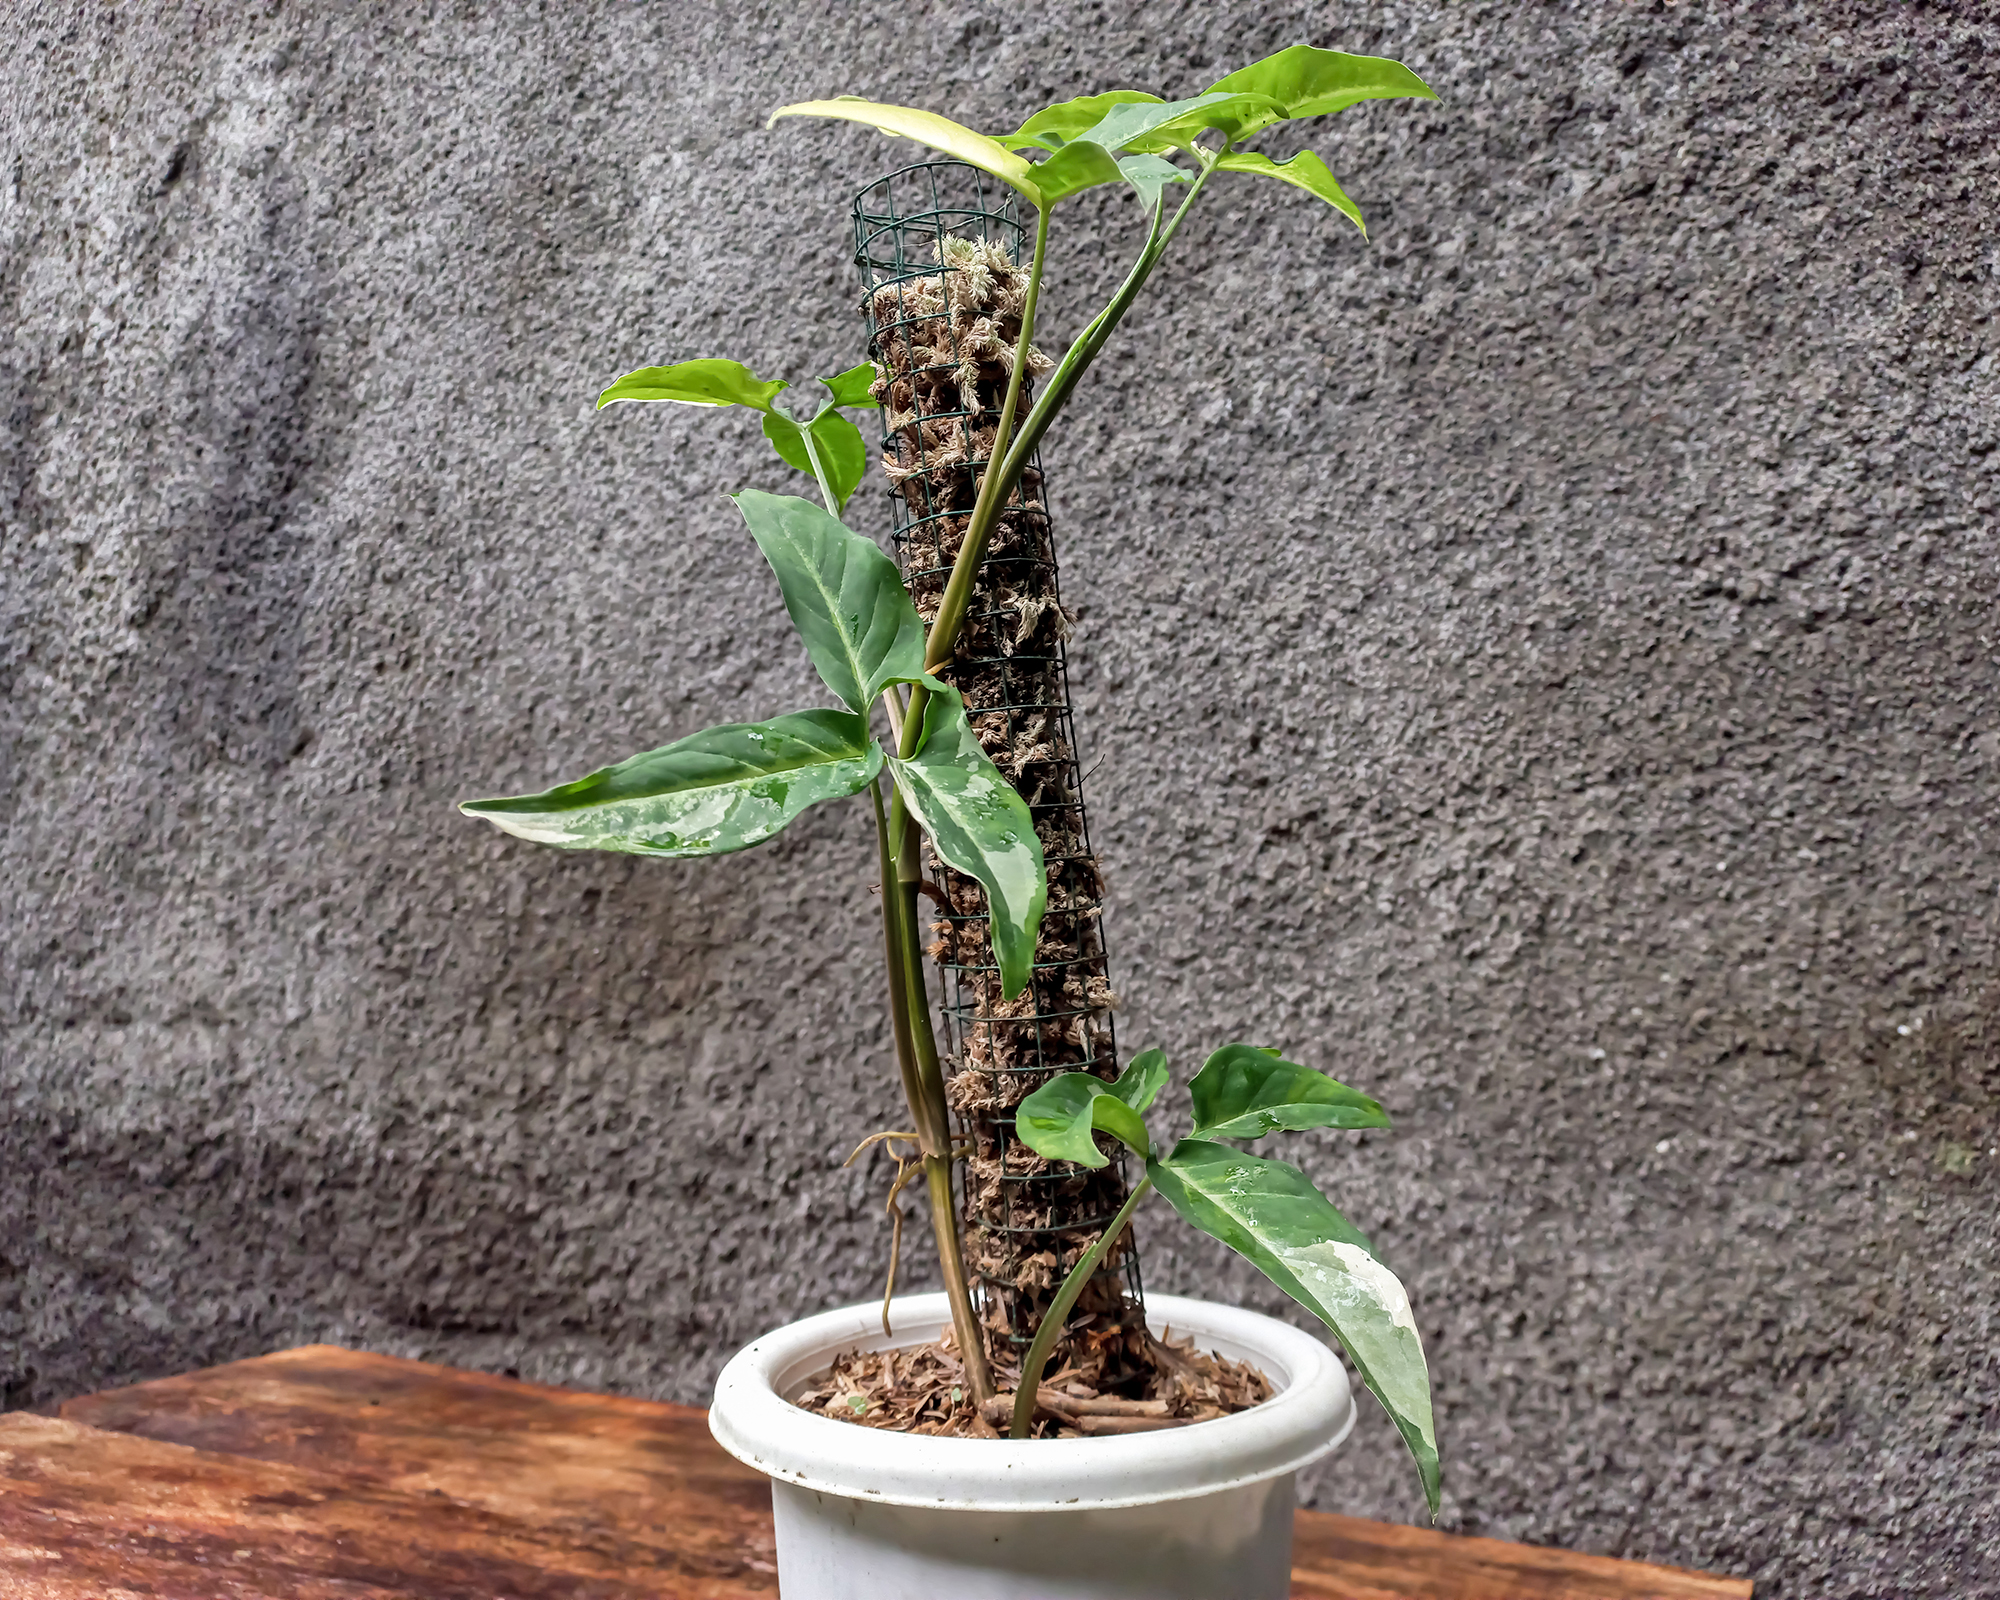
A moss pole is exactly what it sounds like: a vertical pole wrapped in sphagnum moss. The purpose is to provide a support for climbing plants by mimicking the kinds of surfaces they would climb in the wild. Adding a moss pole to a plant's container can lead to noticeable improvements in both health and appearance. Here are some key benefits of a moss pole for houseplants:
- Natural support: Many vining and climbing houseplants benefit from a softer, more organic support, compared to synthetic stakes or plastic trellises.
- Stronger plants: A moss pole allows climbing plants to anchor themselves more securely due to the material's natural texture. This generally improves the plant's strength.
- Bigger leaves: When plants like monstera or pothos can send aerial roots into a moss pole, it can trigger the growth of larger, more spectacular leaves.
- Healthier roots: Moist moss encourages epiphytic plants to grow beneficial aerial roots, similar to how they behave in rainforests.
- Better growth patterns: Instead of trailing or flopping, plants climb upwards, making for a more controlled yet dramatic display.

How to Make a DIY Moss Pole
You can purchase a pre-made moss pole, such as this K-Brands pack of two bendable moss poles from Amazon. Using bendable poles makes it easier to move the support just where you need it to go. However, making a moss pole yourself means you can customize the size and shape – and save money in the process. Here's a simple step-by-step guide:
- Choose your base: Start with a sturdy stake or pole to use as a core. Bamboo stakes, such as these from Amazon, work well and come in a variety of lengths. Alternatively, you can use a length of PVC pipe, like this one. Either way, make sure it’s the right size and strength to easily stay upright when inserted into the soil of the plant container.
- Mark the soil line: When placing the pole in the pot, the bottom portion below the soil needs to be bare. Mark this spot so you know where to stop adding moss.
- Soak your moss: Use sphagnum moss, which is available inexpensively from garden centers or through Amazon, like this Legigo premium moss. Soak it in water to make it pliable and easy to work with.
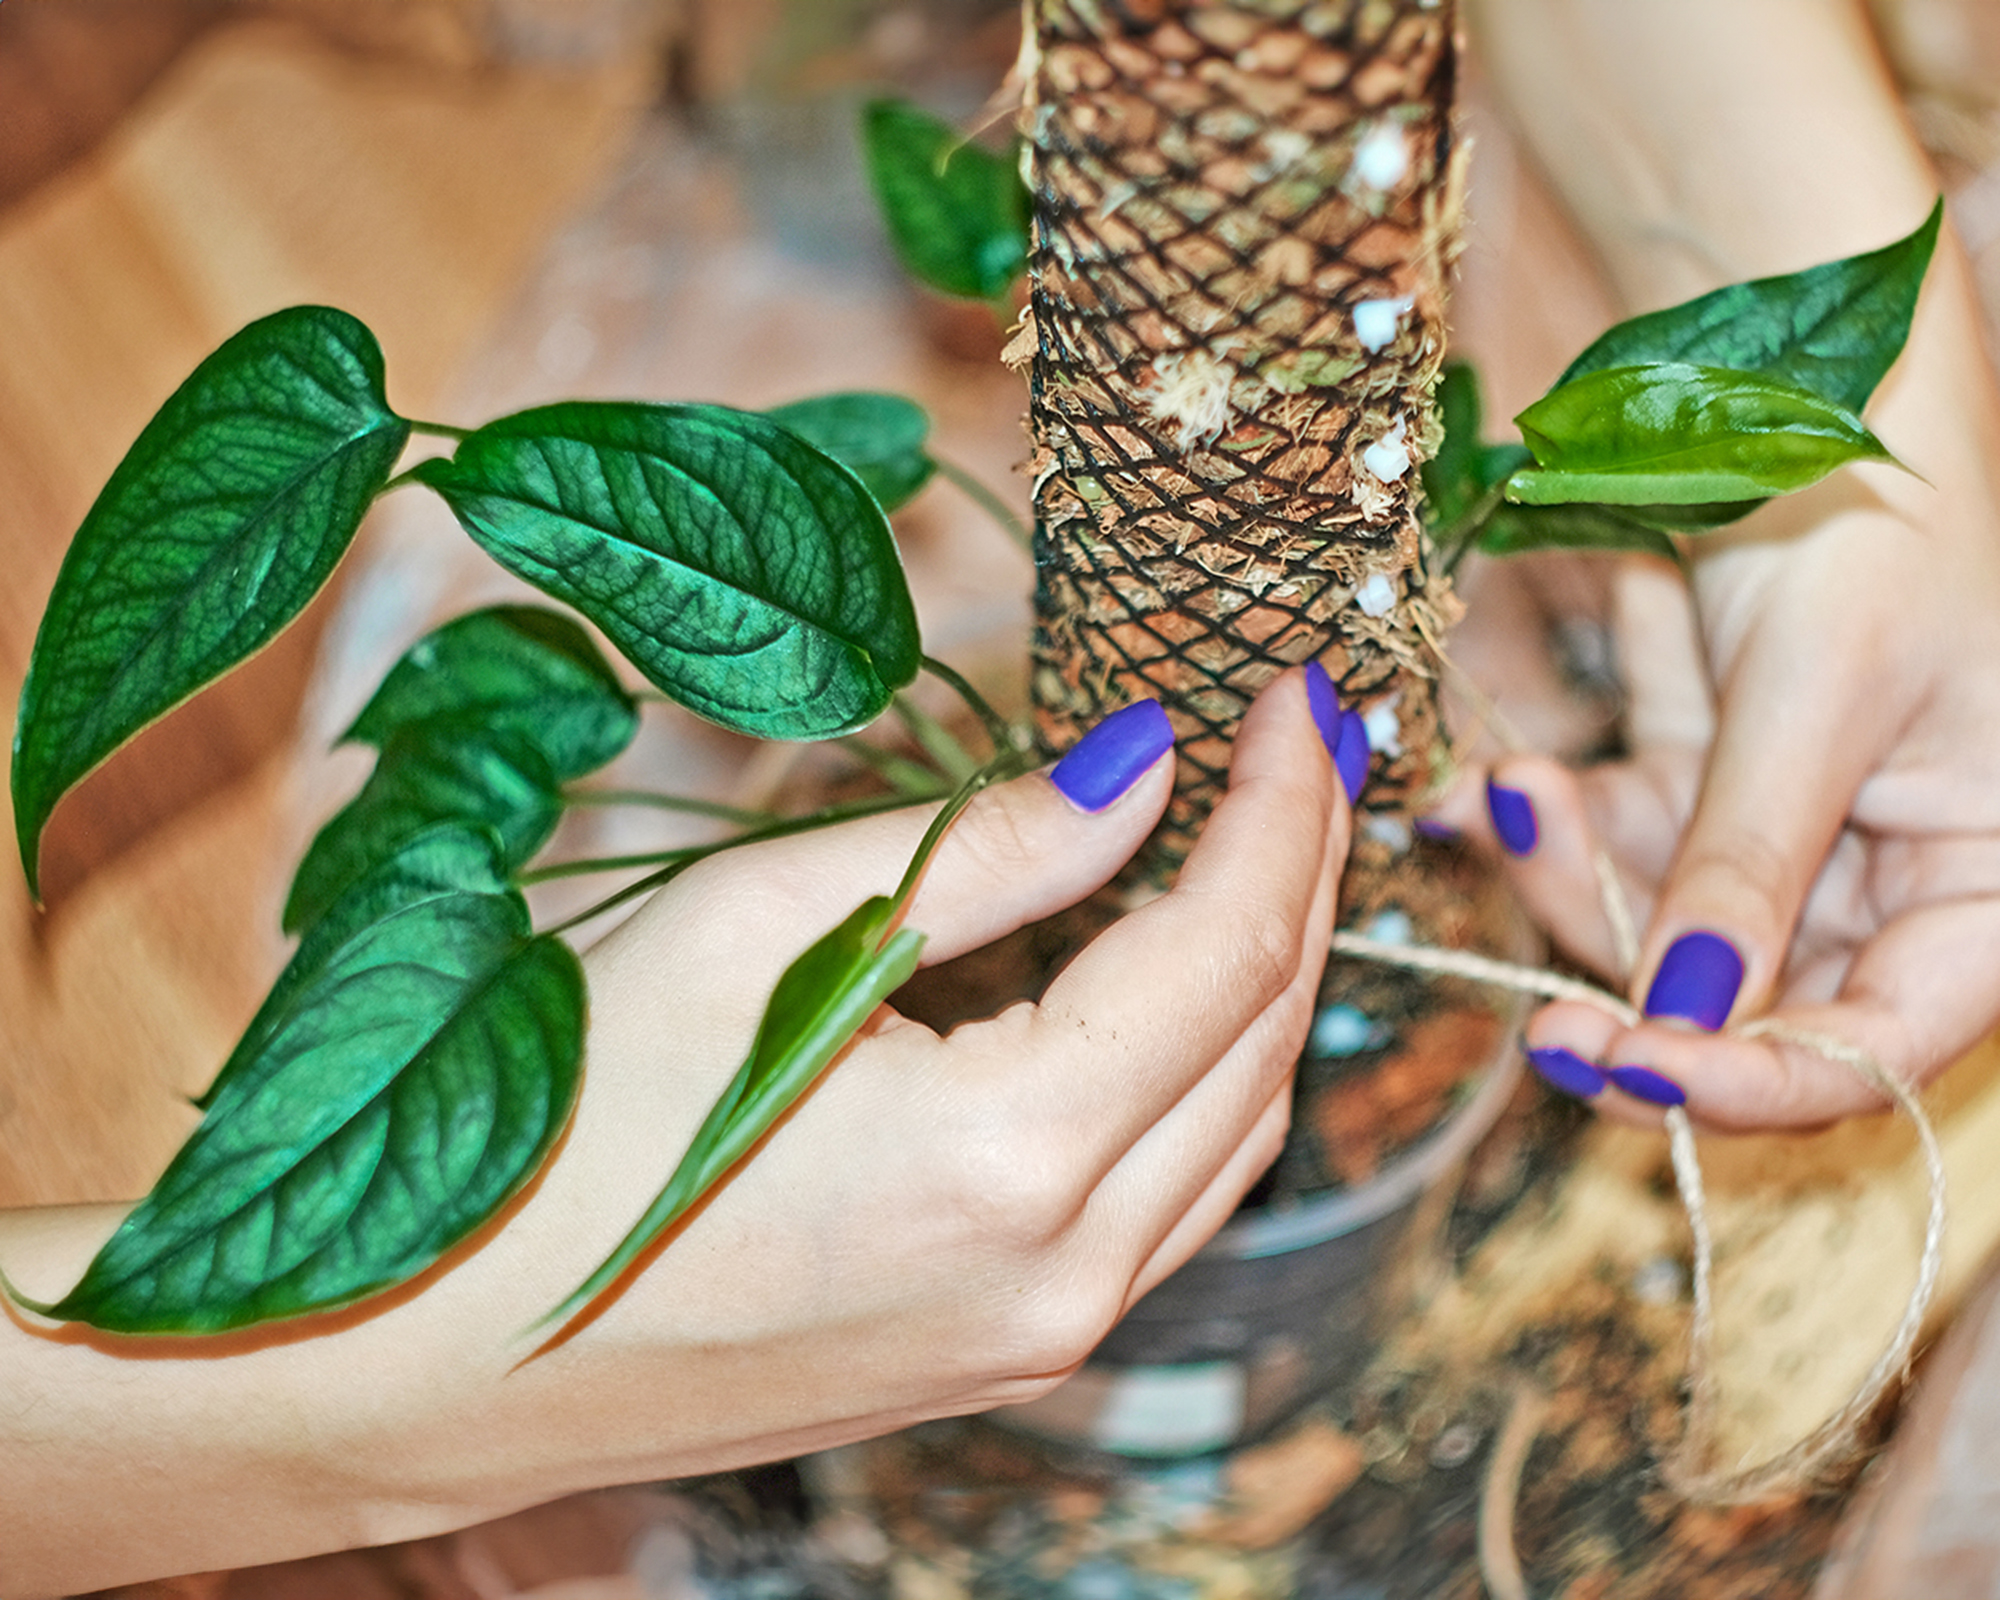
- Wrap and secure: Tie a long piece of string or twine to the top of the pole. Alternatively, for an invisible look, use this FloraCraft 26-gauge floral wire from Amazon. Begin wrapping the soaked moss around the pole, securing it in place with the string as you go. Work your way down to the soil mark.
- Insert and train: Place the finished pole in your plant's container, gently wrapping the plant's vines around the pole. Use soft twine or plant tape – like this Velcro plant tape from Amazon – to secure the vines loosely.
As your plant grows, using a moss pole properly involves occasional maintenance. Mist the moss to keep it slightly moist, especially where aerial roots are forming. This helps roots to attach and absorb moisture. Over time, your plant will anchor itself more firmly and climb higher.

Go Bigger with a Mesh Moss Pole
For larger or more vigorous climbers – like a mature monstera or climbing philodendron – you may want to upgrade your moss pole with a more substantial version. Using PVC-coated mesh, you can create a thicker pole:
Sign up for the Gardening Know How newsletter today and receive a free copy of our e-book "How to Grow Delicious Tomatoes".
- Cut a piece of mesh and shape it into a cylinder.
- Fill the inside with damp sphagnum moss.
- Secure the mesh with zip ties or wire, and optionally wrap the outside with moss too.
- Insert the finished pole deep into a sturdy pot to prevent tipping.
This type of pole works particularly well for oversized houseplants or outdoor containers in warm climates. It's also ideal if you want to support multiple vines in one pot.

Mary Ellen Ellis has been gardening for over 20 years. With degrees in Chemistry and Biology, Mary Ellen's specialties are flowers, native plants, and herbs.