Rubber Tree Plant Potting – When Does Rubber Plant Need A New Pot
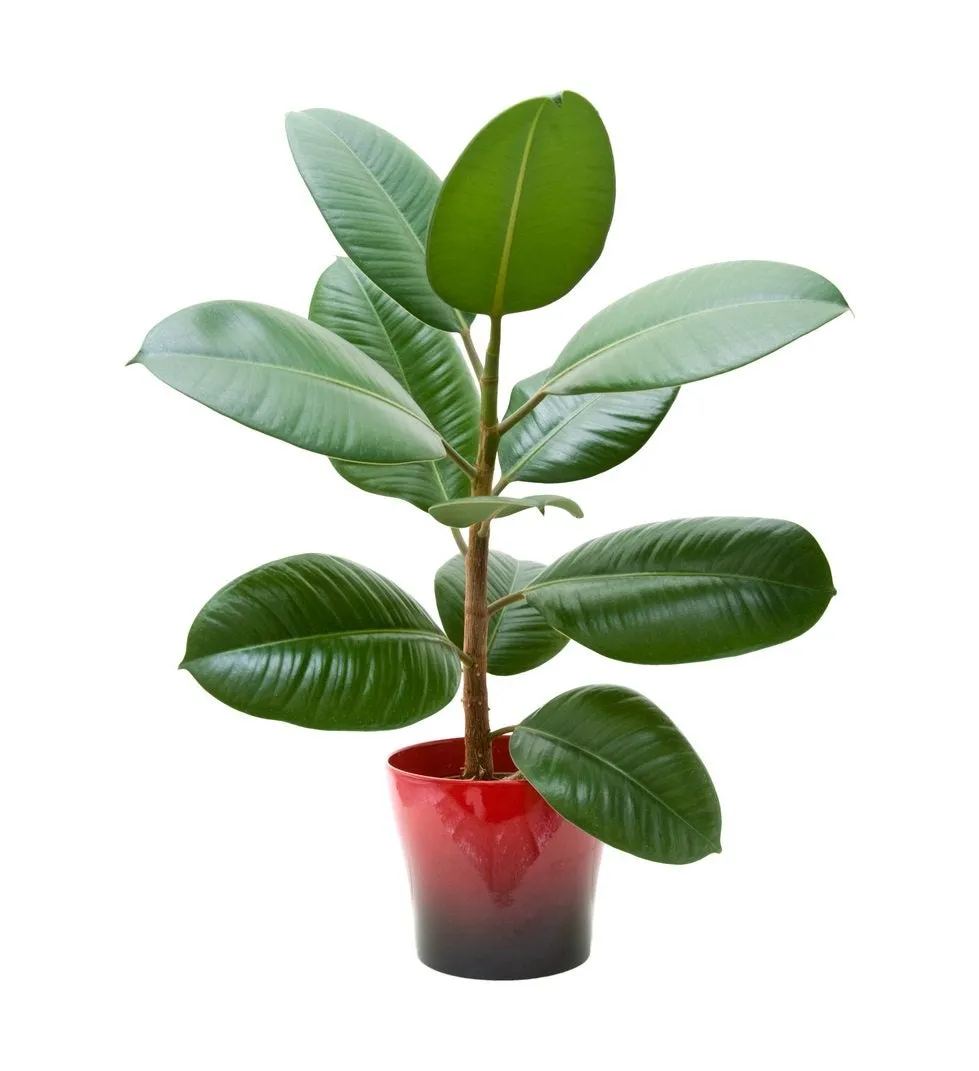
If you’re looking up how to repot rubber tree plants, you probably already have one. Whether you have the variety ‘Rubra,’ with dark green leaves and light-colored mid-veins, or ‘Tricolor,’ with variegated leaves, their needs are essentially the same.
Rubber plants don’t mind being grown in pots because they originate in Southeast Asian rainforests where, like most rainforests, the soil layer is very thin and plants typically don’t root as deeply as those in temperate forests. Keep reading to learn more about rubber tree plant potting.
When Does Rubber Plant Need a New Pot?
If your rubber plant is still small and/or you don’t want it to grow much or to grow slowly, your plant may only need a little top dressing. If this is the case, simply scrape off the top half inch to inch (1.2 to 2.5 cm.) of soil and replace it with an equal layer of potting soil, compost, or another medium that contains slow-releasing nutrients.
However, there will come a time when it is necessary to provide new space as well as nutrients to maintain the health and growth of your rubber tree plant. Potting it up is especially necessary if the rootball appears to be girdled, or growing around the sides of the pot. This tells you that you’re a bit past due for upgrading your plant to a bigger pot.
Repotting a Rubber Plant
Pick a pot that is somewhat larger than your current one without being excessively bigger. Usually increasing the pot size by 3 to 4 inches (8 to10 cm.) in diameter is sufficient for a large potted plant. If you use a pot that is too much larger than the current rootball, the soil may stay wet for too long after watering because there are no roots in the added soil to draw out the water, which can lead to root rot.
This is also a good time to consider the plant’s growth since the last time it was put in a pot. When repotting a rubber plant that has gained a lot of top growth, you may need to choose a heavier pot or weigh down the pot by adding some sand to the growing medium to prevent tipping over, especially if you have children or animals that may occasionally pull on the plant.
If you do use sand, be sure to use a coarse builder’s sand and not a fine child’s play sand. You’ll need the mix to contain a good amount of fertility in order to support the growth of the rubber plant for the next few months. Compost and potting soil both contain a good mix of slow-releasing nutrients that will help your rubber plant to thrive.
Sign up for the Gardening Know How newsletter today and receive a free copy of our e-book "How to Grow Delicious Tomatoes".
How to Repot Rubber Tree Plants
Once you have everything you need for repotting your rubber plant, it’s time to change pots. Remove the plant from its current pot and tease the roots some. This is also a good time to inspect the roots and perform any necessary root pruning. Add a fair amount of your soil medium to the base of the new pot.
Situate the rubber plant on top of this, adjusting as needed. You want the surface of the root ball just below the rim, and simply fill in around and over the root ball with soil. Be sure to leave about an inch (2.5 cm.) or so of space from the rim of the pot for watering. Water the plant well after repotting and allow the excess to drain out. Then care for your plant as normal.
Anni Winings obtained a bachelor degree in Dietetics/Nutrition, and merges that knowledge with her desire to grow as much healthy, tasty food for her family as possible. She also managed a public kitchen garden for a year in Tennessee, before moving to California where she gardens now. With gardening experience in four different states, she has gained a lot of experience in the limits and capabilities of different plants and different gardening environments.
She is an amateur garden photographer and an experienced seed saver of many garden crops. She is currently working on improving and stabilizing certain varieties of peas, peppers, and some flowers.