What Is A Melon Pit? The Gardening Hack That Will Optimize Your Space And Boost Your Produce
Melon pits are a great way to get the most out of your garden and are quick to make. Follow some simple steps and you will reaping the rewards in no time!


Unlike some trends that don’t work, this viral gardening hack actually has something to it. A melon pit can help you grow healthier plants that need less tending. It can even help you find more space to grow!
Though it is named after melons because they are heavy feeders, this hack can be used for other crops, as well. This type of composting can boost your yields and grow the best tasting produce. Use this method in addition to or as a replacement for traditional raised bed vegetable gardening.
Here are the basics of melon pit gardening and a simple guide to making your own.
What Is A Melon Pit?

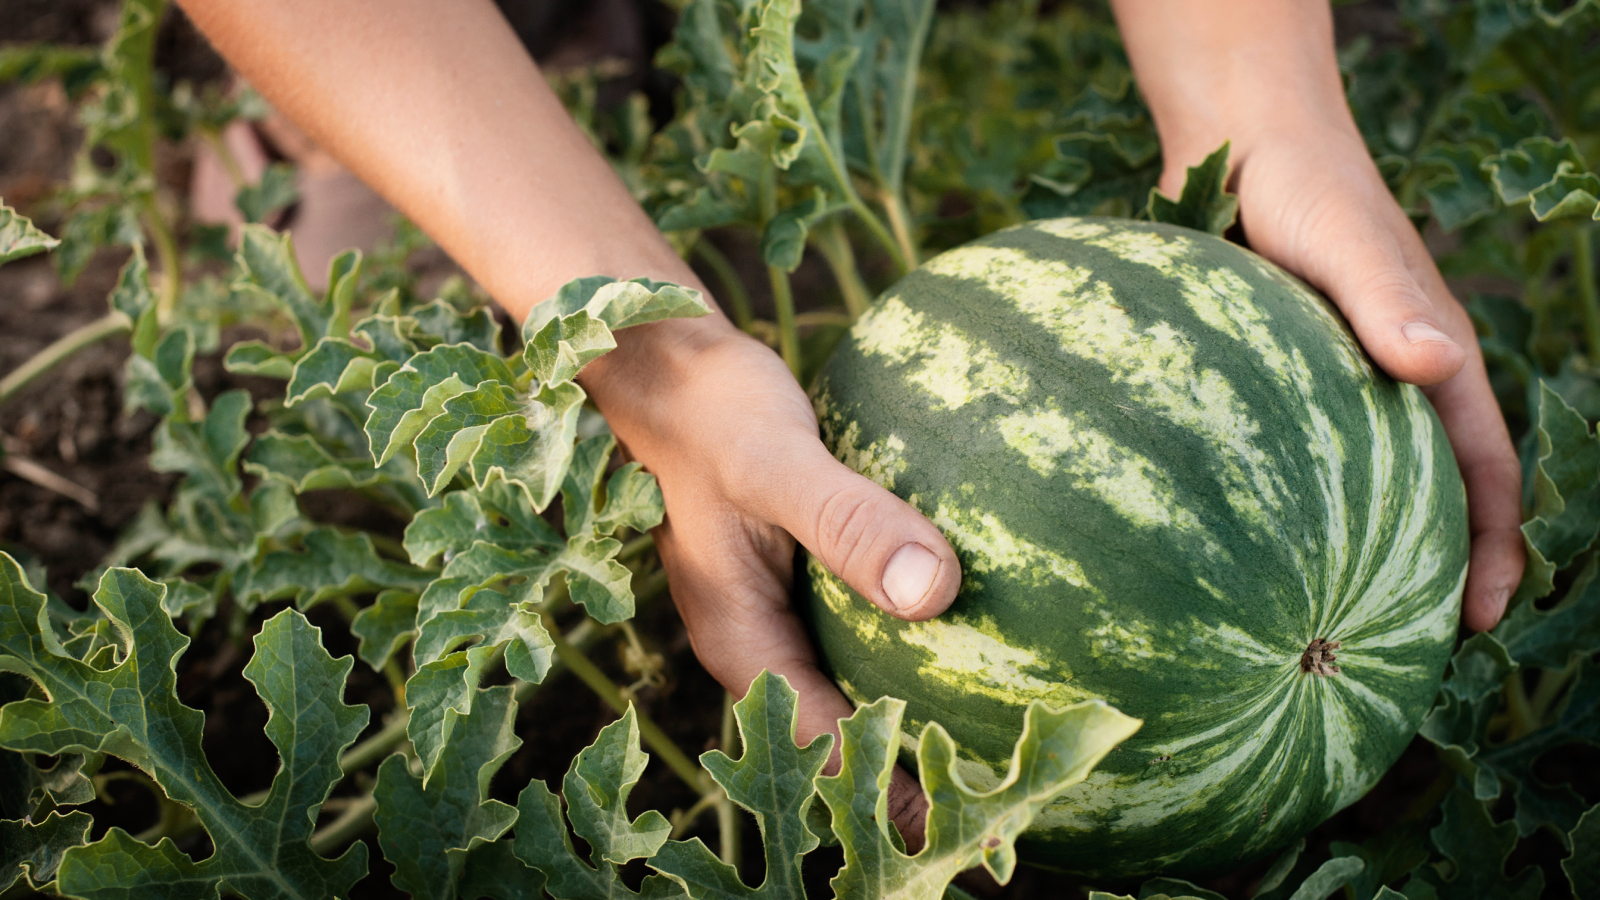
Essentially, a melon pit is a version of in-ground composting in which you plant directly into your composting pit. It is named after melons because they are heavy feeders and this compost-intensive environment will help melons, squash, and pumpkins to grow well with little tending.
There is a common myth that this type of planting was developed by Native Americans and passed to European colonists during their first years on the continent. Remember learning in school that Squanto taught Pilgrims the Native American agricultural practice of burying fish under their crops to help them grow?
Well, it turns out that it wasn’t actually a common practice among the Wampanoag and Squanto may have learned it from other Europeans. Just another example of the inaccuracies of the “First Thanksgiving” story.
But, regardless of the origins, it is well known that fish emulsion fertilizer and compost are great for plants! The melon pit is an example of how we can use that knowledge to easily improve our crops.
Sign up for the Gardening Know How newsletter today and receive a free copy of our e-book "How to Grow Delicious Tomatoes".
Benefits Of A Melon Pit

Melon pits are quick and easy to make and can offer amazing benefits to your garden. They are a great way to get into the practice of composting and making more sustainable choices in the yard. Some other benefits include:
- Improve soil – You will place your melon pit in a location that might have poor soil quality, but the pit will improve it as the materials break down.
- Plants need less water and fertilizer – Being in the ground rather than in a raised bed means that the plants dry out less quickly, and they are buried right on top of a great source of nutrients.
- Quick – There is no need to go and build a raised bed or dig a new garden, simply dig a hole and you are in business!
- Save space – You can dig a melon pit anywhere the growing conditions are right and they take up less space than a traditional raised bed.
How To Build A Melon Pit

- Select a location: If you are growing melons in your melon pit, you will need to choose a location that is hot and sunny. Melons need full sun to ripen sweetly. If you are planting other crops in your pit, choose a location that will suit their sun needs. For instance, leafy greens will do better with some dappled sunlight. You should also choose a location where your vining melons or pumpkins can spread as they grow. Building a vegetable trellis or a cattle panel trellis arch is a good way to use vertical space and get the vines off the ground.
- Dig melon pit: Dig a hole about 2 feet (0.61 m) deep and 1 foot (0.3 m) wide. I love a small shovel like the Little Pal shovel from Ace Hardware for small digging jobs like melon pits. Be sure to remove weeds and grass from your pile of dug soil.
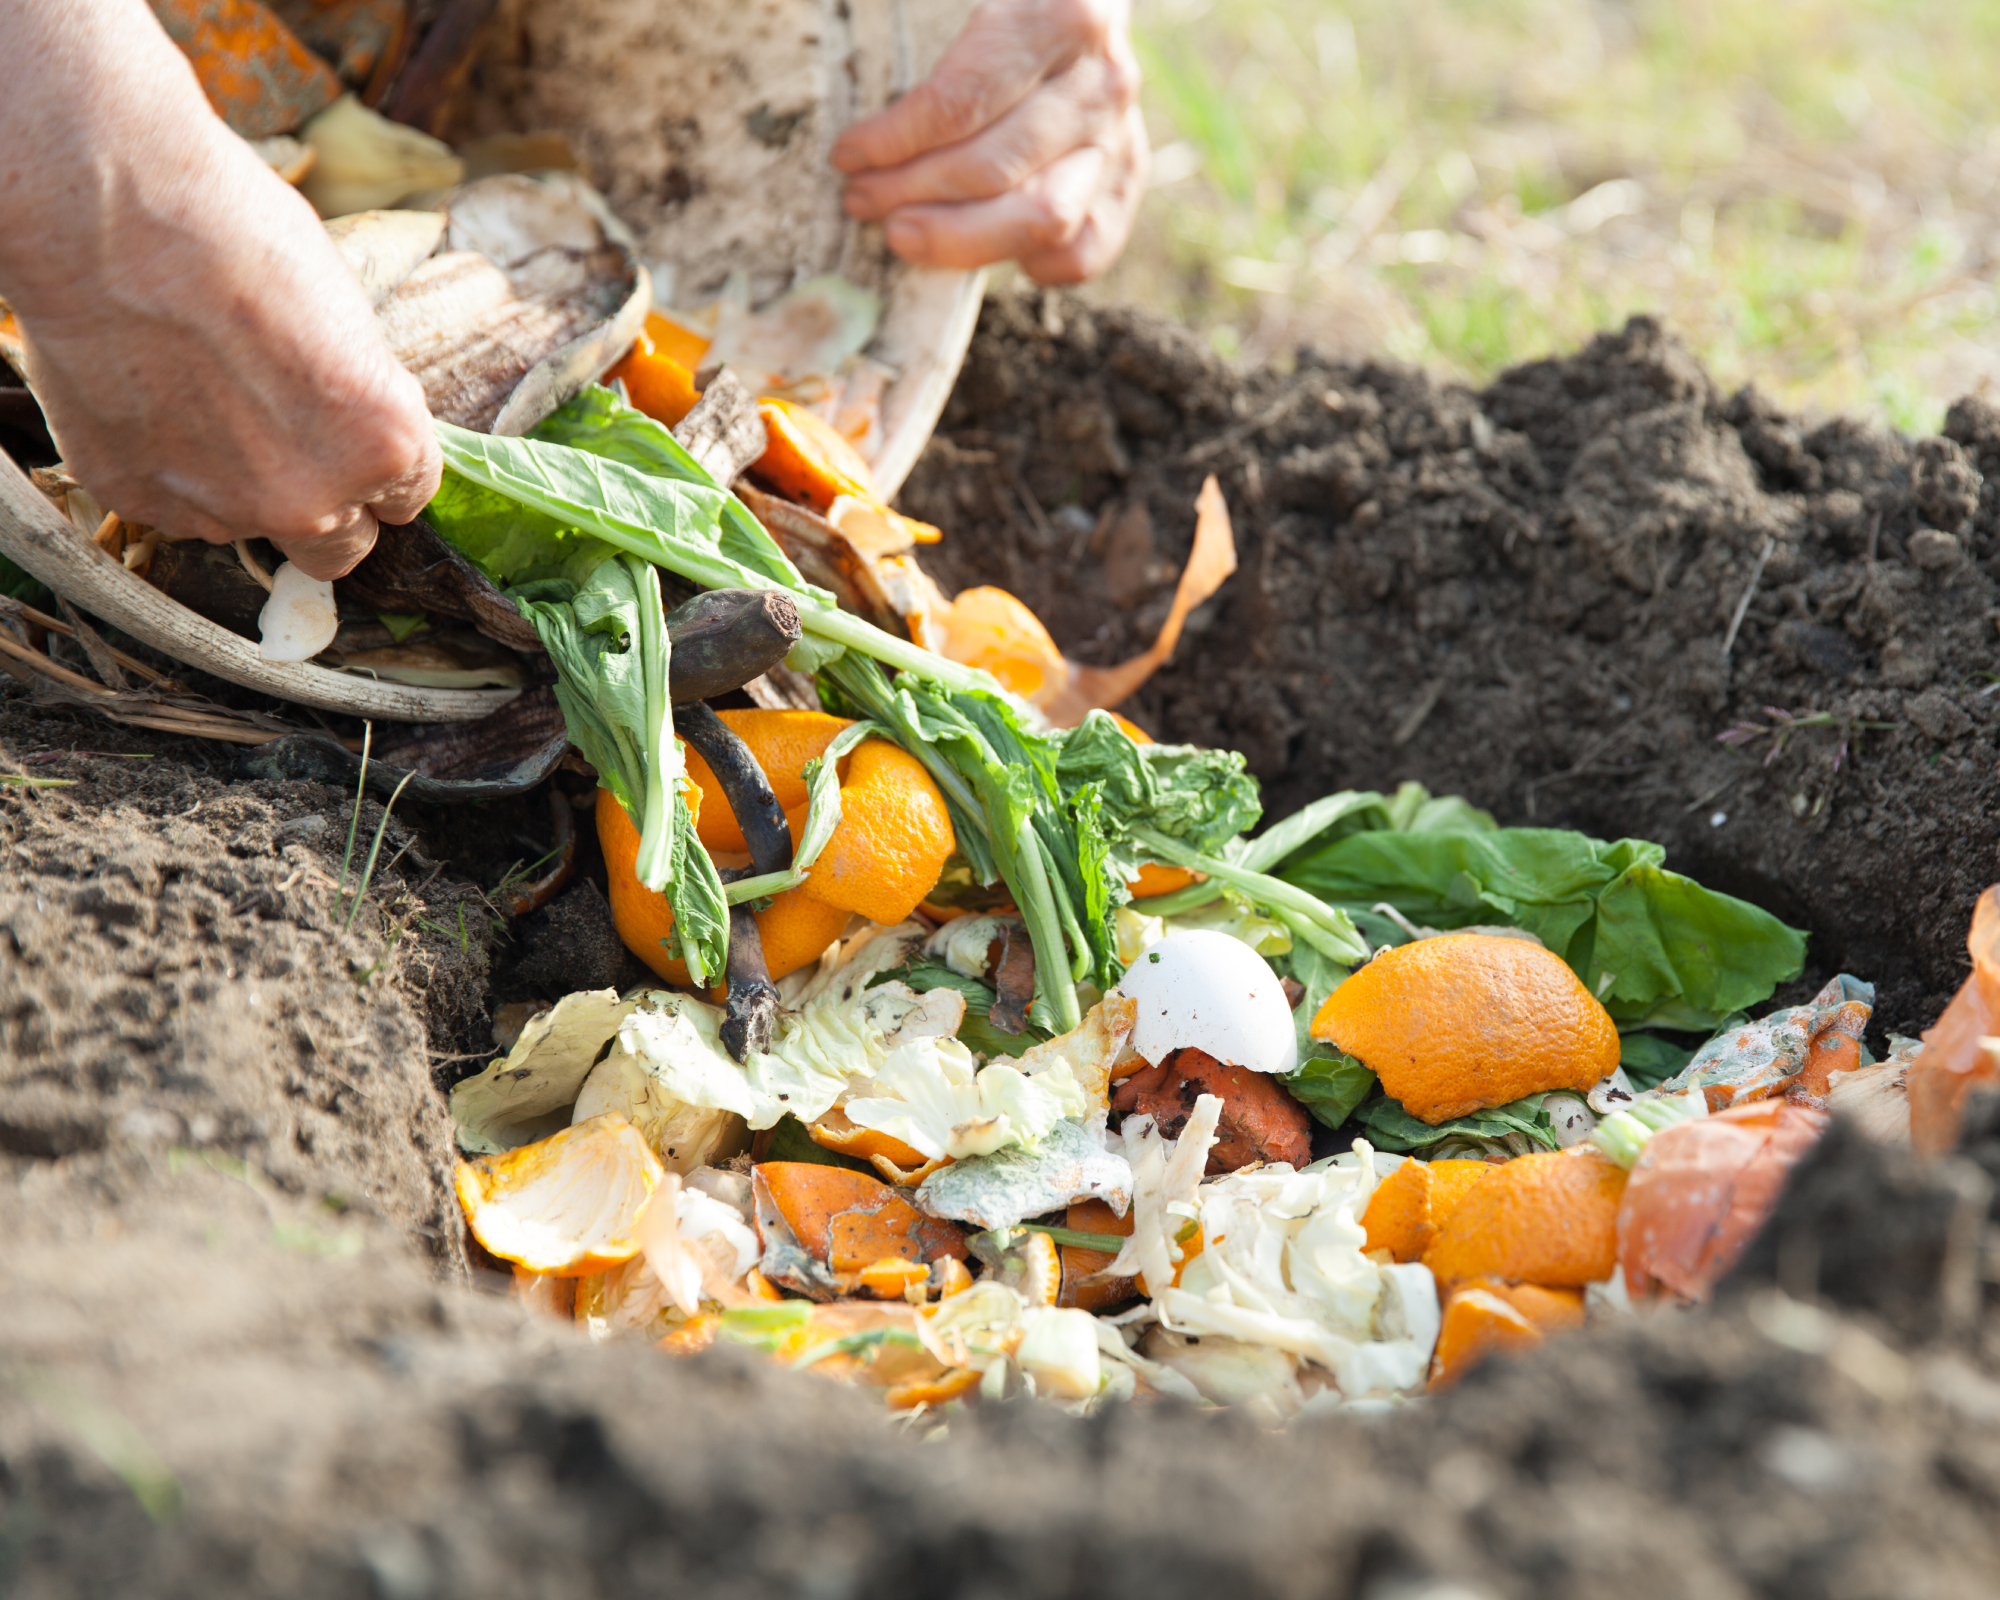
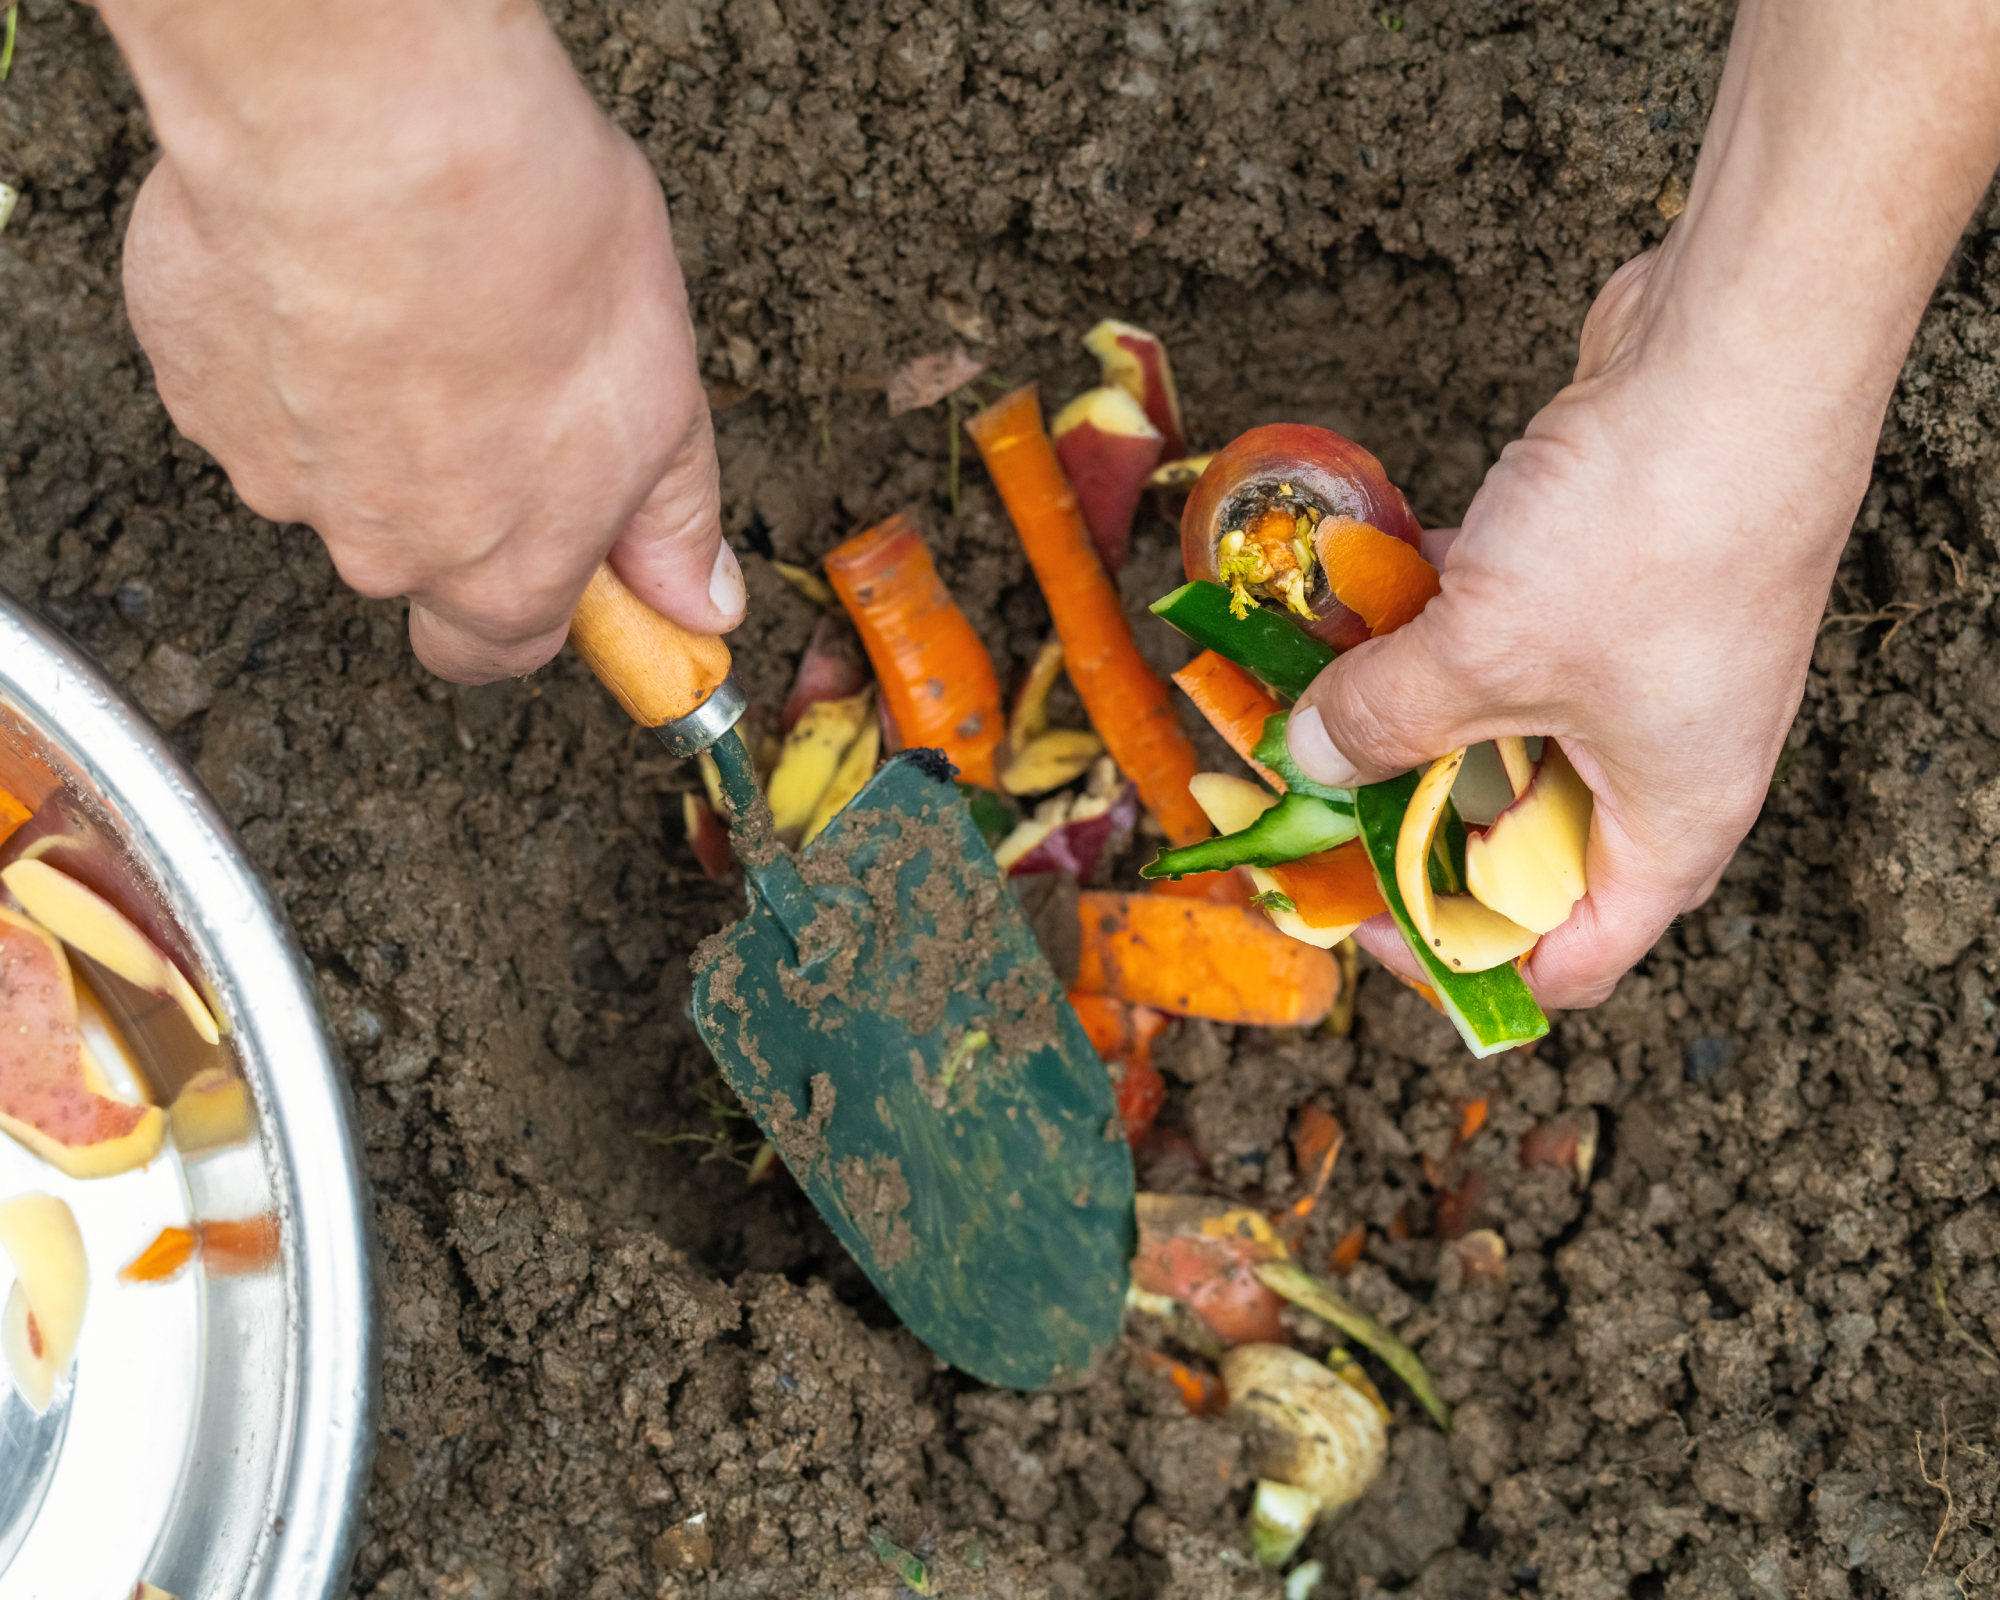
- Fill with composting materials: Fill your new pit with compostable materials. Starts with sticks and coarse brown materials on the bottom to allow for the best drainage. Then fill in with kitchen scraps, yard clippings, and other green materials. Fill the hole with compost material until there are a few inches left at the top.
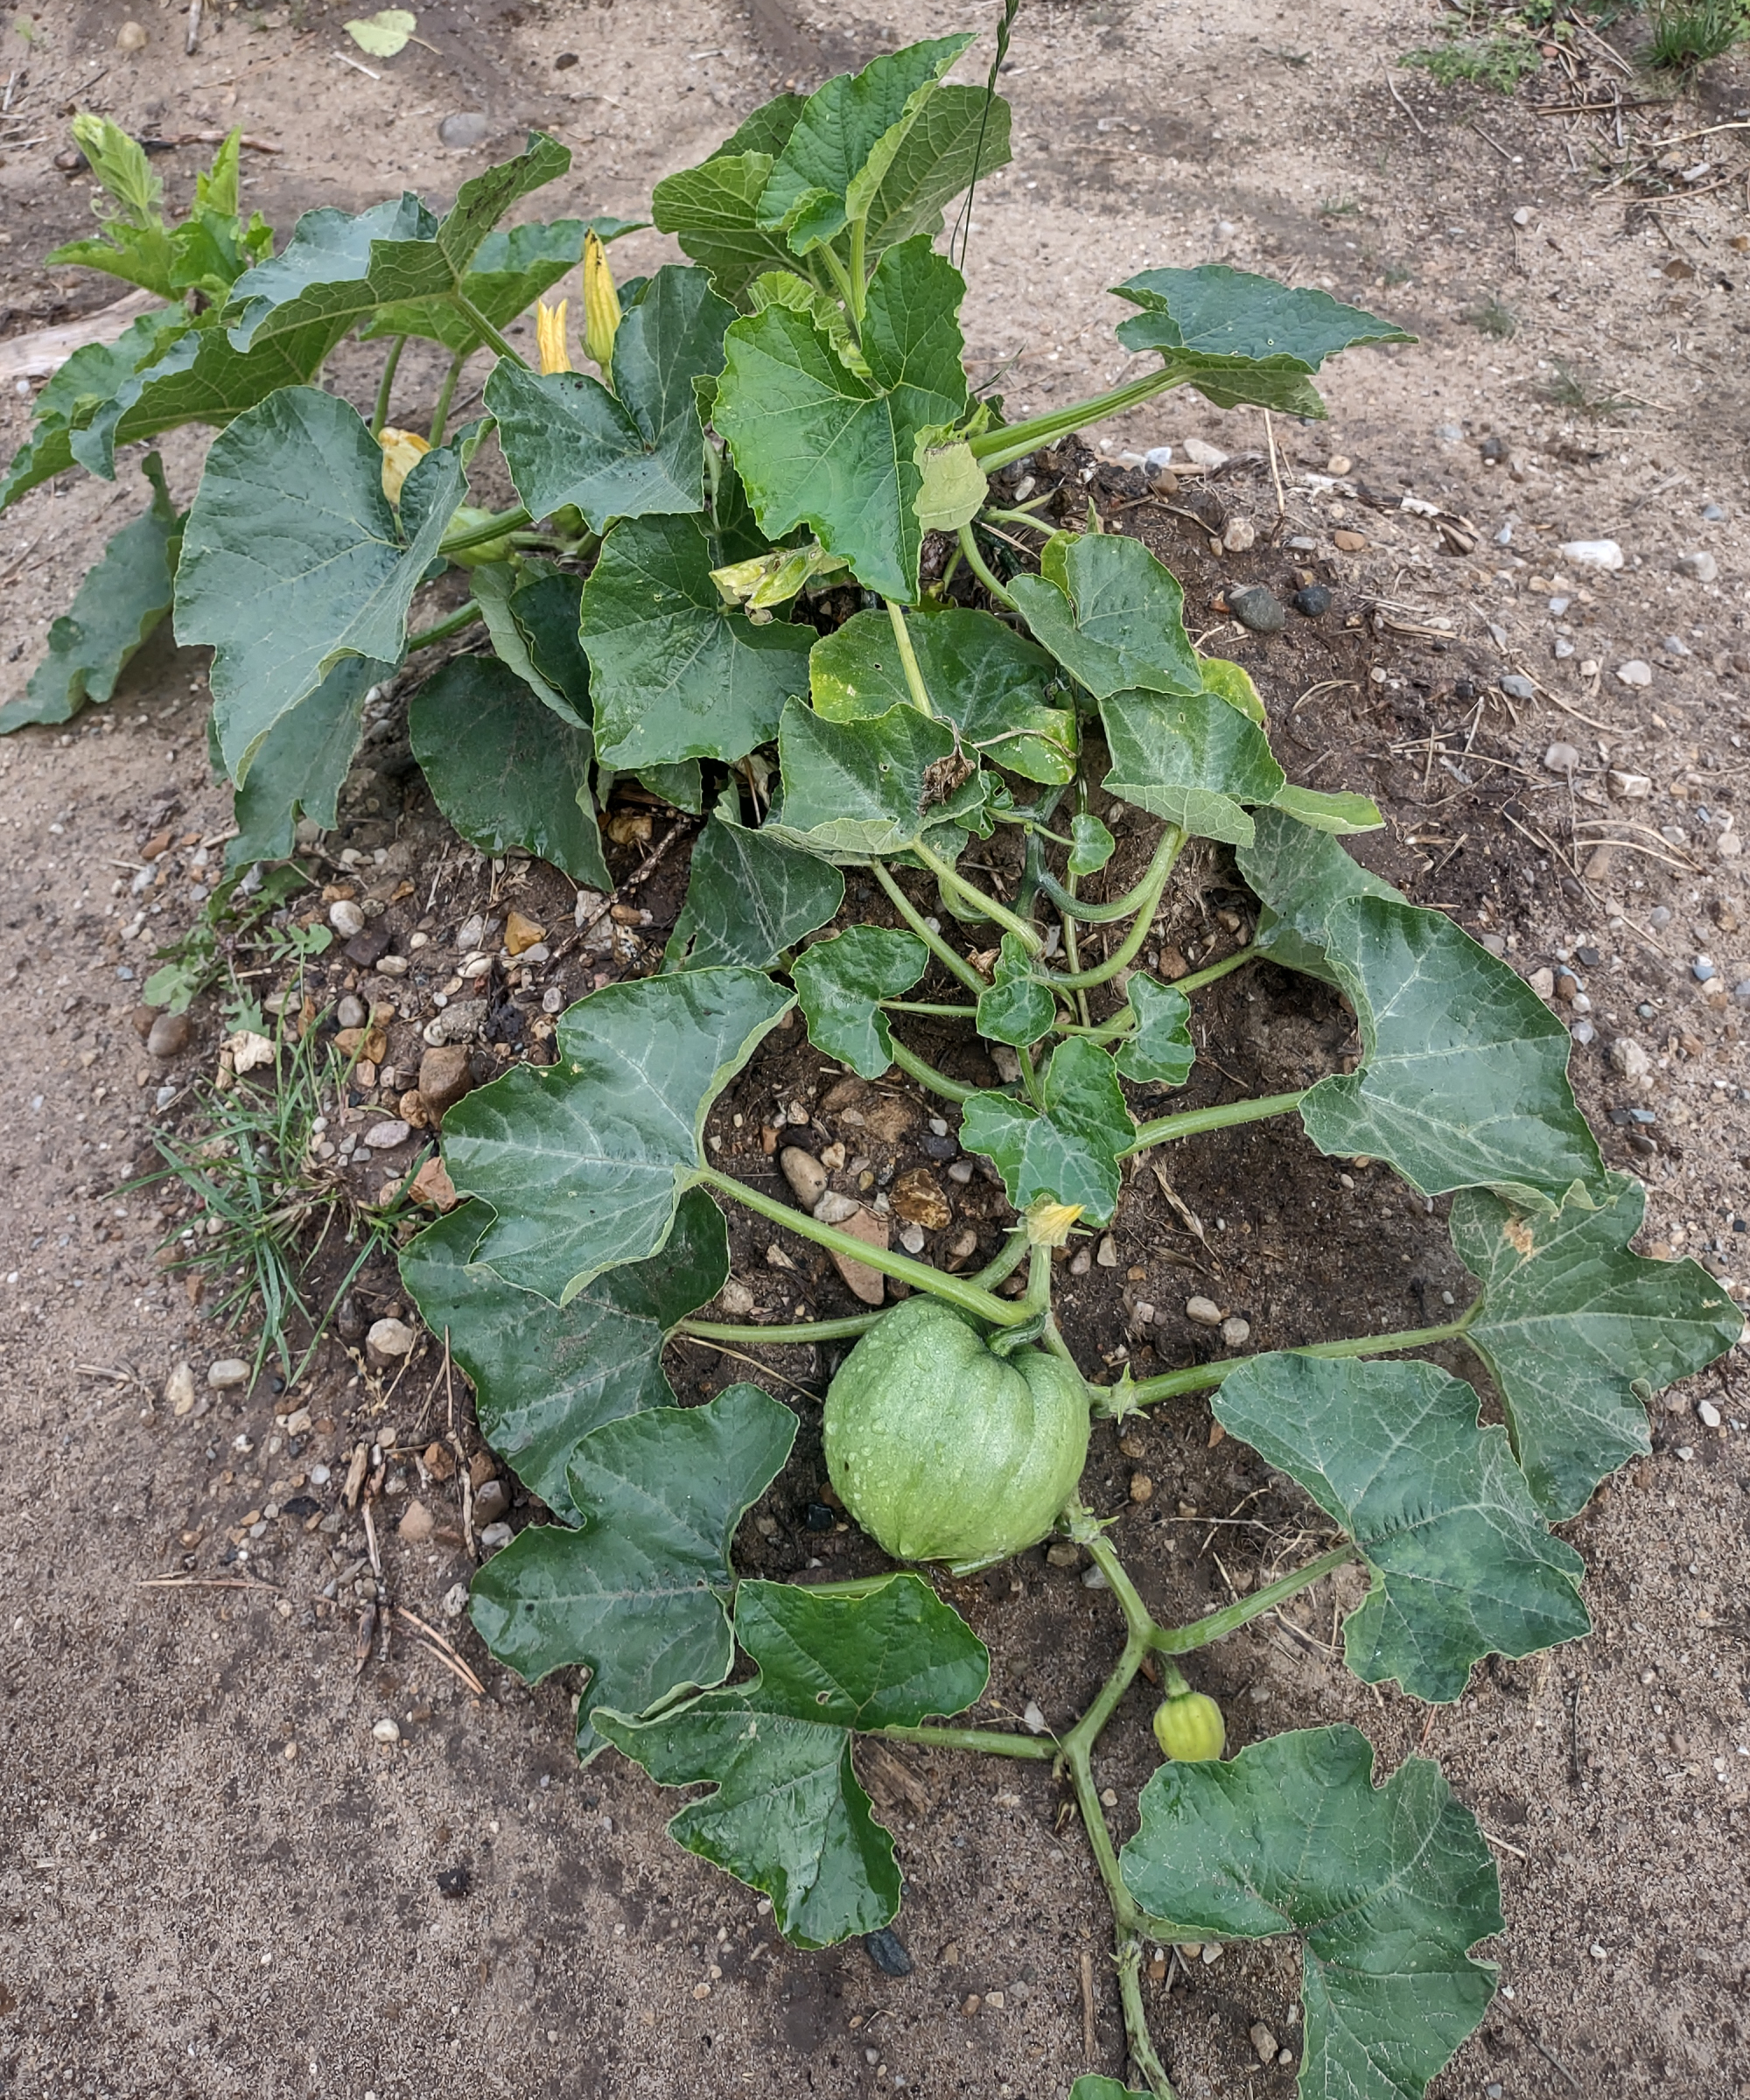
- Add Soil: Top off the last few inches of the hole with the soil you excavated and create a mound of soil on top of that. This will be your planting hill for melons and other crops. Be sure to remove any rocks as you are backfilling. Water the mound deeply before planting.
- Plant: Plant your melons! You can sow directly into the mound or transplant seedlings that you have grown elsewhere.
- Maintain: For melons, water deeply and infrequently and reduce the water as they begin to ripen to prevent any splitting. It is also a good idea to mulch the new plants.
Creating a melon pit is as easy as that! As you prepare your garden for the next year, be sure you rotate your crops so they continue to be happy and pest and disease free. Luckily, you can easily create new melon pits next year in a snap.

Kathleen Walters joined Gardening Know How as a Content Editor in 2024, but she grew up helping her mom in the garden. She holds a bachelor’s degree in History from Miami University and a master’s degree in Public History from Wright State University. Before this, Kathleen worked for almost a decade as a Park Ranger with the National Park Service in Dayton, Ohio. The Huffman Prairie is one of her favorite places to explore native plants and get inspired. She has been working to turn her front yard into a pollinator garden.