My Mom Has Been Burying Diet Coke Cans In Her Flower Pots For Decades & It Saves Her So Much Money On Soil – Here’s How
My mom swears by this thrifty gardening trick. Find out why she never plants a flower pot without throwing in a few soda cans first.

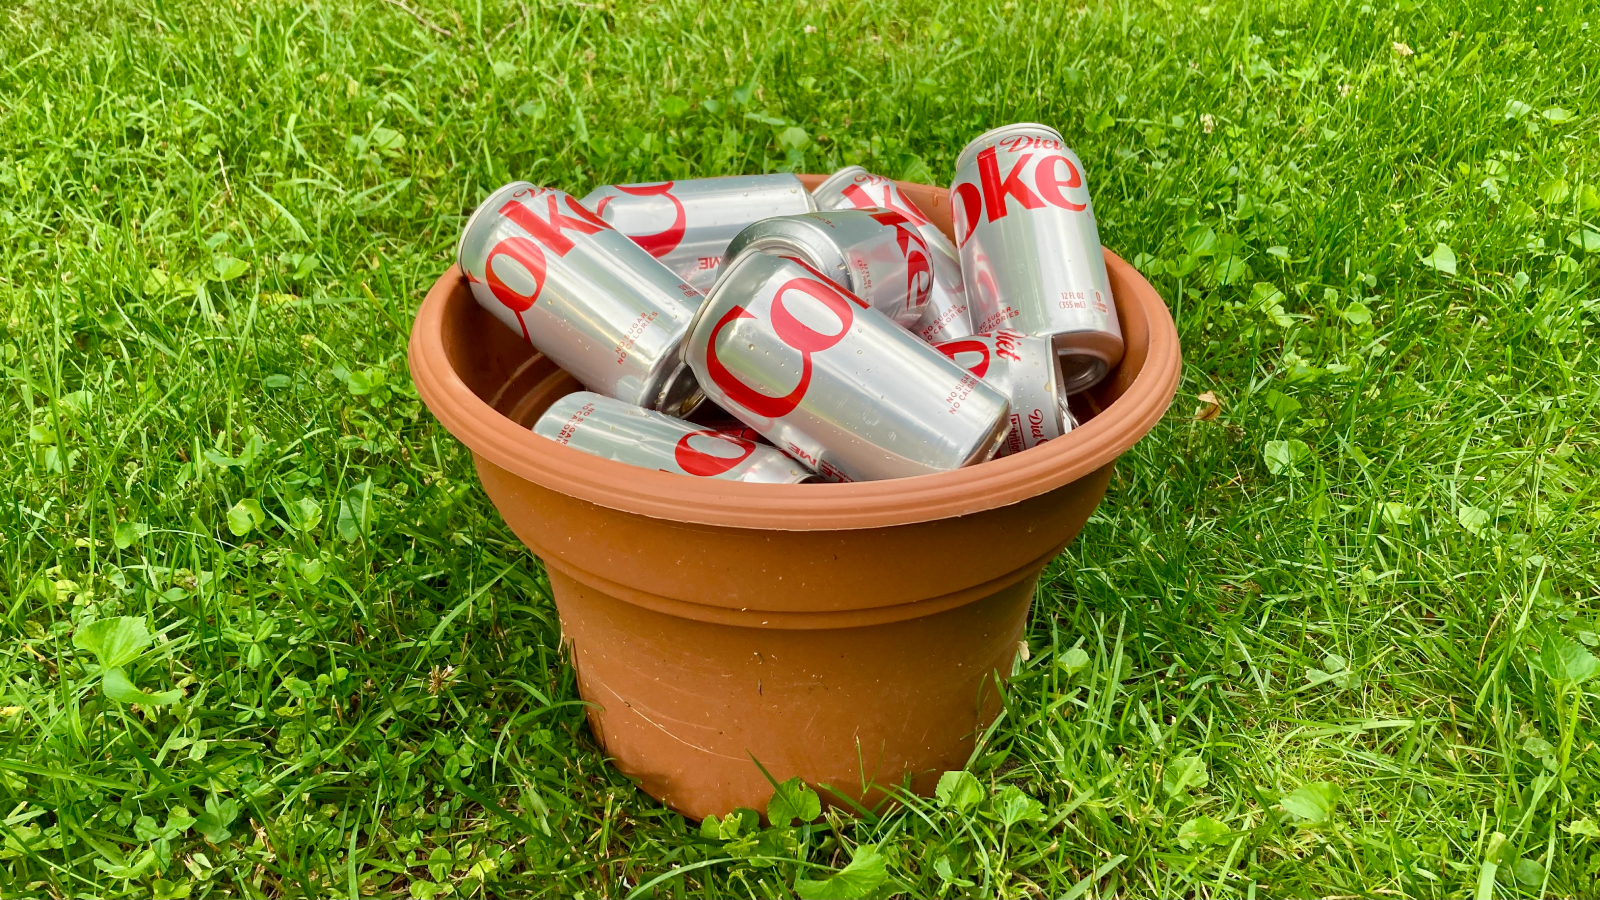
Ok, by-the-book gardeners. Close your eyes because you’re probably not going to like this one. When my mom first passed down this unconventional piece of container gardening advice, I didn’t like it either. But after several years of experimenting on my own at home, I’ve come to appreciate this thrifty trick.
When I started getting serious about gardening around 10 years ago, I told my mom she had to stop burying Diet Coke cans in all of her flowerpots and window boxes. She had been doing this for decades to help fill containers before planting in order to save on potting soil.
She doesn’t remember where she learned about this unusual planter filler material, but she’s been burying Diet Coke cans under her flowers every summer for almost a quarter of a century. It sounds like an out-there TikTok plant hack that shouldn’t work. But after testing it myself and witnessing my mom’s beautiful pots full of annual flowers year after year, it seems like her Diet Coke can trick may actually be the key to growing a gorgeous container garden on a budget.
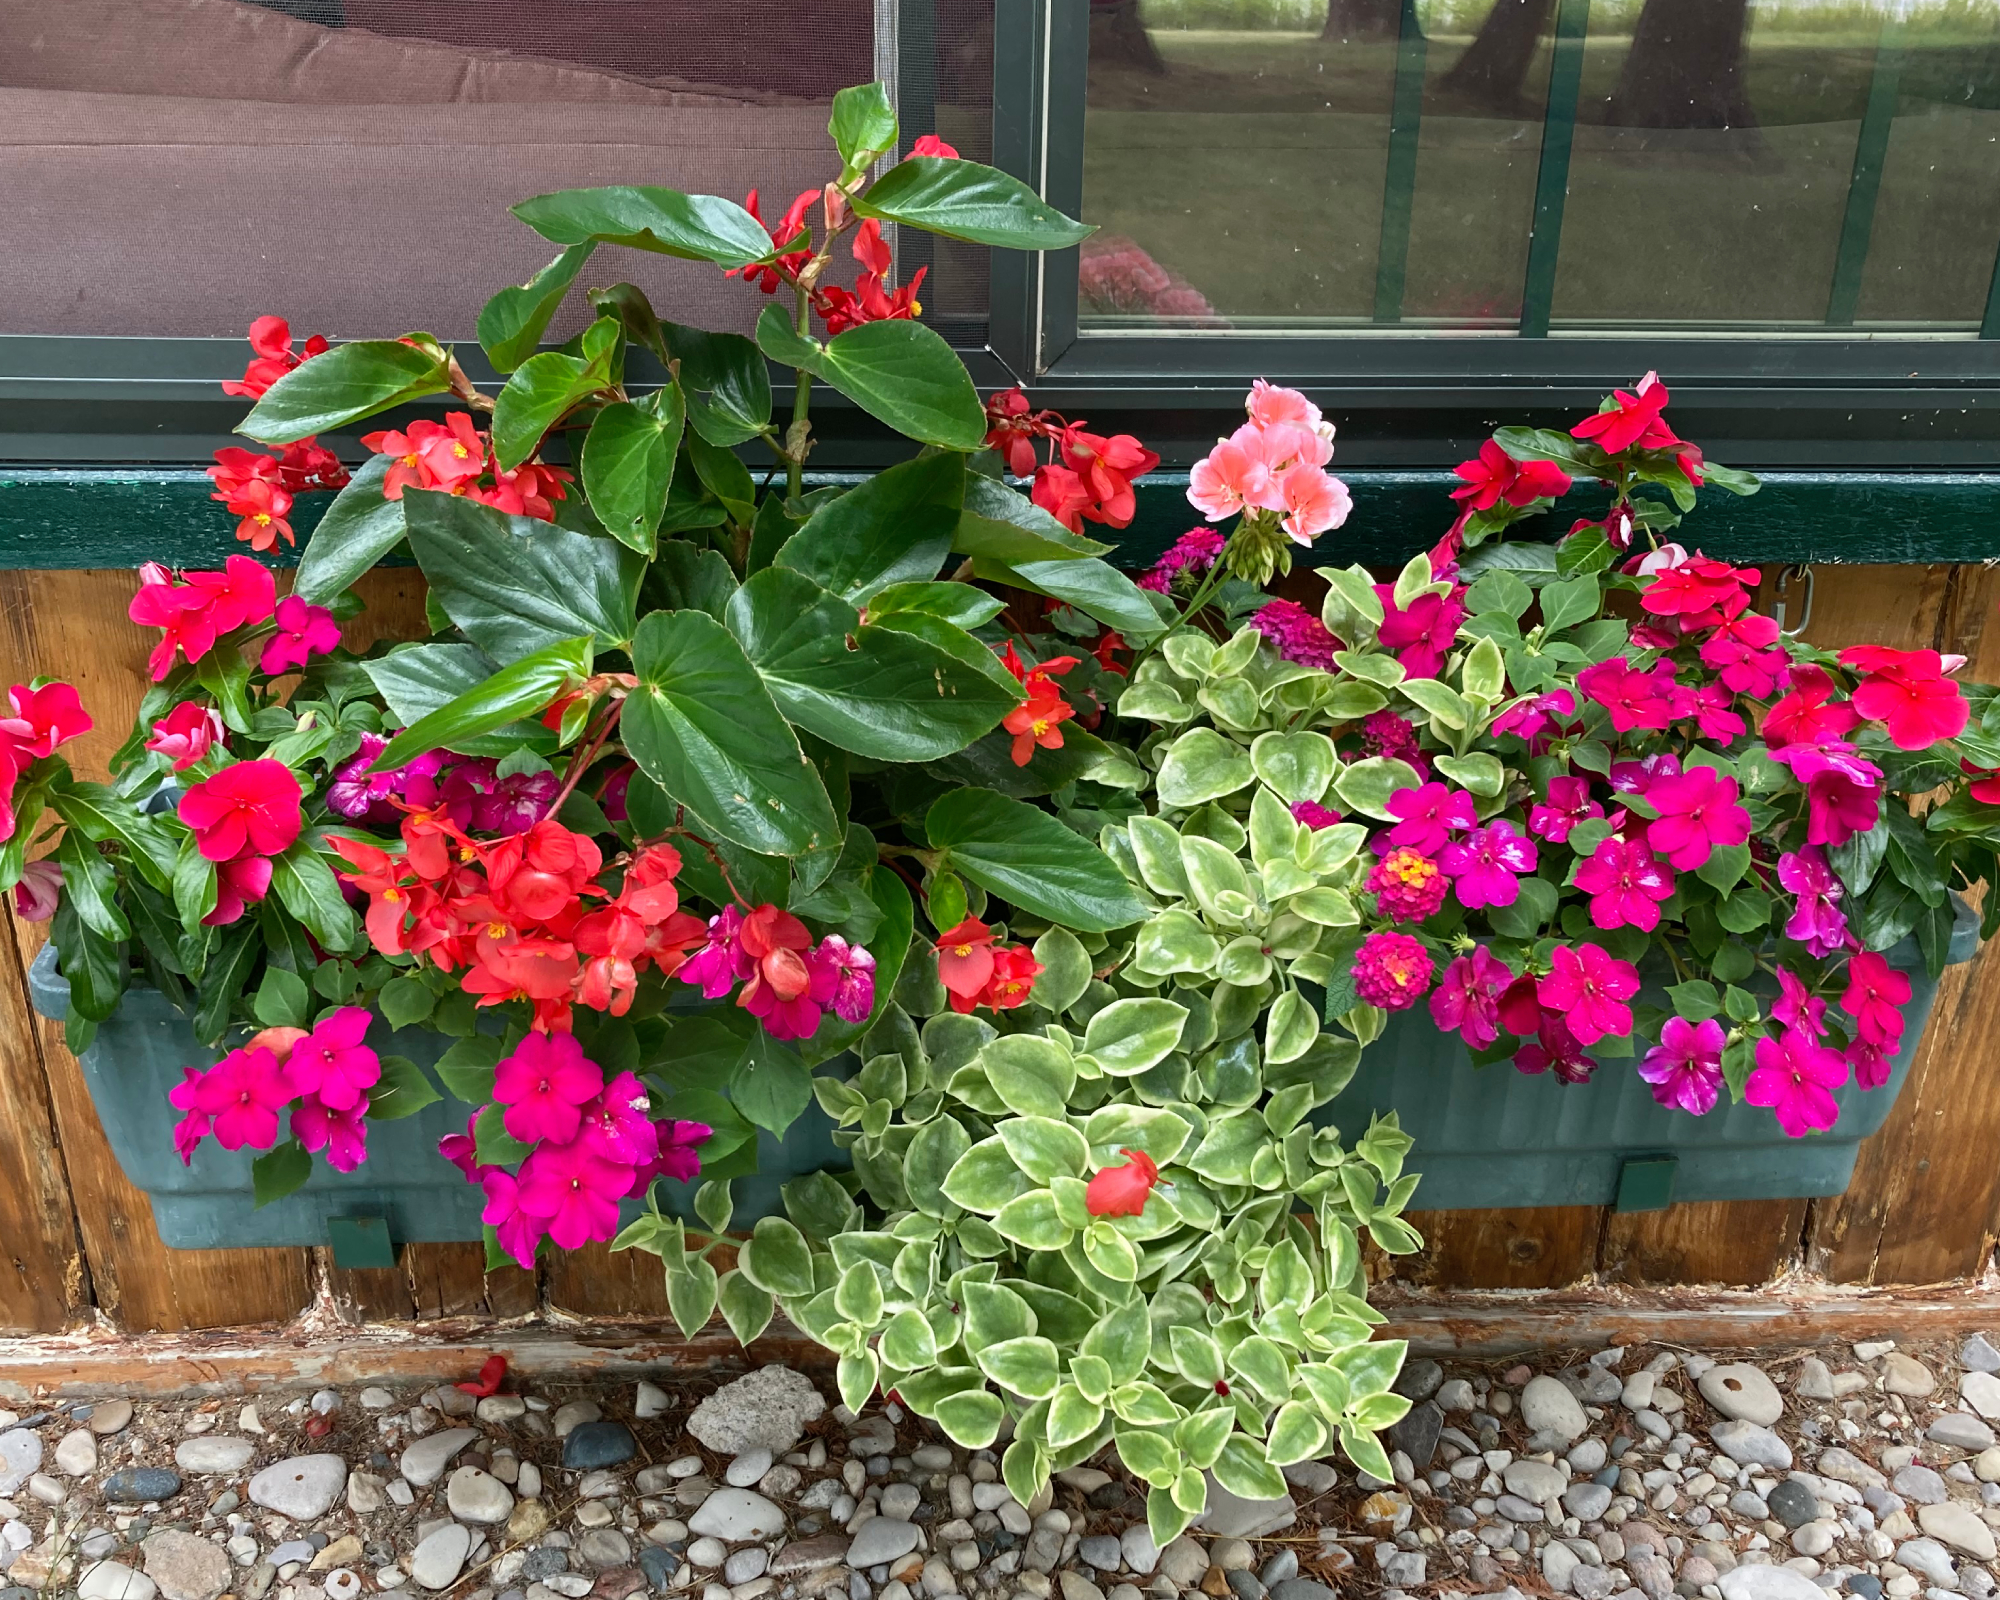
Why the Diet Coke Can Hack Is Controversial
New gardeners, you may be wondering why I had a disclaimer at the beginning of this article. That’s because research has shown that filling the bottom of your plant pots with anything other than potting mix can harm your plants.
Many gardeners used to espouse filling the bottoms of planters with rocks in order to “improve drainage.” But this well-intentioned piece of advice actually does the opposite. Filling pots with materials like rocks, Styrofoam, or *cough* Diet Coke cans makes water settle higher up in the pot where the potting mix meets the filler material.
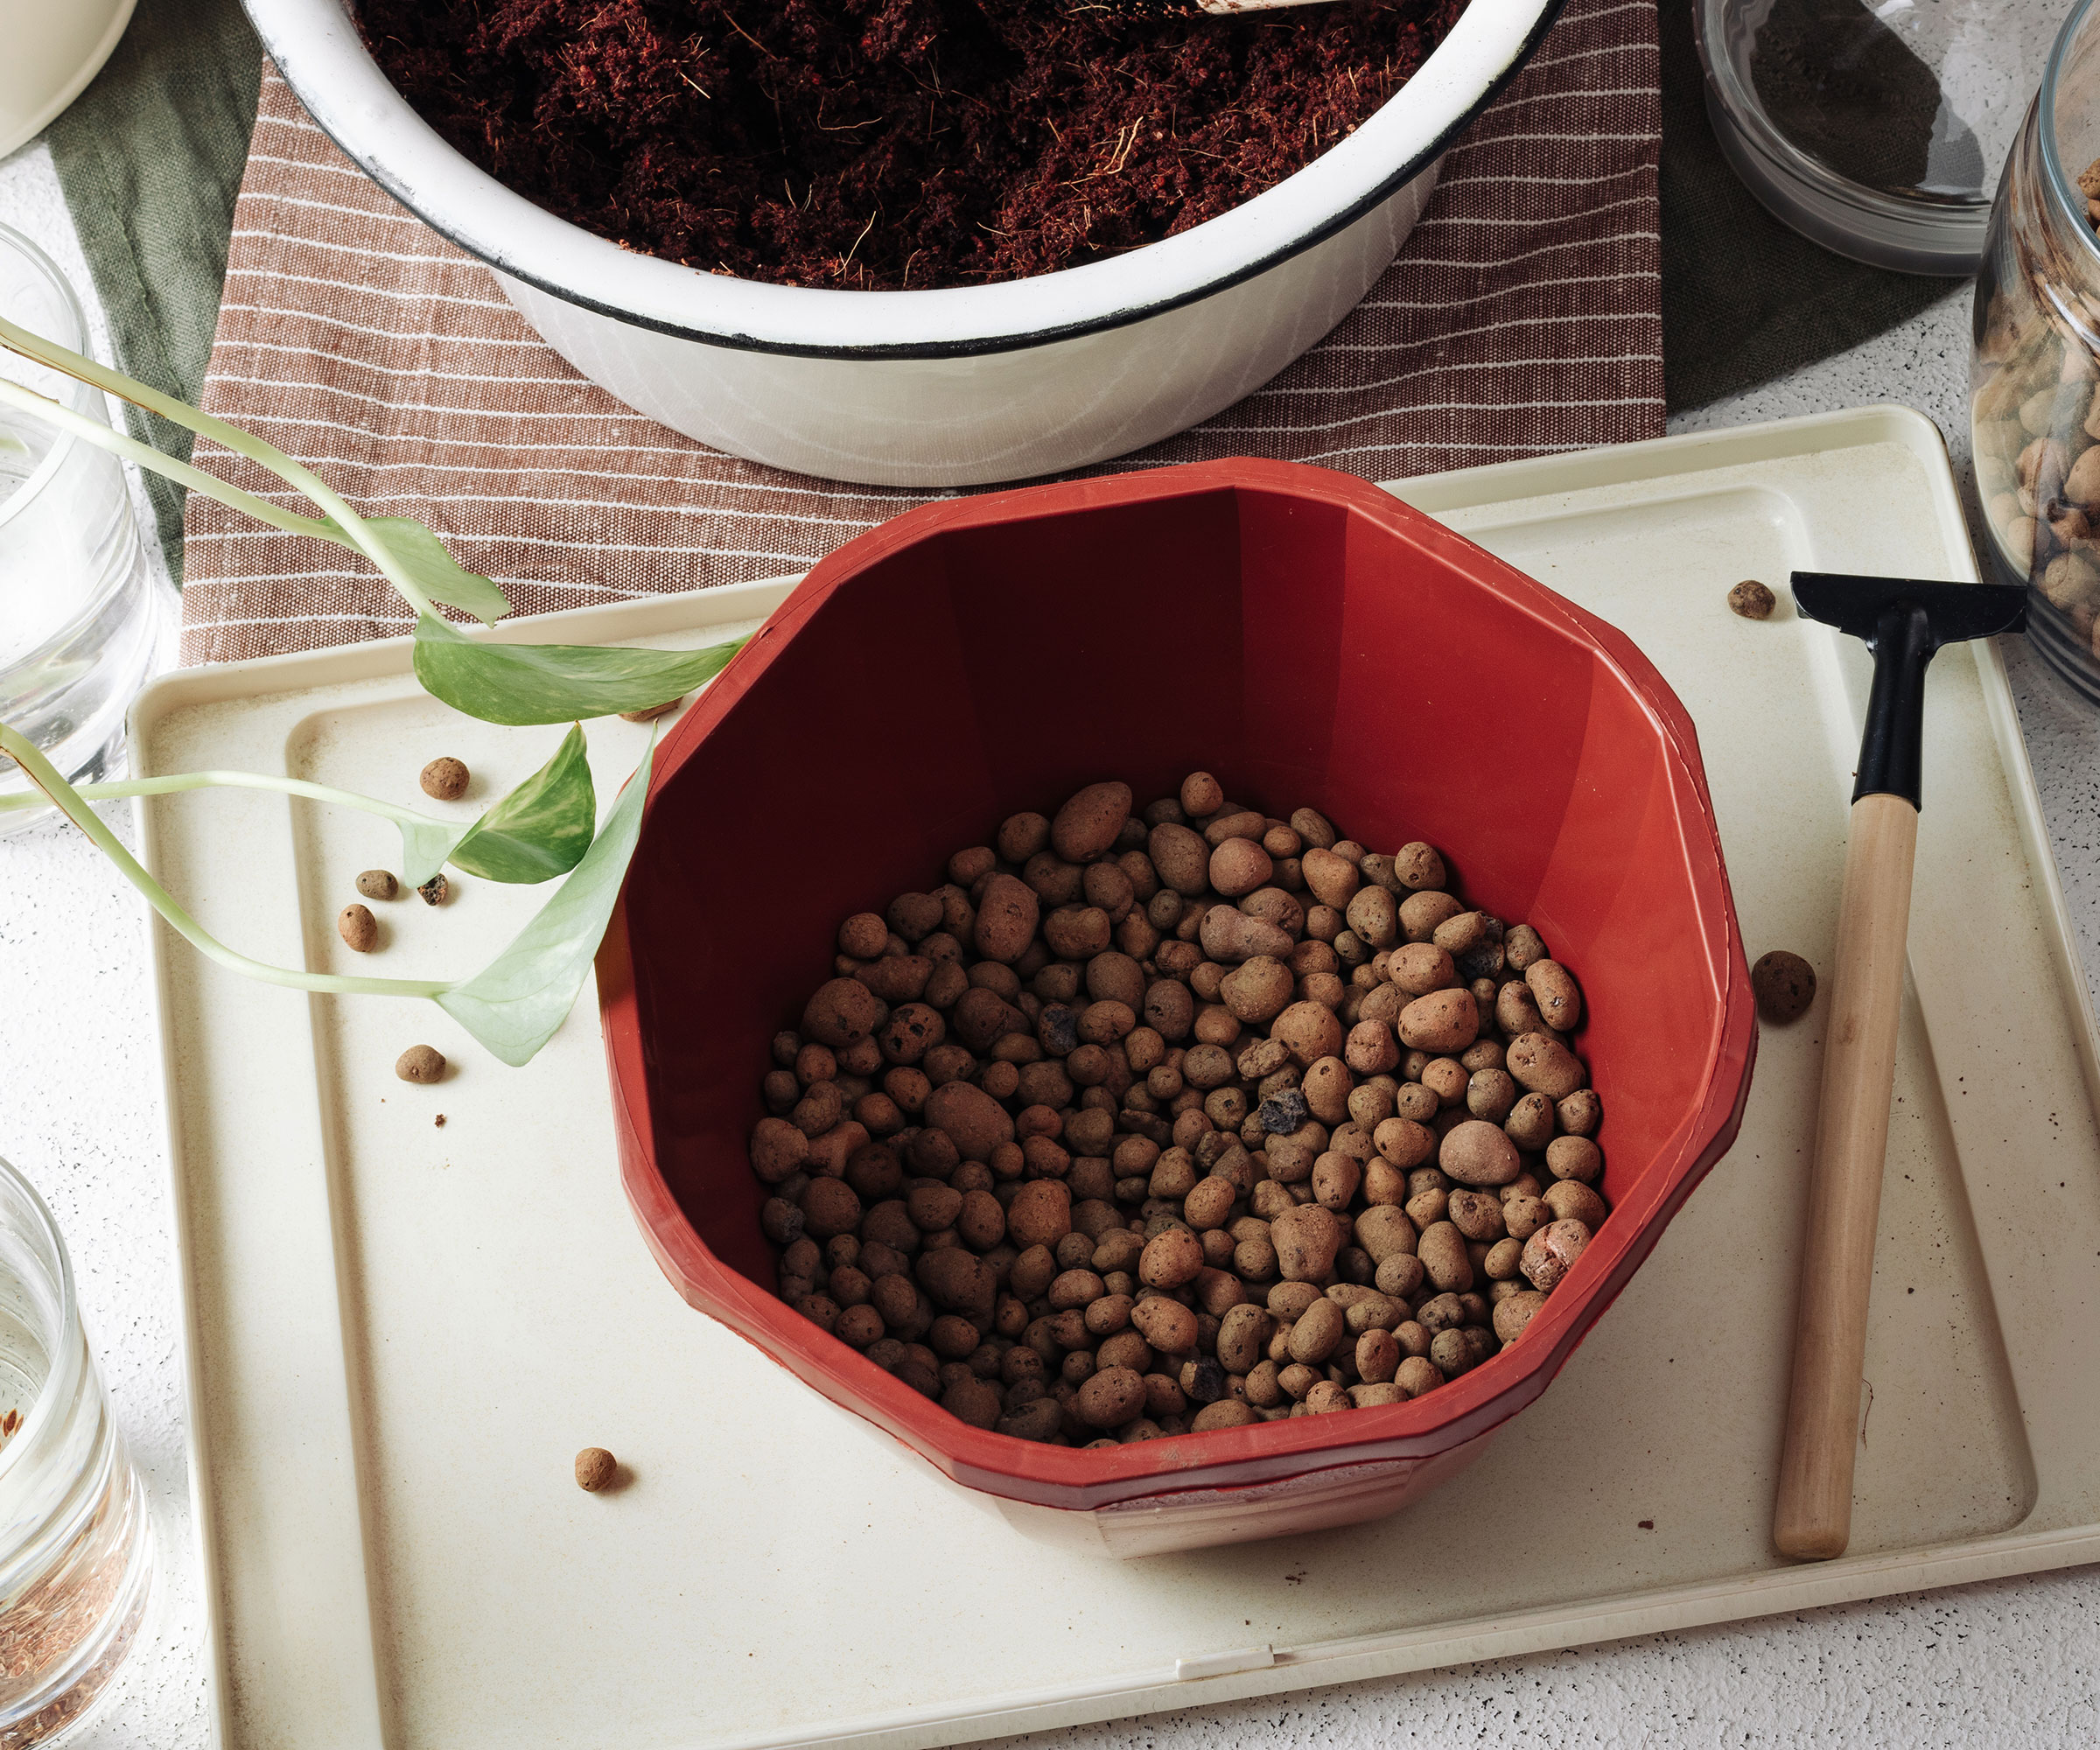
This can lead to root rot, especially if the filler material covers the drainage hole in the bottom of the container. When I learned this, I went straight to my mom and told her she’d been planting her flower pots wrong for years and she needed to stop. Being the loving mother she is, she listened to my concerns and decided to try it my way, what I would have called “the right way.”
When she went to plant her containers that year, she ended up buying twice as much potting soil as usual and sure, her pots looked beautiful. But they did every year, even when there were Diet Coke cans buried underneath.
Sign up for the Gardening Know How newsletter today and receive a free copy of our e-book "How to Grow Delicious Tomatoes".
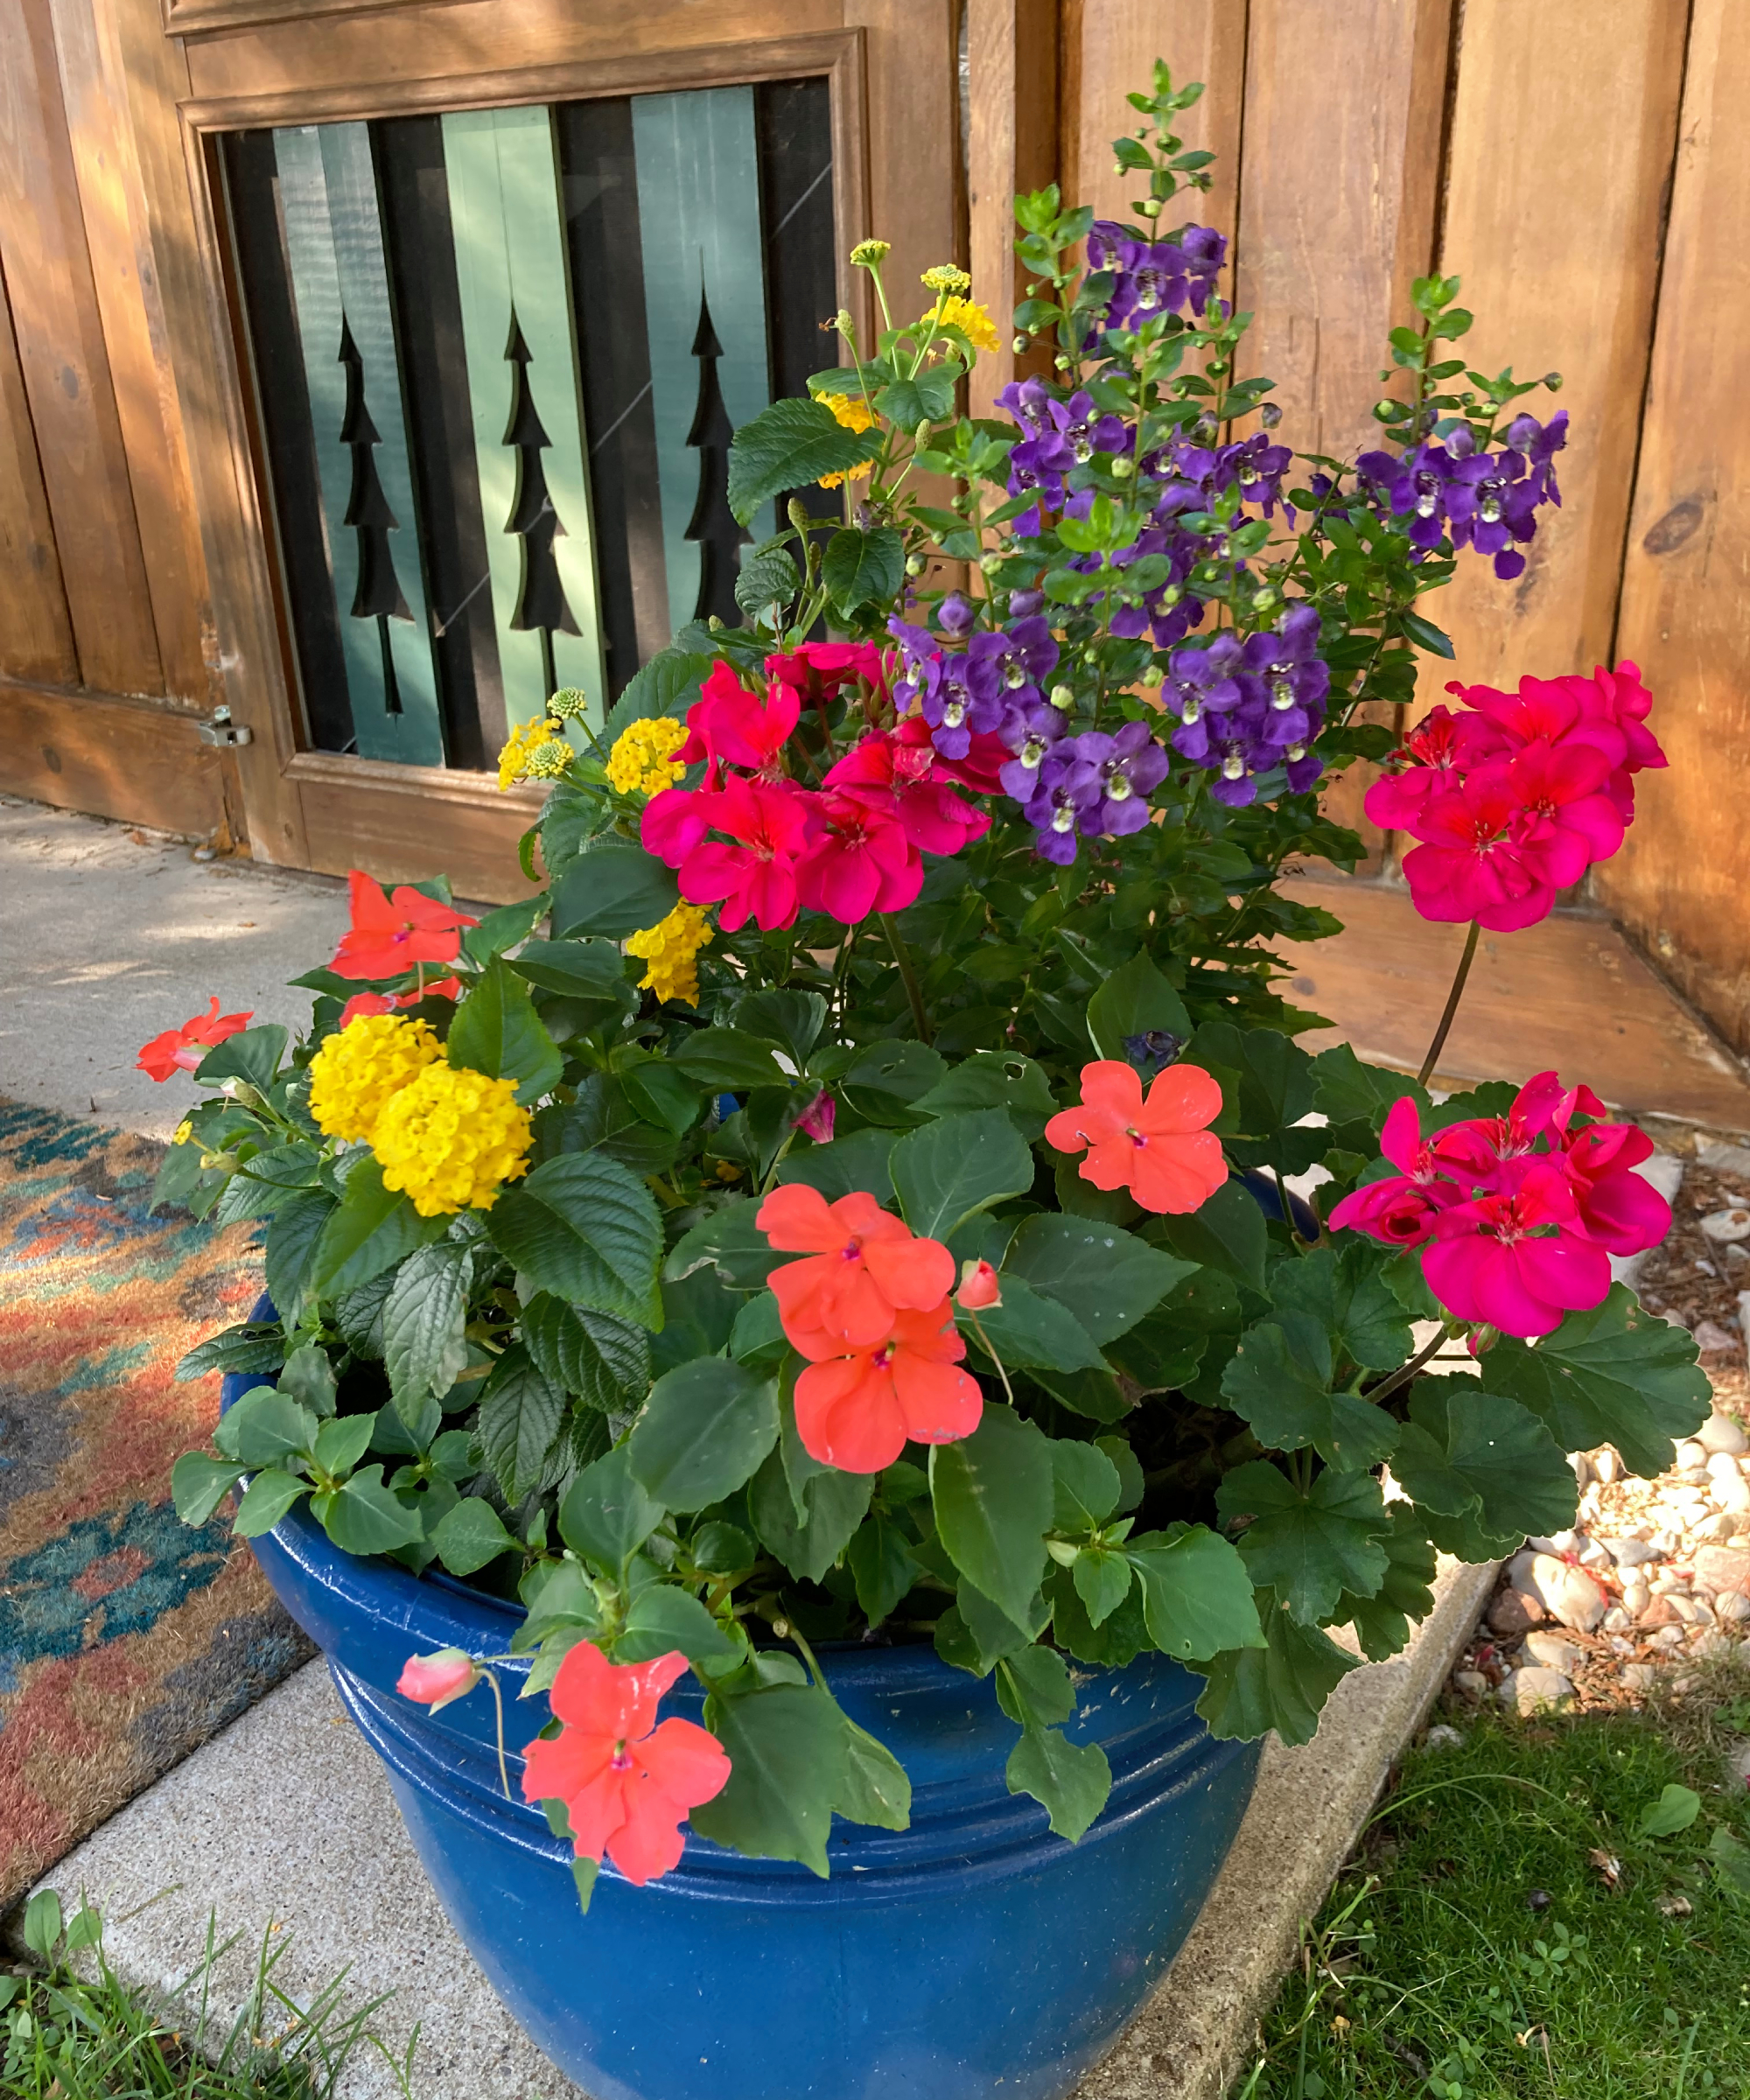
I helped her plant her summer flowers for several years using this “proper” planting method, but really there didn’t seem to be much improvement. She never had a problem with root rot in all those years when she planted on top of the soda cans. As long as there was a drainage hole in the bottom of the pot, her flowers did fine.
So after several years of experimenting with both methods, I’ve come to accept that “the right way” may be correct, but it’s not the only way that works. With the cost of everything going up, including soil, I’ve converted back to my mom’s tried and tested Diet Coke can planting hack.
How the Diet Coke Can Hack Works
The beauty of this gardening hack is its simplicity. First, gather up your empty soda cans. I come from a Diet Coke family, so we always have plenty of cans on hand. Any kind of soda can will work, except Pepsi (that’s a joke for the Coke people). Stock up on cans for your garden containers with this 24-pack for Diet Coke from Walmart.
You can also use beer cans left over from your 4th of July festivities, plastic water bottles, or even the nursery containers your plants came in. This is a great way to reuse plastic in your garden to keep it out of a landfill and be sustainable on a budget in your own backyard.
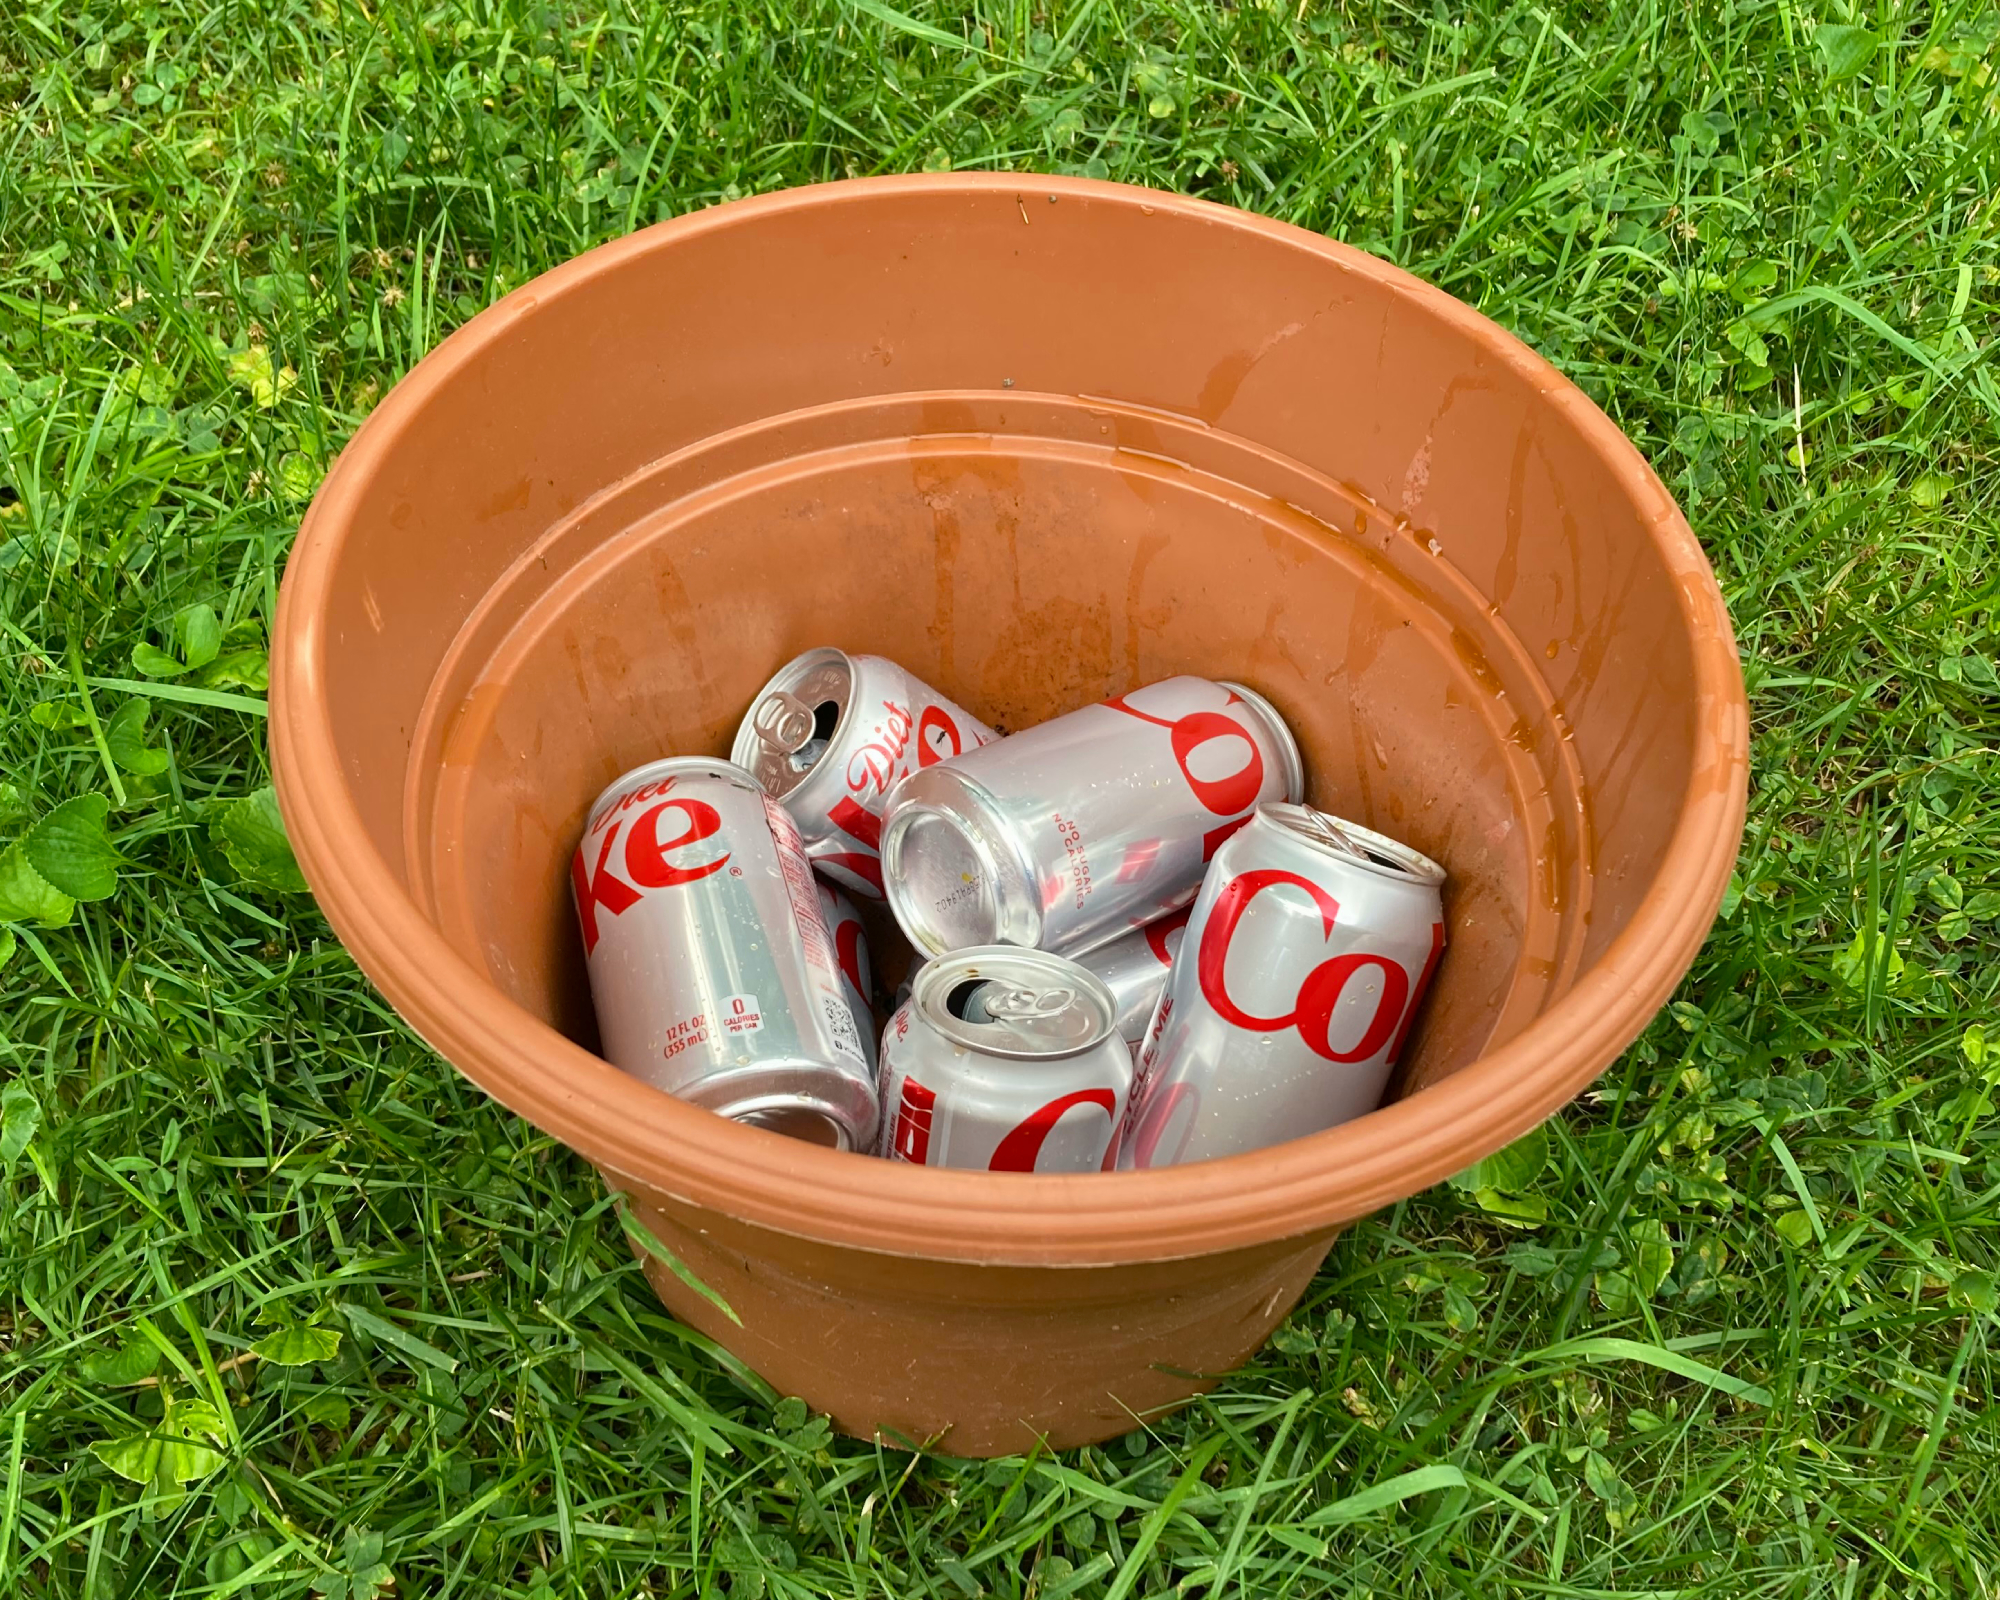
Choose your plant pot and then fill it ⅓ to half full with your recycled filler materials. Next, fill your pot to about ¾ full with your choice of potting soil.
Now this is where you should follow the “proper” planting protocol. Don’t cheap out and use an inferior, inexpensive potting mix. You can either create your own DIY peat-free potting mix at home or purchase a high-quality soilless mix like my mom’s and my go-to Miracle-Gro potting mix from Home Depot.
I’ve also experimented with different potting soils and that does make a difference in how well your plants grow. I’ve yet to find an off-brand potting mix that does as well as the basic Miracle-Gro mix.
The final step is to plant your pot. My must-have annuals for summer containers always include impatiens and geraniums—another trick I picked up from my mother. These easy-to-grow flowers fill in fast and rebloom all summer for a gorgeous display that lasts from spring to fall.

Laura Walters is a Content Editor who joined Gardening Know How in 2021. With a BFA in Electronic Media from the University of Cincinnati, a certificate in Writing for Television from UCLA, and a background in documentary filmmaking and local news, Laura loves providing gardeners with all the know how they need to succeed, in an easy and entertaining format. Laura lives in Southwest Ohio, where she's been gardening for ten years, and she spends her summers on a lake in Northern Michigan. It’s hard to leave her perennial garden at home, but she has a rustic (aka overcrowded) vegetable patch on a piece of land up north. She never thought when she was growing vegetables in her college dorm room, that one day she would get paid to read and write about her favorite hobby.