Amaryllis Bulb Propagation: How To Grow Amaryllis Bulbs
Learn how to grow amaryllis bulbs into new plants with the three main methods of amaryllis bulb propagation.


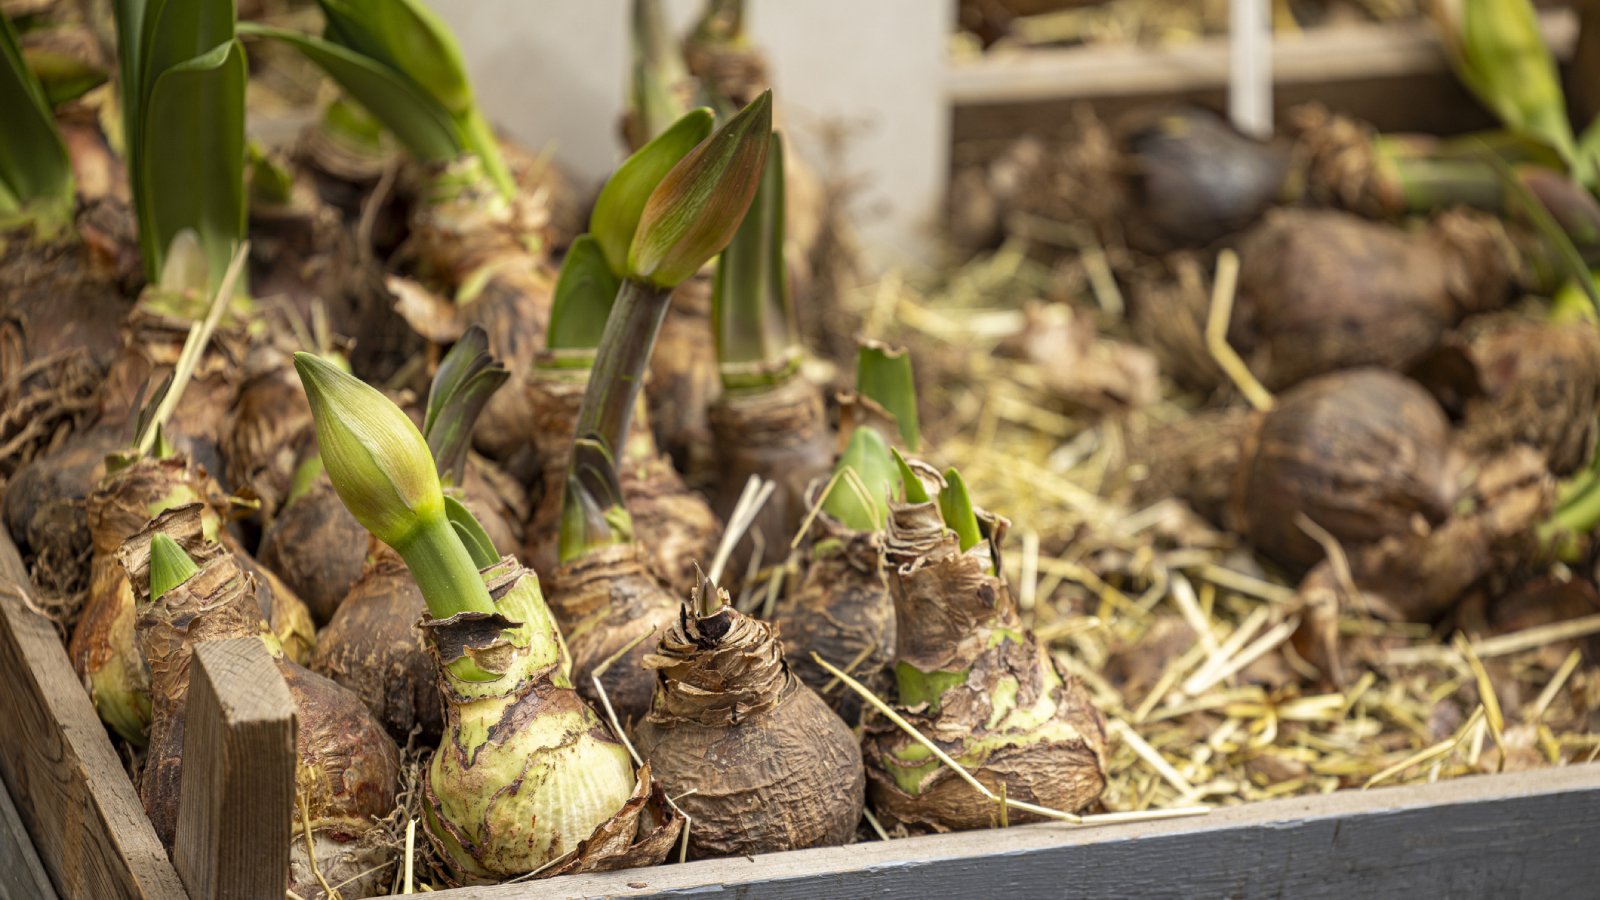
Amaryllis is a bulb plant with showy flowers. Easy to grow and easy to love, it’s extremely popular both as a houseplant and, in mild-winter climates, as an outdoor plant. And not only is amaryllis care easy - amaryllis is also very easy to propagate. The hardest part is deciding which method you want to try, since there are several ways to propagate amaryllis bulbs.
Best Methods of Amaryllis Propagation
Anyone who delights in the brilliant blossoms of their amaryllis may wonder whether they can propagate the plant. Propagating amaryllis is a fun and inexpensive way to increase the number of plants in your garden or home.
If you are wondering how to propagate amaryllis, you’ll have to sort through a variety of different methods. Which are the best methods of amaryllis propagation? That depends on what is more important to you: getting blooming flowers quickly or making many new plants at the same time. Planting amaryllis seeds will get you many different plants quickly, but it will take several years of amaryllis bulb care for any of the new plants to bloom.
When to Propagate Amaryllis
Now that you know that there are several ways to propagate amaryllis, it won't surprise you to find that there is a different “best time” to propagate for each different method of propagation. So you’ll first want to select the propagation method, then check on when to take action.
The ways you can propagate amaryllis are:
- By seeds
- By offsets
- By cuttage
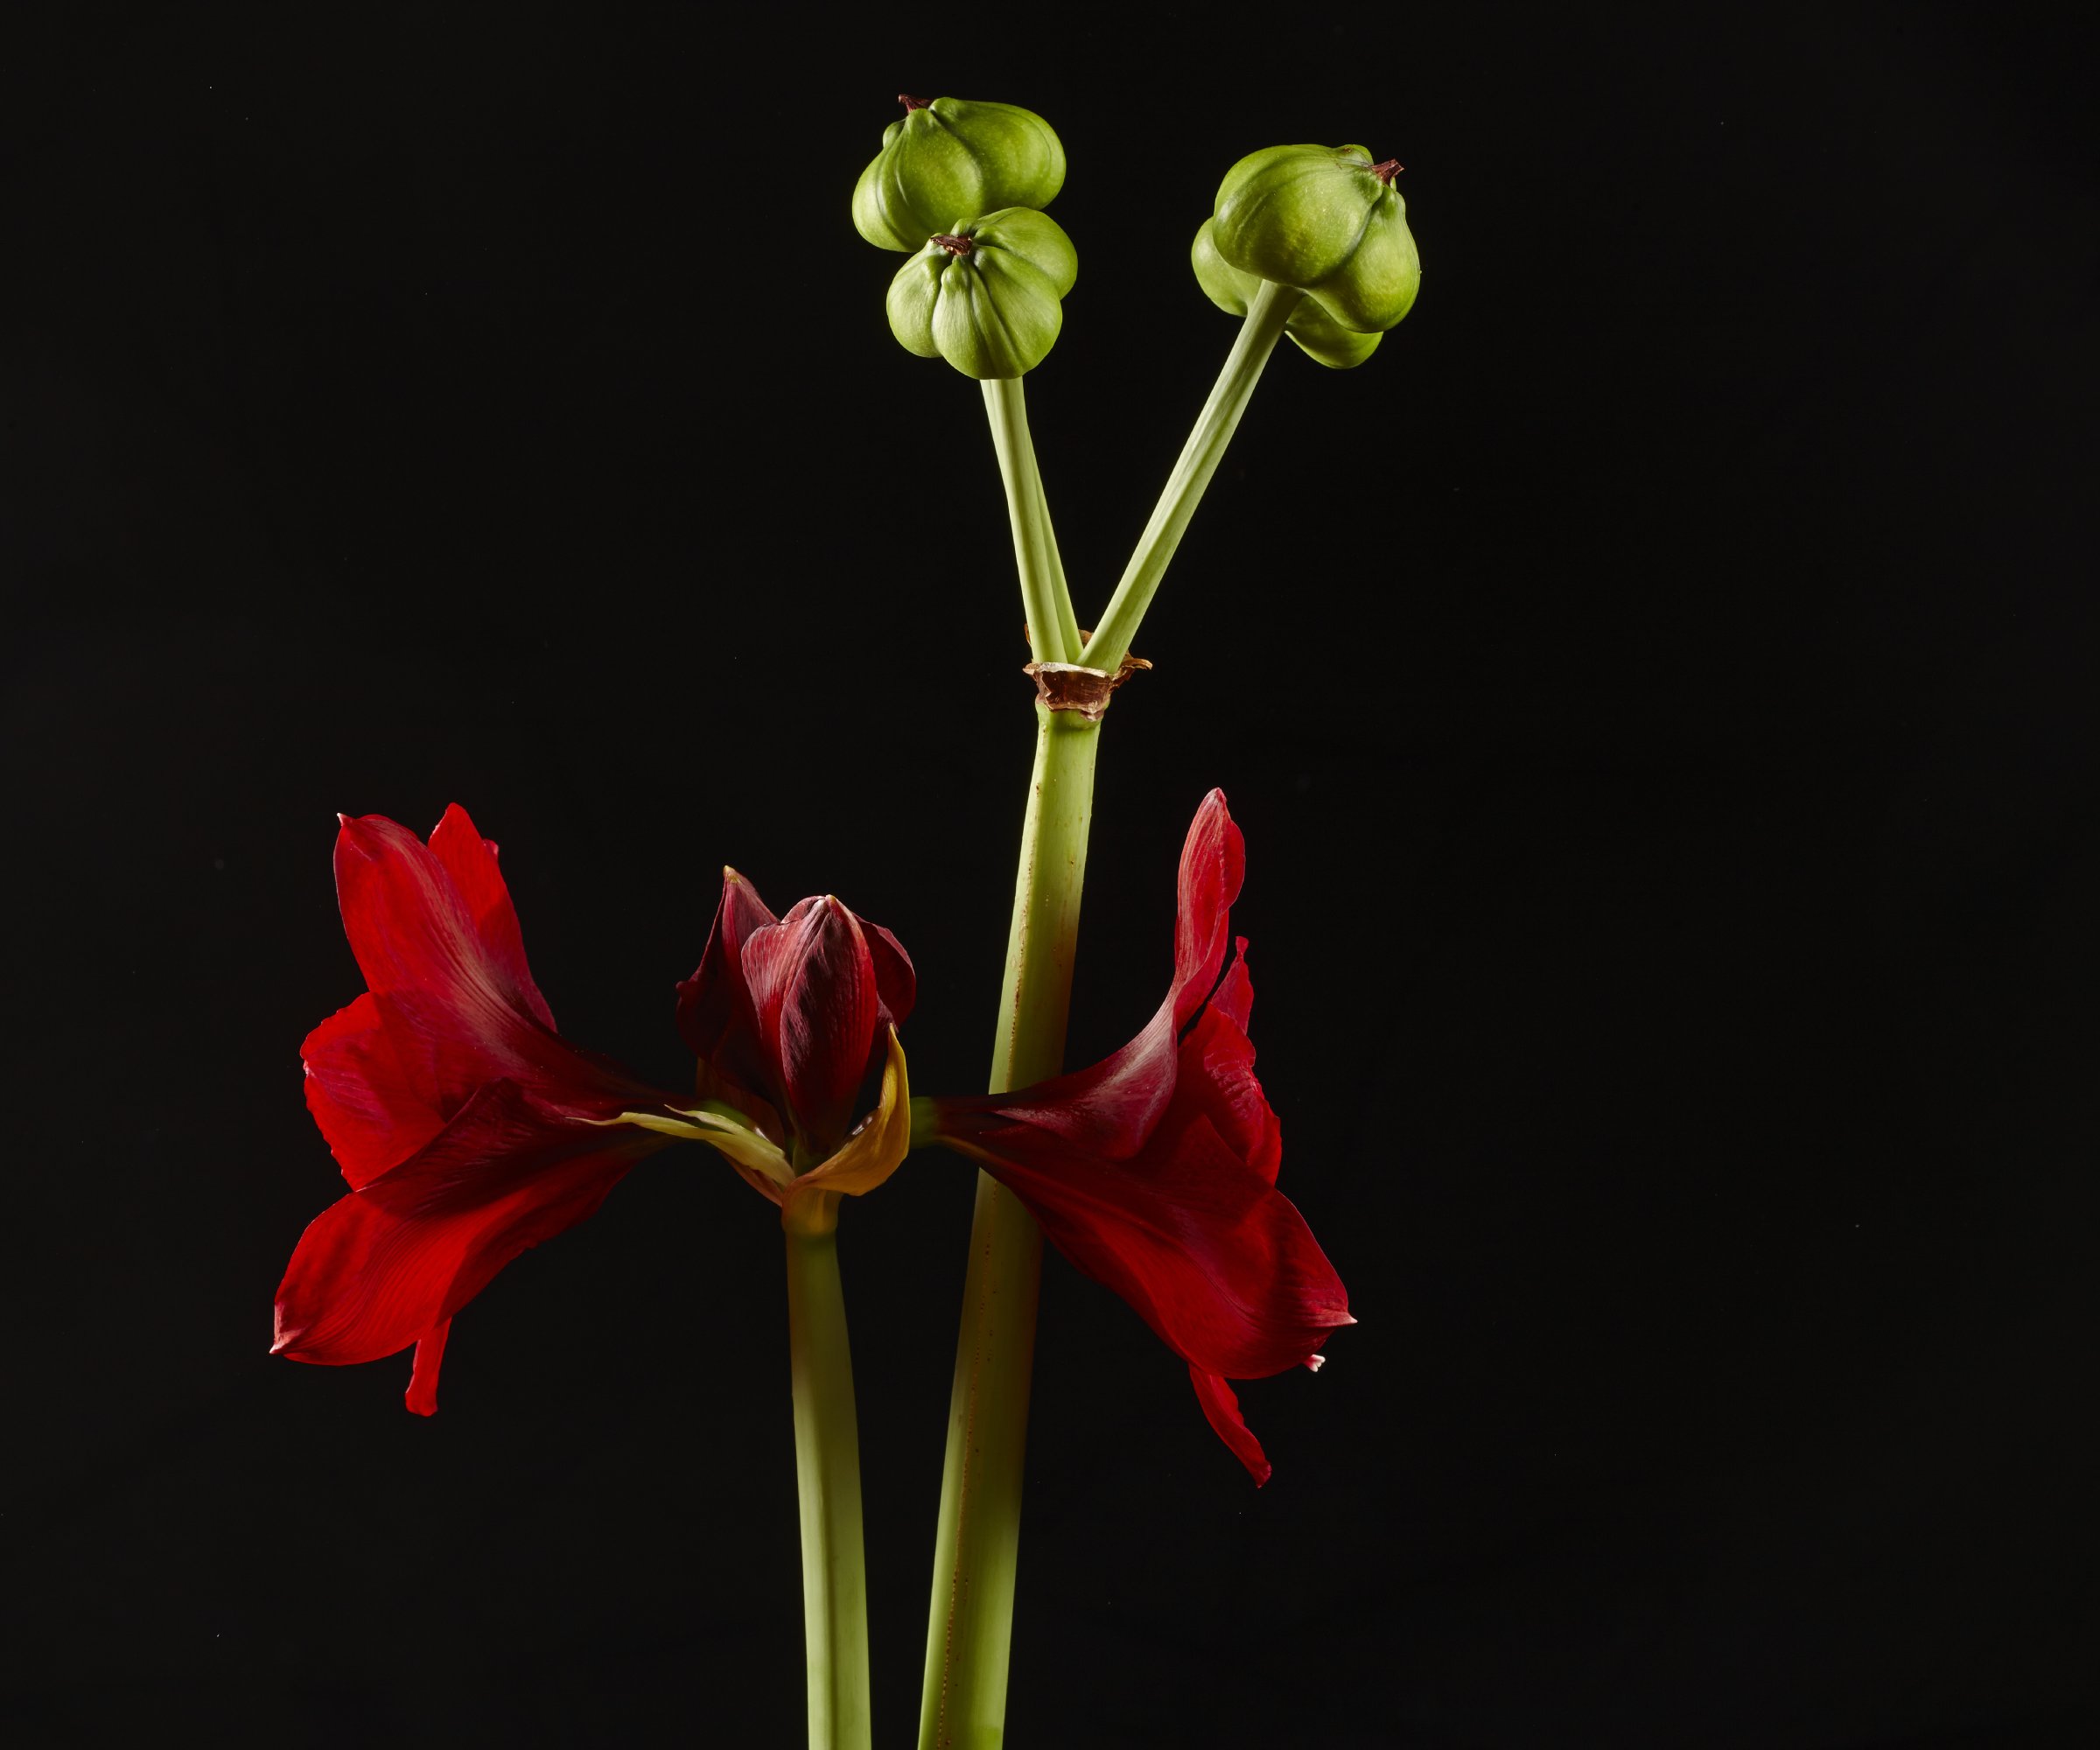
If you decide to propagate by seed, you’ll want to act when the seed pods mature. This usually happens a month or so after the flower is pollinated. When the pods turn yellow, pick them from the plant. That is the time to remove and plant the seeds.
If you want to grow amaryllis bulbs from division, you need to remove and transplant the offsets - mini-bulbs that develop on the "parent" amaryllis bulbs during the growing season. Offsets should be removed and planted in the autumn when the foliage yellows.
Sign up for the Gardening Know How newsletter today and receive a free copy of our e-book "How to Grow Delicious Tomatoes".
Cuttage is a method of propagating amaryllis that involves slicing the bulb into several pieces and replanting each one. The best time to propagate from cuttage is several months after the amaryllis bulbs have flowered. Usually this is between July to November.
How to Propagate Amaryllis
1. Seeds

If you're opting for amaryllis seed propagation, keep your eye on the seed pods. When they turn yellow and split open, cut them off the plant. The seeds are dark and papery. Remove them from the pods and place them on moist, well-draining potting soil.
Cover them lightly with soil and keep them in partial shade until they germinate. At that point, start gradually increasing the amount of sunlight for the seedlings until they are in full sun. Then transplant them into the garden bed or another container. Note that it may take three to five years before the new plants blossom. In addition, the seeds are not certain to produce plants that look like the parent plant.
2. Bulbets

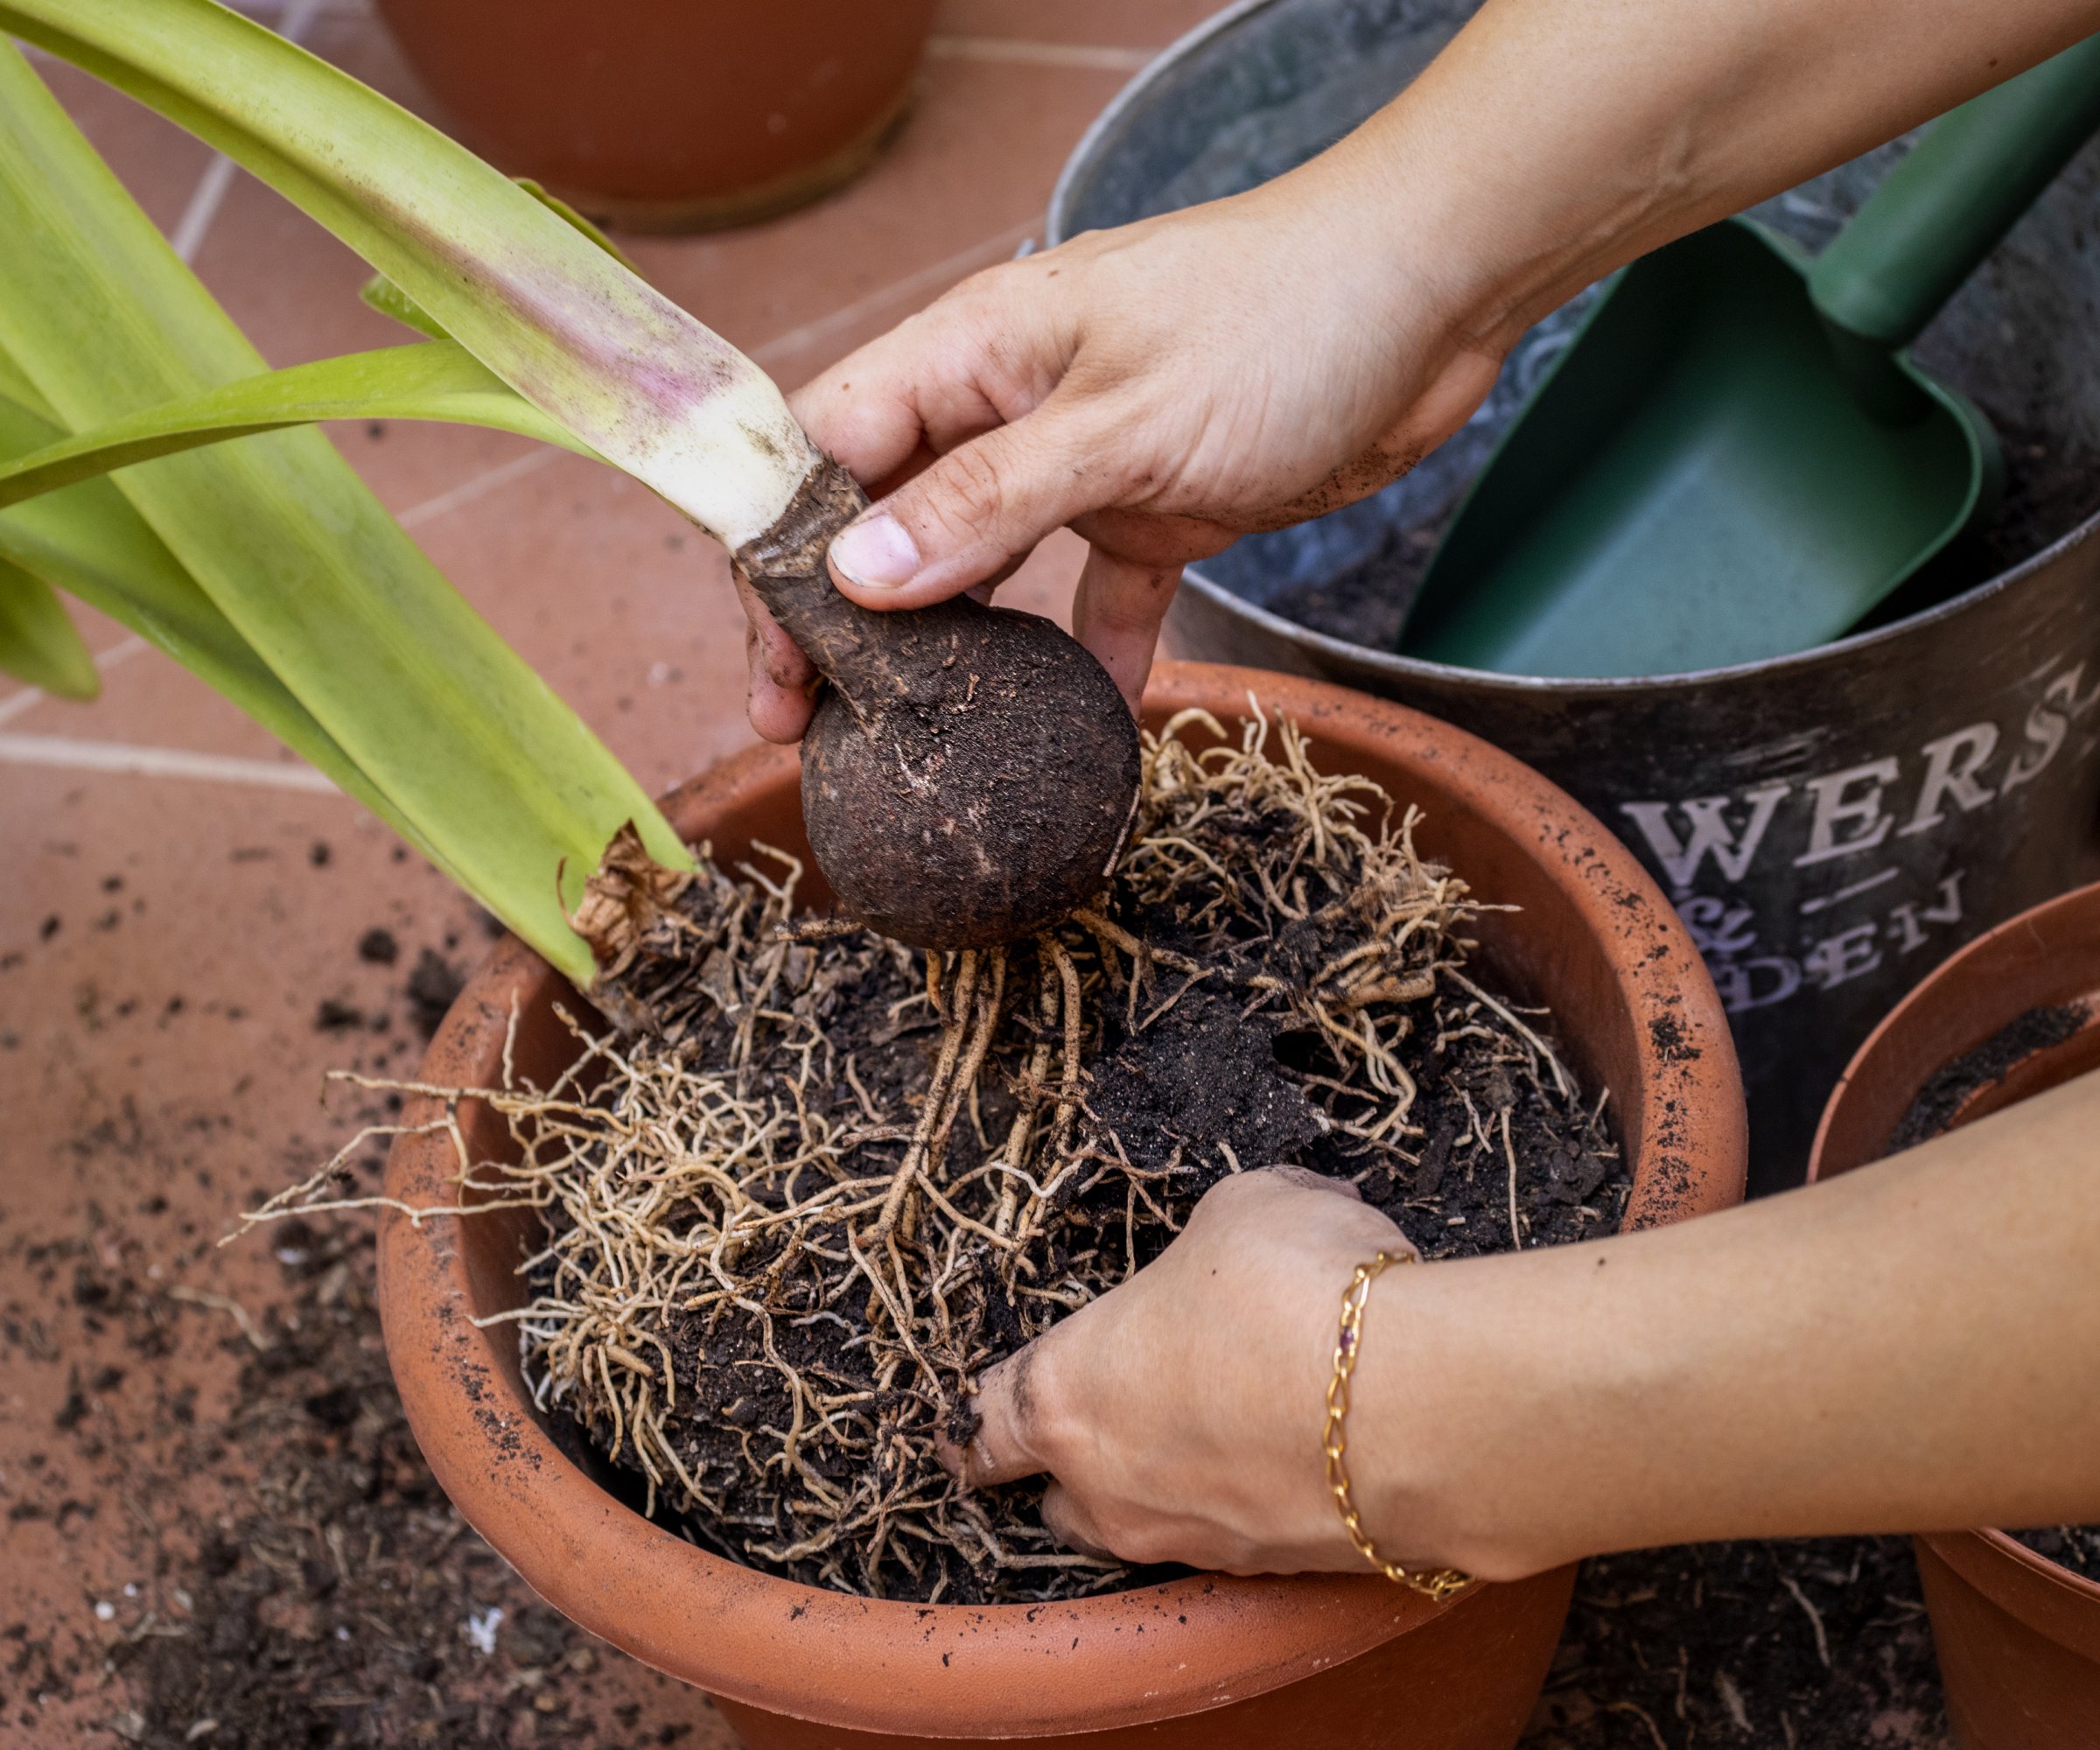
Look on the parent plant when the foliage yellows in the autumn. The bulblets are small amaryllis bulbs that grow on the parent plant. If they are at least one fourth as large as the parent bulb, they are ready to transplant. Lift the entire amaryllis bulb and roots out of the pot and gently separate the amaryllis bulbs by snapping off the bulblets. Each one can be replanted in a separate container – use containers about 1 or 2 inches (2.5-5cm) wider than the bulblets.
3. Cuttage/Chipping or Re-section:
This method of propagation involves making cuts through the amaryllis bulb vertically from top to root. The key to success is to be sure that every section includes a portion of the flat basal plate of the bulb. This is the scale portion, attached to the bottom of the bulb and it will induce the section to form a new amaryllis bulb with precisely the same color and pattern as the parent. Here's how to do it.
- Peel off the paper layer on the outside of the bulb. Prune back the roots.
- Remove the tip of the parent bulb to make the bulb rounder.
- Set it on that flattened tip, then slice it into several pieces, leaving a piece of the basal plate of the bulb. A large amaryllis bulb can be cut into some 10 equal sections.
- Allow these slices to dry for 12 hours to prevent rot. You can also coat each one with a fungicide solution.
- Mix one part water to 10 parts vermiculite, perlite or peat moss and fill a container with the mix.
- Put all sections into the medium with the basal plate down, then put the container in a plastic bag and seal it shut.
- Store it in a warm area for three months, checking it regularly to pick out any pieces that are rotting.
- Over time, the amaryllis bulb layers in the slices will separate to allow new bulblets form in between them just above the basal plate.
- When the bulblets form, transplant each section in a small pot in potting soil with good drainage. Plant it a little below the soil surface but make sure the original bulb layers are still exposed since they will rot away over time.
- Count on several years before the bulblets may flower.

Teo Spengler is a master gardener and a docent at the San Francisco Botanical Garden, where she hosts public tours. She has studied horticulture and written about nature, trees, plants, and gardening for more than two decades, following a career as an attorney and legal writer. Her extended family includes some 30 houseplants and hundreds of outdoor plants, including 250 trees, which are her main passion. Spengler currently splits her life between San Francisco and the French Basque Country, though she was raised in Alaska, giving her experience of gardening in a range of climates.