Ultimate Guide: How to Preserve and Store Gladiolus Bulbs for Spectacular Flowers Next Summer
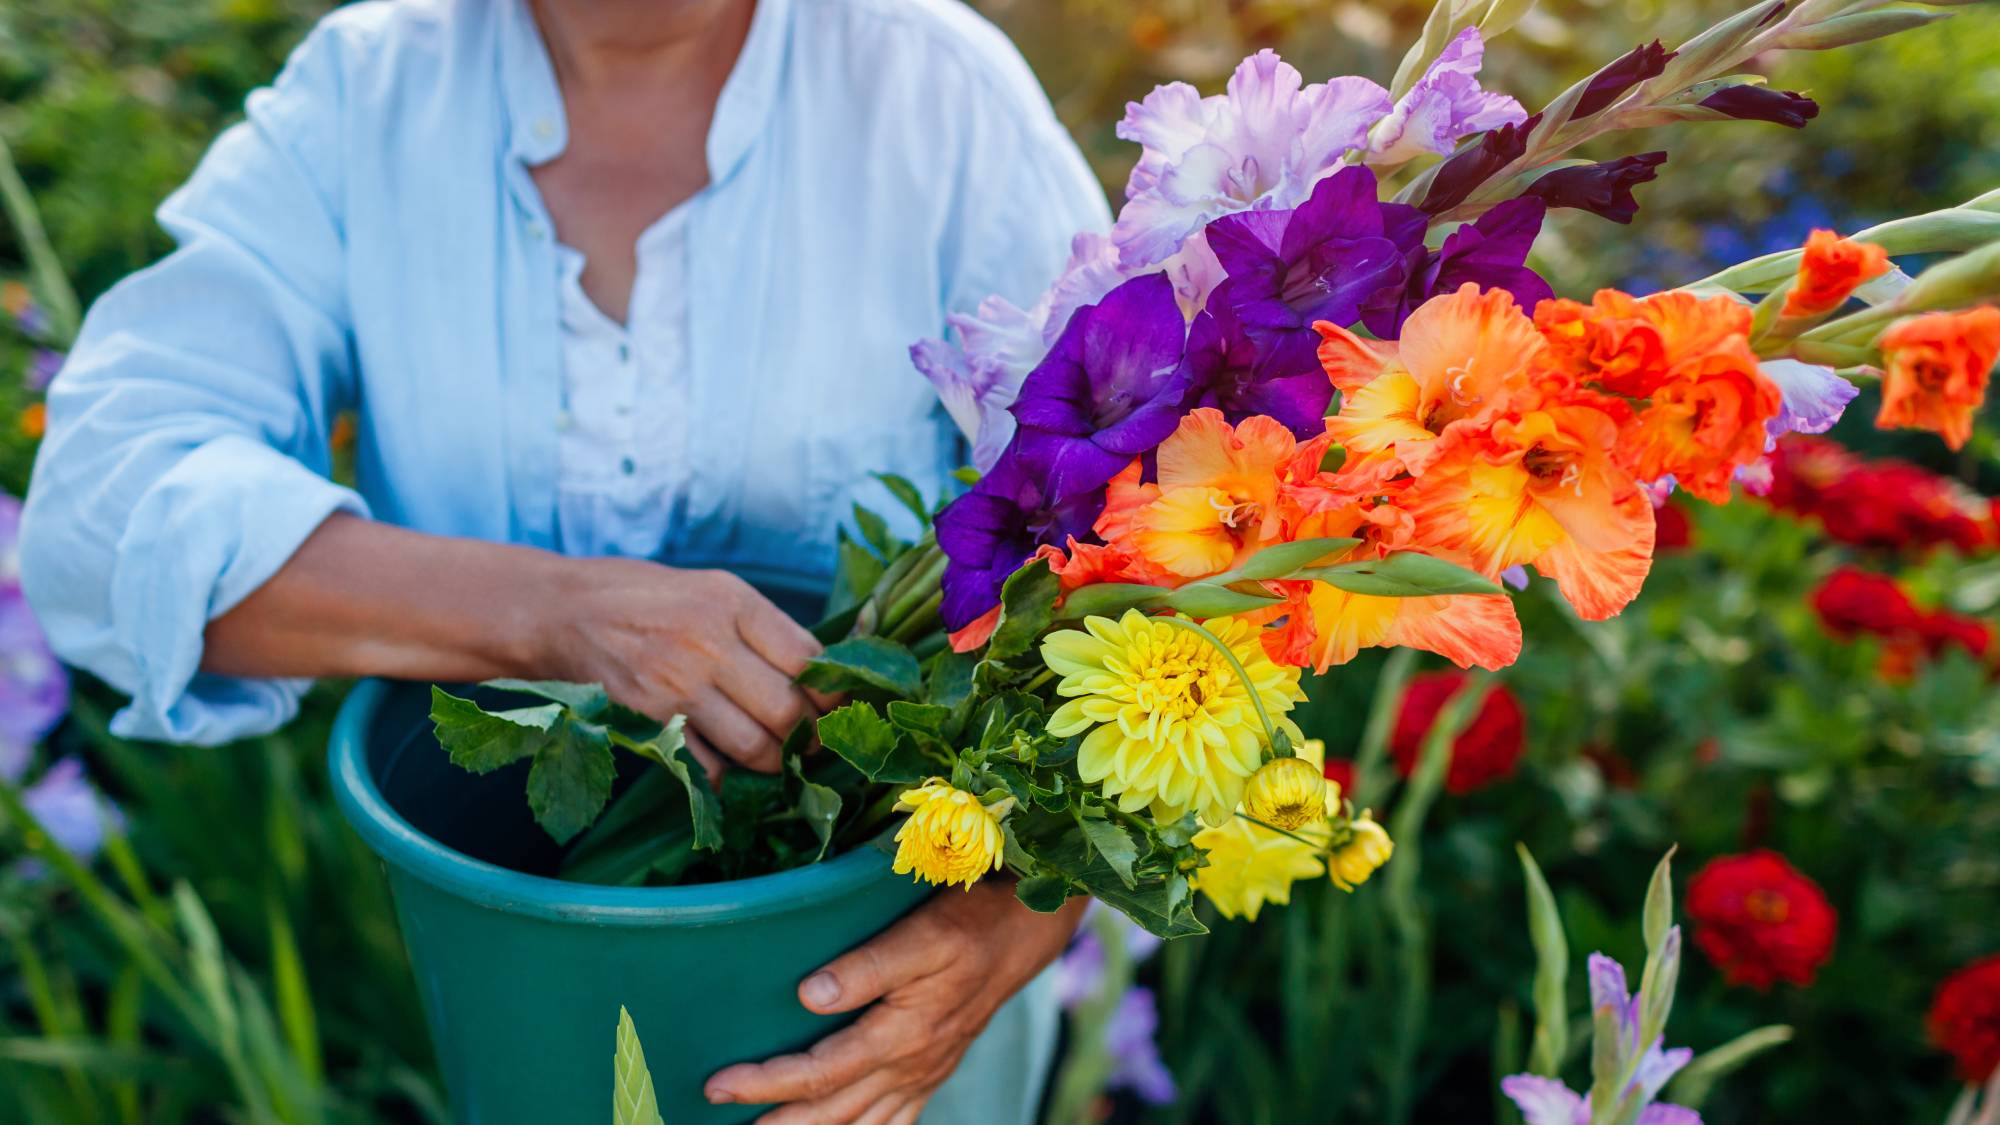
Want your glads to pop with color next year? Learn how to store gladiolus bulbs to keep them safe through winter for the best blooms next summer.

Sign up for the Gardening Know How newsletter today and receive a free copy of our e-book "How to Grow Delicious Tomatoes".
You are now subscribed
Your newsletter sign-up was successful
Figuring out how to store gladiolus bulbs is the secret to getting those big, showy flower spikes back in your garden every summer. These corms are not really bulbs, but they do hate freezing winters in most places, so you need to yank them out and hide them away proper. It’s no big deal once you get the hang of it through practice, but mess it up and you’re stuck with dead corms.
Gladiolus flowers are propagated via corms, a type of bulb. The corms need some TLC to survive winter’s chill. And it is important to harvest and cure the gladiolus bulbs correctly, or the corms could end up mushy or dried out.
This sets your gladioli up to be healthy and vibrant next year. Some gardeners ask if they can just leave the bulbs in the ground, but that’s a gamble depending on your weather. A couple spring planting tricks, however, can make those corms burst with color come next summer.
When to Dig Up Gladiolus Bulbs
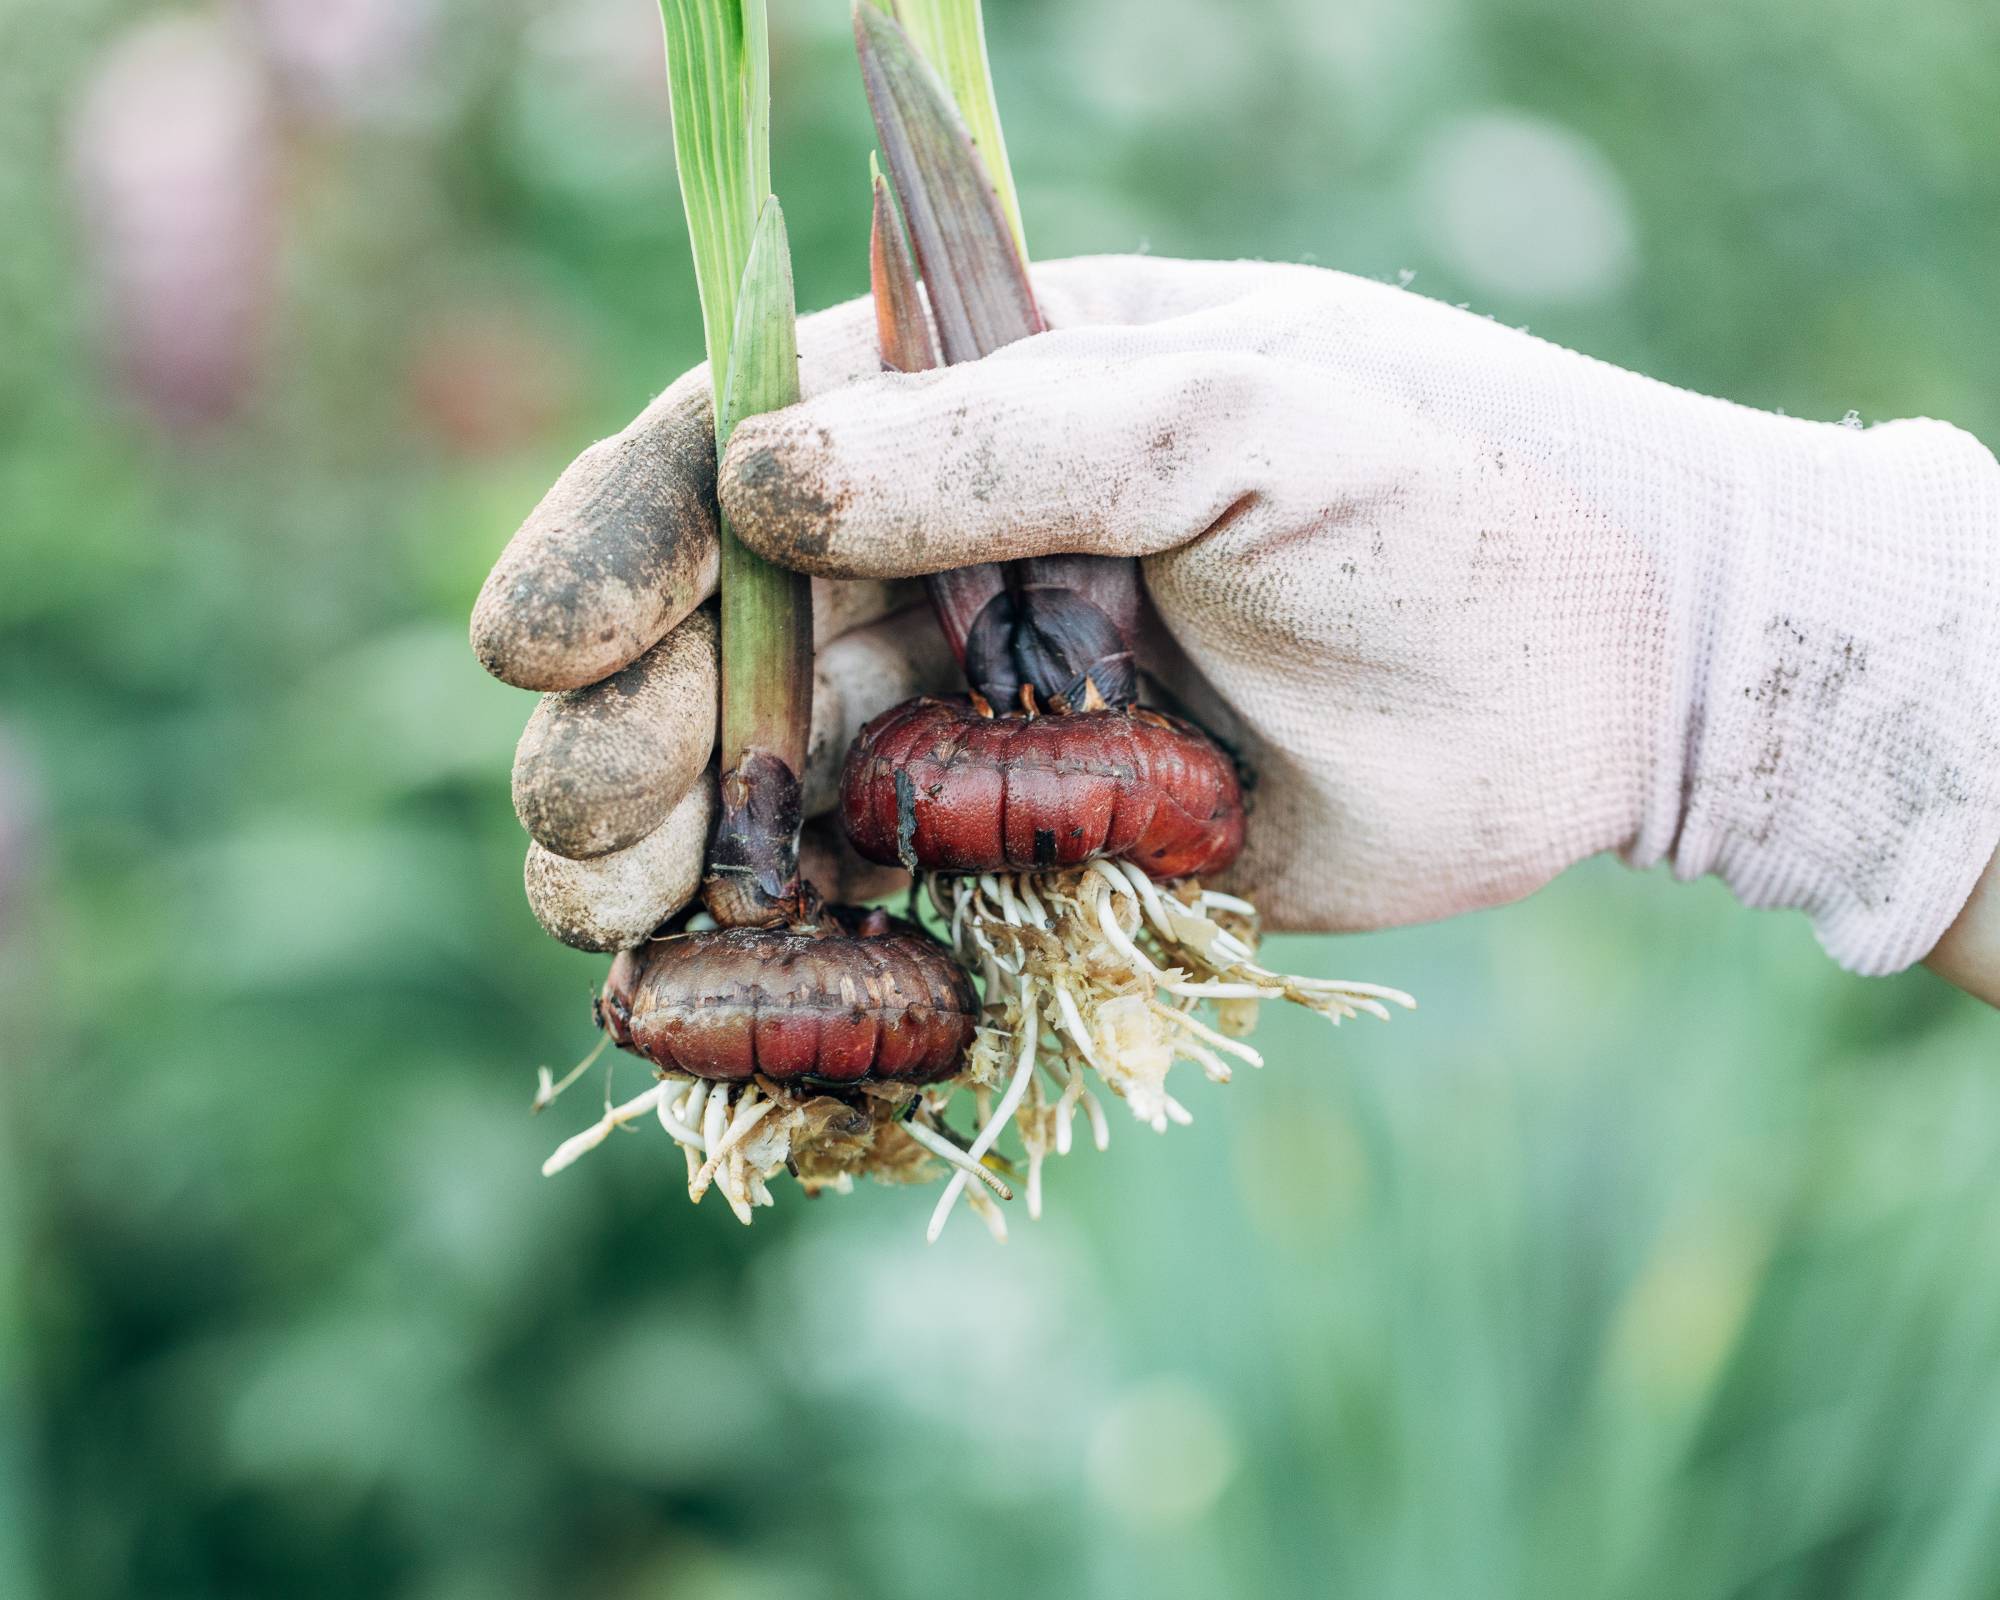
Growing gladiolus plants adds dramatic columns of color to your garden and harvesting and saving the corms is a great way to ensure you have more beautiful blooms next year. You’ll want to pull up gladiolus bulbs when leaves go yellow. This can be about a month or two after flowers drop in late summer or early fall, say September or October. In cold spots, below USDA Zone 7, waiting too long lets frost zap them dead. Warmer areas might let you push it to late fall if the ground’s still soft.
Check for wilted, brown leaves. Use a garden fork to loosen soil without damaging the plant's corms. Timing is key. Pull too soon and they’re not mature. Wait too long and the cold ruins them. Gently gather your bulbs in a a sturdy basket like the Fiskars garden harvest basket, available on Amazon.
How to Lift and Clean Gladiolus Bulbs
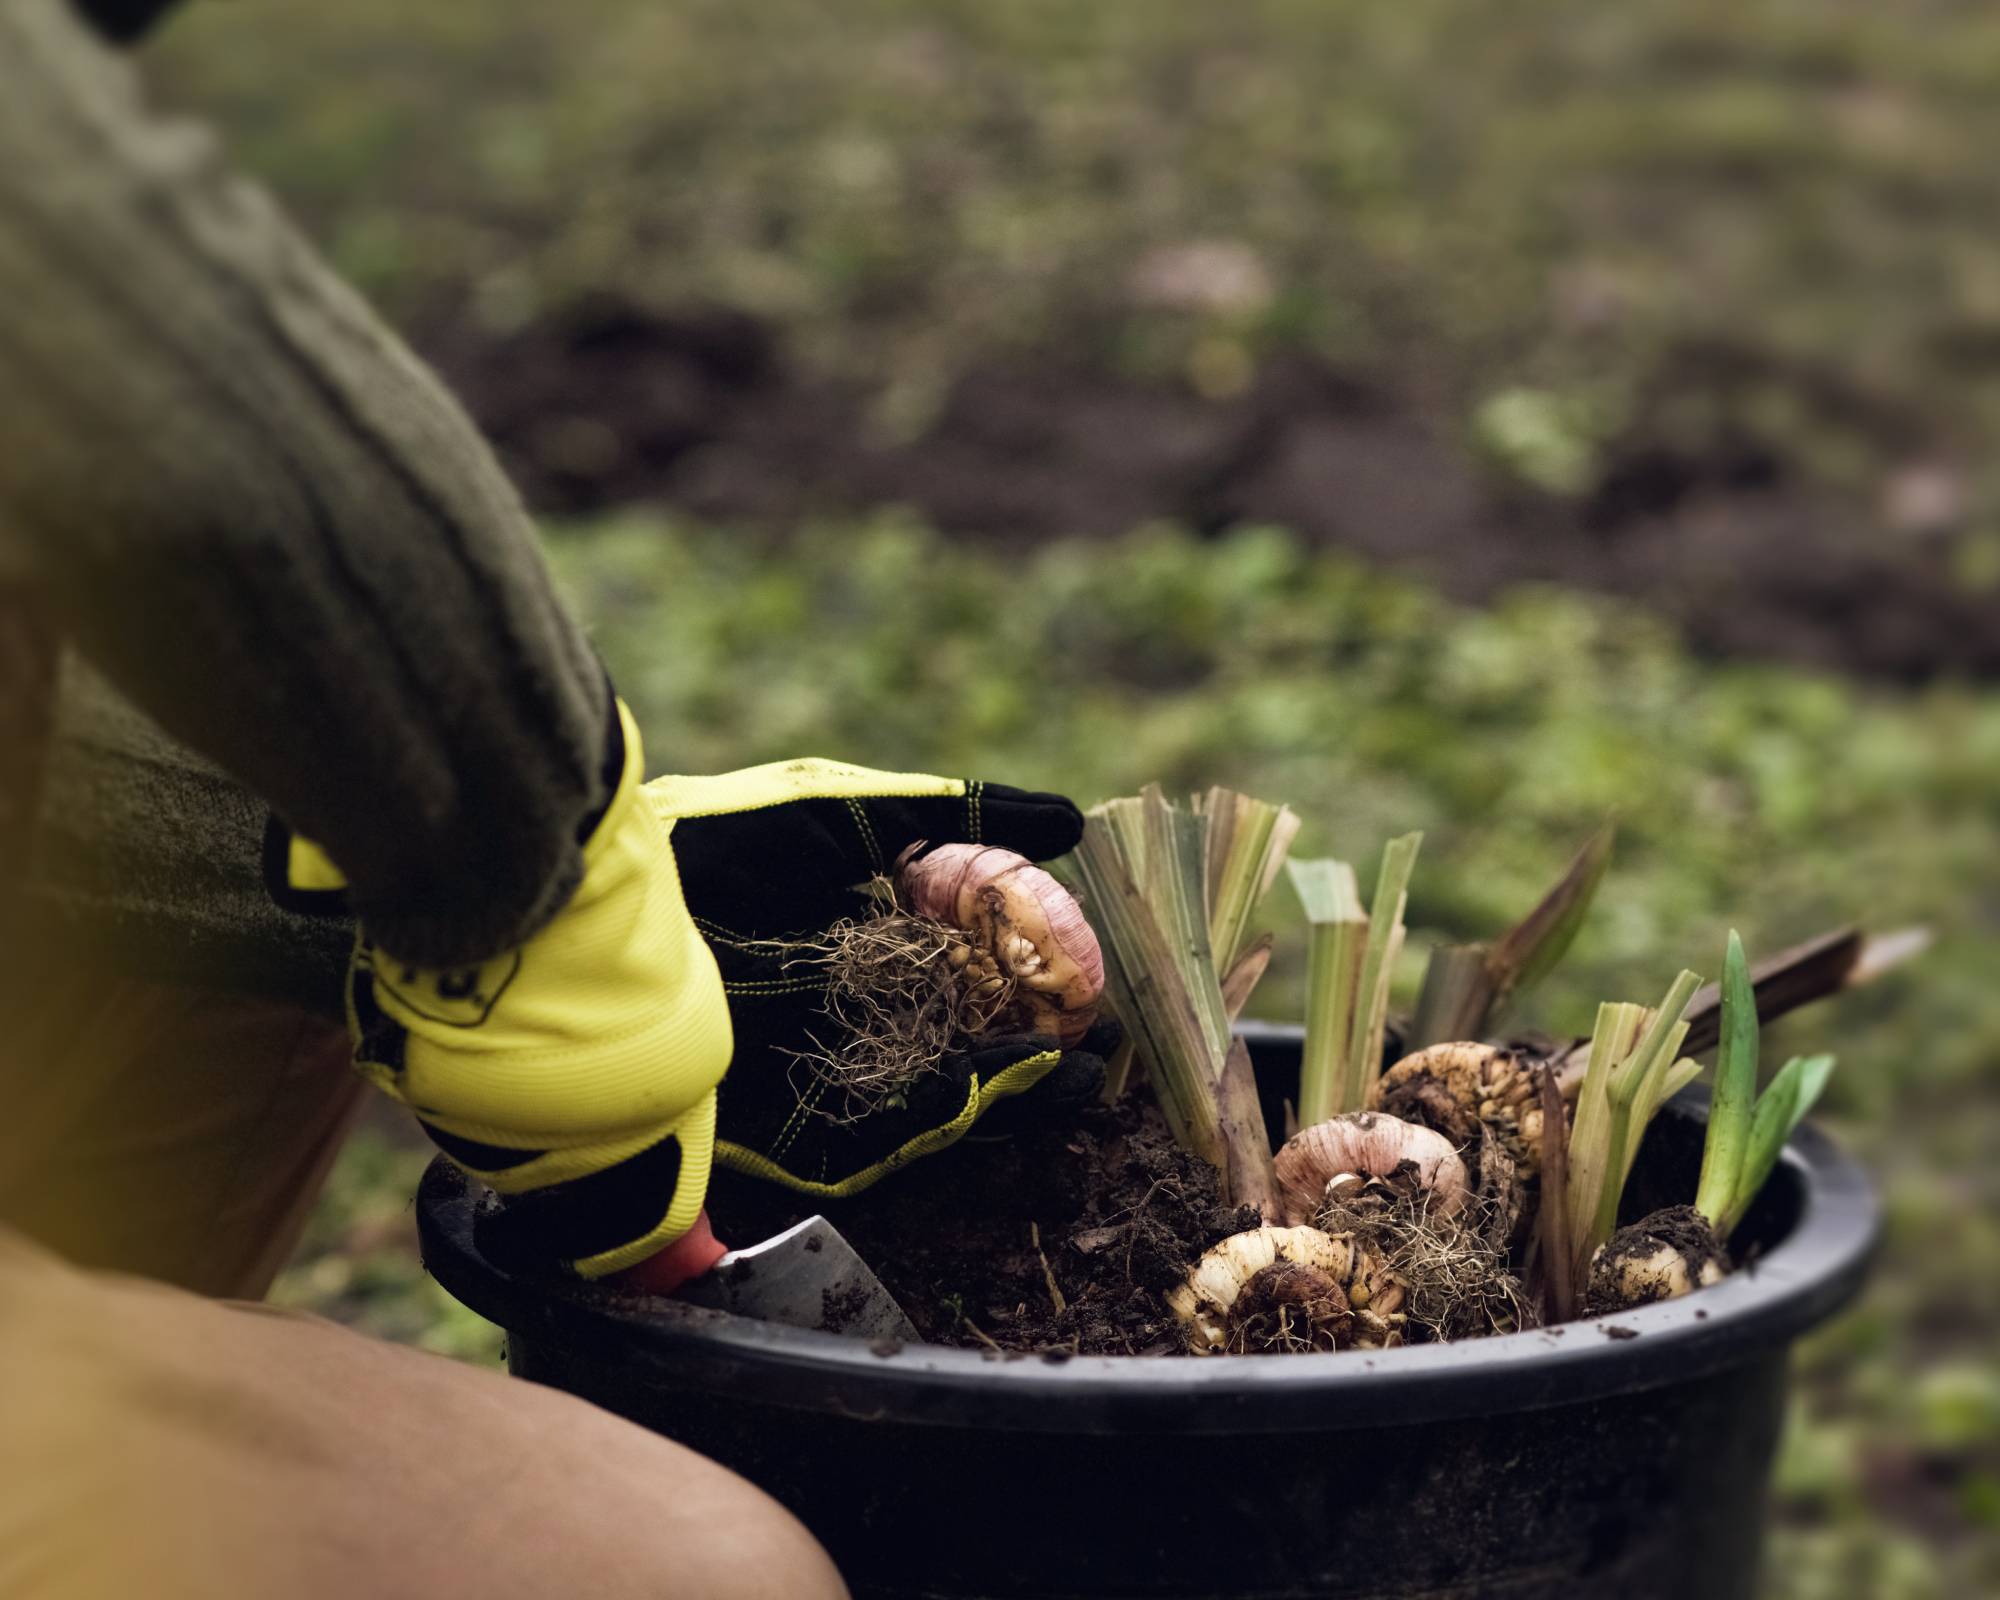
Ease those gladiolus bulbs out gently to avoid any damage. Damaged bulbs are susceptible to disease and won’t bloom the next year. Choose a fork or trowel, like this from Amazon, and dig about 6 inches (15 cm) from the stem. Lift the entire clump. Shake off all of the dirt clumps, and then the trim stems to 1 inch (2.5 cm) above the corm.
Do not rinse or wash your gladiolus bulbs. Place them on a drying rack, like this three-tiered rack from Amazon, or lay them out in a single layer to dry for a few days. Once the dirt is dried, brush it off and choose the best corms to save. Any that are mushy or have pests should be discarded.
Sign up for the Gardening Know How newsletter today and receive a free copy of our e-book "How to Grow Delicious Tomatoes".
Curing Gladiolus Bulbs
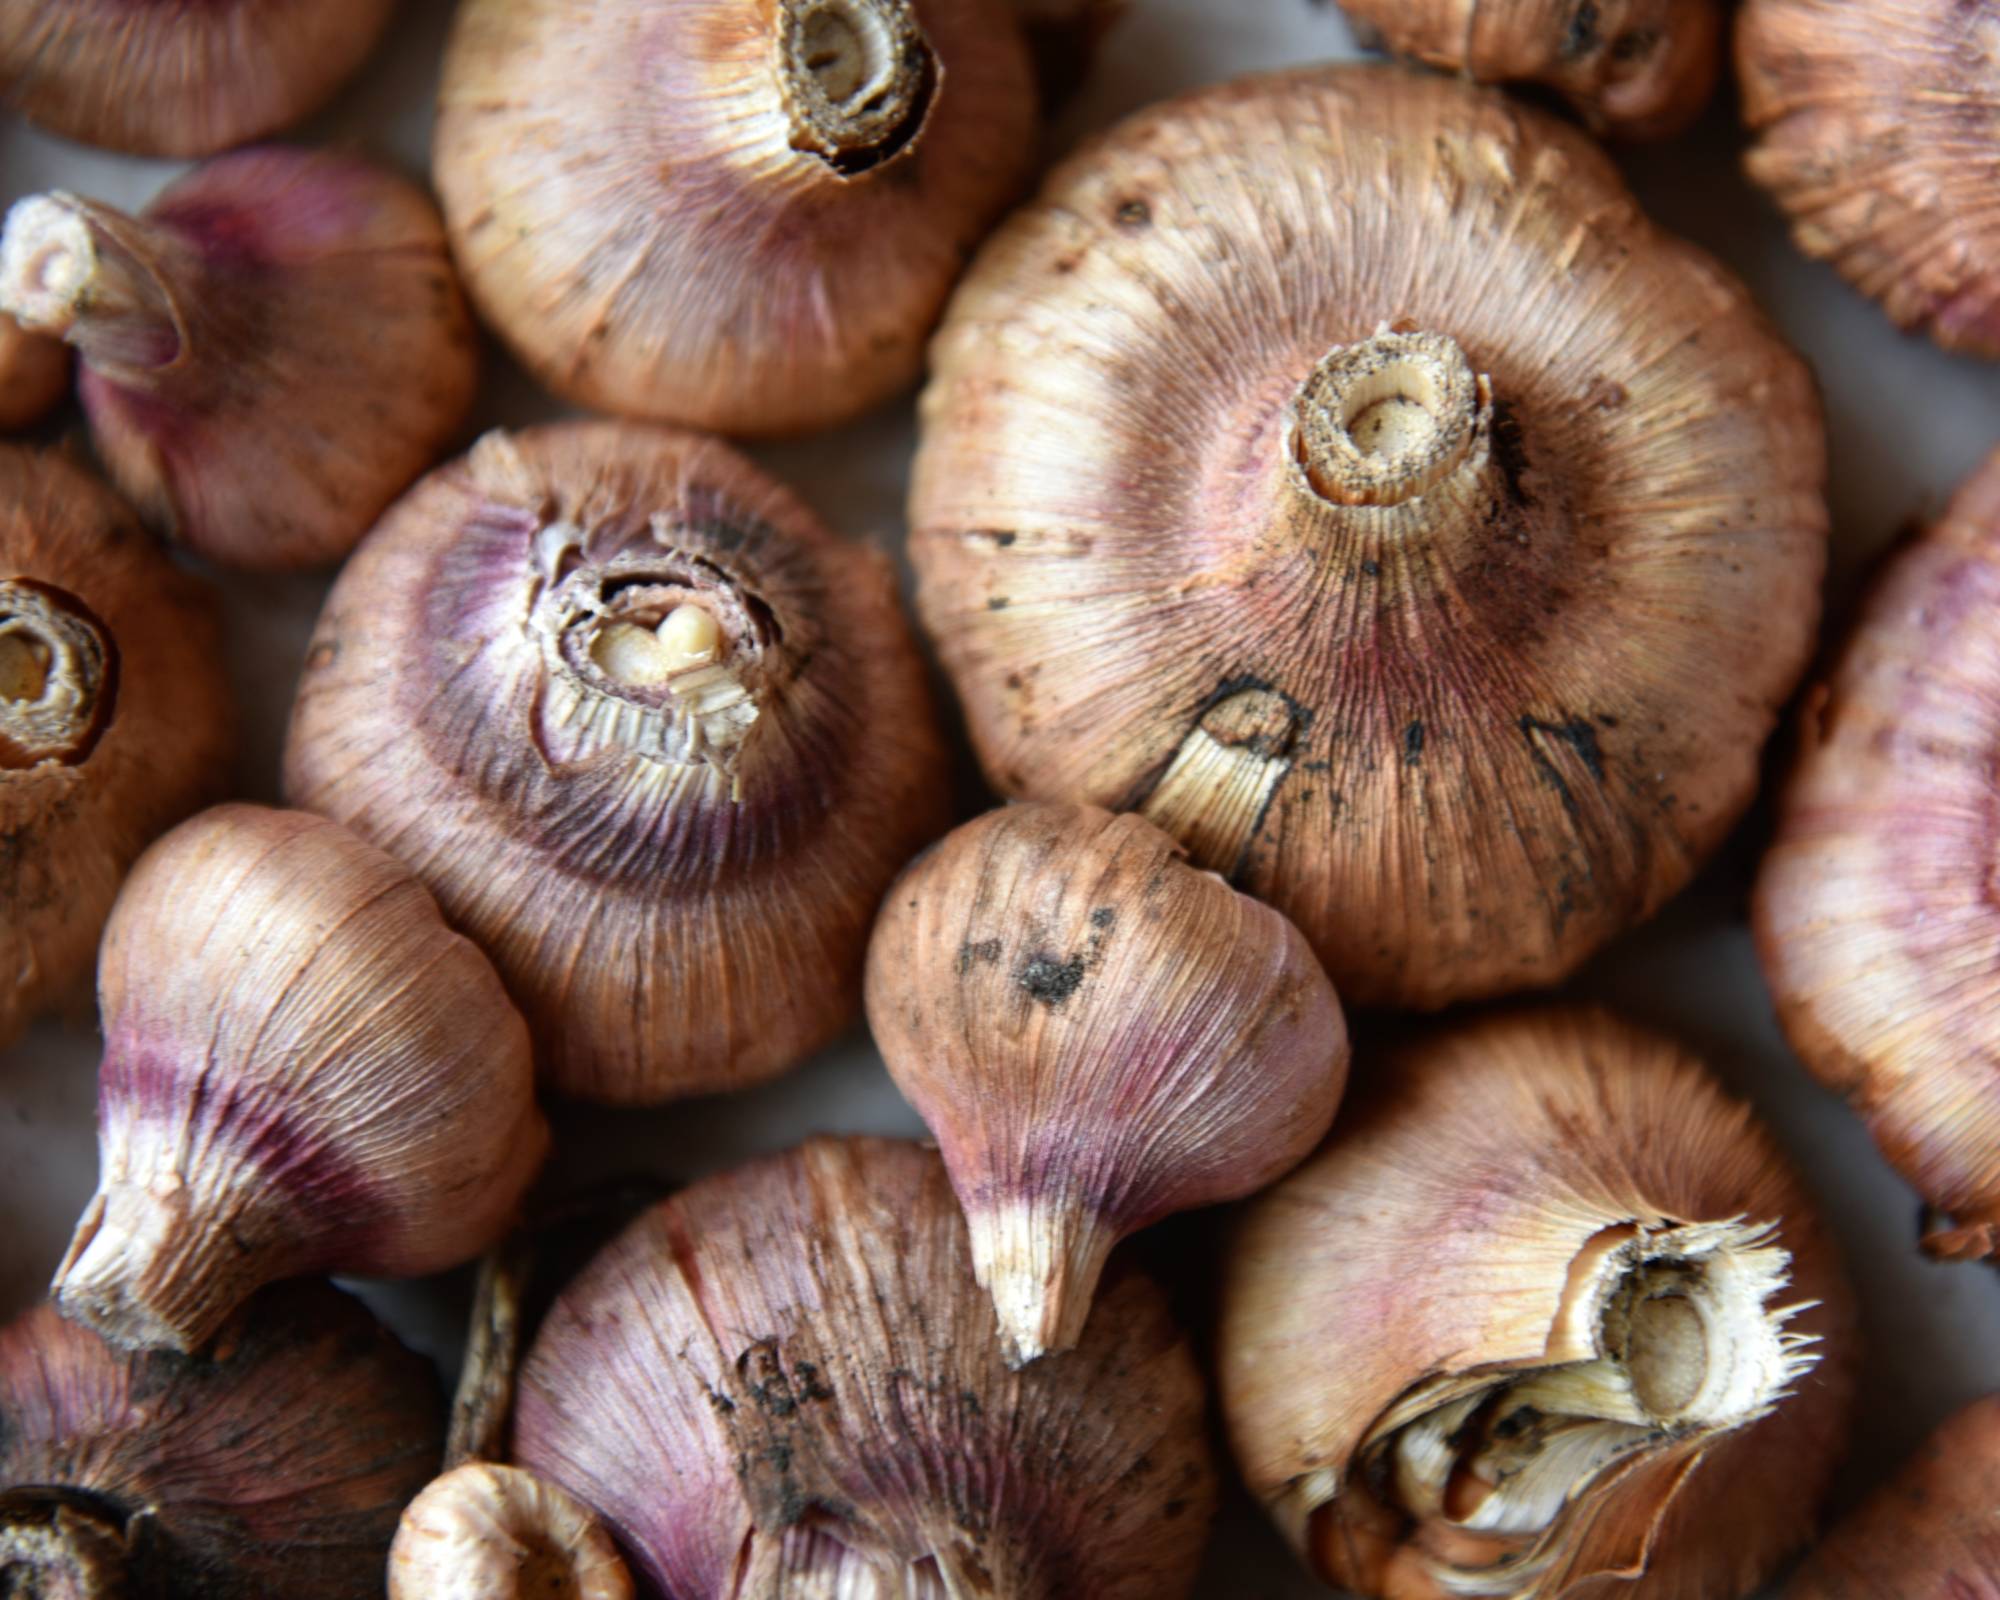
After you have brushed the dirt off and selected your best corms, lay them out on the drying rack again to cure in a well-circulated spot that stays around 70 to 80°F (21 to 27°C). Something like a shed or garage, away from sun works. Let your bulbs cure there for 2 or 3 weeks.
Turn corms every few days to dry evenly. They are set when the outer skin feels crisp and papery. This keeps rot at bay and makes them last until planting time.
How to Store Gladiolus Bulbs
Stash your gladiolus bulbs somewhere cool and dry, around 35 to 45°F (2 to 7°C). A basement works fine, or even the fridge if you’ve got the space. Just don’t set them near apples or pears because the gases from those fruits will negatively affect the bulbs.
Drop the corms into old paper bags or mesh sacks so they can breathe, and shake on a light coat of fungicide to keep mold from creeping in. Bonide has a sulfur powder fungicide that is easy to apply and found on Amazon. Once a month, check on the corms. If any feel mushy or look off, toss them out before they spread the problem.
Preparing Bulbs for Spring Replanting
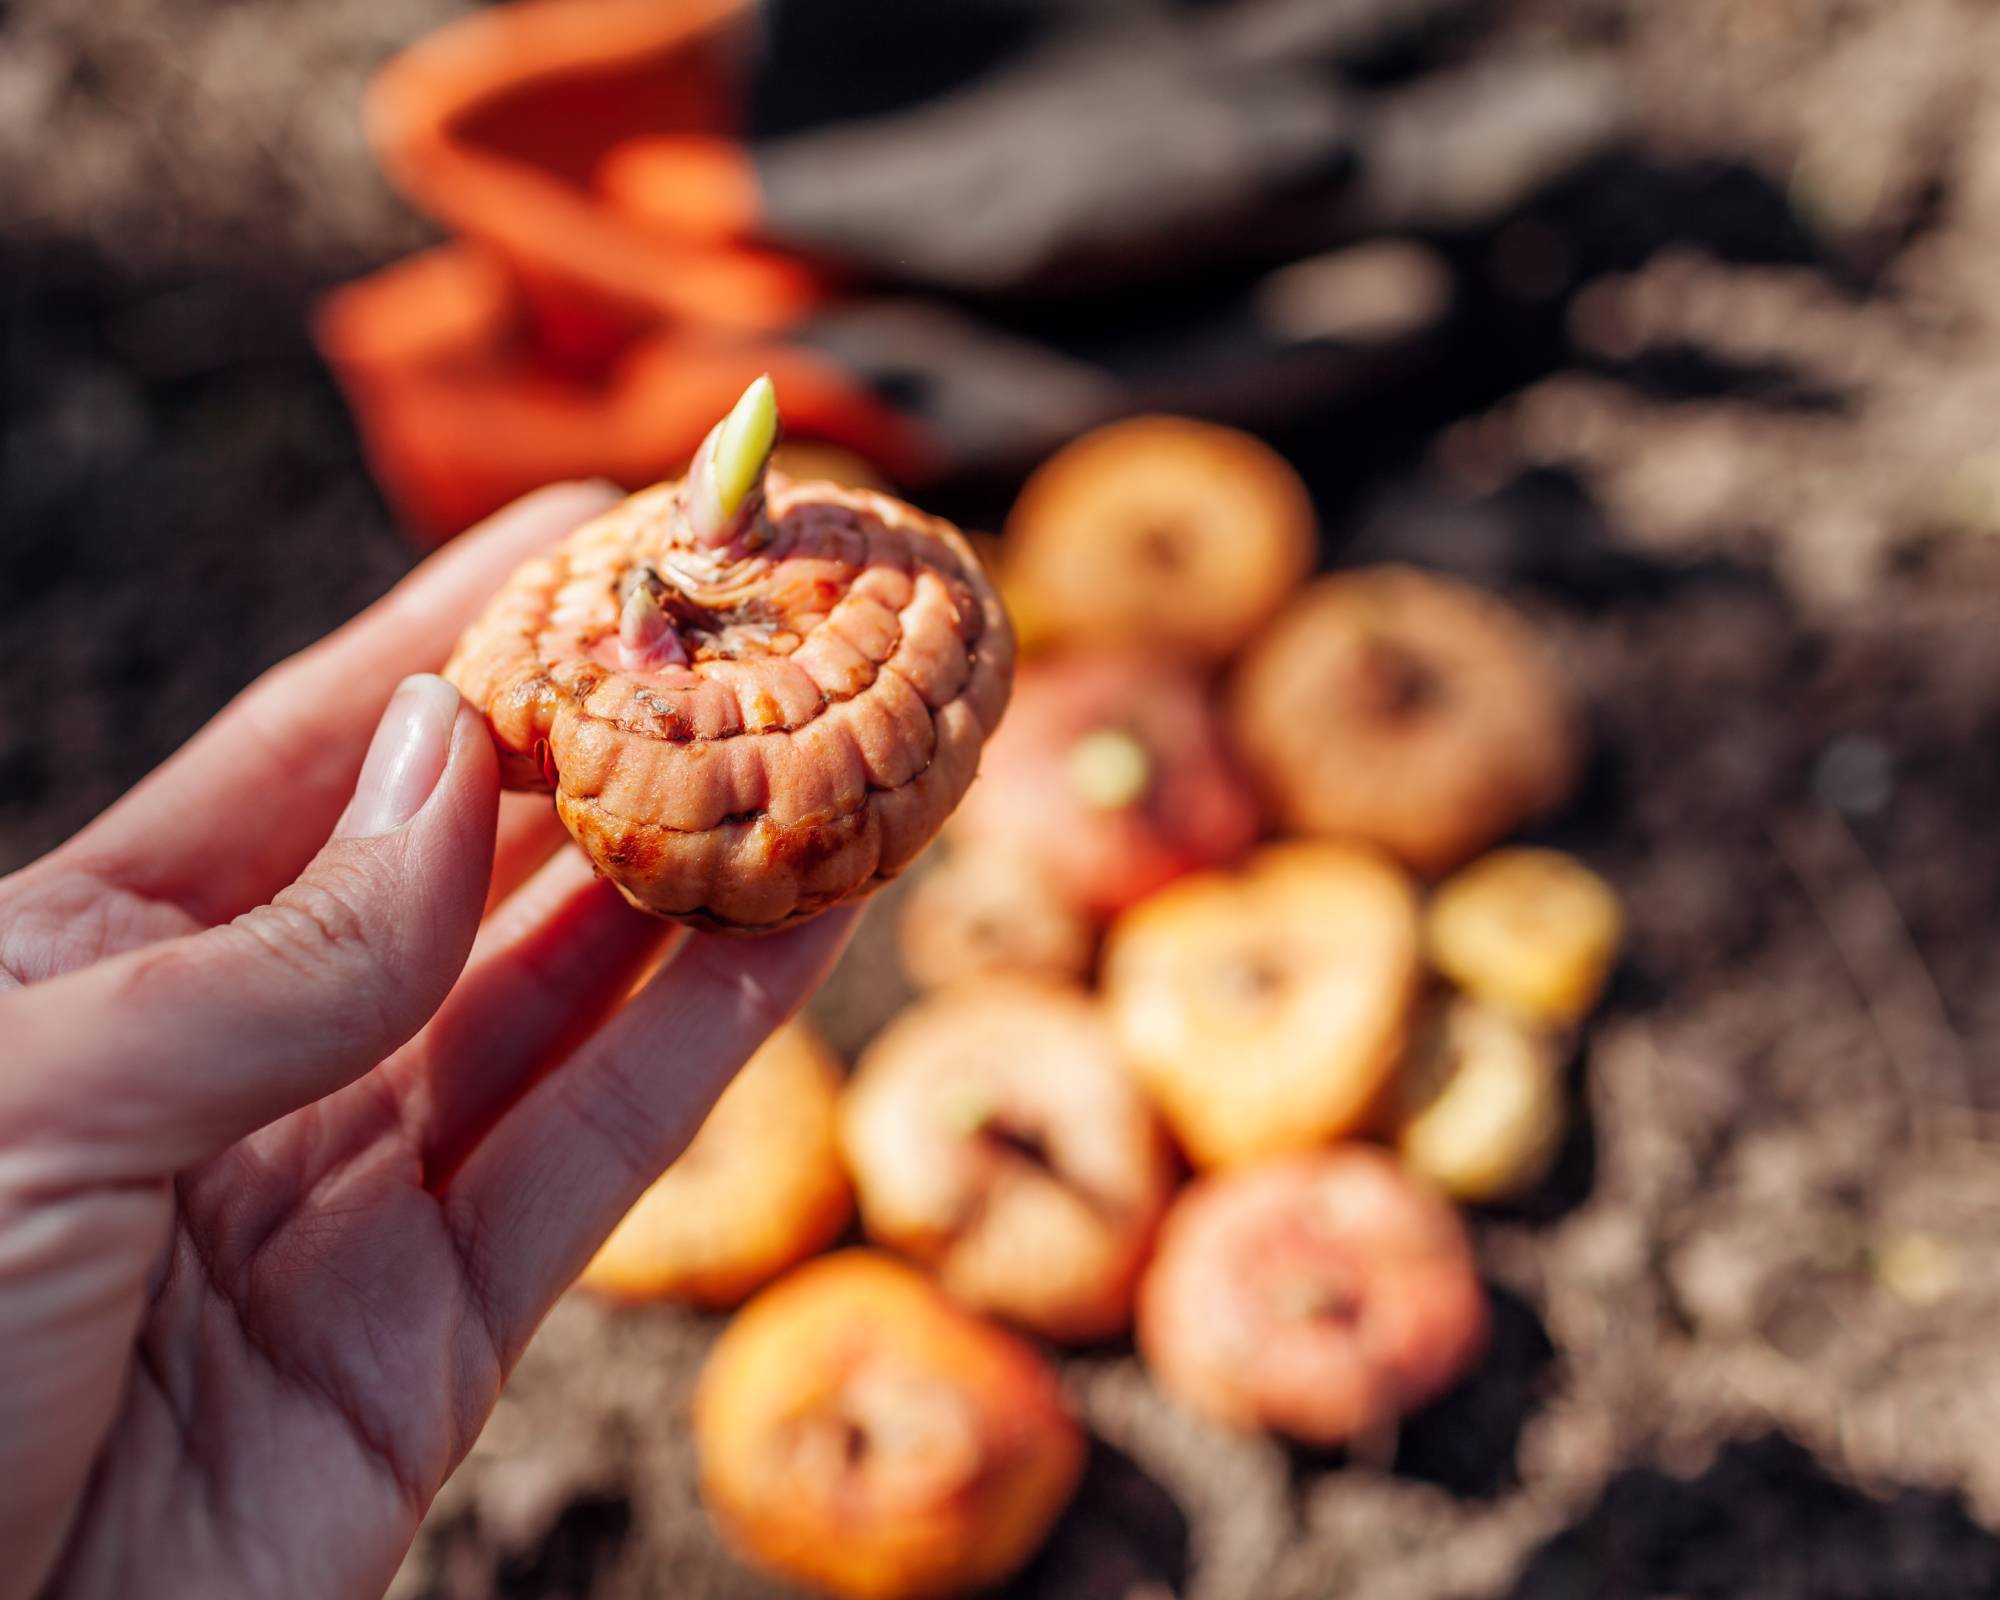
Before planting in spring, around April or May in most spots, give stored bulbs a once-over look. Good corms feel firm with no mold or mush. Check for gladiolus scab, a common disease that can affect the soil around gladiolus corms for multiple years and ruin your plants. Soak them in slightly warm water for a few hours to perk them up. Dust with Bonide rooting powder from Amazon to kickstart growth.
If you pick bigger corms that are over an inch (2.5 cm), then you’ll get the best flowers. Plant in sunny and well-drained soil, and you’ll be set. Planting gladioli in containers is a nice way to add a vibrant pop of color to your porch or patio.
Can I Leave Gladiolus Bulbs in the Ground?
You might be asking yourself if you can even leave gladiolus bulbs in the ground. In warm zones, 8 and up, where winters don’t drop below 20°F (-7°C), you might pull it off if your soil drains well. Slap on a thick layer of mulch to keep them snug.
In colder zones, 7 and below, leaving them in the ground invites rot or frost kill. Pulling them up is safer to lock in blooms next year. If you try leaving them, mark the spot so you don’t slice them come spring.
With a bit of preparation, saving gladiolus bulbs will yield great results and your summer garden will light up with color.

Tyler’s passion began with indoor gardening and deepened as he studied plant-fungi interactions in controlled settings. With a microbiology background focused on fungi, he’s spent over a decade solving tough and intricate gardening problems. After spinal injuries and brain surgery, Tyler’s approach to gardening changed. It became less about the hobby and more about recovery and adapting to physical limits. His growing success shows that disability doesn’t have to stop you from your goals.