Growing Tulips In Water – How To Grow Tulips In Water

Humans, being what we are, tend to like instant or near instant results. That is why it is so hard to wait until spring temperatures have warmed enough for flowers to decorate the landscape. There is a simple way to get flowers, like tulips, in your home earlier than they will appear outdoors.
Growing tulips in water is easy, and gets the season off to a jump start with indoor blooms for which you don’t have to wait. Can tulips grow in water? There is one basic chilling trick you need to be aware of when growing tulips without soil. Read on to learn how to grow tulips in water for early enjoyment of these beautiful blooms.
How to Grow Tulips in Water
They say hunger makes the best sauce, but I am too impatient to wait for results in my landscape. Growing tulips without soil is a DIY favorite trick to get these Dutch darlings faster into the home.

Tulips have a chilling requirement of 12 to 15 weeks, which they get outside naturally unless you purchase pre-chilled bulbs. You can also do it yourself in your refrigerator at any time and be that much closer to a bounty of blooms. Farmer’s markets have buckets-full of tulip blooms for sale in spring. But you don’t have to wait until spring to enjoy the flowers if you plan ahead.
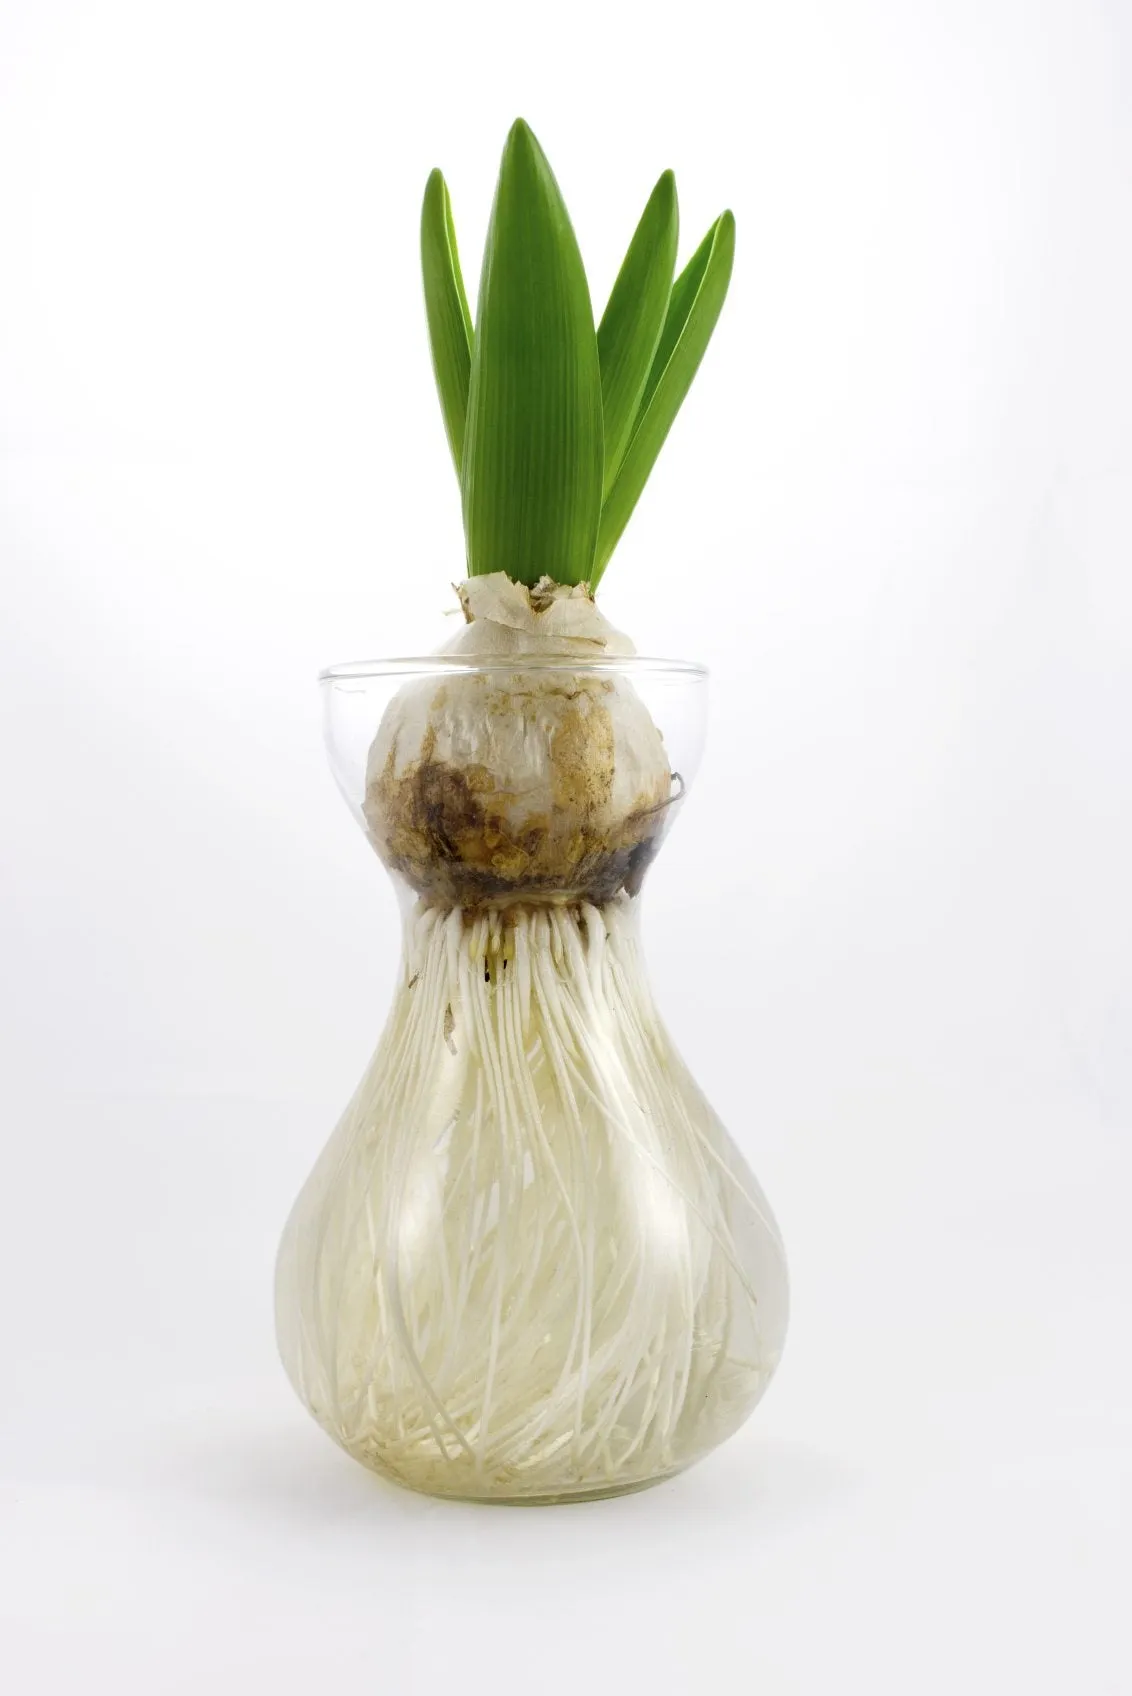
Pre-chilled tulip blooms make an impactful display when grown in a glass container on rocks or glass beads. Growing tulips without soil allows you to see the rooting process and keeps the project simple. The first things you need are healthy, big bulbs.
Then you need to choose a container. A glass vase is a good choice because its height gives the tulip leaves and stems something to lean on as they grow. You may also opt to purchase a forcing vase, which is curved to allow the bulb to sit just above the water with only the roots in the moisture. These designs minimize rot when growing tulips in water.
Pre-chill your bulbs in a paper bag in the refrigerator for 12 to 15 weeks. Now it’s time to plant them.
- You will need gravel, rocks or glass beads to line the bottom of the vase.
- Fill the vase 2 inches (5 cm.) deep with rock or glass and then place the tulip bulb on top with the pointed area upright. The idea is to use the beads or rocks to hold the bulb itself out of the water while allowing roots to receive moisture.
- Fill the vase with water until it comes just 1 inch (3 cm.) from the bottom of the bulb.
- Move the bulb and vase to a cool dark location for 4 to 6 weeks.
- Change the water weekly and watch for signs of sprouting.
In a couple of months, you can move the sprouted bulb out to a lit area and grow it on. Choose a bright sunny window to place the vase. Keep the moisture level the same and continue to change the water.
The sunlight will encourage the bulb to grow more and soon you will see the curved green leaves and rigid stem of a mature tulip. Watch as the bud forms and then finally opens.
Your forced tulips should last a week or more. Once the bloom has faded, allow the greens to remain and collect solar energy to feed another bloom cycle. Remove the spent greens and stem and pull the bulb from the vase.
There is no need to store the bulb because those that are forced in this manner will rarely bloom again.
