Hellebore Seed Propagation: Tips On Planting Hellebore Seeds


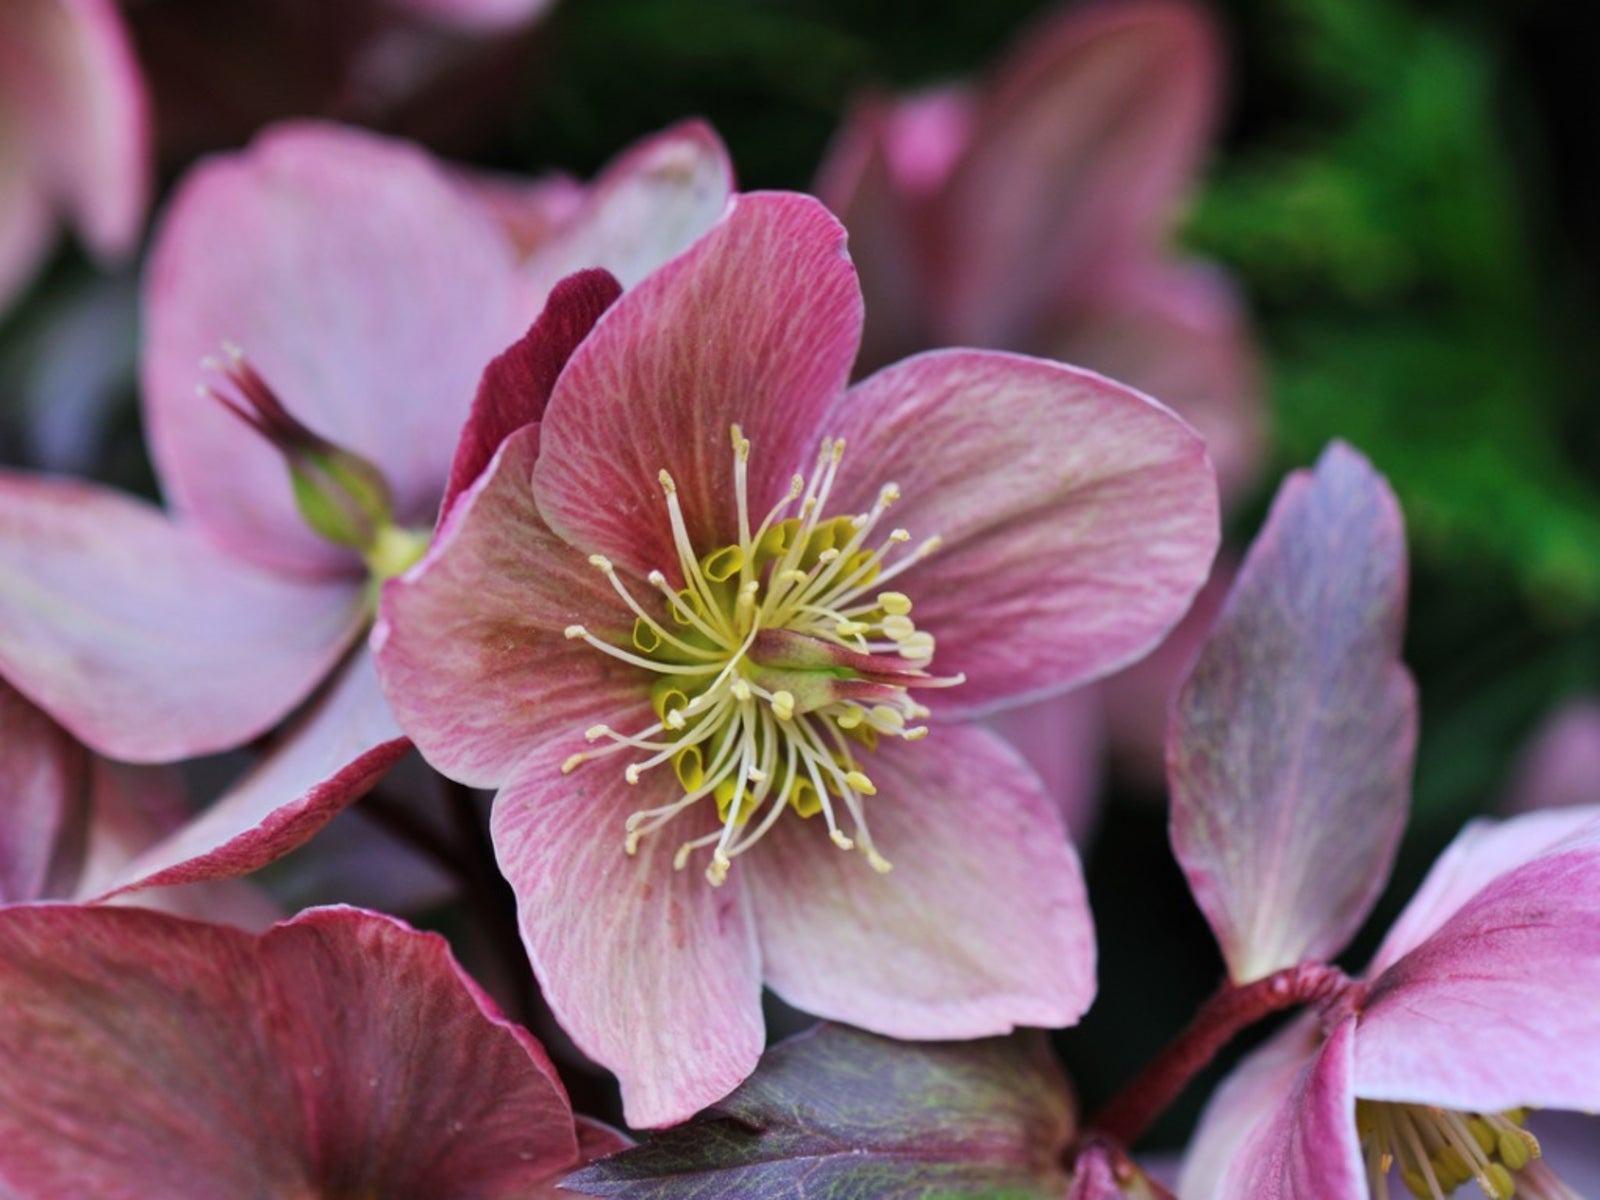
Hellebore plants make delightful additions to any garden, with their showy flowers that look like roses in shades of yellow, pink, and even deep purple. These flowers may differ if you plant their seeds, with the new hellebore plants offering even greater color variations. If you are interested in growing hellebore from seed, you need to follow a few simple tips to ensure that hellebore seed propagation is successful. Read on to learn how to grow hellebore from seed.
Hellebore Seed Propagation
Beautiful hellebore plants (Helleborus spp) usually produce seeds in springtime. The seeds grow in seed pods that appear once the blossoms are spent, usually in late spring or early summer. You may be tempted to hold off on planting hellebore seeds until fall or even the following spring. However, this is a mistake, since a delay in planting can prevent hellebore seed propagation.
Planting Hellebore Seeds
To be sure you will be successful with seed grown hellebores, you need to get those seeds into the ground as quickly as possible. In the wild, the seeds are “planted” as soon as they drop to the ground. In fact, you may see an example of this in your own garden. You are likely to have seed grown hellebores appear in frustrating numbers just under the “mother” plant. The seeds you carefully saved to plant in containers the following spring produce few or no seedlings. The trick is to start planting hellebore seeds in late spring or early summer, just as Mother Nature does. Your success at growing hellebore from seeds may depend on it.
How to Grow Hellebore from Seeds
Hellebores thrive in U.S. Department of Agriculture plant hardiness zones 3 through 9. If you already have a plant in your yard, you don’t worry about this. If you will be growing hellebore from seeds and get some from a friend in another region, take note. If you want to know how to grow hellebore from seeds, start out with good potting soil in flats or containers. Sow the seeds on top of the soil, then cover them with a very thin layer of potting soil. Some experts suggest topping this with a thin layer of fine grit. The key to successfully germinating the seeds is providing regular light irrigation all summer long. Do not allow the soil to dry out but don’t keep it wet either. Keep the flat outside in an area similar to where you will plant the seedlings. Leave them outside through fall and winter. In winter they should germinate. Move a seedling to its own container when it has produced two sets of leaves.
Sign up for the Gardening Know How newsletter today and receive a free copy of our e-book "How to Grow Delicious Tomatoes".

Teo Spengler is a master gardener and a docent at the San Francisco Botanical Garden, where she hosts public tours. She has studied horticulture and written about nature, trees, plants, and gardening for more than two decades, following a career as an attorney and legal writer. Her extended family includes some 30 houseplants and hundreds of outdoor plants, including 250 trees, which are her main passion. Spengler currently splits her life between San Francisco and the French Basque Country, though she was raised in Alaska, giving her experience of gardening in a range of climates.