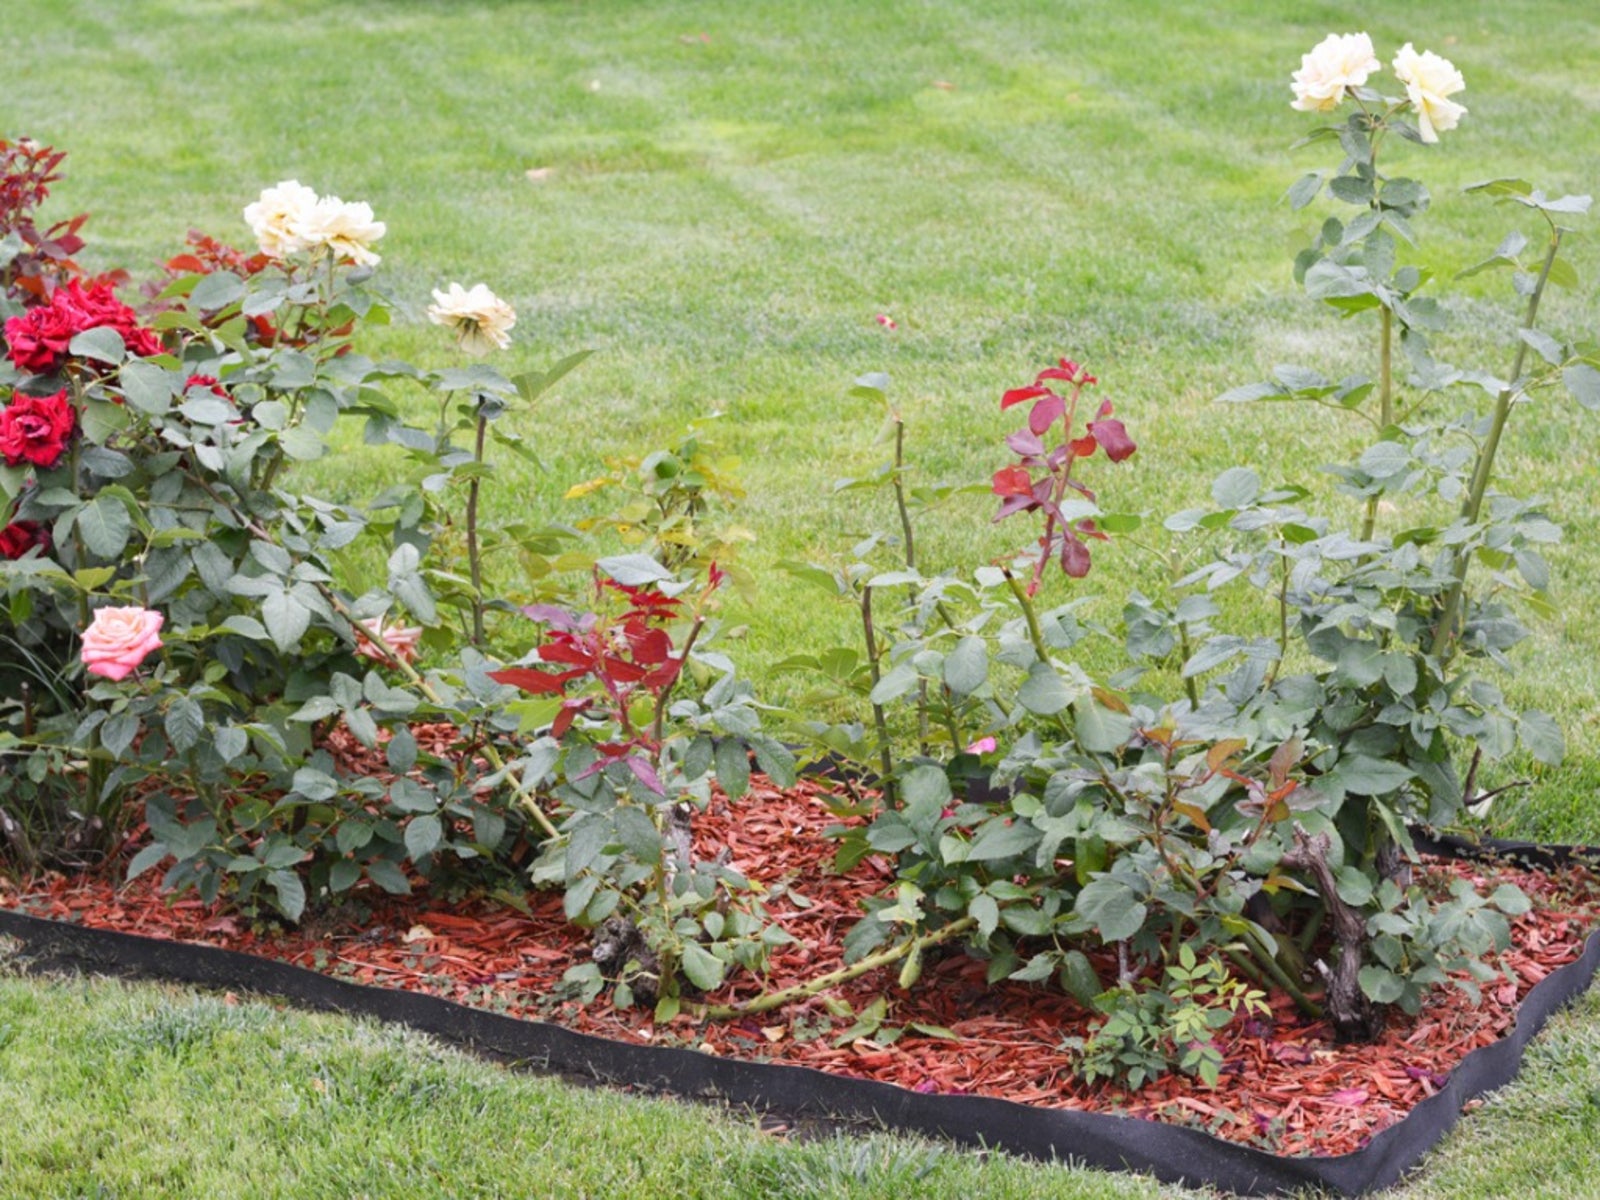
Prepare New Rose Beds - Learn More About Starting Your Own Rose Garden


Sign up for the Gardening Know How newsletter today and receive a free copy of our e-book "How to Grow Delicious Tomatoes".
You are now subscribed
Your newsletter sign-up was successful
Have you been thinking about having a new rose bed? Well, fall is the time to set, make plans, and prepare the area for one or both. Fall is truly the perfect time of year to prepare the soil for a new rose bed.
Preparing Soil for Rose Bushes in Your Rose Bed
Things to do in fall
Dig up the soil in the proposed area with a shovel and go at least 18 inches (46 cm.) deep. Leave the big clods of dirt for a few days, letting them naturally break up and fall apart as much as they will. Usually, after about a week, you can move on with preparation for your new garden or rose bed for next year. Acquire some bagged compost of choice, topsoil, play or landscaping sand (unless your soil is naturally sandy), clay buster soil amendment (if your soil is clayey like mine), and some good organic fertilizer of choice. If you have your own homemade compost, great. It will be really nice for this use. Add all of the amendments to the new area by sprinkling them over the top of the previously dug up rose bed area. Once all of the amendments have been added, including the organic fertilizer, it is time to either grab the tiller or garden fork! Using the tiller or garden fork, work the amendments into the soil well. This usually requires going back and forth and side to side of the proposed area. When the soil has been amended well, you will be able to see the difference in the soil texture and feel it. The soil will be something truly awesome to support your new plant growth. Water the area well and let sit again for about a week. Stir the soil up lightly after that time and smooth out with a hard toothed rake, or if you have some fallen leaves to get rid of, dump some of those on this new garden or rose bed area and work them in with the garden fork or tiller. Water the area lightly and let sit for a few days to a week.
Things to do in winter
After a week, place some landscape fabric that allows good air flow through it over the top of the entire area and pin it down, so as not to be displaced by the winds. This fabric helps keep weed seeds and such from blowing into the new area and planting themselves there. The new rose bed area can now sit there and “activate” over the winter. If it is a dry winter, be sure to water the area once in a while to keep the soil moisture going. This helps all the amendments and soil keep working to become a truly awesome “soil home” for those new plants or rose bushes next year.
Things to do in spring
When it comes time to uncover the area for plantings to begin, carefully roll up the fabric starting at one end. Just grabbing it and pulling it off will undoubtedly dump all the weed seeds you did not want planting themselves in your new garden area right into the nice soil, something we really do not want to deal with! Once the covering has been removed, re-work the soil with a garden fork to loosen them up nicely. I like to sprinkle just enough alfalfa meal over the top of the soil to make them have a light green coloring or tone to them, then work that into the soil while I am loosening it up. There are a lot of great nutrients in alfalfa meal that are great soil builders, as well as for the plant's nutrition. The same is true of kelp meal, which can be added at this time as well. Water the area lightly and let sit again until actual planting begins. One note on the play or landscaping sand -- if your soil is naturally sandy, you will not need to use it. If you do need to use some, only use enough to help create good drainage through the soil. Adding too much can easily cause the same problems folks deal with when they have very sandy soil, that being retention of moisture in the soil. The moisture draining away too quickly does not allow the plants enough time to take up what they need along with the nutrients it carries. This being said, I recommend adding the sand slowly, if needed at all. Last but not least, enjoy your new garden or rose bed!
Sign up for the Gardening Know How newsletter today and receive a free copy of our e-book "How to Grow Delicious Tomatoes".

Stan V. Griep contributed to Gardening Know How for many years and has been a Colorado Native Rosarian for over four decades. He is an American Rose Society Certified Consulting Master Rosarian in the Rocky Mountain District, and a member of the Denver Rose Society, the Loveland Rose Society, and the American Rose Society. He is Gardening Know How's in-house expert on all things roses.