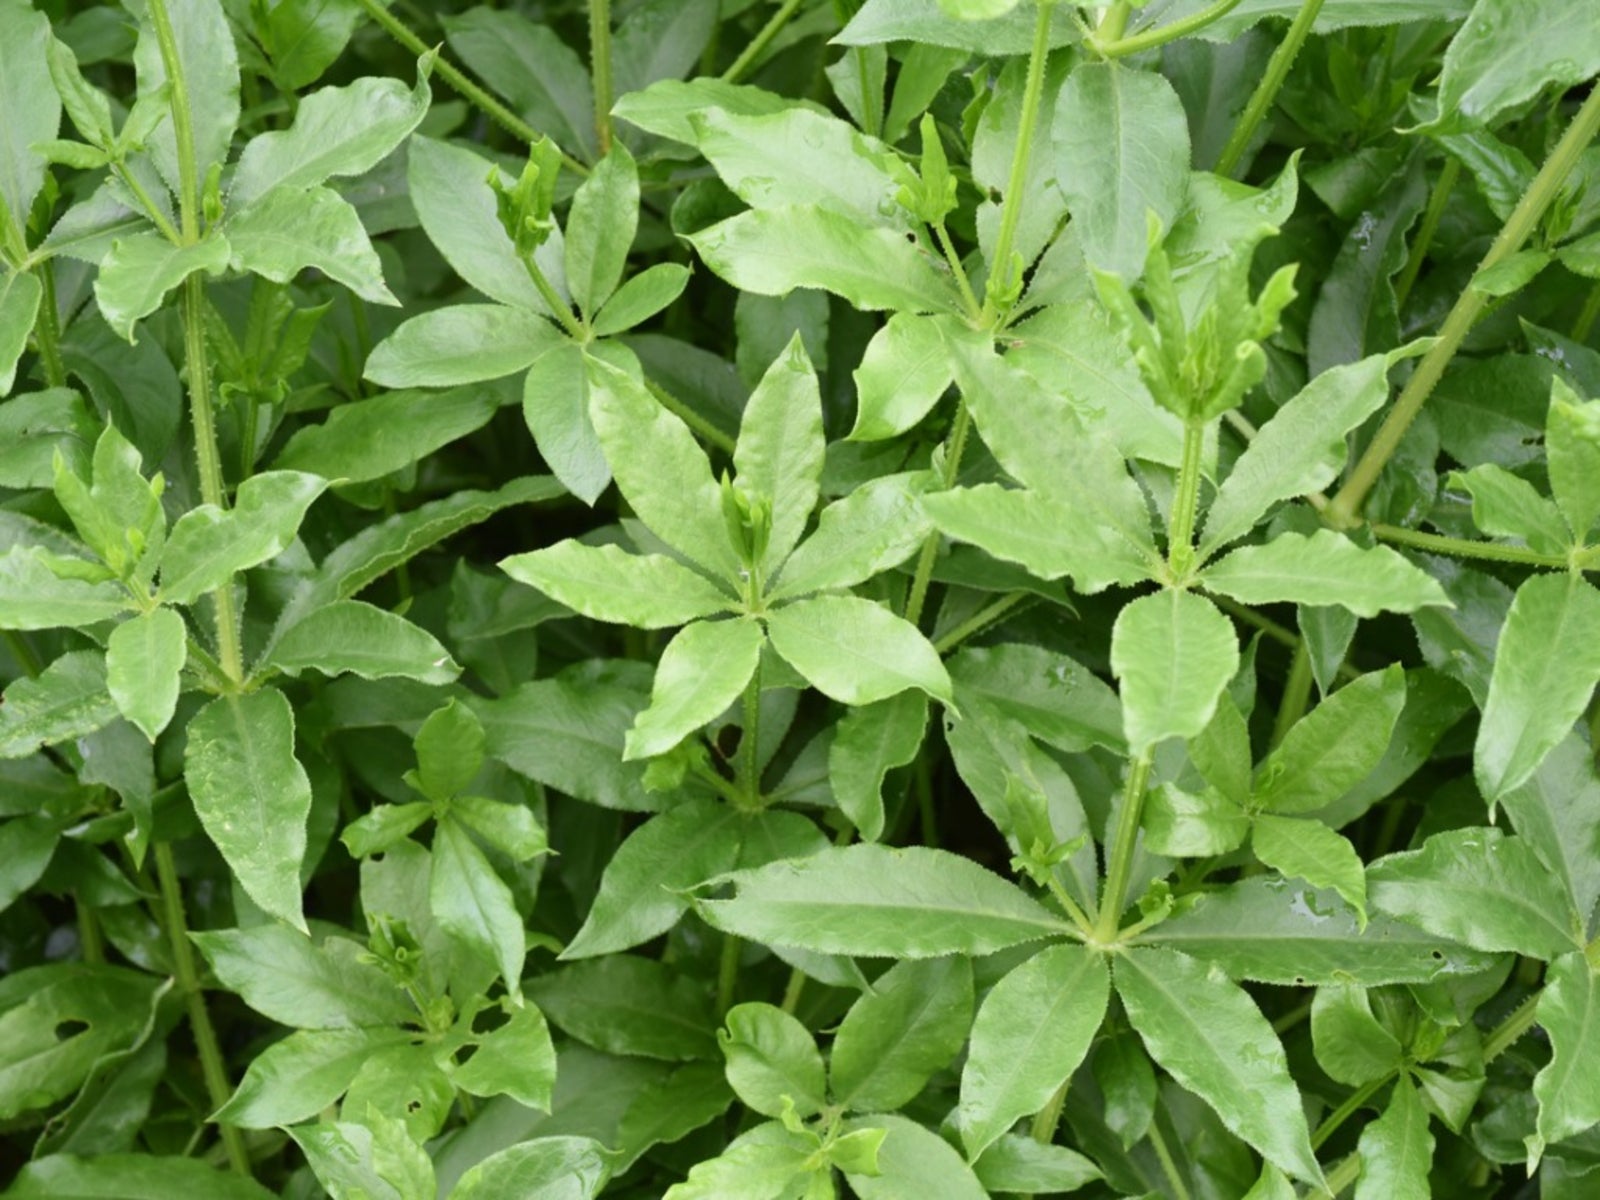
Madder Plant Care: How To Grow Madder In The Garden


Sign up for the Gardening Know How newsletter today and receive a free copy of our e-book "How to Grow Delicious Tomatoes".
You are now subscribed
Your newsletter sign-up was successful
Madder is a plant that has been grown for centuries for its excellent dyeing properties. Actually a member of the coffee family, this perennial has roots that make for a bright red dye that doesn’t fade in the light. Keep reading to learn more about madder growing conditions and how to go about growing madder for dye.
What is a Madder Plant?
Madder (Rubia tinctorum) is a plant native to the Mediterranean that has been used for centuries to make reliably vivid red dye. The plant is a perennial that is hardy in USDA zones 5 through 9, but in colder zones it can be grown in containers and overwintered indoors. Madder plant care is not difficult. It prefers sandy to loamy soil (the lighter the better) that drains well. It prefers full sun. It can grow in acidic, neutral, and alkaline soils. If growing from seed, start madder indoors several weeks before the last frost and transplant out after all chance of frost has passed. Make sure to give the indoor seedlings plenty of light. The plants spread by underground runners and are known to take over, so it’s best to grow them in containers or their own designated beds. While the plants will thrive in a range of pH conditions, a higher alkaline content is known to make the dye more vibrant. Check your soil’s pH and, if it’s neutral or acidic, add some lime to the soil.
How to Grow Madder for Dye
Growing madder for dye takes a little bit of planning. The red color comes from the roots, which are only suitable for harvest after at least two years of growth. This means that if you plant your madder seeds in the spring, you won’t be harvesting until two autumns later. Also, as a rule, the dye becomes richer as the roots get older, so it’s worthwhile to wait three, four, or even five years to harvest. If you plan on growing madder for dye for years to come, the best way to treat this long growing period is to plant several batches in your first year. Once the two growing seasons have passed, harvest only one batch and replace it the following spring with new seeds. The next autumn, harvest another (now three year old) batch and replace it the following spring. Keep this system up and every fall you’ll have mature madder ready for harvest.
Sign up for the Gardening Know How newsletter today and receive a free copy of our e-book "How to Grow Delicious Tomatoes".

The only child of a horticulturist and an English teacher, Liz Baessler was destined to become a gardening editor. She has been with Gardening Know how since 2015, and a Senior Editor since 2020. She holds a BA in English from Brandeis University and an MA in English from the University of Geneva, Switzerland. After years of gardening in containers and community garden plots, she finally has a backyard of her own, which she is systematically filling with vegetables and flowers.