Pruning New Zealand Flax: Learn About Cutting Back New Zealand Flax Plants
The addition of perennial plants and flowers is an excellent way to add year-round interest to landscapes and border plantings. These perennials offer growers years and years of lush foliage and a profusion of blooms. With the establishment of consistent plant maintenance routines, homeowners will be able to nurture landscapes that flourish for years to come. Some perennials, such as the New Zealand flax, need only minimal care to look their best. Taming overgrown New Zealand flax is a task simple enough for even the most novice of growers.
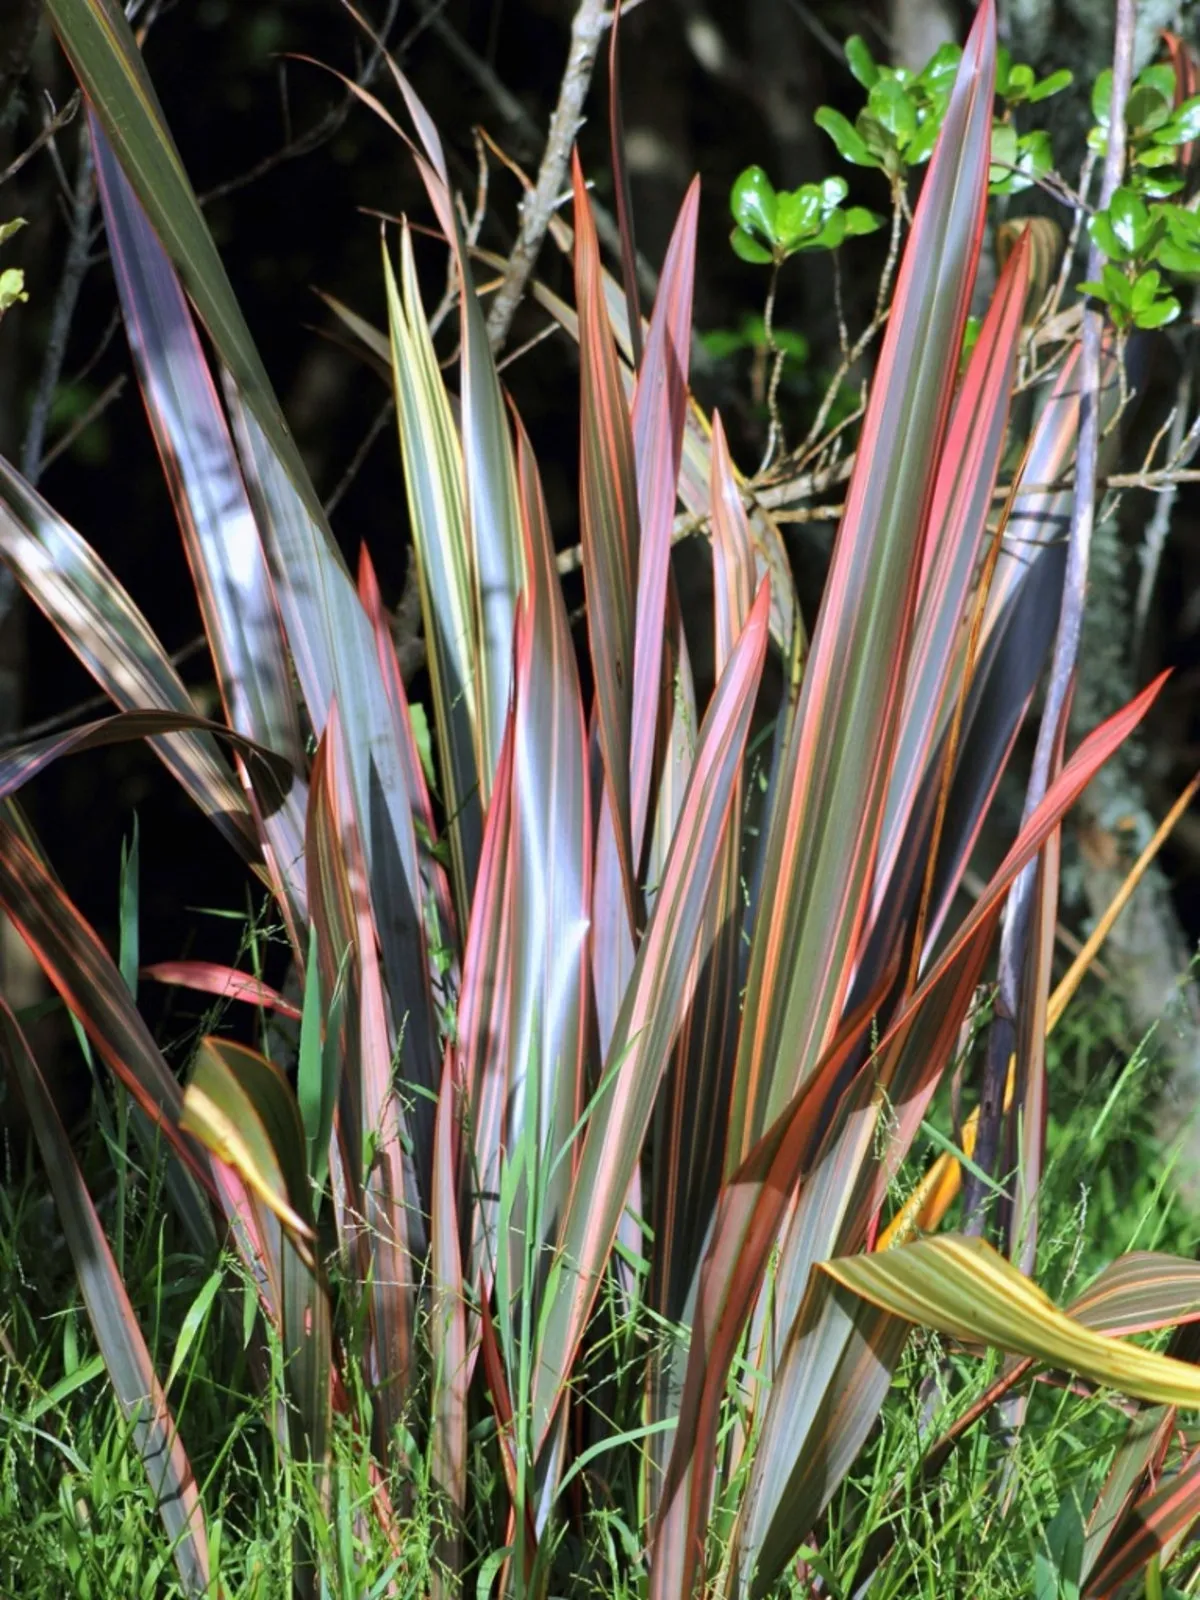
How to Prune New Zealand Flax
Most commonly found in gardens within USDA growing zones 8 through 10, New Zealand flax is a robust plant which is known for its large spiky foliage. Forming a massive mound of leaves, overgrown New Zealand flax may frequently need to be shaped and pruned to the desired size.
In general, the best time for pruning New Zealand flax occurs in fall. Growers can prepare for winter by removing any flower stalks from the plant, and by removing any brown leaves which have been damaged by the sun. The removal of these leaves will not harm the plant, yet help to encourage new growth in the spring and improve the plant’s overall appearance.
Though evergreen throughout the winter, in many climates these leaves can be damaged by intense periods of cold. These damaged leaves often turn brown and will also need to be removed. While it is very uncommon that the entire plant is killed by the cold, it is possible that this may occur. In this case, most growers suggest cutting the plant down to the ground. Why? Even if the top growth was damaged, it is likely that the root system is still healthy and intact. New growth should resume in the spring.
Cutting back New Zealand flax is relatively simple. Due to the plant’s tough leaves, gardeners will need gloves as well as a strong pair of garden shears in order to trim New Zealand flax. Identify the leaves that need to be removed. Then, follow the leaf to the base of the plant and cut at that point.
Sign up for the Gardening Know How newsletter today and receive a free copy of our e-book "How to Grow Delicious Tomatoes".

Tonya Barnett has been gardening for 13 years. Flowers are her passion. She has transformed her backyard into a cut flower garden, which she regularly chronicles on her YouTube channel http://www.youtube.com/@tonyawiththeflowers.