7 Orchid Care Mistakes To Avoid If You Want More Beautiful Flowers
After the first flurry of flowers, do your orchids fail to rebloom, and then slowly shrivel up and die? Then discover the common care mistakes you are probably making – and what you should do instead.

Amy Draiss
Sign up for the Gardening Know How newsletter today and receive a free copy of our e-book "How to Grow Delicious Tomatoes".
You are now subscribed
Your newsletter sign-up was successful
Do you struggle to keep your orchid flowering? Or even alive? You’re not alone. Growing orchids, while a popular hobby, requires a bit of finesse.
During the 1800s, when the term “orchidelirium” was coined, orchid collecting was solely the province of the wealthy. Professional orchid hunters were employed to procure exotic varieties, which were carefully curated in extravagant glass greenhouses.
Fast forward to today, and people still love collecting orchids for their stunning forms and colors. However, many growers struggle with orchid care and are disappointed when the plants don’t rebloom due to misinformation or lack of maintenance.
As an avid orchid grower, I’ve made plenty of mistakes – and learned a lot along the way. Here are my top seven orchid care mistakes beginners always make.
1. Overwatering
This orchid care mistake is a biggie. Too much water and the roots of your orchid will rot, followed by the death of the entire plant.
While it is true that orchids grown indoors may dry out more rapidly due to the air circulation of fans, AC, and furnaces, an orchid can only tolerate so much water.
Inside, orchids should be watered about once a week; this is predicated on the orchid being in the correct growing medium in a container with adequate drainage. Orchid water requirements vary between different types of orchids and your preferred watering method.
Sign up for the Gardening Know How newsletter today and receive a free copy of our e-book "How to Grow Delicious Tomatoes".
To me, the easiest way to water is to sit the plant in the sink or tub and stream water into the medium, avoiding wetting the leaves. Allow excess water to drain, and then return the plant to its tray.
I always water my orchids in the morning, which allows them plenty of time to drain before nightfall and discourages disease.
You can also place the bottom of the orchid container in water for about 15 minutes, remove it from the bath, and then allow it to drain well before returning it to its tray.
You have probably read about using ice cubes to water an orchid. Honestly, I’ve never tried it, but it seems counterintuitive to water a plant with ice-cold water when it is from the tropics. When I water my orchids, I use room-temperature water.
If you do want to try the ice cube watering hack, do NOT get the cubes on the leaves of the plant, which would cause chilling injuries.
2. Underwatering
Much the same type of mistake as above, underwatering is a common issue with orchids. Indeed, this newbie error is widely seen with all houseplants. While orchids don’t need a lot of water, they are used to the pitter-patter of raindrops falling from the trees they grow on, so they do need some.
Also, orchids in nature are used to higher levels of humidity. Conditions in the average house are usually too dry for them and will dry the plant out.
Water the plant when the top of the medium is dry to the touch or eye, and raise humidity. This may be by placing the plant’s container atop a saucer of pebbles and water, or by running a humidifier near the plant. You can also mist the leaves of the plant, but take care to avoid misting the blossoms, which could rot.
3. Using the wrong planting medium
Orchids, or at least the most common ones grown as houseplants, are epiphytes. This means they grow on trees without soil or substrates to feed their root systems.
So, orchids should never be grown in potting soil. Instead, they should be grown in an orchid planting mix that has either been purchased and is specifically made for orchids, or one of your own making.
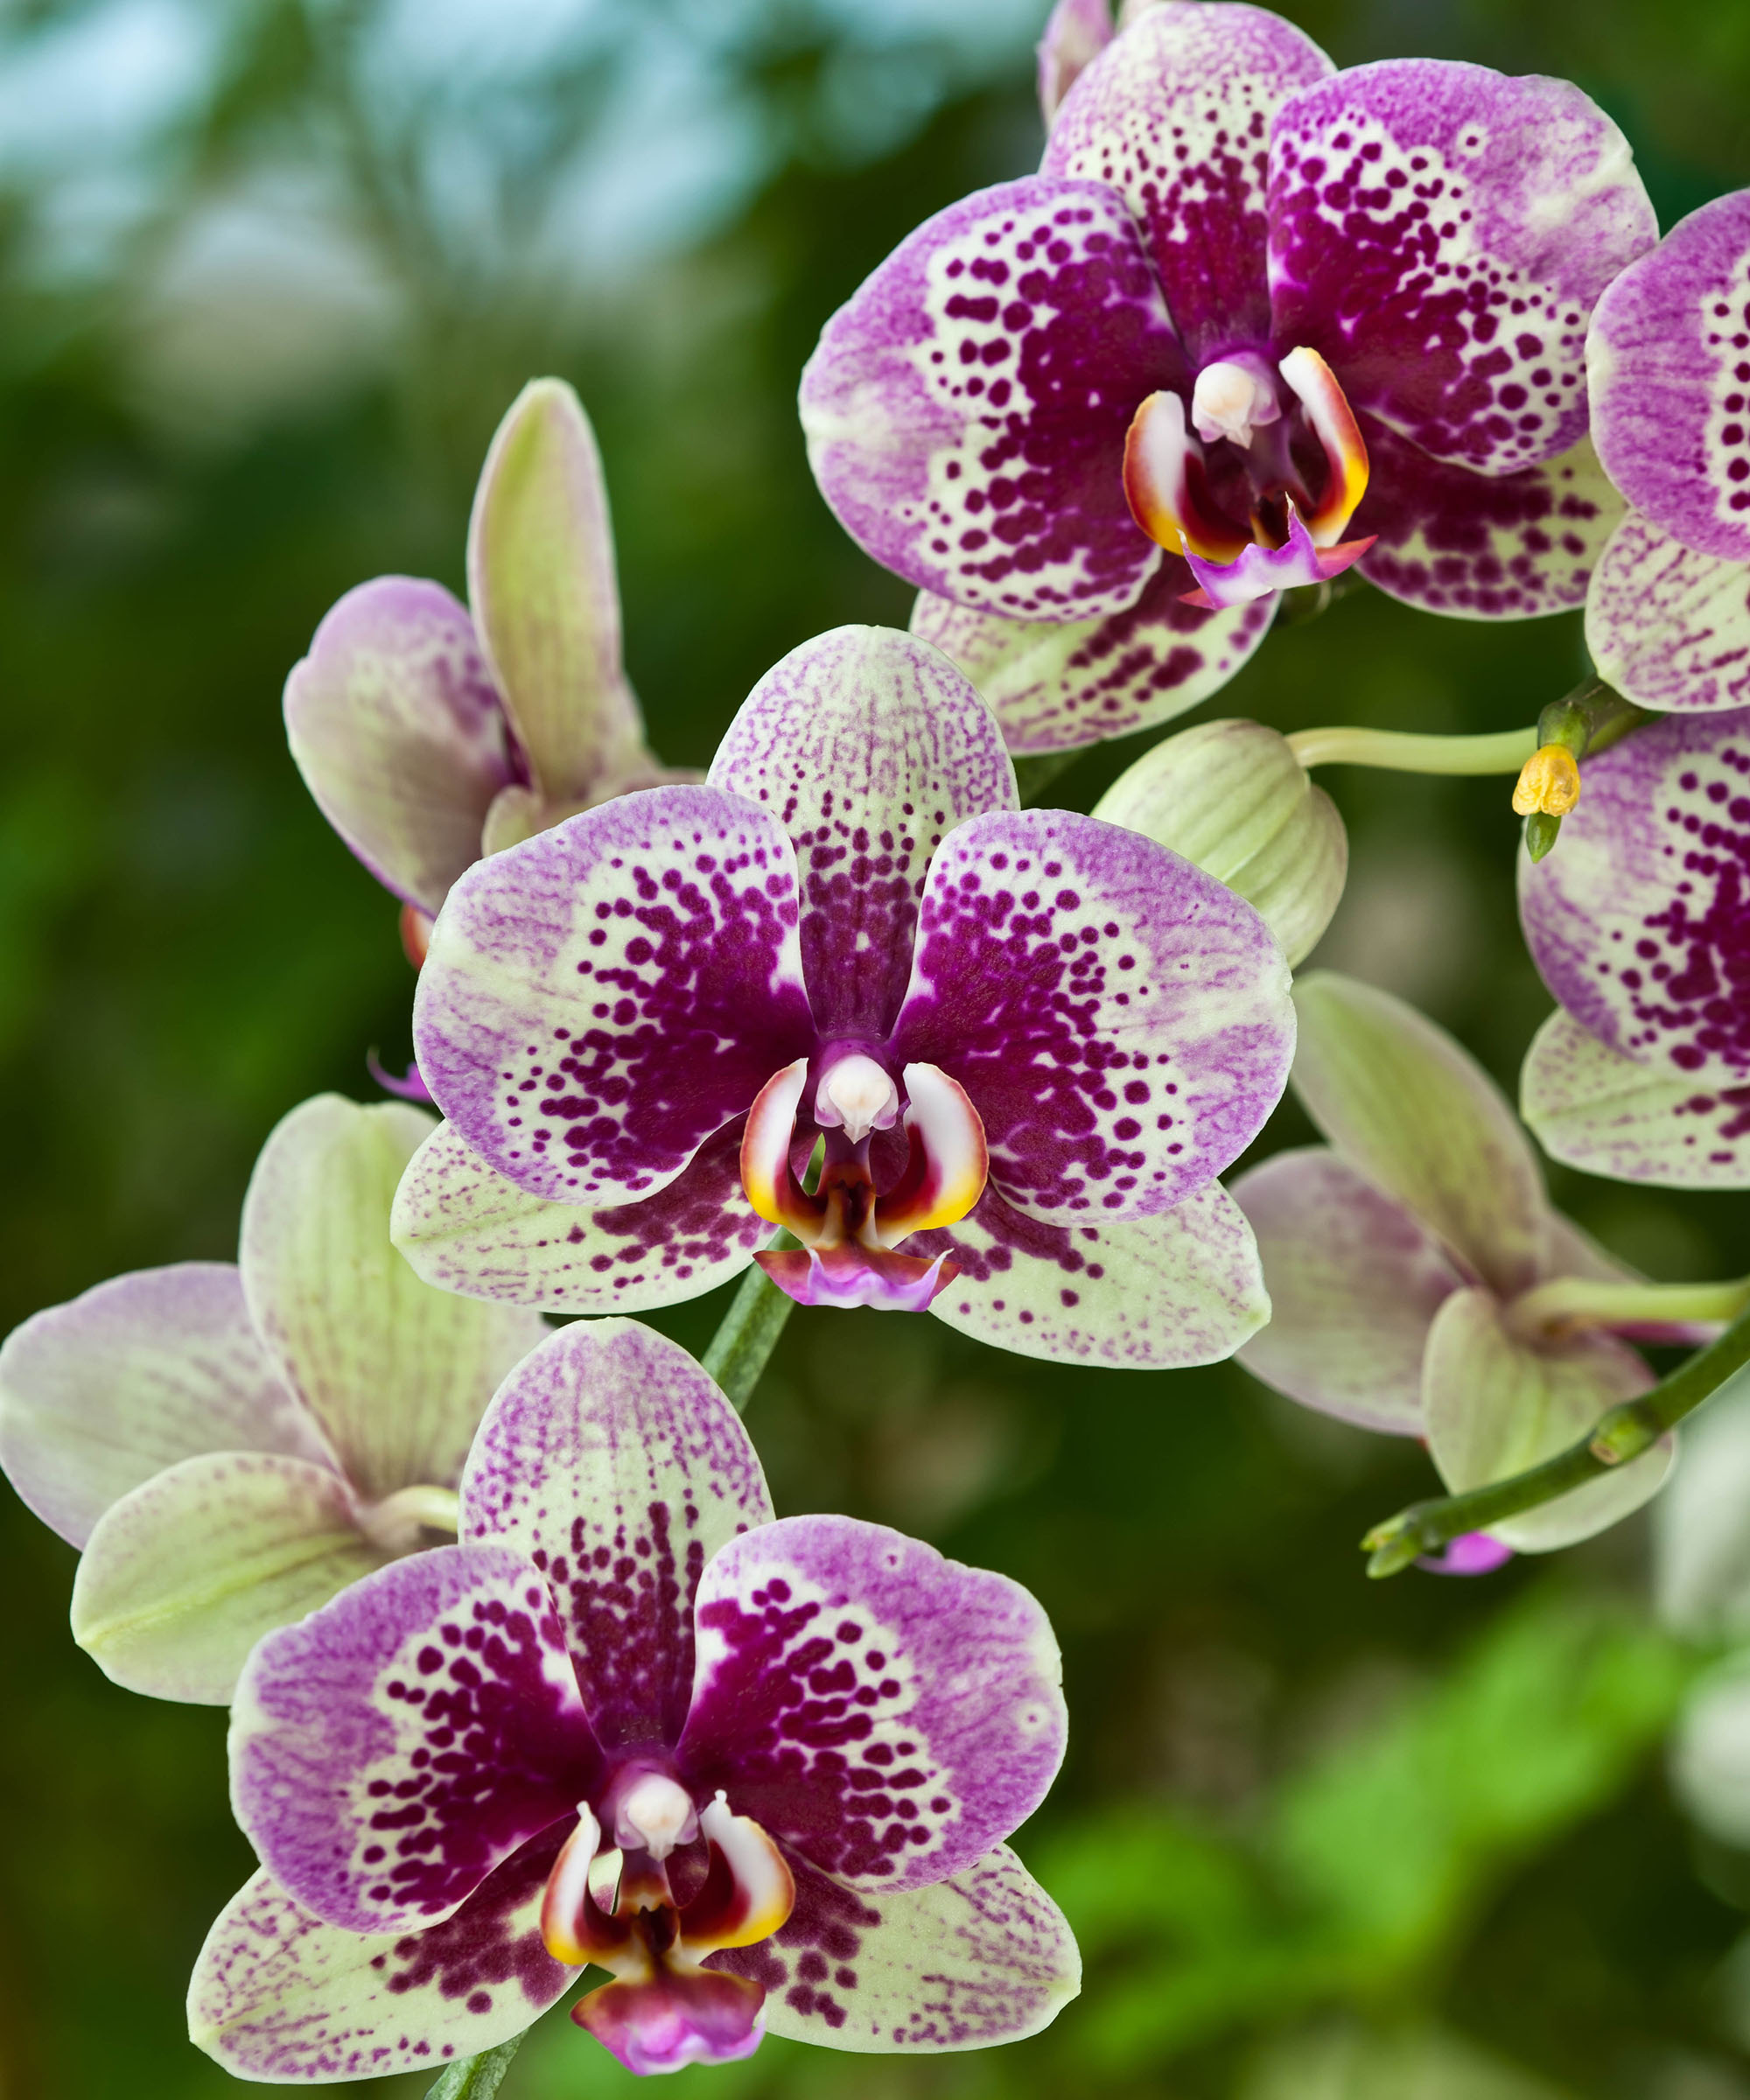
The most common type of orchid for the home grower, the moth orchid – or Phalaenopsis – thrives in a simple mix of 80% fir bark and 20% sphagnum moss. DIY mixes can get more complicated with the addition of perlite or sand and charcoal, but the previous two ingredients are the most crucial.
4. Unnecessary pruning
Unless your orchid has yellowing leaves or black air roots, it usually doesn’t require pruning. People see aerial orchid roots and think they need to prune them out. You don’t.
If your orchid produces pseudobulbs or canes, leave them alone, too. Aerial roots, pseudobulbs, and canes are all signs of healthy growth.
The only other thing you might prune out is the spent flower stem. This varies depending on the type of orchid.
Moth orchids can bloom on old flower stalks. However, after five years and as many reblooms, my moth orchid’s spent flower stalk always dies, so I cut it off. Following a seemingly interminable time spent waiting (probably six months), a new green shoot appears.
5. Not repotting
Quite a few tropical to semi-tropical blooming houseplants like to be slightly container-bound. This includes orchids, within reason.
When you purchase an orchid, it is usually in a tiny clear plastic cup filled with sphagnum moss. It will do fine within those confines for a while, but will eventually need to be repotted. This also applies to other orchids that have been in the same container for a year or more.
Orchid repotting is necessary if you see a tangle of roots beginning to stick up from the container; not aerial roots, but roots that would normally be growing in the medium.
Also, if your orchid begins to look sickly, check the roots. If they look brown, black, or mushy, the plant has a fungal orchid disease likely caused by the growing medium breaking down and retaining too much water.
6. Using the wrong container
Orchids are not like other types of houseplants. In the wild, epiphytic orchids grow on trees; their roots absorb moisture and nutrients from the air, rain, and surrounding debris.
Before repotting, you need to select a container that will replicate the orchid's habitat. Special orchid containers are slatted or basket-like, allowing the root system to free range. Pots with multiple air holes drilled into them, both on the bottom and along the sides, will facilitate airflow and drainage.
Do you really need to buy a special container for your orchid? No. The clear plastic container the plant likely came in will work well. You can easily view the roots for signs of decay, and the pot can be set in a decorative container between waterings.
If you want to use a decorative pot for your orchid, make sure it has plenty of drainage holes at the base and is ideally a shorter, squat pot; orchid roots don’t need depth, and a wider pot will support the thick, heavy leaves of older orchids better than a tall container.
I have an older moth orchid in a clear plastic food storage container. It is wide but not deep, and I have drilled multiple holes in the bottom. I set it atop a similar food storage container inside a shallow decorative glazed pot. This works much like placing a potted orchid atop a saucer filled with water and pebbles, facilitating humidity while at the same time allowing airflow and the ability to see the roots of the orchid.
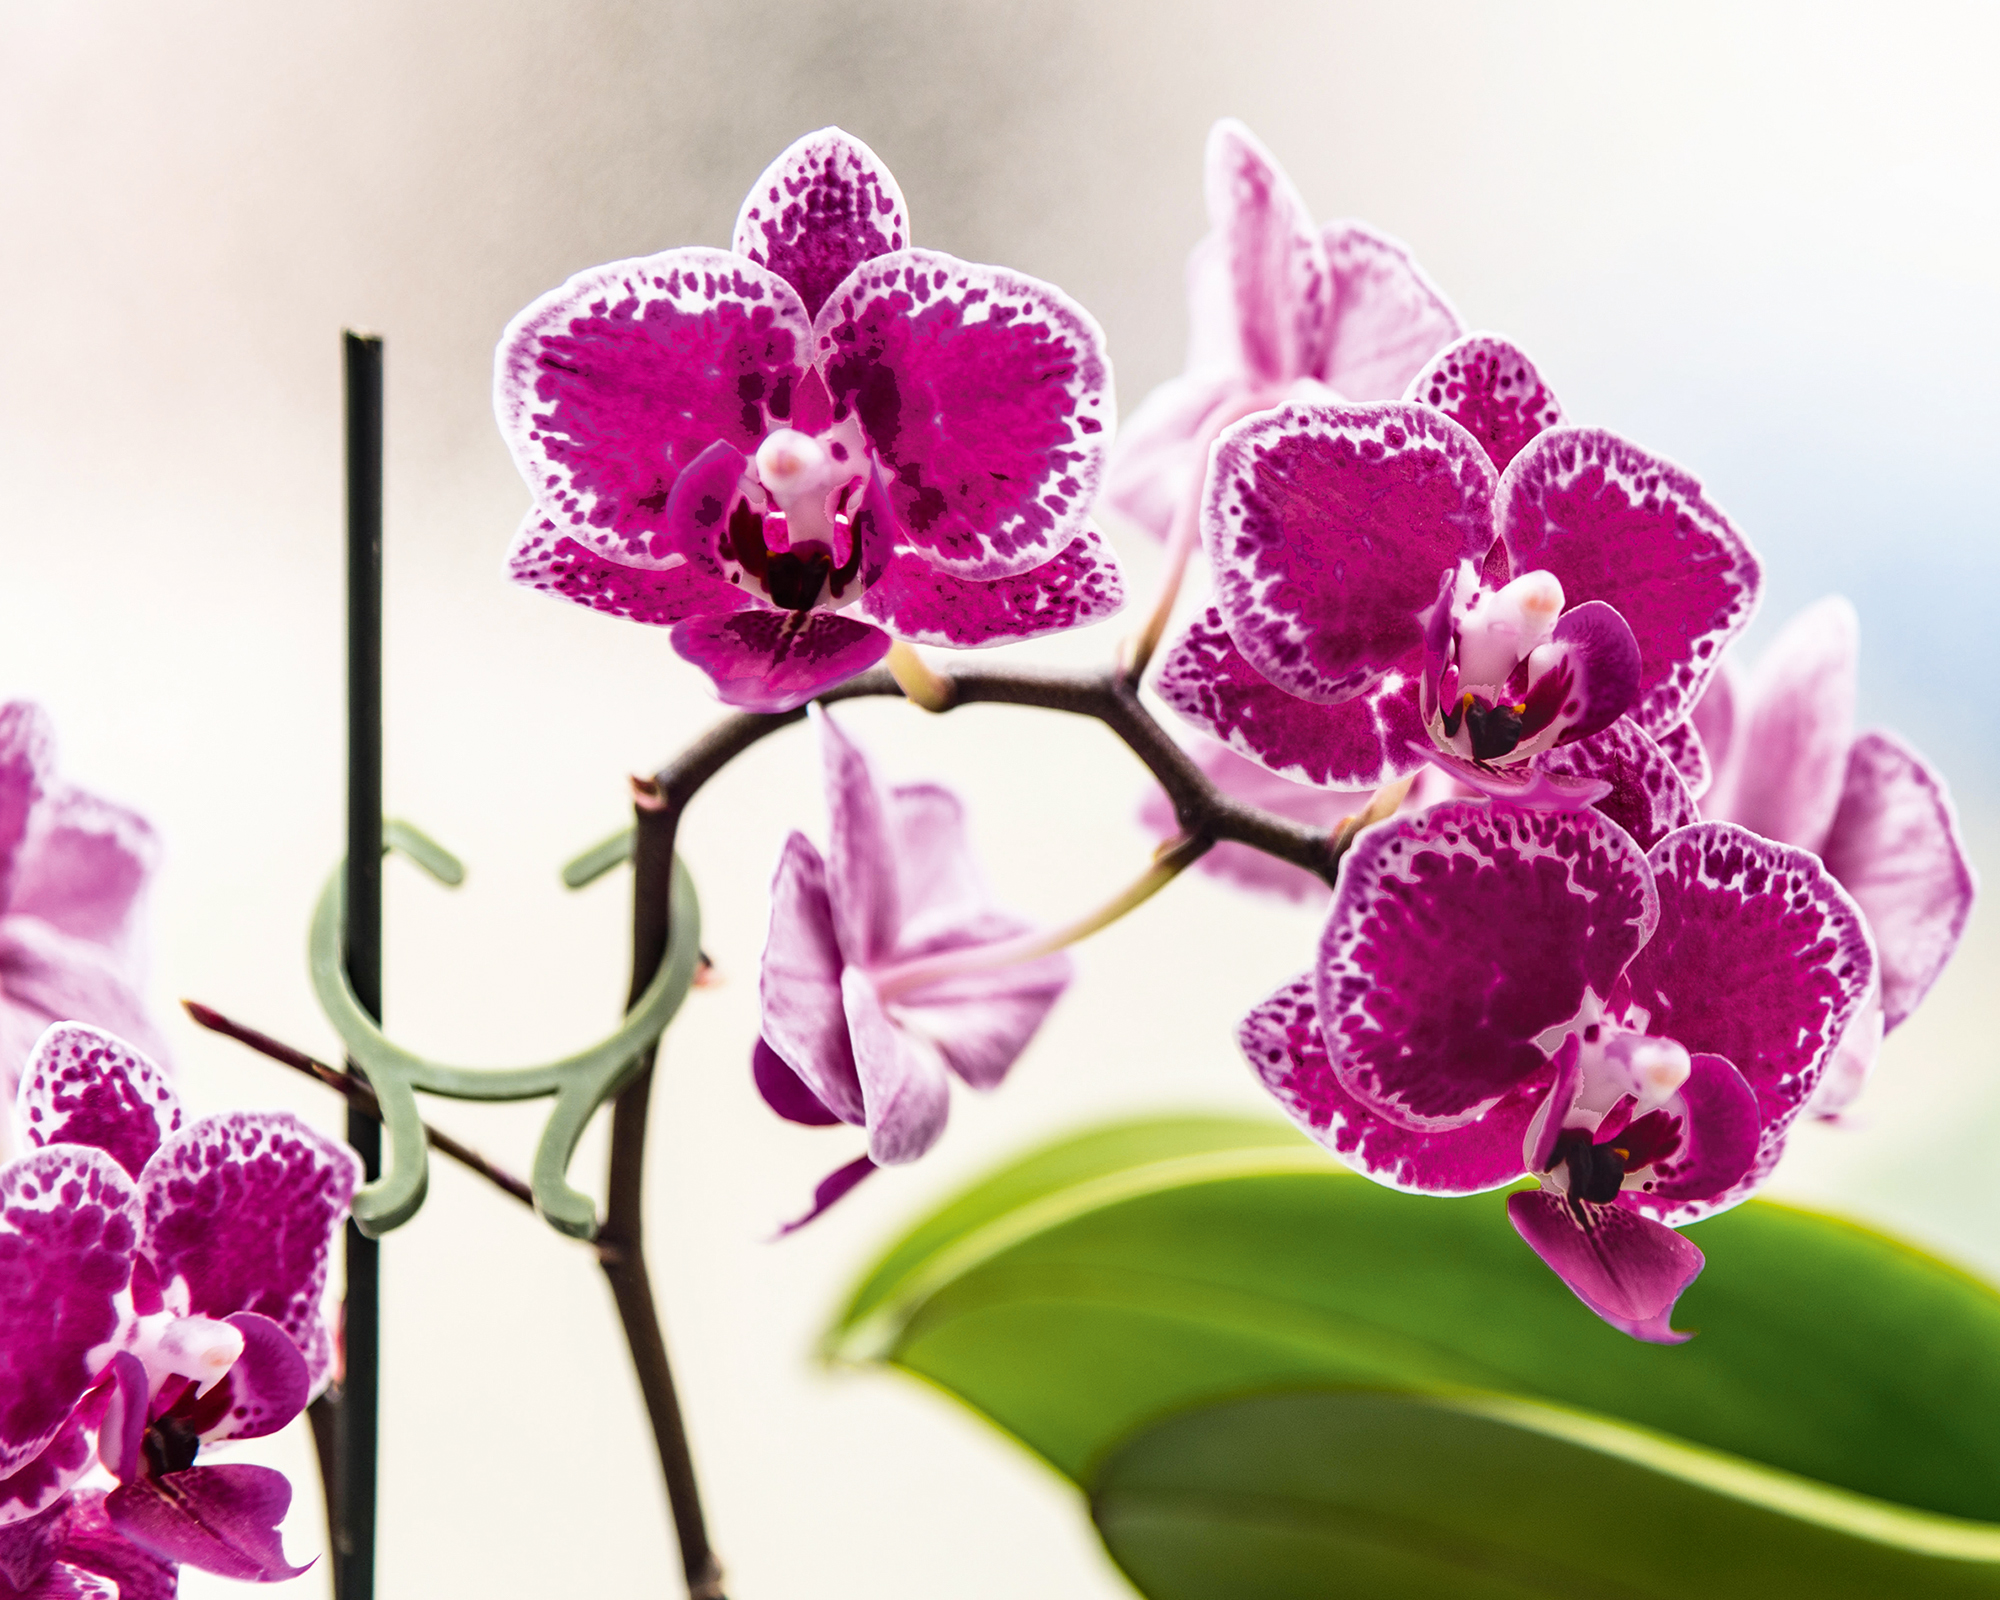
7. Sun exposure
Many houseplants are tropical to semi-tropical species that love the sun. Orchids do not fall under this category. Since they grow in humid, tropical regions in densely canopied forests, they do not love full sun exposure. If you place your orchid in full sun, the foliage will burn, and the plant will lose water too rapidly.
To create optimal orchid light conditions, place your plant in an area of bright but indirect sunlight – it needs at least six hours per day.
If your orchid looks peaked and you suspect placement is the issue, gradually move the plant into an area with less or more light over a couple of weeks. This will give the orchid time to acclimate rather than suddenly shocking it with a new location.

Amy Grant has been gardening for 30 years and writing for 15. A professional chef and caterer, Amy's area of expertise is culinary gardening.
- Amy DraissDigital Community Manager