Suncrest Peach Growing – Suncrest Peach Fruit And Care Guide
Very few things evoke summertime memories quite like the taste of a juicy, ripe peach. For many gardeners, the addition of a peach tree in the home garden is not only nostalgic, but is also a valuable addition to the sustainable landscape. A staple in the gardens of yesteryear, peach trees, such as ‘Suncrest,’ provide growers with fresh fruits which are excellent for baked goods, canning, and fresh eating.
Suncrest Peach Tree Info
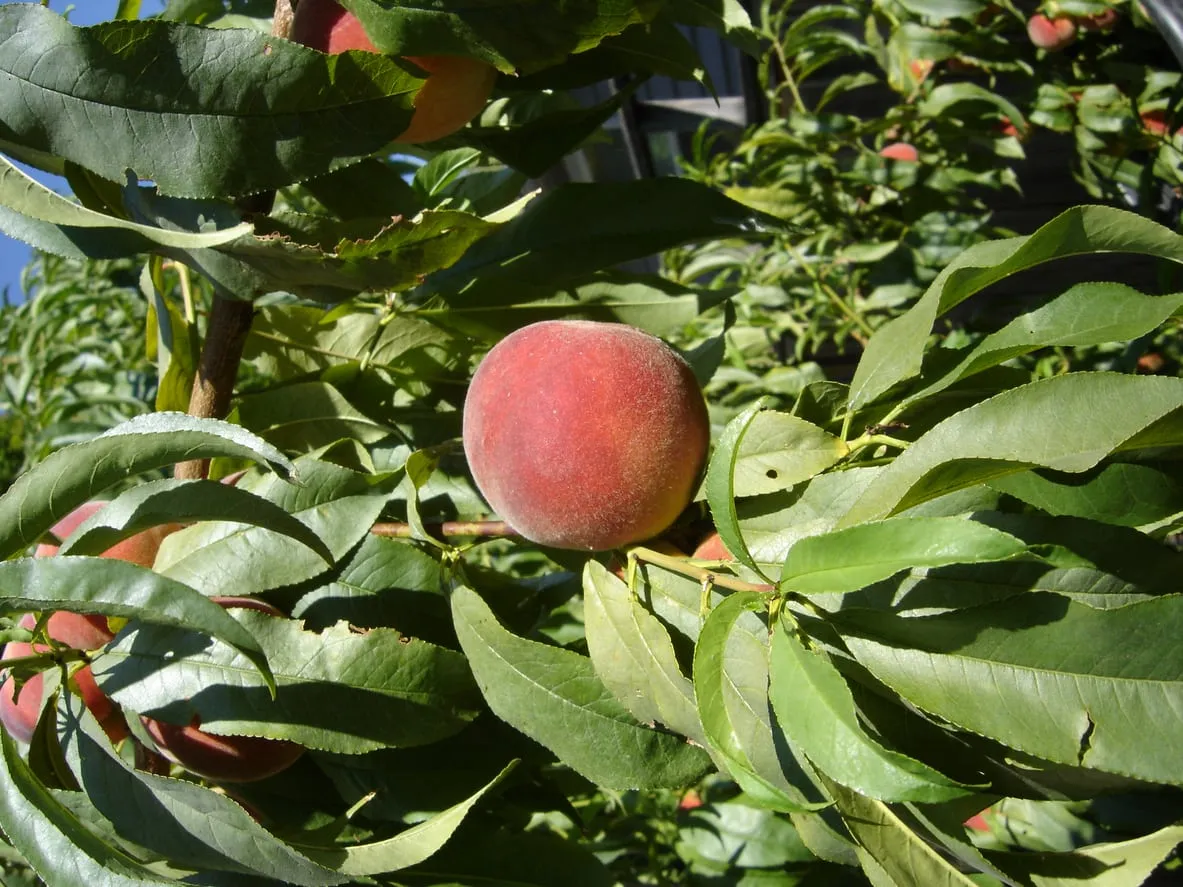
Suncrest peach trees are a heavy producing, large freestone peach. First introduced in California, Suncrest peach fruit is firm with juicy yellow flesh. Though generally easy to grow, there are some requirements in which growers must take into account when choosing to plant peach trees. Thriving in USDA growing zones 5 through 9, these trees will require at least 500 to 650 chill hours to ensure a beautiful springtime bloom. At maturity, it is not uncommon that these self-fertile (self-fruitful) trees can reach heights of 12 to 16 feet (3.5-5 m.). Due to this, those wishing to grow Suncrest peaches will require ample space, especially if choosing to plant more than one tree. Since these trees are self-fertile, however, Suncrest peach trees do not require the planting of an additional pollinator peach tree to ensure fruit set.
How to Grow Suncrest Peaches
Due to various factors such as unviable seeds, slow germination, and seeds that do not grow true-to-type, it is best to grow peaches from saplings. Peach tree saplings are easily found in plant nurseries and garden centers, but those wishing to grow Suncrest peaches may need to obtain the trees through an online retailer. When ordering online, always make certain to order only from reputable sources to ensure that saplings are healthy and disease free. When ready to plant, remove the fruit tree from the container and soak in water for at least one hour. Choose a warm, well-draining location in direct sunlight. Dig and amend a planting hole that is at least twice as wide and twice as deep as the plant’s root ball. Gently lower the plant into the hole and begin to fill it in with soil, being careful not to cover the collar of the plant. After planting, water thoroughly and mulch around the base of the tree. Once established, maintain a proper care routine which includes frequent pruning, irrigation, and fertilization.
Sign up for the Gardening Know How newsletter today and receive a free copy of our e-book "How to Grow Delicious Tomatoes".

Tonya Barnett has been gardening for 13 years. Flowers are her passion. She has transformed her backyard into a cut flower garden, which she regularly chronicles on her YouTube channel http://www.youtube.com/@tonyawiththeflowers.