Growing Malted Barley – How To Grow Beer Barley At Home

For years, small batch microbreweries have reigned supreme, titillating beer lovers with the thought of making their own small batch brew. Today, there are plenty of beer making kits available on the market, but why not take it a step further by growing your own malted barley. Actually, the process of making beer starts with harvesting barley for beer and then malting it. Read on to find out how to grow and harvest malted beer barley.
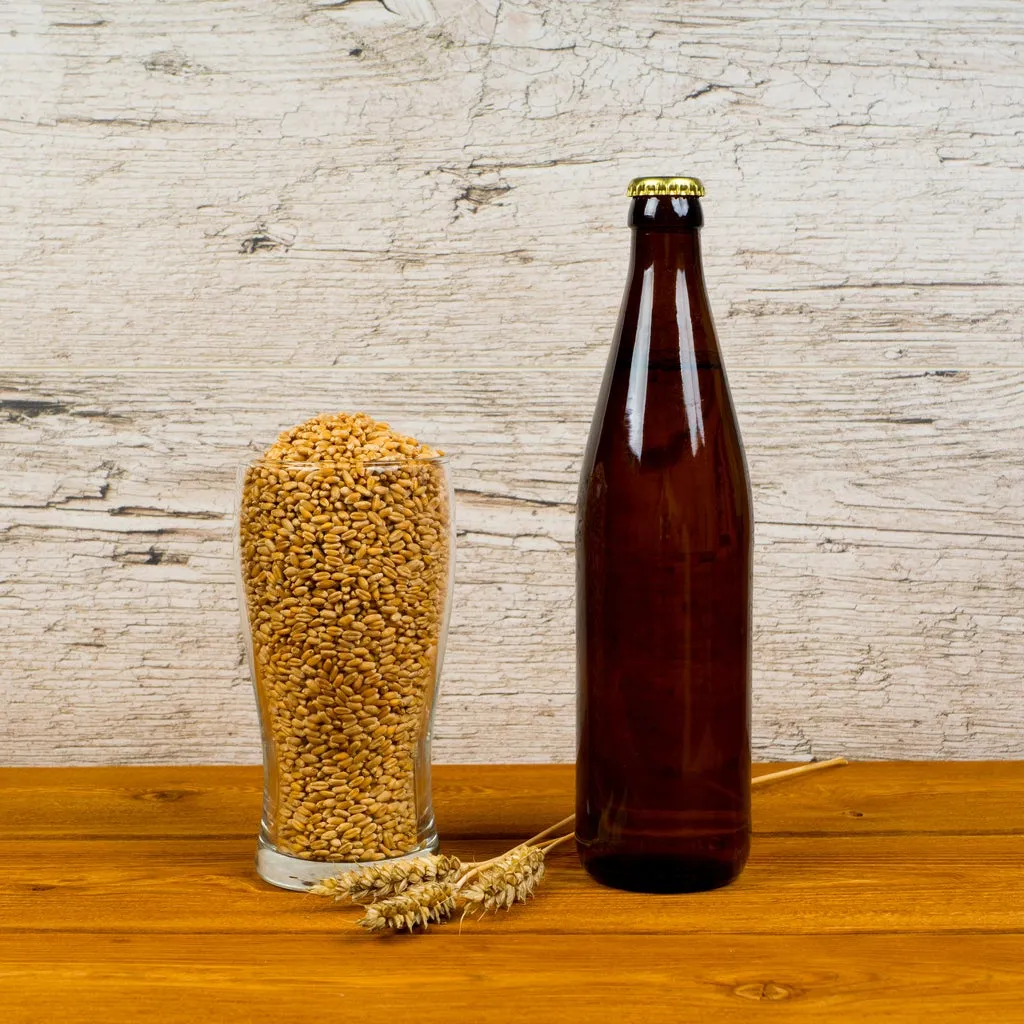
Growing Malted Barley for Beer
Malting barley comes in two varieties, two-row and six-row, which refer to the number of rows of grain on the head of the barley. Six-row barley is much smaller, less starchy, and more enzymatic than two-row and is used for making many American style microbrews. Two-row barley is plumper and starchier and is used for all-malt beers.
It used to be that six-row was most commonly grown on the East Coast and in the Midwest while two-row was grown in the milder Pacific Northwest and the Great Plains. Today, there are more and more two-row barleys grown throughout the country by virtue of the introduction of new cultivars.

If you’re interested in growing malted barley, start by talking to your local cooperative extension for information on the types of barley best suited for your region. Also, many smaller, local seed companies will have not only information but seeds adapted to the area.
How to Grow Beer Barley
Growing and harvesting malted barley for beer is pretty simple. The first step, after selecting your seeds of course, is preparing the bed. Barley likes a fine seedbed consisting of loamy soil with a low pH in full sun. It does fine in poor soils but does need phosphorus and potassium, so if need be, amend the soil with rock phosphate and greensand. Take a soil test to adequately analyze the components of your soil beforehand.
As soon as the ground is workable in the spring, dig the plot up and prepare the soil. The amount of seed to sow depends on the variety, but a rule of thumb is one pound (under ½ kg.) of seed for every 500 sq. feet (46 sq. m.).
The easiest way to sow the seeds is to scatter them (broadcast). Try to spread the seed as evenly as possible. This can be done by hand or with a broadcast seeder. Once the seed has been broadcast, rake it into the soil lightly so the birds have less of a chance of finding it.
Most six-row barleys are quite drought tolerant but the same can’t be said for two-row. Keep two-row barley moist. Keep the area around the crop as weed free as possible. Weeds harbor pests and diseases that can affect the crop.
How to Harvest Malted Barley
Barley is ready to harvest about 90 days from planting. At this juncture, the straw will be golden and dry, and a peeled kernel will be difficult to dent with a fingernail.
Use a light weight sickle or even garden shears to harvest the grain. As you cut the grain, lay it in bundles with the heads facing the same way and tie them into sheaths. Gather 8 to 10 of these tied bundles together and stand them up to dry, with most standing up and a few laid across the top. Leave them to dry in the sun for a week or two.
Once the grain is dry, it’s time to thresh it, which just means to separate the grain from the straw. There are a number of methods for threshing. Traditionally, a flail was used, but some people use a broom handle, plastic baseball bat, or even a garbage can as a threshing machine. However you choose to thresh, the goal is to separate the grain from the awns, husks, and straw.
Now it’s time to malt. This involves cleaning and weighing the grain, then soaking it overnight. Drain the grain and keep it covered with a damp cloth while it germinates in a dark room with a temp around 50 degrees F. (10 C.). Stir it a few times per day.
By the second or third day, white rootlets will form on the blunt end of the grain and the acrospire, or shoot, can be viewed growing underneath the skin of the grain. When the acrospire is as long as the grain, it is fully modified and it’s time to stop its growth. Transfer the grain to a large bowl and keep it covered for a few days; this limits oxygen to the acrospire and stops its growth. Turn the grains once a day.
When the grains stop growing, it’s time to kiln them. Small amounts of grain can be kilned, dried in the oven at the lowest setting, in a food dehydrator, or in an oast. A few pounds (1 kg.) of grain will dry fully in the oven in 12 to 14 hours or so. The malt is dry when it weighs the same as it did before you started steeping it.
That’s it. Now you are ready to use the malted barley and create a masterful brew sure to impress your friends not only because you made the beer yourself, but also because you grew and malted the barley.
