Don’t Throw It Away! I Never Waste Old Potting Soil – These 3 Steps Make It Like New in Time for Spring Planting
Your old potting soil still has plenty to give! It's easy to clean, feed, and revive tired potting mix. So save money, reduce waste, and get your container gold ready for a fresh burst of spring growth

Amy Draiss
Sign up for the Gardening Know How newsletter today and receive a free copy of our e-book "How to Grow Delicious Tomatoes".
You are now subscribed
Your newsletter sign-up was successful
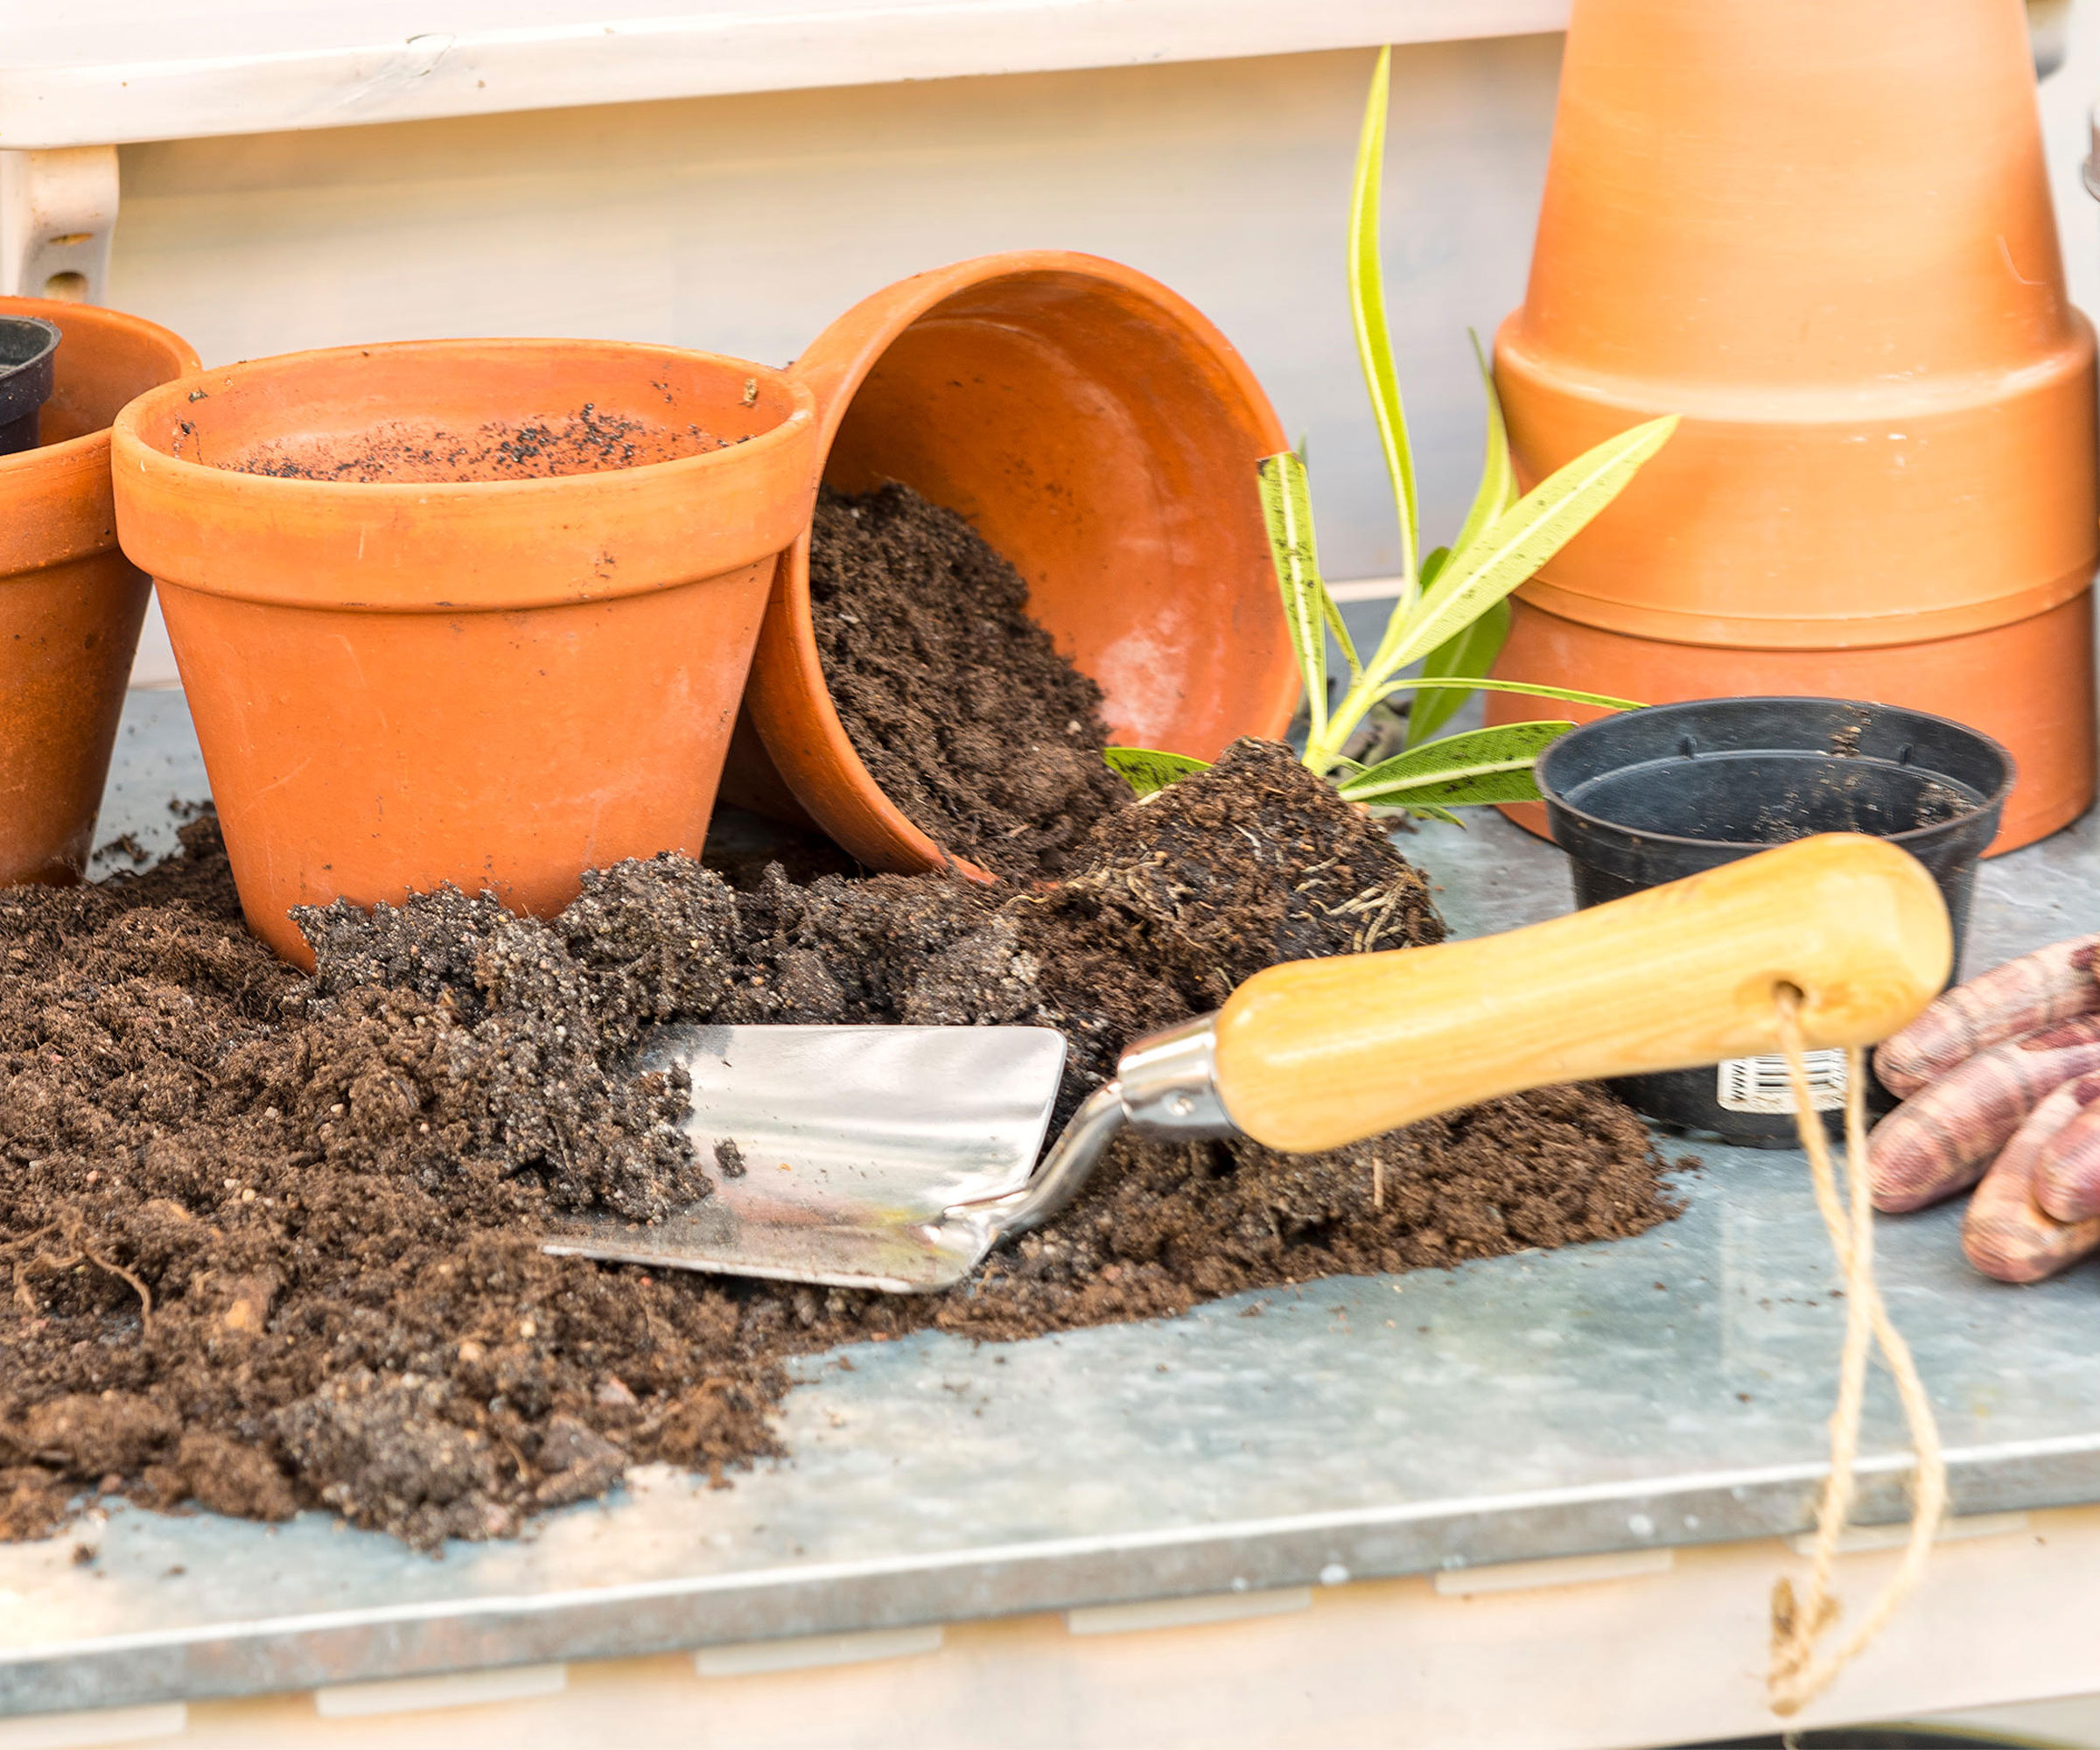
There was a time, dear readers, when I was guilty of dumping used potting mix after just a year of use. Yes, indeed, I used to throw out old potting soil as a matter of habit whenever I potted on my container perennials and houseplants, assuming those admittedly dusty or tired looking piles were no longer useful. The idea that I could reuse potting soil didn’t enter my head. I honestly cringe now when I think about how I used to innocently (and wastefully) tip away untold goodness.
I’m glad to say I’ve learned that there is a much better (and cheaper) way to keep your container gardens healthy. And it doesn’t necessarily hinge on forking out on bags and bags of expensive fresh plant material every time you reach for a pot – or empty one, for that matter. In this day and age, it’s important to embrace a gardening ethos that is geared more towards sustainability, longevity – and frugality!
The thing is, it’s so easy to repurpose and revive tired old potting soil to bring it back to life. Yes, it might look a bit sad after a couple of years of hard graft, but that doesn’t mean it’s done and dusted. If you test your soil, you’ll find that most old potting soil isn’t dead – it just needs a little care to make it rich, airy, and ready for new roots again. There are plenty of uses for old potting soil – just a few thrifty little tricks are all you need to replenish what you’ve got and help it spring back to action.
Now’s a great time to sort through your old post-summer pots and sift through the remains to determine what you can use again next year. Reusing potting soil is a great way to start. By cleaning it, nourishing it, and restoring its structure, you can have beautifully refreshed potting soil ready for your spring planting, and all without buying new bags. So don’t just toss your used pots of dirt! Here’s how to make your old potting mix as good as new in 3 simple steps.
Why Reuse Old Potting Soil (and When Not To)
The ‘why’ of reusing old potting soil is a no-brainer for conscientious, eco-friendly gardeners who care about sustainable living and want to save some money as you go. Knowing how to reuse potting soil cuts down on the need to keep reaching for ‘bag fresh’ each and every time (and all the costs that go with it). Recycling potting soil also reduces waste, and it’s better for the planet. Because when you look at it, it doesn’t actually wear out – what tends to happen after a year or so is that it gets a little tired, loses its structure, and depletes nutrients. All those things can be fixed.
Should you reuse potting soil every time? In order to make this essential resource last longer, there are just a few deal-breakers – those are mold, pests and diseases (the three horsemen of the gardening apocalypse, if you will). Now, trace elements of pest eggs won’t necessarily compromise your potting soil if you take action now. But there’s a line. If you sense its former life may have resulted in waterlogging or disease, if it smells musty or if it’s riddled with bugs, you might need to call it.
If you’re not sure whether your old potting soil is actively bogus or just lacklustre, try the simple smell test. Foul odors can usually give you a reliable indication, as can the health of the plant that was in the potting soil previously (check the roots in this case for signs of rot or mushiness). Black fungus gnats usually make themselves known, and mold reveals itself as fuzziness or slime on the surface of the potting soil in your container gardens.
Sign up for the Gardening Know How newsletter today and receive a free copy of our e-book "How to Grow Delicious Tomatoes".
To gauge the overall health of your potting soil, a soil test is a good idea. Use a meter like the Raintrip 4-in-1 Meter from Amazon to get a sense of water levels, soil ph and nutrient gaps. You can then set about making your old potting soil great again. These easy tweaks show you how to supercharge your soil for future containers and gardening projects. Give it a good clean, replenish the nutrients, improve drainage and structure, and prime your potting soil for the new gardening year. This quick 3-step refresh works like magic. So if you don’t know what to do with old potting soil, read on – because it’s time to clean, feed, and fluff!
1. Clean and Refresh the Old Soil
The business of cleaning old potting soil is two-fold. First, you need to excise any old roots, sticks and chunky plant debris. Depending on potting soil type, you may need to break up any compacted clumps with a trowel, or even by hand. Second, and perhaps more importantly, you need to sterilize the soil to obliterate pathogens and soil-borne diseases. Primarily, we’re talking about pests like fungus gnats, which may be loitering in the potting soil unspotted in egg form. However, sterilizing is also a great way to nuke weed seeds. Cleaning your potting soil is a beautiful way of wiping the slate clean – and the best way to do this is to heat or cook it.
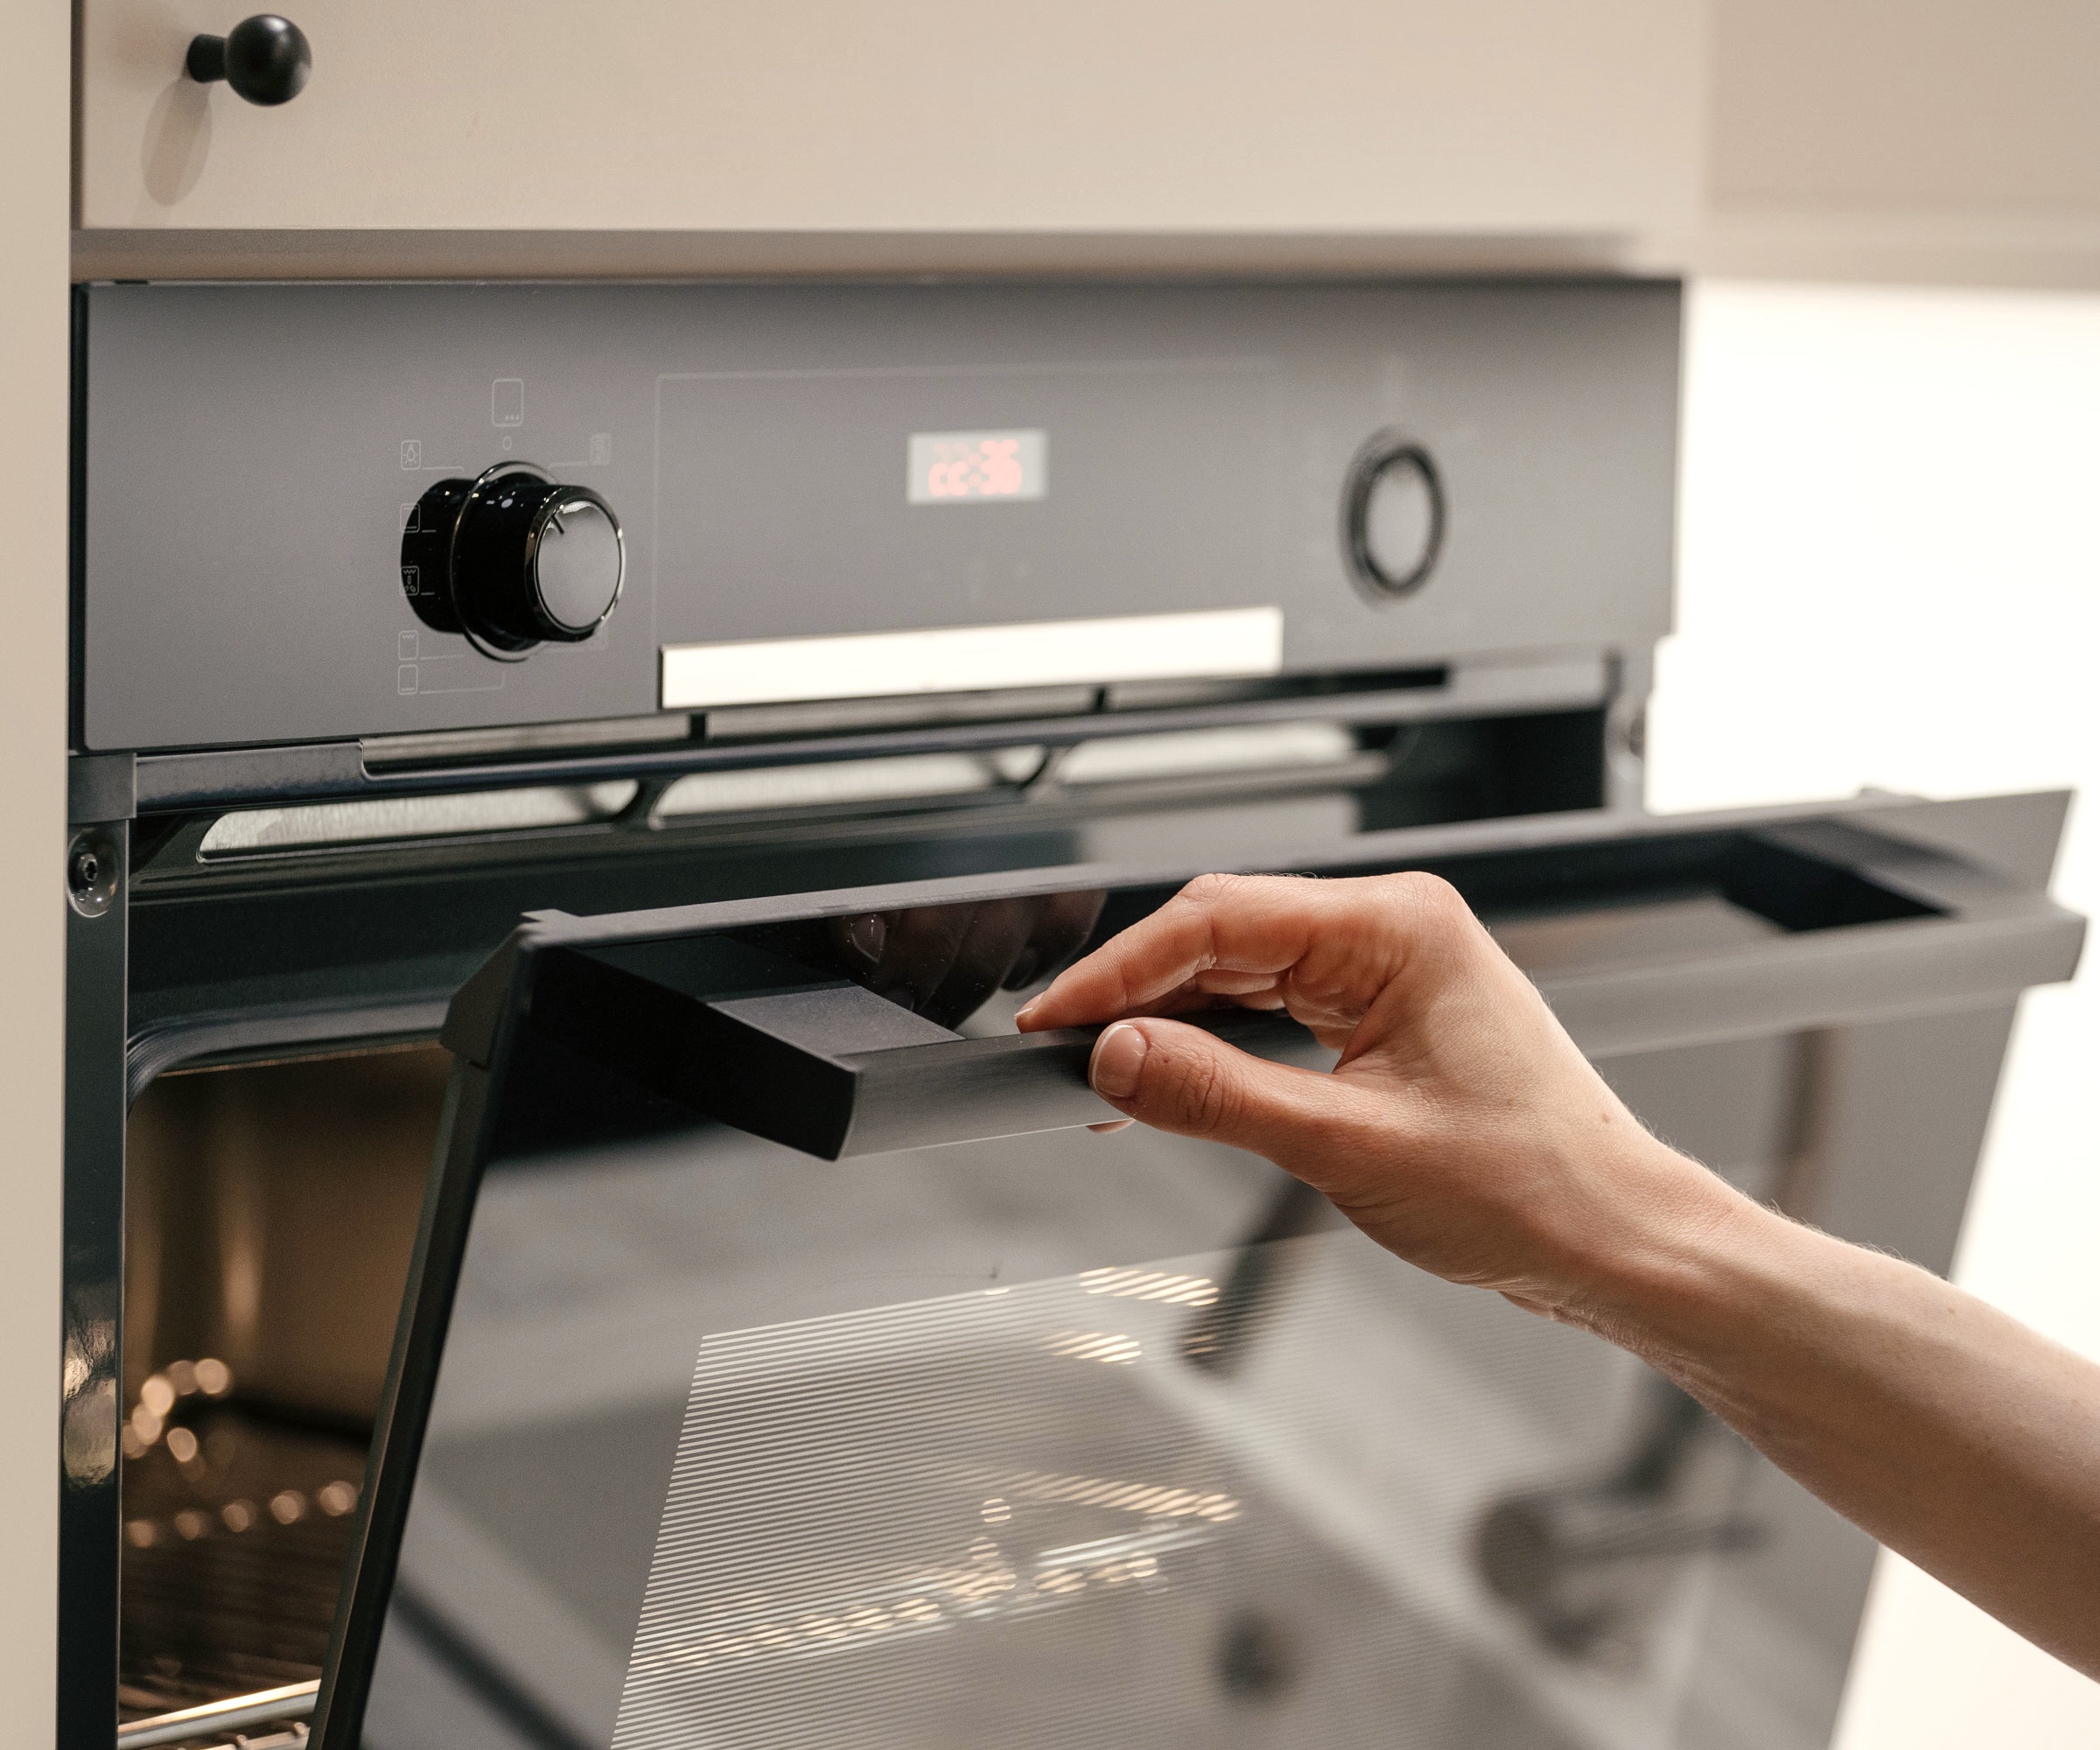
Yes, I know, it sounds a little ooky – and hardly the most delicious thing you’ll be pulling out of your oven this week, but your future plants might disagree. Improving your soil starts with hygiene, and to remove pathogens, you need extreme heat. Cooking or baking old potting soil doesn’t require expensive equipment and special techniques. All you need to clean old potting soil is an oven or a microwave. Just make sure your soil is damp, rather than dripping wet. This moisture is critical during baking as it becomes steam which assists in even heat distribution all the way across and inside the soil.
When cleaning your potting soil in the oven, the magic numbers are 180°F (82.2°C) and 30 minutes. This needs to be inside your soil, not just the oven – so make sure you have a meat thermometer (or similar) handy both before and after baking, ready to stick into the soil. Place your soil in an ovenproof tray or dish, ideally around 4in (10cm) deep – anything more than that might compromise the integrity of the steaming process. I love Fat Daddio’s Large Square Cake Pan from Amazon, for its generous capacity and optimal depth. Cover with foil, also to help with steaming and soil renewal. After cooking, leave the soil in the oven to cool completely.
If using a microwave, place your soil batches in a microwave-friendly container or sturdy bags. You can buy Sealapack Simply Steam Microwave Cook Bags from Amazon, but sturdy freezer bags or plastic tubs are also ok. The top of the bag or the lid of the tub must be left slightly open, so steam can circulate. Again, make sure the soil is moist. In terms of cooking, aim for approximately 90 seconds for every two pounds of soil you microwave. Don’t forget to let it cool completely inside the oven. Hopefully, this removes all those pathogens, so your potting soil is ready for feeding.
2. Rebuild and Nourish the Soil
Knowing how to revitalize old potting soil relies on appreciating what your soil needs, assessing any gaps, and making sure they are added before planting. In that respect, it’s no different to treating outdoor ground-based planting sites before placing your plants in the ground. The best potting soil consists of a happy blend of key nutrients, a fine balance of essential phosphorus (P), nitrogen (N), and potassium (K), plus micronutrients such as calcium. A part of this depends on what you are hoping to grow, but having used your soil meter to isolate any depletions and nutrient deficiencies, this is your chance to redress the balance.
Based on the findings of your soil test, your potting soil will almost certainly benefit from some fresh organic matter in the form of well-rotted compost. Aim for one third compost to two-thirds used potting soil. Another great way to rebuild your potting soil back to full health is to add a slow-release organic fertilizer or balanced granular feed. such as Miracle-Gro Shake 'N Feed All Purpose feed from Walmart. Alternatively, add a sprinkling of bone meal chicken manure or kelp meal to top up micronutrients in the soil. Refer back to the findings of your soil test to help with nutrient ratios.
To rejuvenate a weary potting mixture, I also like to add a handful of worm castings, such as Back to the Roots Worm Castings from Amazon. This nod to vermicomposting culture can help to improve texture as well as soil health and microbial levels. As part of this essential potting soil renewal, you can also add a little mycorrhizal fungi or beneficial microbe inoculant. Add other amendments (like lime or sulfur) based on your soil's pH and what you are most keen to grow. Mix your freshly invigorated potting soil thoroughly to ensure an even distribution of goodness.
3. Fluff and Restore Soil Structure
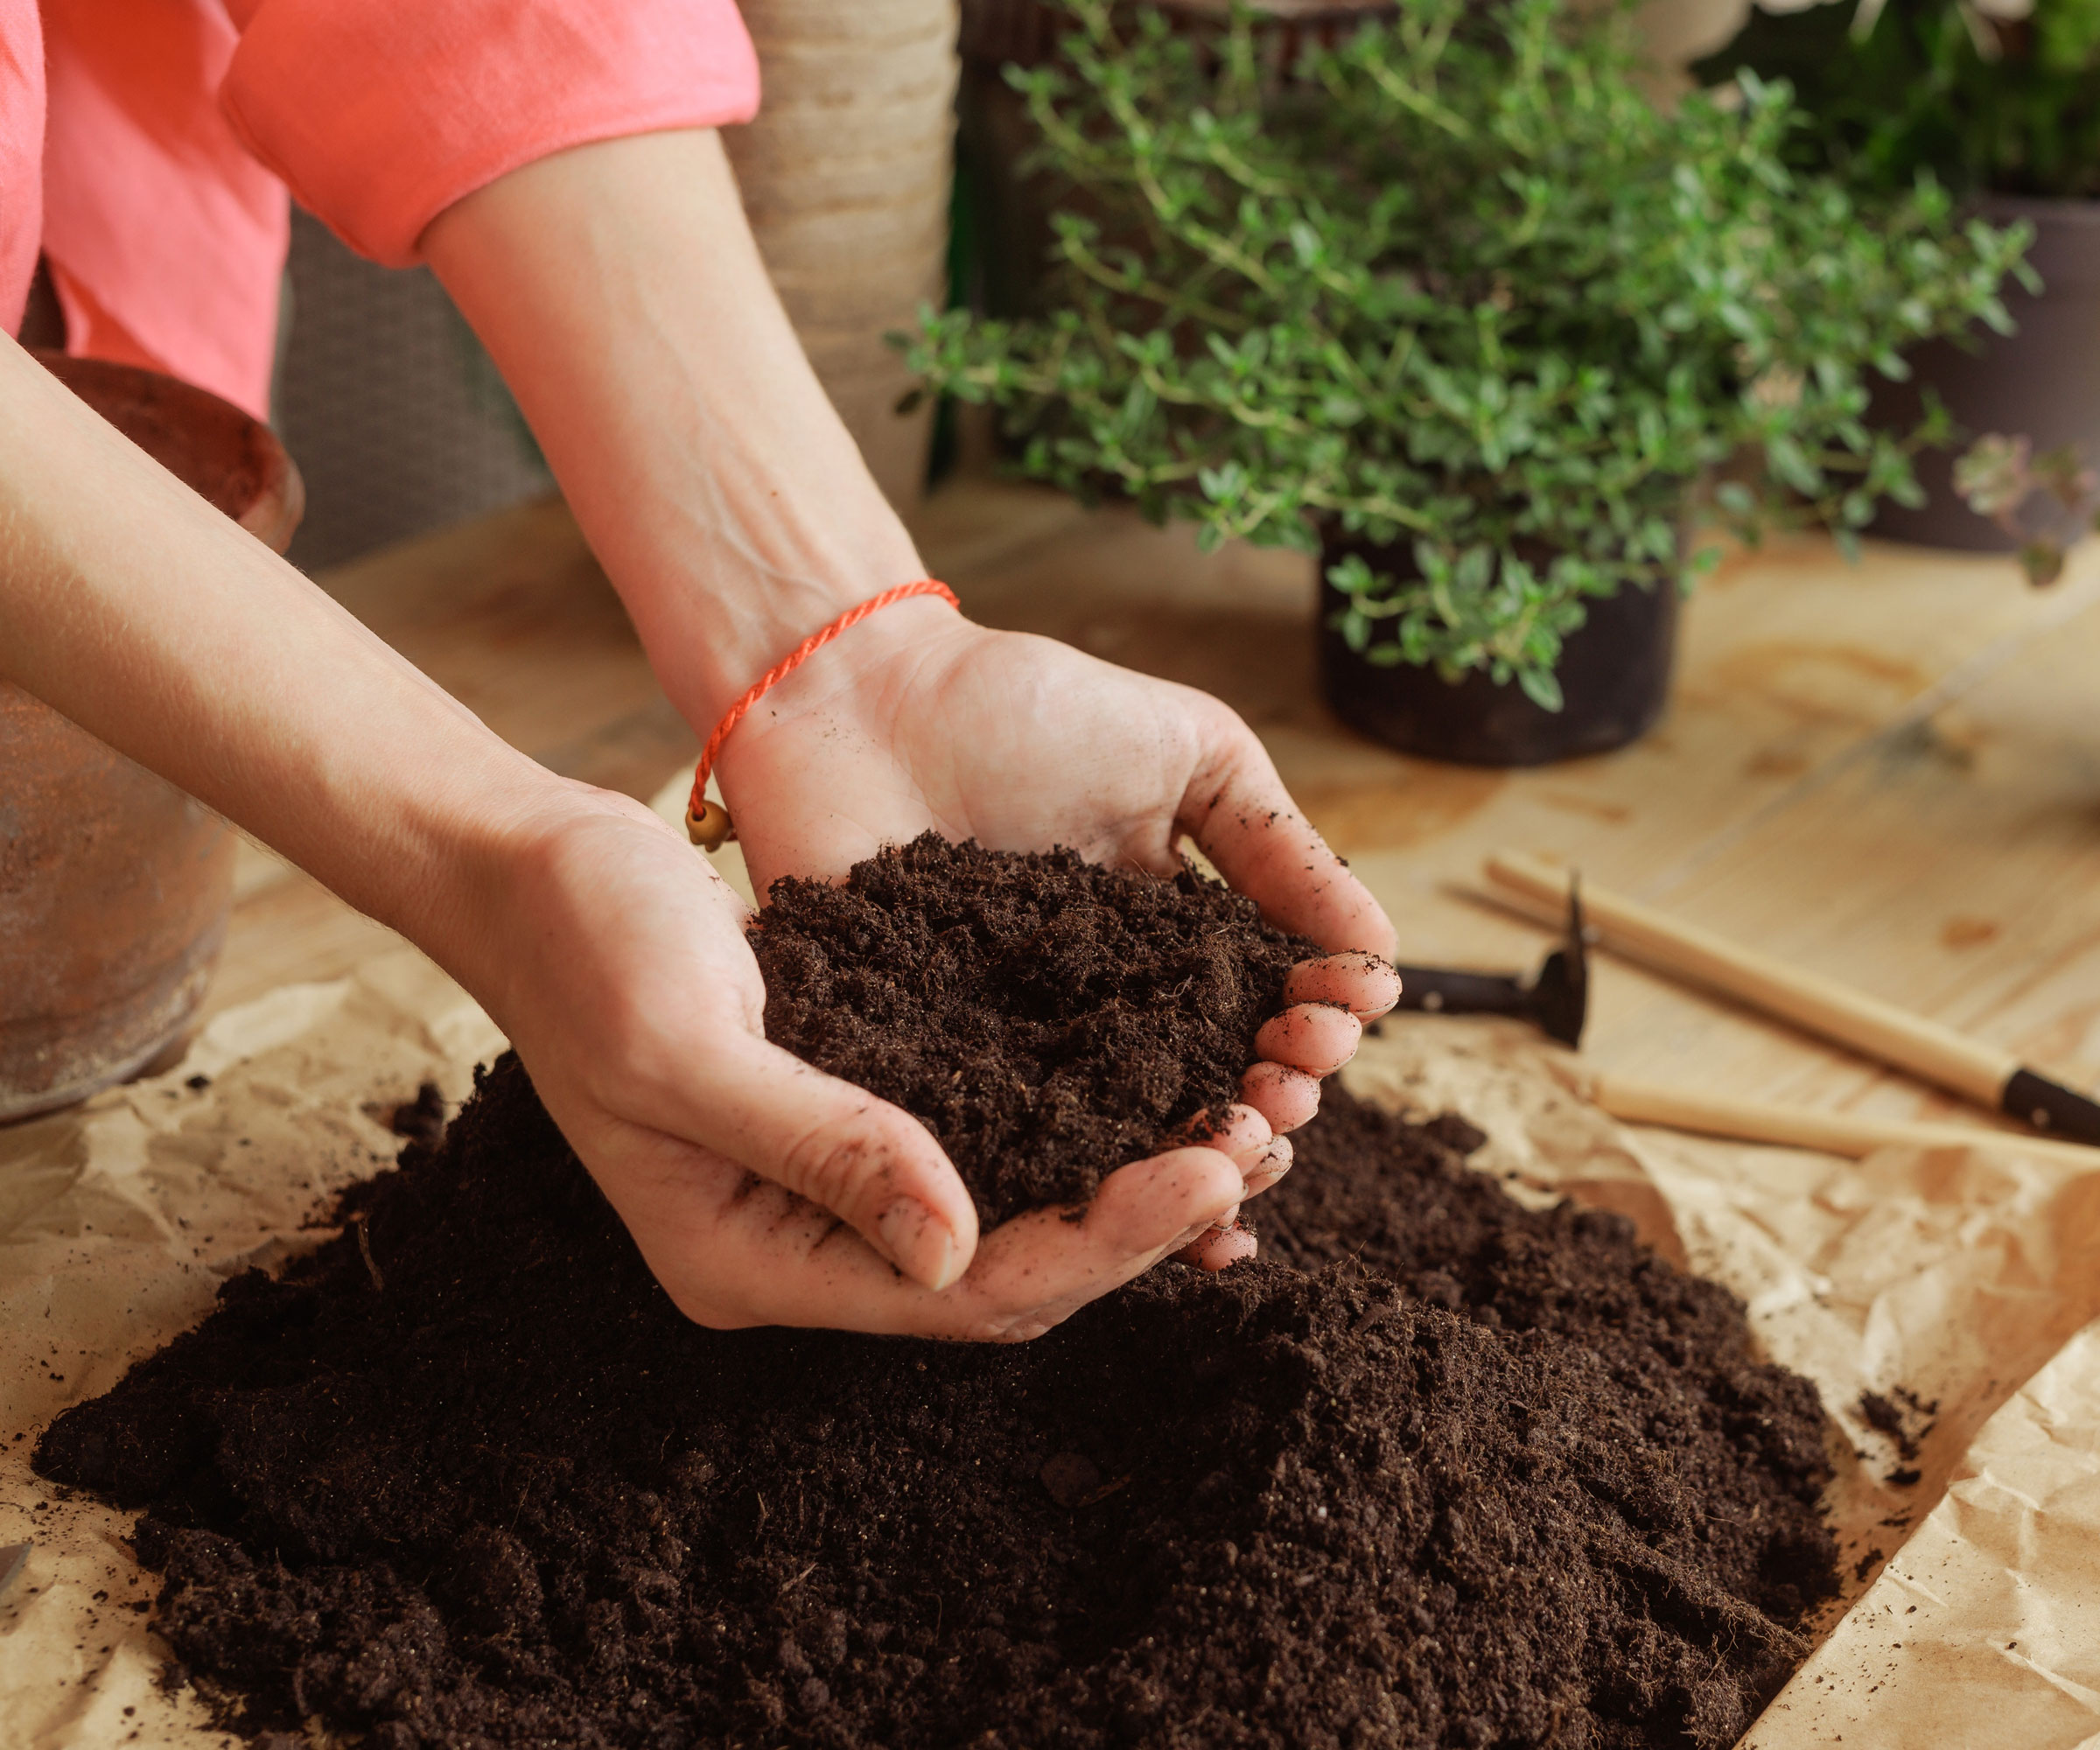
This final step in what to do with old soil from pots is trial and error, based on the types of plants you are looking to grow (whether you are after houseplant potting soil, or potting soil for outdoor containers, for example). This final step is also dependent on how comfortable you feel manipulating soil texture. But it is important to assess structure, since it impacts drainage, water (and nutrient) retention, the effectiveness of root development, and so many important aspects of plant development.
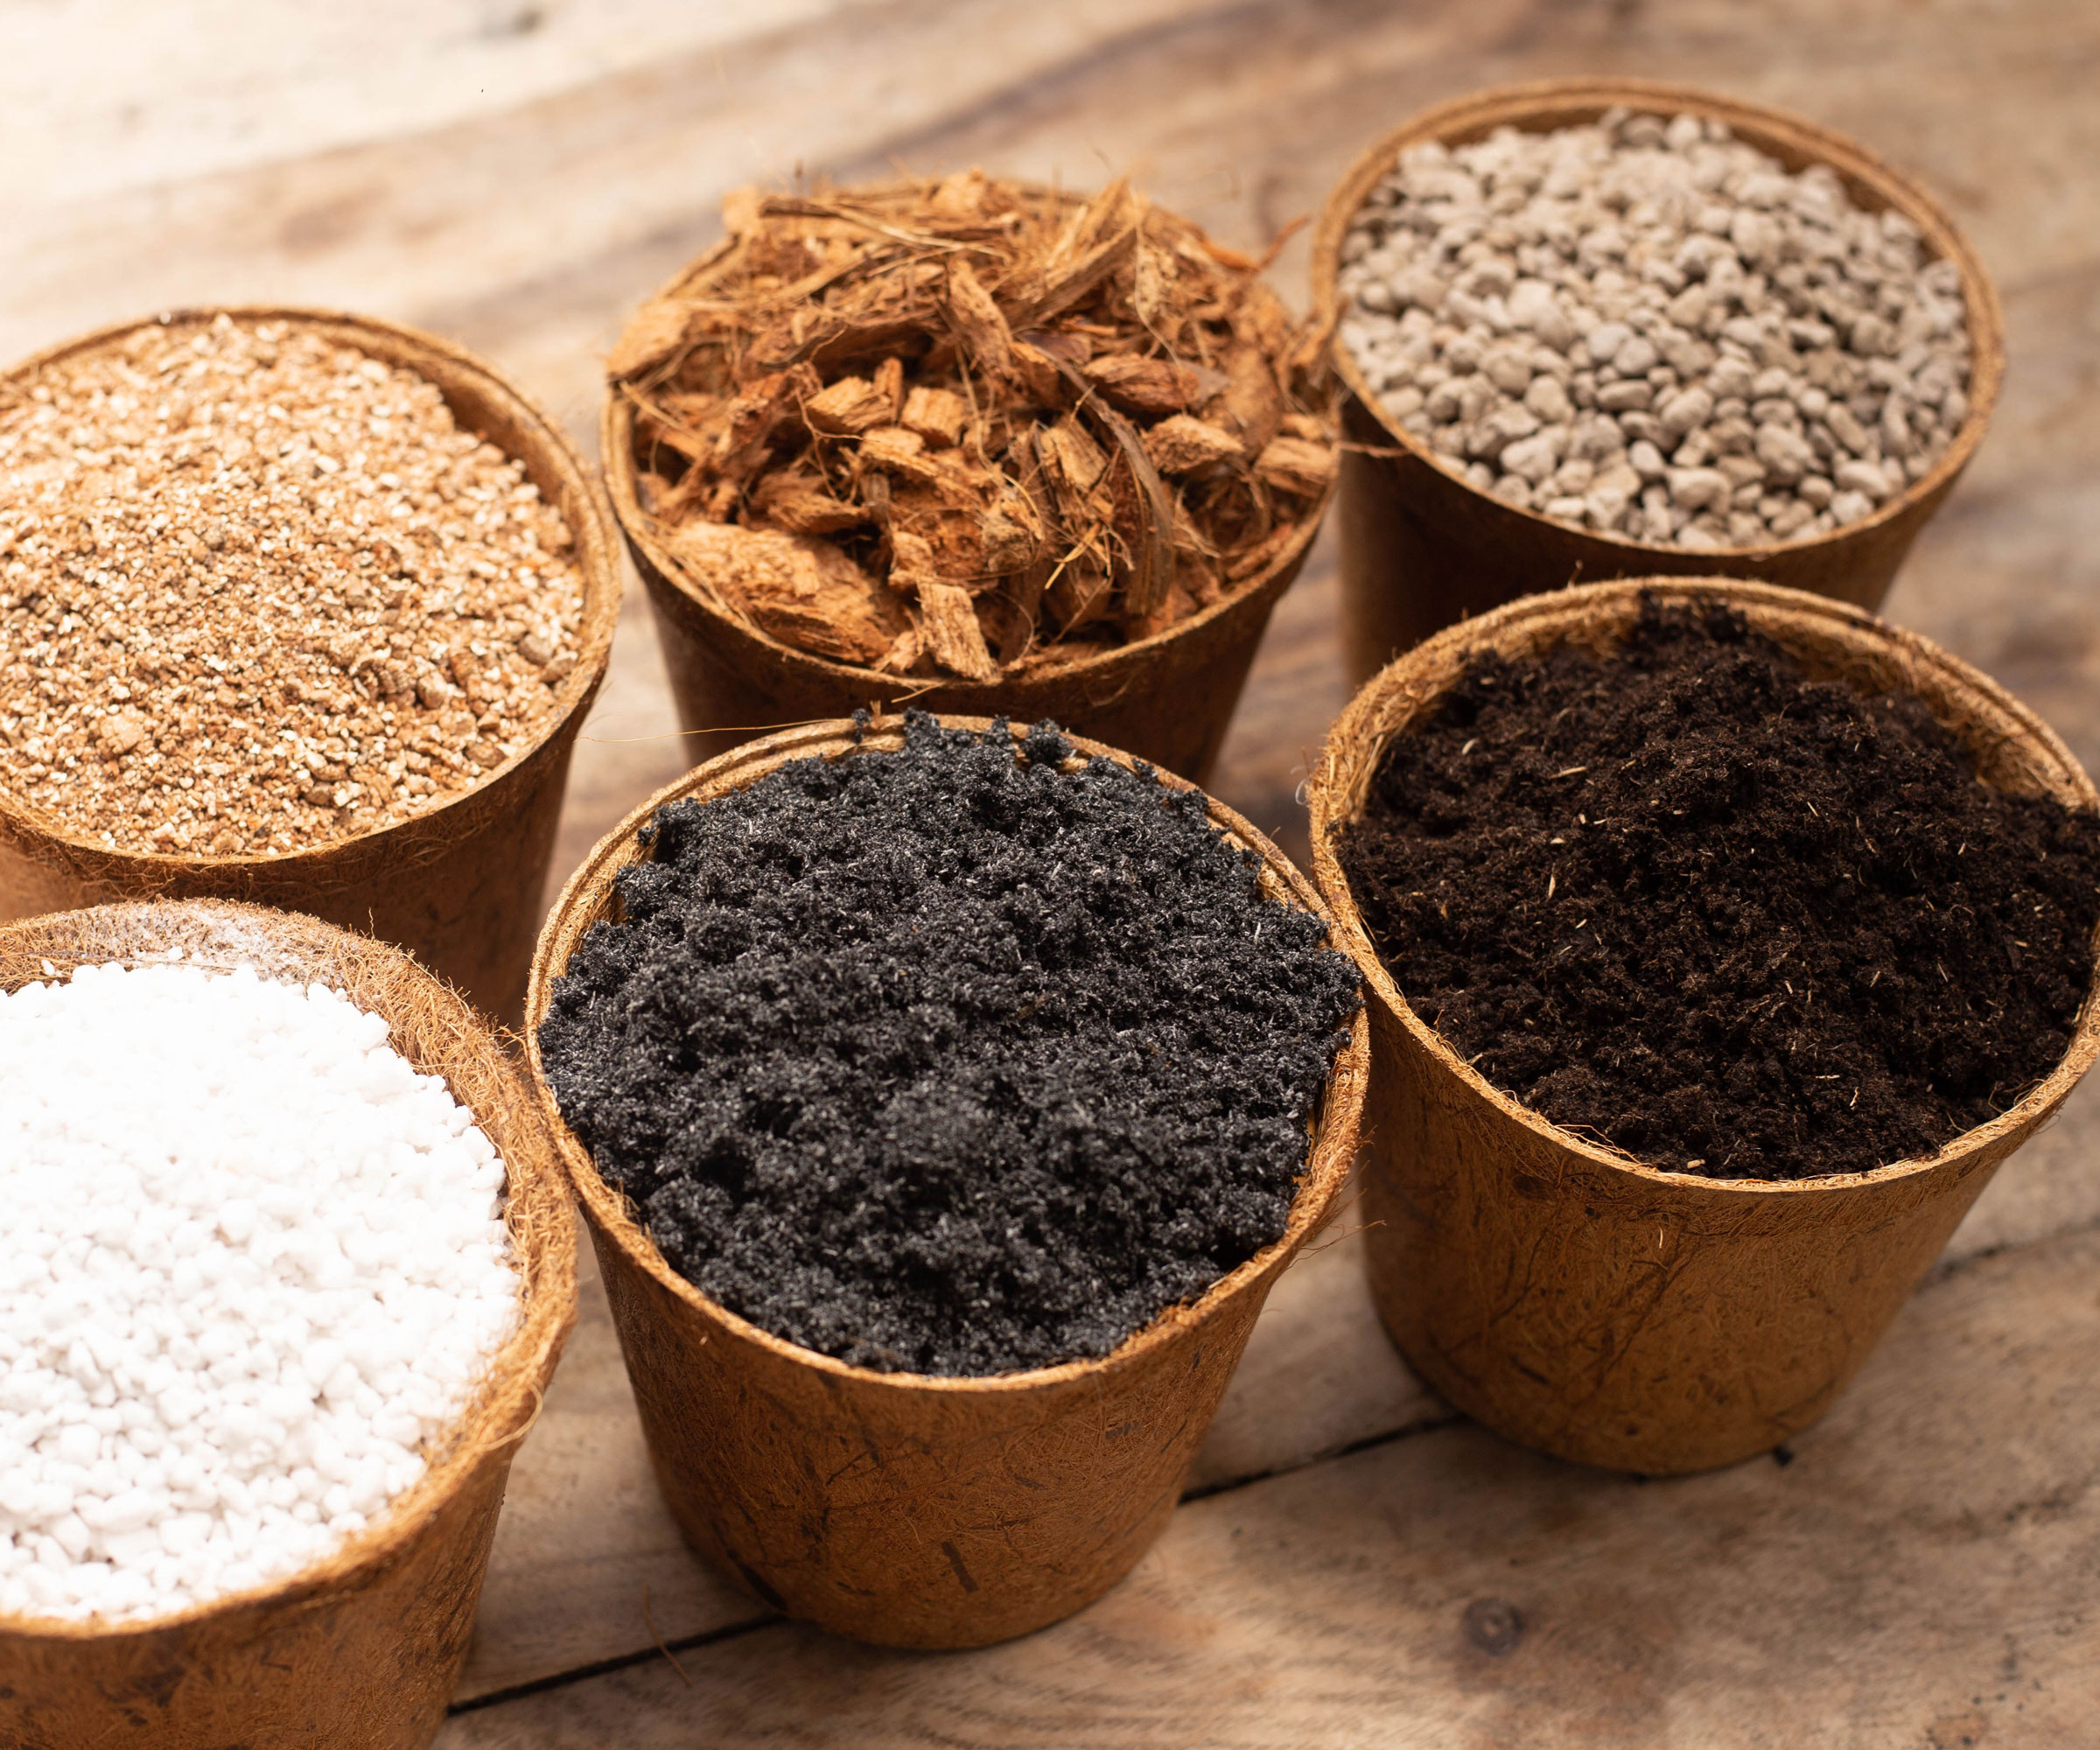
Plus, it’s instructive to get your hands dirty, to identify and eliminate any residual lumps and bumps, and to amend coarseness, grittiness and aeration accordingly. A little perlite, vermiculite, coarse sand, fine bark or coco coir can help to improve the drainage and texture of potting soil, and restore that light, airy feel. Hopefully, these amendments will give your revived potting soil space to breathe, and prospective plant roots plenty of room to stretch and grow.
At this stage, I like to rub the freshly infused potting soil through my fingers to assess how loose and springy the composition feels. Again, this is part personal preference and part instinct – but it gives a good idea as to how your soil is likely to hold up. If you need to make further sifts or loosen residual pockets, don’t be afraid to use a hand fork, crumbler or cultivator. The Wolf Garten Multi-Change Crumbler from Amazon is good for manual cultivation, and I also like the GrillsGoneWild Compost Sifter/Riddle, available from Amazon, for light and fluffy texture adjustments.
Your Potting Soil Revival Checklist
So can you reuse potting soil now? Hopefully, once you’ve cleaned, fed, and fluffed your old pot contents, your refreshed and reinvigorated soil is almost ready to use. Take a moment to tick off these quick checks, and refer back to them for every refresh. Treat it as a mini action plan to help motivate you to revive even more potting soil so it's clean, fertile, fluffy, and in the very best shape come spring:
- Remove debris, weeds and plant roots: Pick out any large roots, rocks, or other plant debris. Sift to help reduce smaller debris.
- Sterilize soil by cooking in an oven or microwave: Bake your potting soil to eliminate the risks of pathogens and residual pests.
- Add new organic matter and organic fertilizer: Replenish nutrients with aged compost, organic material and slow-release fertilizer, plus worm castings to add beneficial microbes back into the soil.
- Test and adjust moisture: Check moisture, add more if necessary, and let it sit for a while, to allow the new microbial life to build up.
- Aerate finished mix: Treat your potting soil to a final sift. Manipulate your freshly topped material to aerate the soil and optimize that fluffy feel.
- Label or store in a dry, rodent-free area until ready to use: Store revived soil in covered bins or breathable bags to protect from frost.
Best Plants for Refreshed Potting Soil
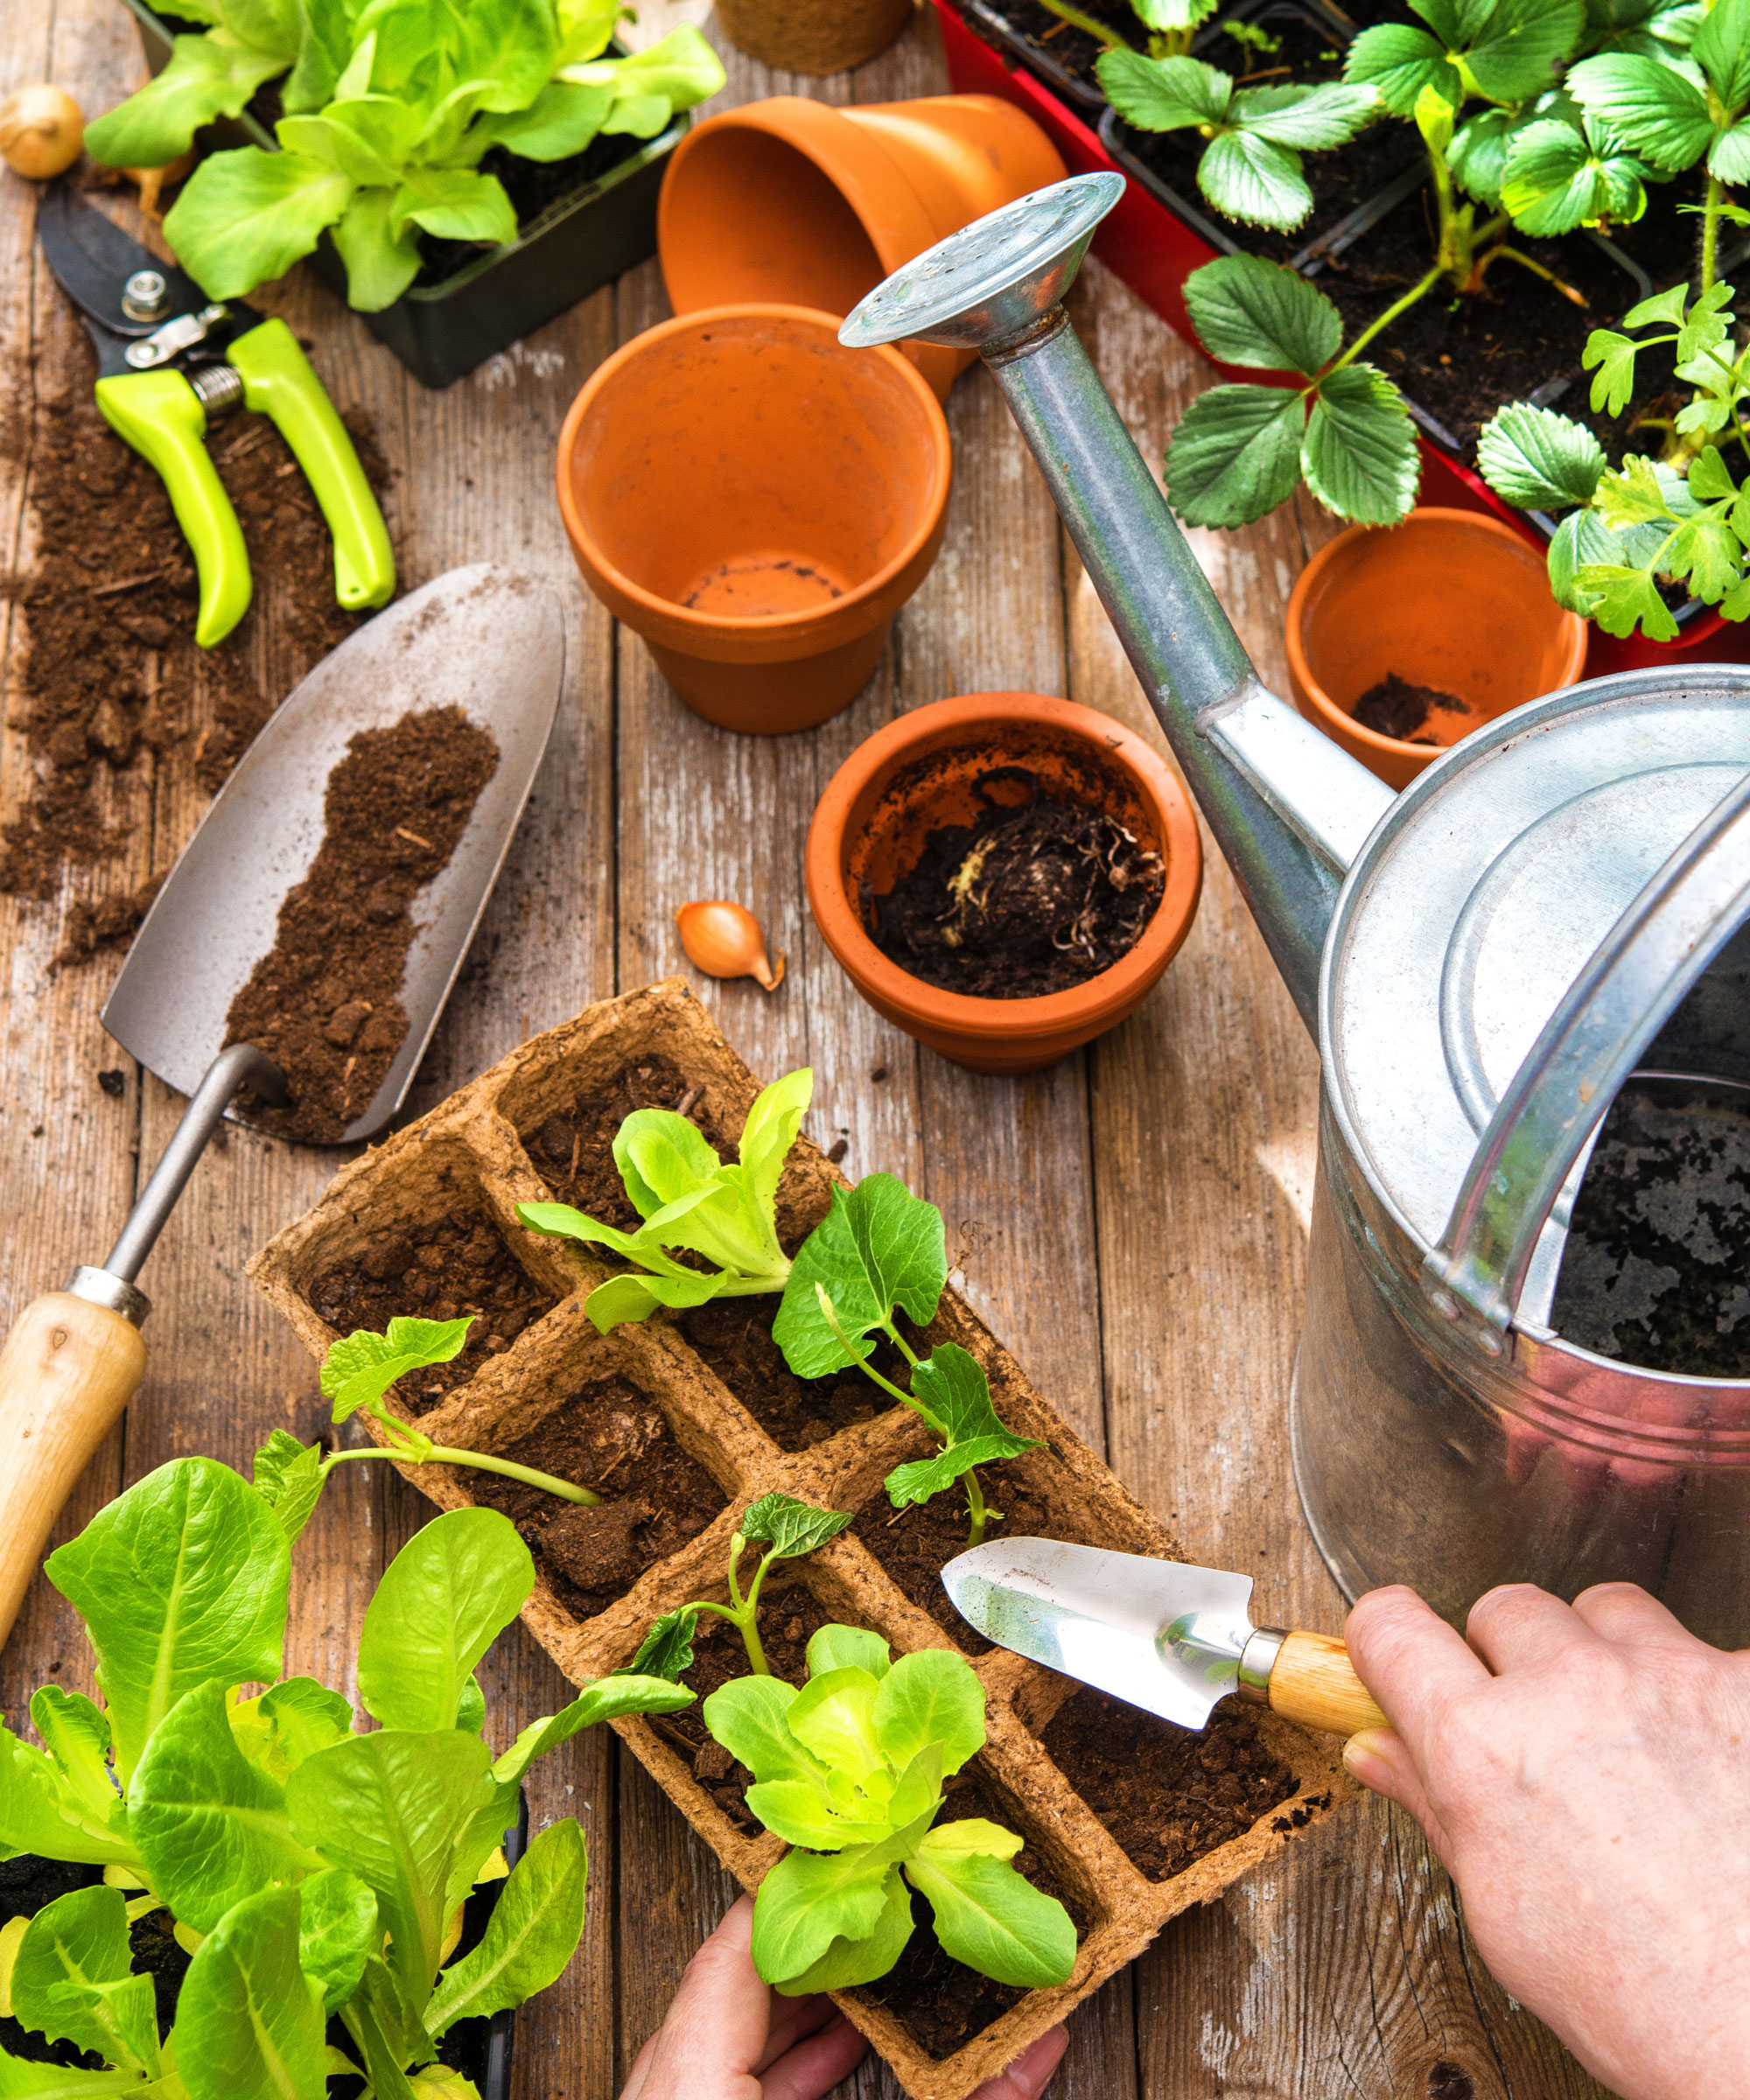
Once you know how to refresh used potting mix and restore it to its former glory, you can use it for all kinds of gardening projects. As long as it’s clean, fertile, and fluffy, it’s good to go. Use it in containers, raised beds, and even flower beds or borders as a soil conditioner. Your refreshed potting soil will work especially well with forgiving, low-maintenance crops such as marigolds, lettuce and nasturtiums.
Recycled and repurposed potting soil is great for easygoing divisions of perennials like monarda and asters, and also for relatively undemanding, nutrient-light ornamentals such as impatiens. Several herbs are great for repurposed potting soil, particularly Mediterranean herbs like rosemary and lavender, and vigorous container-based mints. The only times I'd be inclined to grab brand-new potting soil mixes would be for really hungry feeders like tomatoes. Also, if you’re growing seedlings, I’d recommend a seed-starting mix with lighter, more balanced nutrient levels, which are less likely to burn fragile seedling roots.
Potting Soil Repair Tool Essentials
Knowing what to do with old soil in pots is refreshingly economical. You don’t need loads of fancy kit. But these essentials make light work of clumpy old mixtures and help energize them quickly. Grab these versatile tools to turn last year’s dregs into healthy, fertile potting soils.
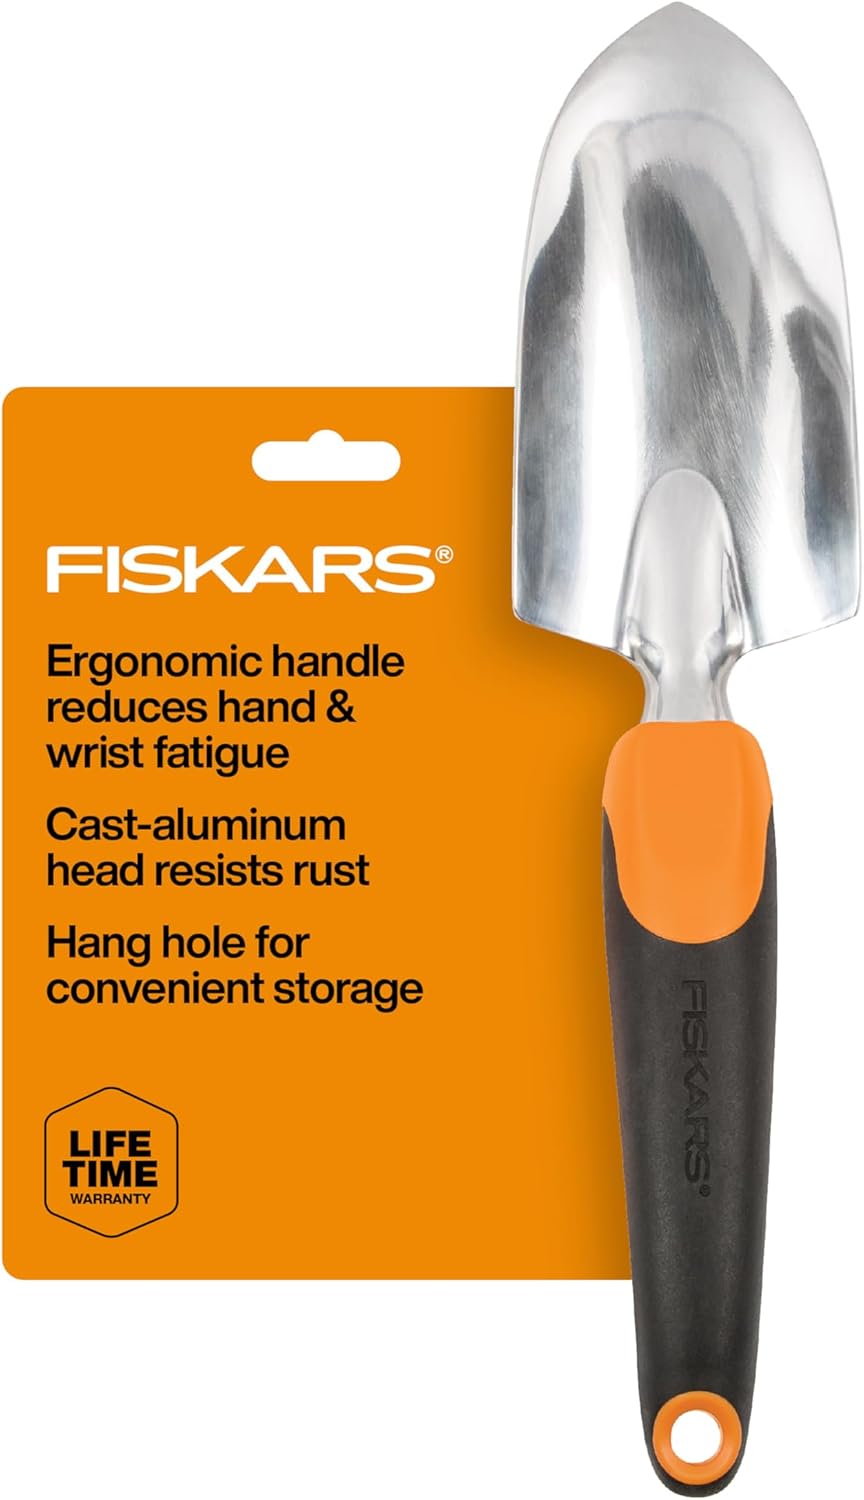
Fiskars has a solid reputation for ergonomics, and this trowel is a cut above. It digs through tougher lumps and compactions in a way that’s a genuine pleasure rather than a chore.
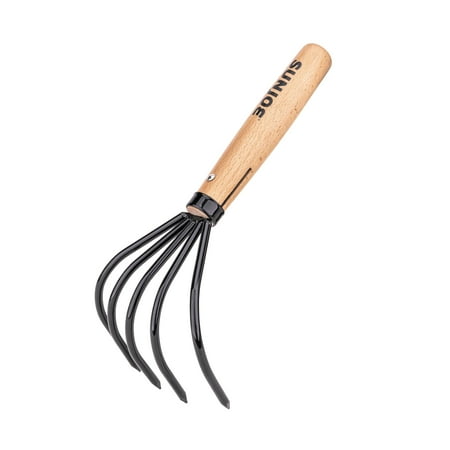
Solid beauty with robust yet artisanal craftsmanship, and excellent for turning over and manipulating a range of irksome compost issues, from compaction to straggly old roots and isolating & existing weeds. It's professional grade at a bargain price, and currently available at a discount.
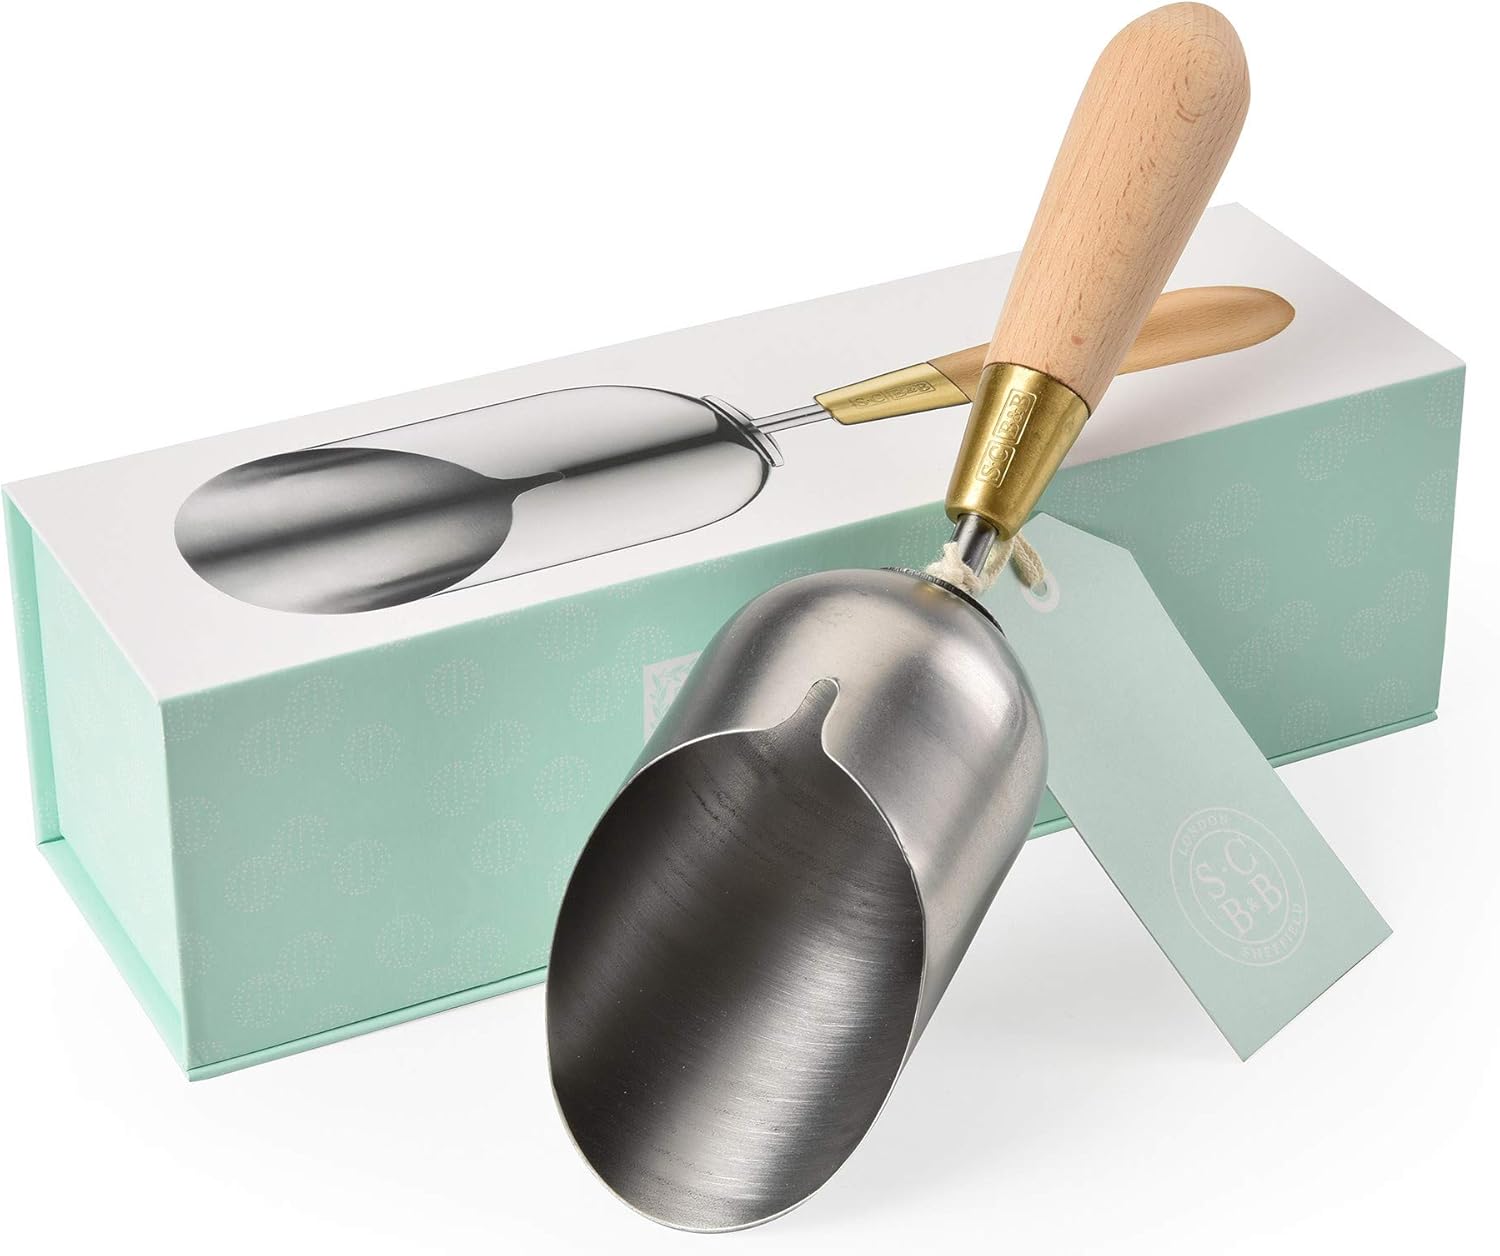
Pitched as a seedling widger and transplanting tool, this is a highly desirable potting mix scoop for compact pot-specific activity. Gorgeous country house style for containing and controlling all potting soil work, reducing spills and unwanted messes.
Don’t Forget: Feed Microbes and Plants
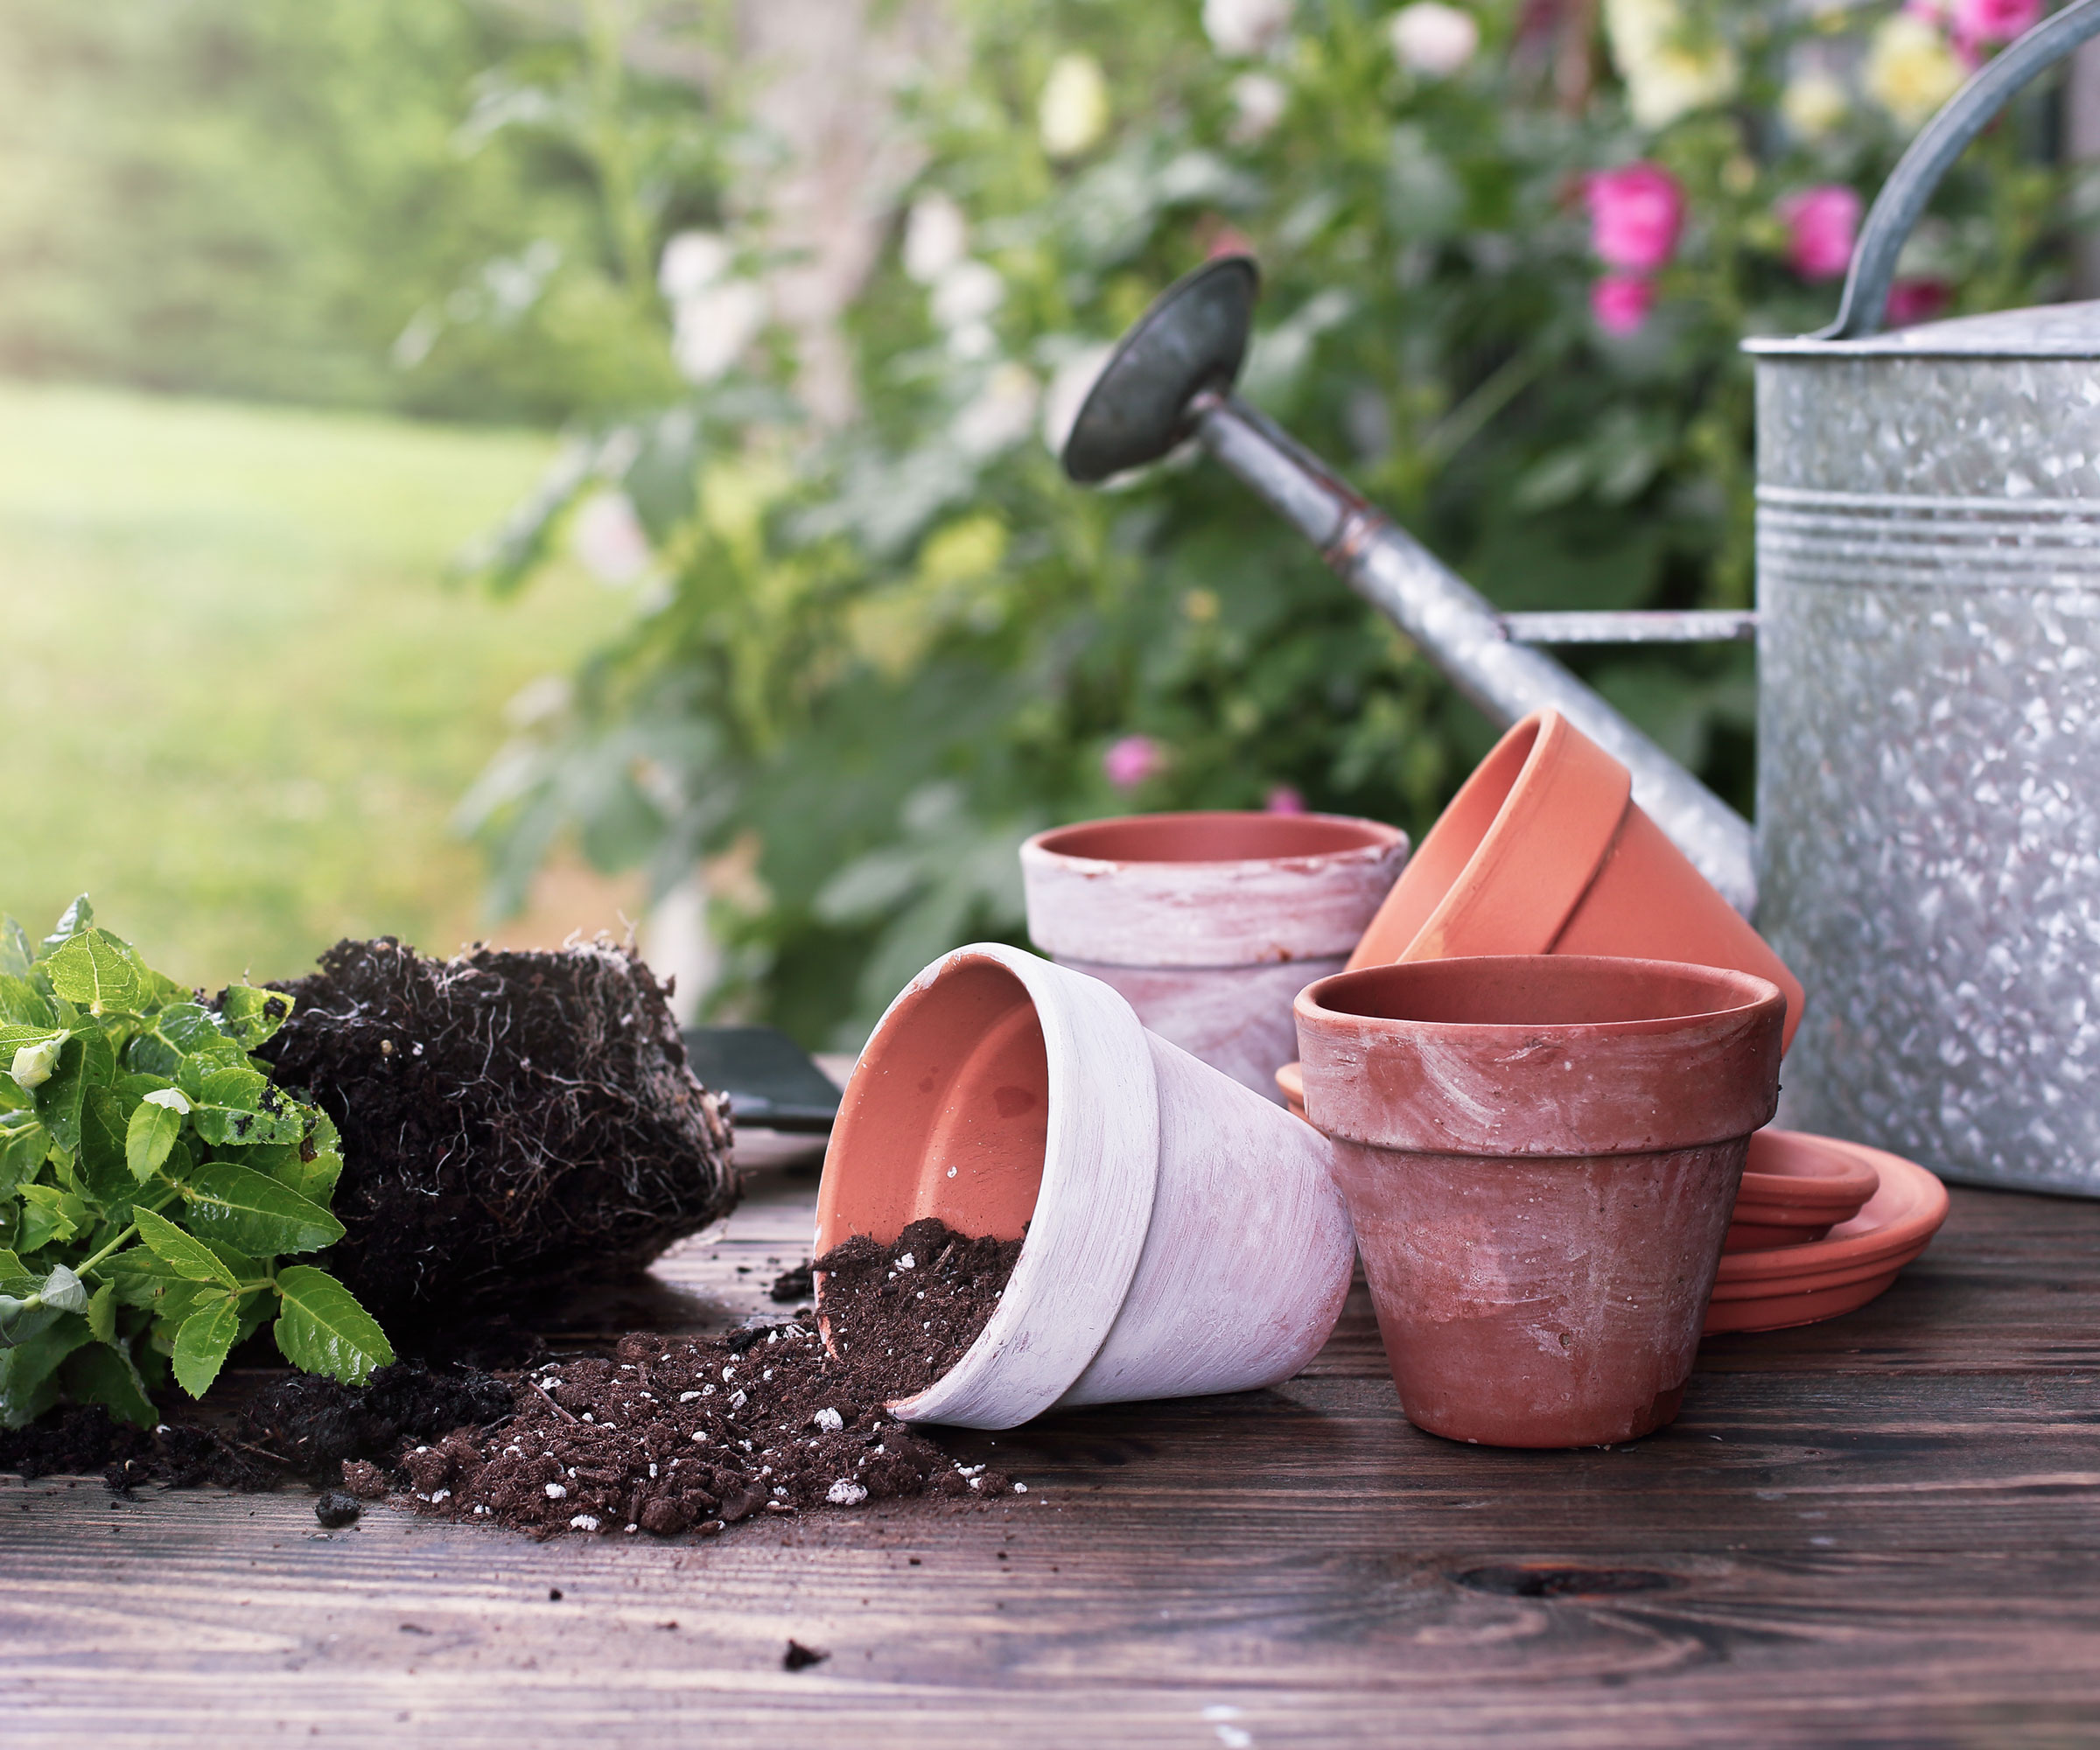
Potting soil that’s been round the block can quickly be revived. Just remember, while sterilizing is key for removing soil pathogens, you have to take steps to reintroduce beneficial microbes. Some homegrown compost or organic material, a handful of worm castings or some compost tea, and a microbial inoculant, are all great ways to replenish microbial life to the soil, to help boost root health and nutrient uptake.
Couple with a balanced, slow-release fertilizer, and use your revived, fluffy soil on hardy perennials and herbs rather than seedlings. It also helps to rotate between plant types, from flowers to herbs to greens, to offset potential nutrient imbalance. That’s all it takes to give tired old soil a second life. Do this, and you’re not only saving money – you’re supporting a more sustainable garden ecosystem that’s bursting with potential new growth, future blooms, and happy harvests.
Need more ideas for getting the most from your plants, and looking for the best seasonal expert advice delivered straight to your inbox? Sign up for the free Gardening Know How Newsletter!

Janey is a former assistant editor of the UK’s oldest gardening magazine, Amateur Gardening, where she worked for five years. For the last few years, she has also been writing and editing content for digital gardening brands GardeningEtc and Homes & Gardens. She’s taken part in a range of conservation and rewilding projects for the Royal Horticultural Society (RHS) and the British Trust for Conservation Volunteers (BTCV) as a way of exploring her horticultural horizons. She is currently undertaking her RHS Level 2 certificate in The Principles of Plant Growth and Development.
- Amy DraissDigital Community Manager