Chestnut Tree Propagation: Growing Chestnut Trees From Cuttings
A century ago, immense forests of American chestnut (Castanea dentata) covered the eastern United States. The tree, native to the United States, was attacked by a chestnut blight fungus in the 1930s, and most of the forests were destroyed. Today, scientists have developed new strains of American chestnut that resist blight, and the species is making a comeback. You can propagate these trees for your backyard. If you want to learn about chestnut tree propagation, and how to grow chestnut tree cuttings, read on.
Chestnut Tree Propagation
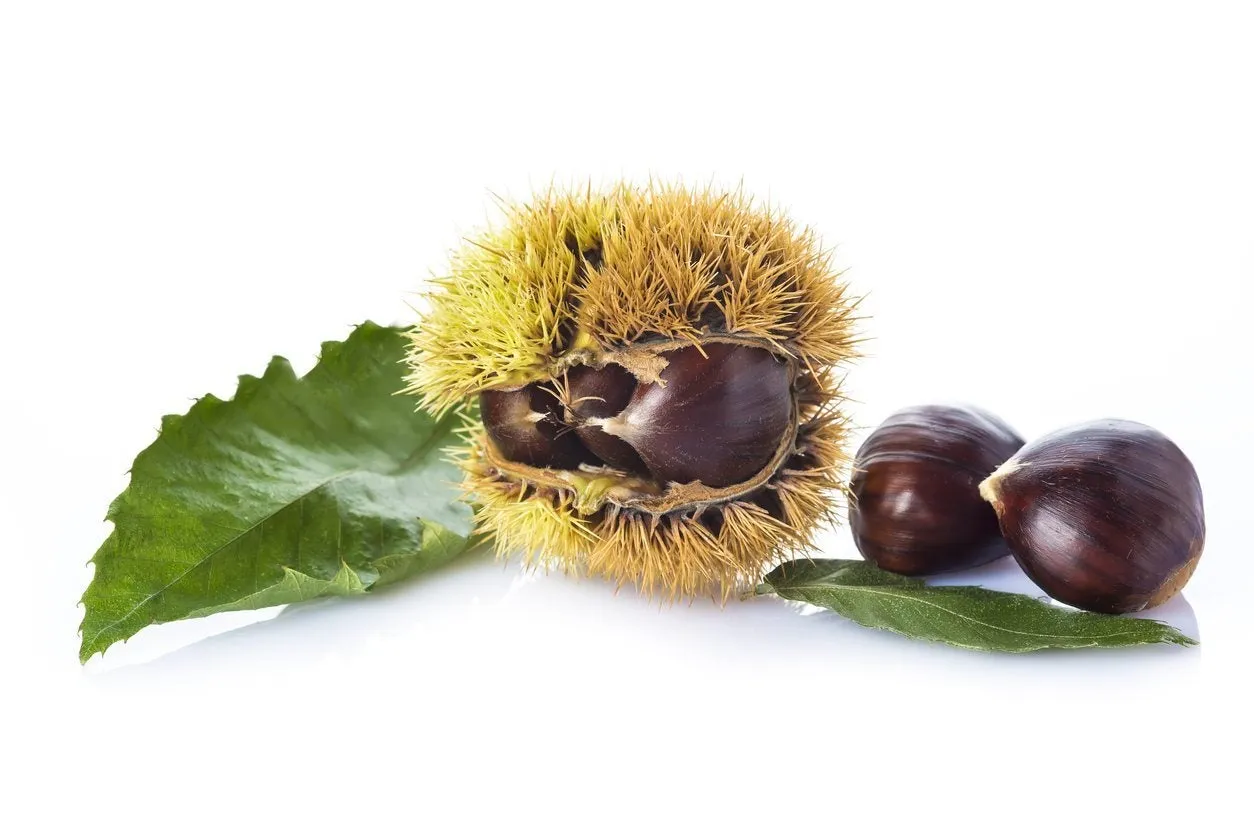
Chestnut tree propagation is not difficult. In the wild, these trees reproduce readily from the abundant crop of nuts they produce. Each shiny nut grows in a spiky casing. The casing falls to the ground and splits as the nut matures, releasing the nut. Direct seeding is the easiest way to do chestnut tree propagation. Up to 90% of the seeds germinate. Use healthy nuts from a mature tree over ten years old and plant them in the spring in a sunny site with well-draining soil. However, this is not the only way to grow new chestnuts. You can also start propagating chestnut cuttings. That way, you will be planting young seedlings.
Growing Chestnut Trees from Cuttings
Propagating chestnut cuttings is more difficult than direct planting chestnut seeds. When you start growing chestnut trees from cuttings, you snip off an appropriate piece of a chestnut tree branch, put it in moist soil, and wait for it to root. If you want to start growing chestnut trees from cuttings, find a young, healthy tree with strong greenwood. Use sterilized garden clippers to take a 6 to 10 inch (15-25 cm.) cutting from a terminal branch tip about as thick as a crayon. Slice off the bark from two sides of the cutting base, then dip the base in a root-promoting compound. Poke the lower half of the cutting into a moist mix of sand and peat in a planting container, then place the pot in a plastic bag and keep it in indirect light. Water the soil mix to keep it moist and mist it every other day until roots emerge. Then transplant it into a container with good potting soil. Continue watering. Transplant the trees to their permanent locations the following fall.
Sign up for the Gardening Know How newsletter today and receive a free copy of our e-book "How to Grow Delicious Tomatoes".

Teo Spengler is a master gardener and a docent at the San Francisco Botanical Garden, where she hosts public tours. She has studied horticulture and written about nature, trees, plants, and gardening for more than two decades, following a career as an attorney and legal writer. Her extended family includes some 30 houseplants and hundreds of outdoor plants, including 250 trees, which are her main passion. Spengler currently splits her life between San Francisco and the French Basque Country, though she was raised in Alaska, giving her experience of gardening in a range of climates.