Using Peanuts To Improve Soil – What Are Benefits Of Peanuts In Soil
Peanuts are legumes and, like all legumes, have the amazing ability to fix valuable nitrogen into the soil. Generally speaking, the higher the protein content of a plant, the more nitrogen will return to the soil, and peanuts are packed with protein, plus they’re delicious, so peanut cover crops are a win/win. Not only are you improving the soil with peanut planting, but you will end up with a tasty, nutrient rich snack for the family. So how exactly do peanut plants improve soil fertility and what are the benefits of peanuts in soil? Let’s learn more.
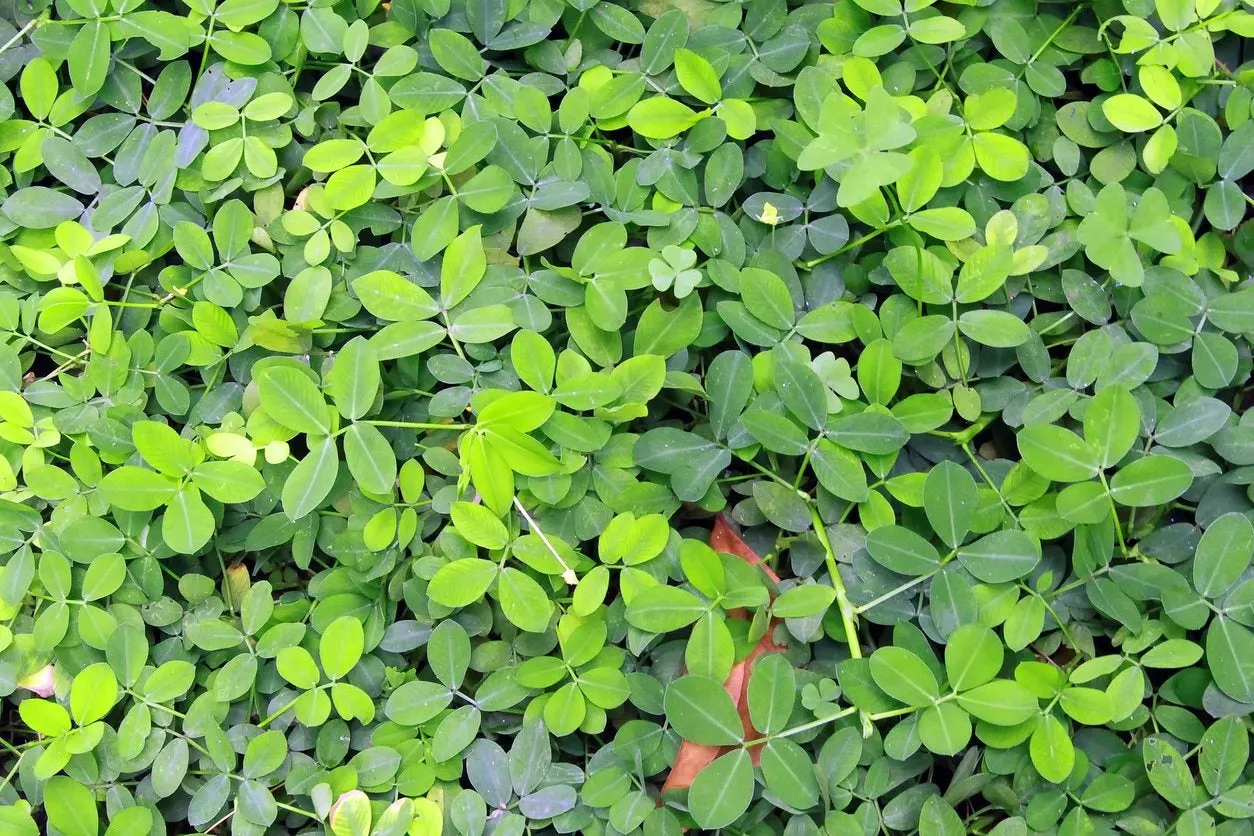
How Peanut Plants Improve Soil Fertility
Nitrogen is a key ingredient in the formation of soil organic matter. Peanut cover crops release nitrogen into the soil as the plant decomposes. Microorganisms decompose the plant and release the nitrogen into the soil as they die. Most crop residue contains far more carbon than nitrogen and soil bacteria need both. Improving the soil with peanut planting allows around 2/3 of the fixed nitrogen to be left in the soil, which is then available to the following year’s crops. Using peanuts to improve soil not only adds nitrogen into the soil; there are additional benefits of peanuts in soil such as:
- increasing the organic matter
- improving soil porosity
- recycling nutrients
- improving soil structure or tilth
- decreasing soil pH
- diversifying beneficial microorganisms
- breaking up cycles of disease and pests
So, as you can see, using peanuts to improve soil has a multitude of benefits to the gardener.

How to Plant Peanut Cover Crops
While you could just toss some peanut seeds out into the garden to boost their nitrogen fixing capacity, it is best to inoculate the seeds with Rhizobium bacteria, which are available in powdered form. One half pound (227 g.) bag is enough for 100 pounds (45 kg.) of peanut seed, which is more than enough for the average home garden. Pour the peanut seeds into a bucket prior to planting. Moisten them with non-chlorinated water. Stir the seed to make sure it is evenly moist. Sprinkle the inoculants over the seeds and stir to coat the seeds thoroughly. Don’t worry about adding too much, it won’t harm the seeds. When all of the seeds have turned black, they have been inoculated. If some seeds are still pale, add more inoculants and keep stirring. Once the seeds have been treated, prep the planting area by laying 4 inches (10 cm.) of compost on the surface. Work the compost into the soil down to a depth of about 6 inches (15 cm.). Sow the seeds 3 inches (8 cm.) deep, 8 inches (20 cm.) apart and within rows that are 12 to 24 inches (31-61 cm.) apart. When the peanut seedlings are several inches (8 cm.) high, thin the plants to 18 inches (46 cm.) apart by cutting the weakest plants off at the base with shears. Mound soil around the base of the peanut plants when they are about a foot tall (31 cm.) to allow the pods to develop and spread underground. Mulch between the mounds to conserve water and retard weeds. Water the plants with an inch (2.5 cm.) of water per week depending upon weather conditions. In 120 to 130 days, your peanuts should be ready to harvest; the leaves will be yellow. Lift the plants from the bed with a garden fork. Store the entire plant in a dry, well aerated room for two weeks or so before removing the peanuts from the plants. Return the remainder of the peanut plants to the garden and till in well to reap the benefits of the nitrogen rich plants back into the soil.
