If you’re an avid gardener and want to extend your growing season, you might be thinking about building a cold frame. Cold frames can be purchased or made from all sorts of reclaimed materials. A particularly easy cold frame design is a hay bale cold frame. Read on to learn how to make a cheap cold frame.
What is a Cold Frame?
A cold frame is in essence a small greenhouse. It may be a temporary or permanent structure in the garden. The goal of a cold frame is twofold.
The first reason for a cold frame is to harden off plants. It can be somewhat challenging to shuttle new plants from a protected area outside to harden them off prior to transplant. A cold frame will protect the seedlings from wind and sun allowing them to slowly acclimate to outdoor conditions.
Cold frames can also be used to grow crops, often a fall secondary crop or early spring crop. Much cheaper than a greenhouse, a cold frame also has the capacity to modulate temperatures using passive and active heat sources.
Where to Put a Cold Frame
“Location, location, location!” as the saying goes. It is important to position your cold frame(s) in full sun with a nearby water source and out of the frigid north winds. An area on the southern side (or northern if you live in the Southern Hemisphere) of your house or garage is ideal as these buildings are not only in full sun but will radiate heat.
About A DIY Straw Bale Cold Frame
Cold frames can be extremely complex. Some people include thermal mass and ventilation systems, and their cold frames may be almost as large as a greenhouse; and as expensive.
If you are looking for a simpler approach, as well as less expensive, a DIY straw bale cold frame is the design for you.
Sign up for the Gardening Know How newsletter today and receive a free copy of our e-book "How to Grow Delicious Tomatoes".
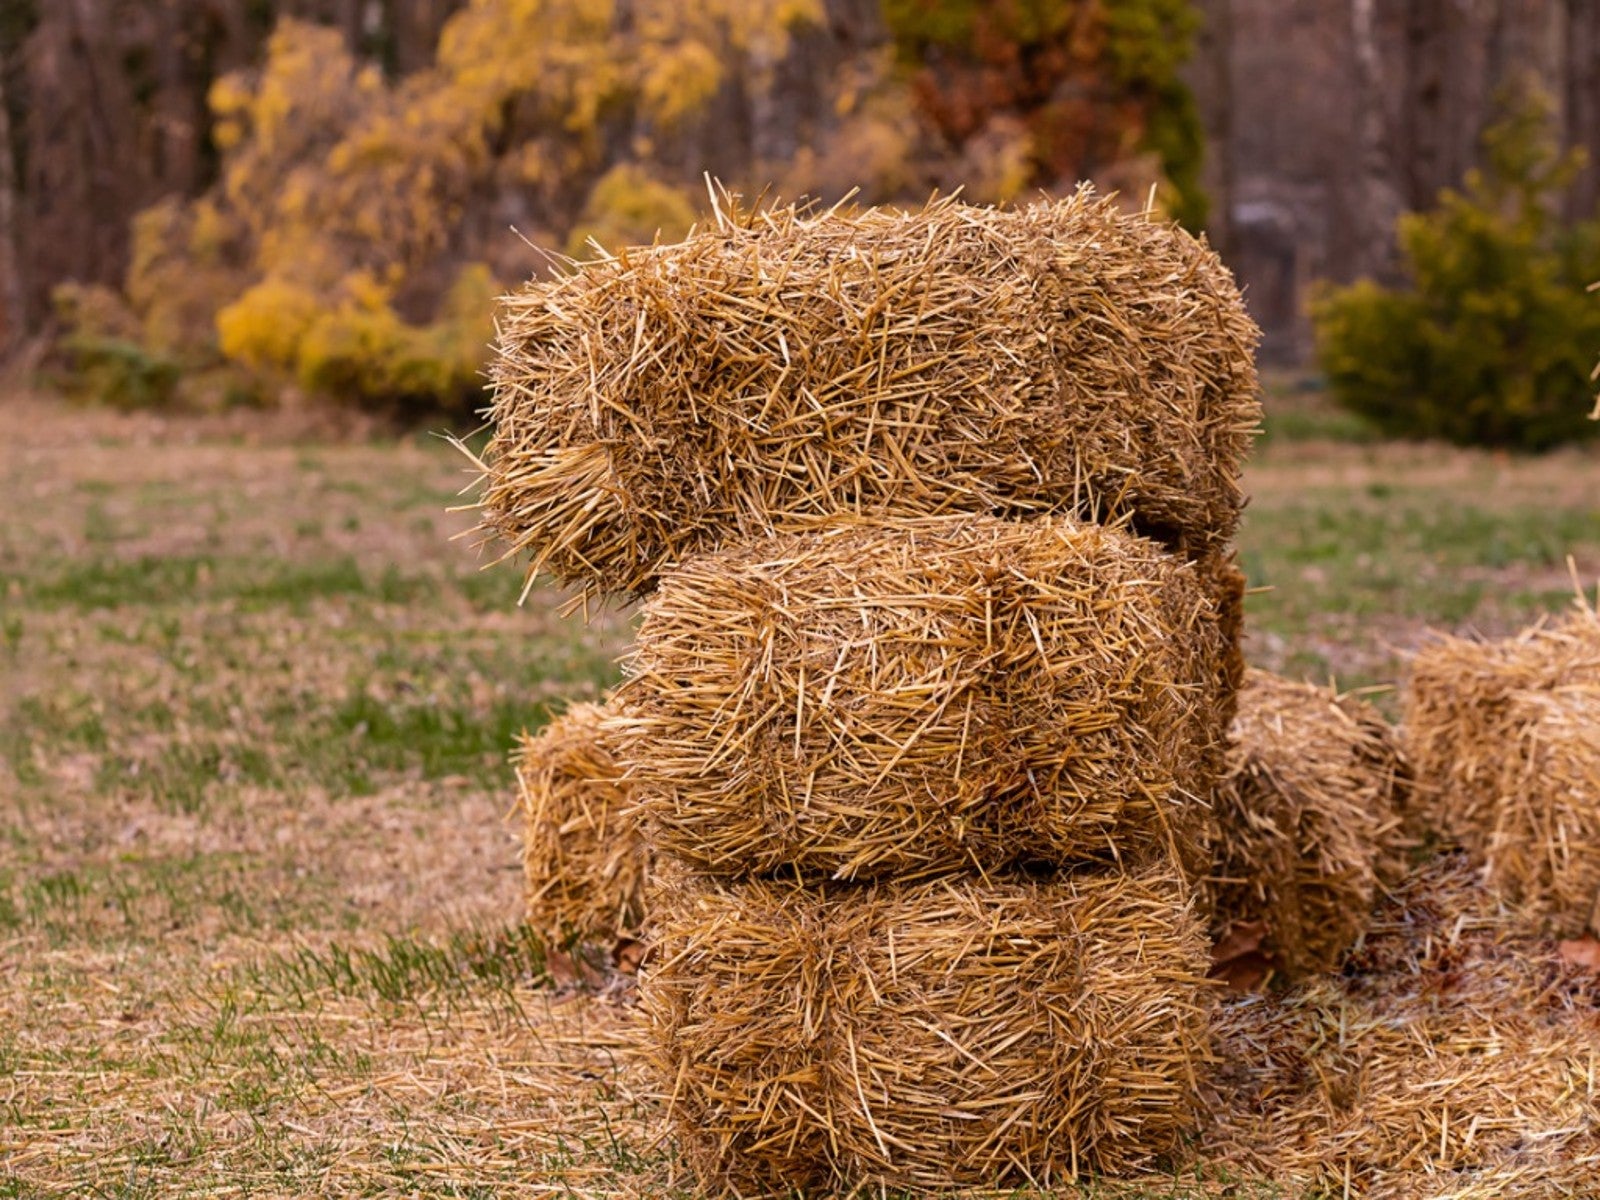
A straw bale cold frame really can’t be any simpler. A basic design is simply six 2-string straw bales arranged in a square and then covered to protect the plants. How you cover the bales of straw determines how simple the project becomes.
How to Build a Straw Bale Cold Frame
First you need to select your southern exposure area. Depending upon your topography you may need to level off the area prior to placing the bales. The size depends on the size of bale you acquire. Bales come in two sizes called 2-strings or 3-strings: 18 by 36 inches (46 x 91 cm.) and 48 by 15 to 16 inches (1 m. x 41 cm.). Most people use the first size which is also 14 inches (36 cm.) high.
The basic design for a straw bale cold frame is to place six 2-string straw bales to form a 6 foot (2 m.) square with a 3 foot (just under a meter) opening in the center for plants.
Now you need to cover the cold frame. Some people use a tarp or even old blankets that can be removed during the day but that isn’t entirely convenient when the weather is drizzly. A better bet is to get a hold of some old windows that can be laid across the top of the hay bales.
The windows can stay closed at night to retain heat. In the morning they can either be removed or canted to allow sun and air to circulate around the plants. Window covering can make the inside of this DIY cold frame five to ten degrees warmer than outside.
You will need to keep an eye on your cold frame to monitor the temperature. Ideal temperatures should be 50 to 70 degrees F. (10-21 C.) for cool weather plants and 60 to 80 degrees F. (16-27 C.) for warm season crops. Nighttime temperatures should drop no more than 10 degrees from daytime temps.
That’s it. Easy to set up and tear down, low cost, and at the end of the season you can recycle the straw in the compost bed or use it as mulch your vegetable beds.

Amy Grant has been gardening for 30 years and writing for 15. A professional chef and caterer, Amy's area of expertise is culinary gardening.
