5 Creative Ways To Use Leftover Seed – Don't Throw It Away!
If you weren't able to plant all of your seeds this year, then try these creative ways to use them before they expire.

Laura Walters
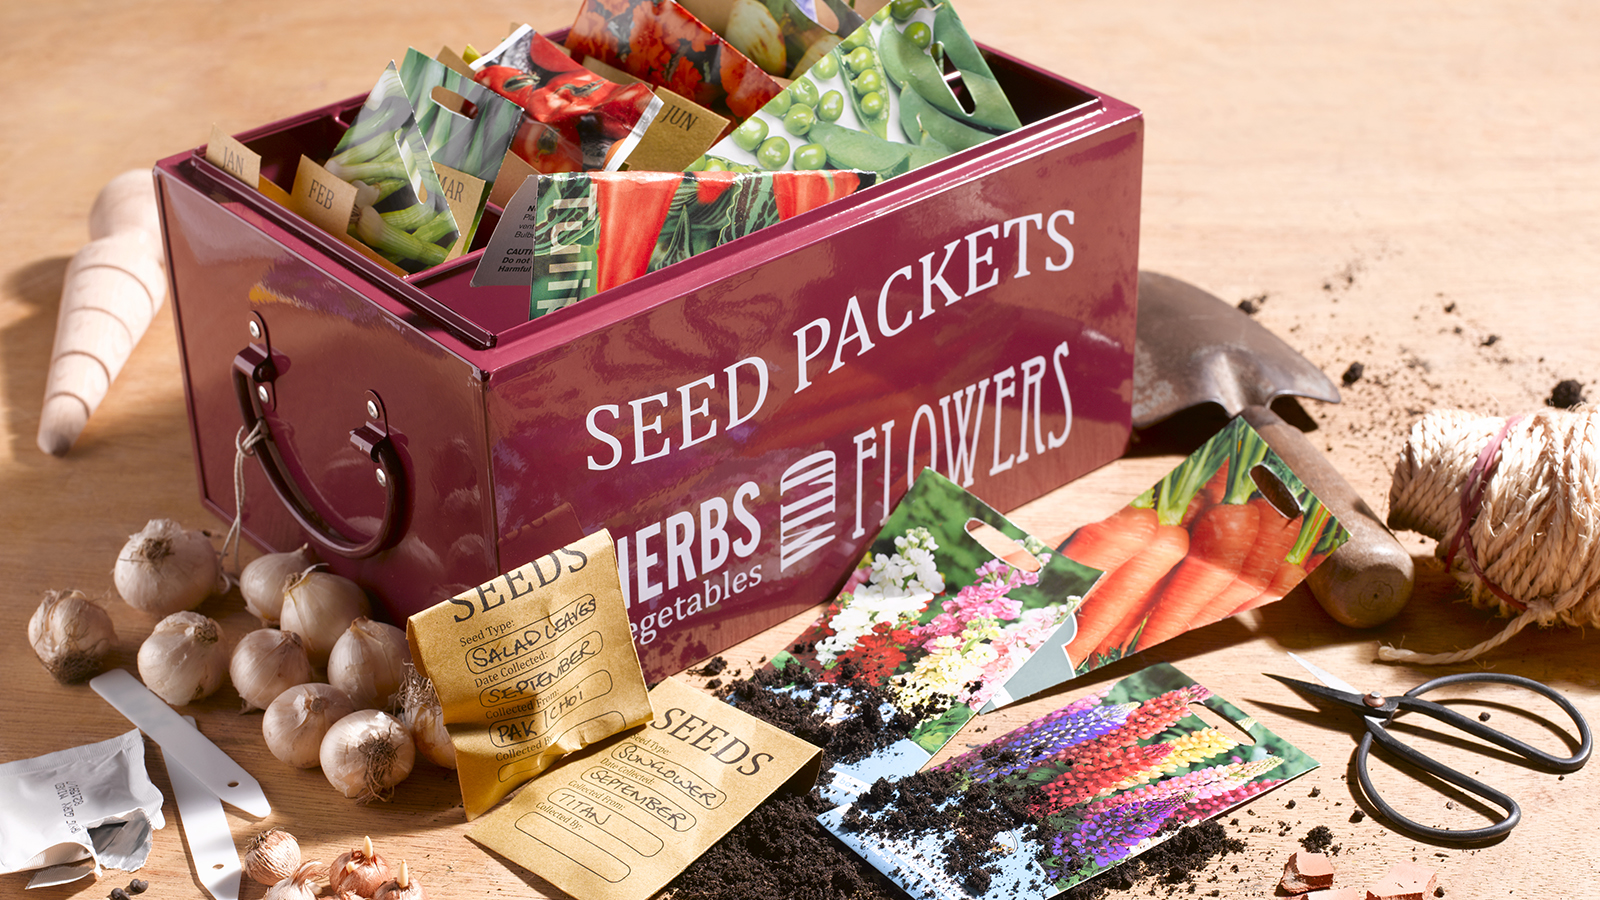
Every gardener knows the frustration of having too much seed left over at the end of the growing season. All that wasted potential sitting in half-empty packets, that you have neither the time nor space to use.
Storing seeds correctly will extend the life of many varieties, even beyond the expiry date. But not all seeds can be preserved until the following year. Many gardeners do not want to risk planting old seeds that may never germinate.
What Can I Do with Leftover Seeds?
Leftover seed can be shared with others in the local community. Planning a seed swap is a great way to do this, or you could donate it to a local seed library.
Alternatively, there are some fantastic ways to use up leftover seed. Not only will these creative ideas keep you busy, but they are fun activities for kids, too.
1. Make Seed Bombs
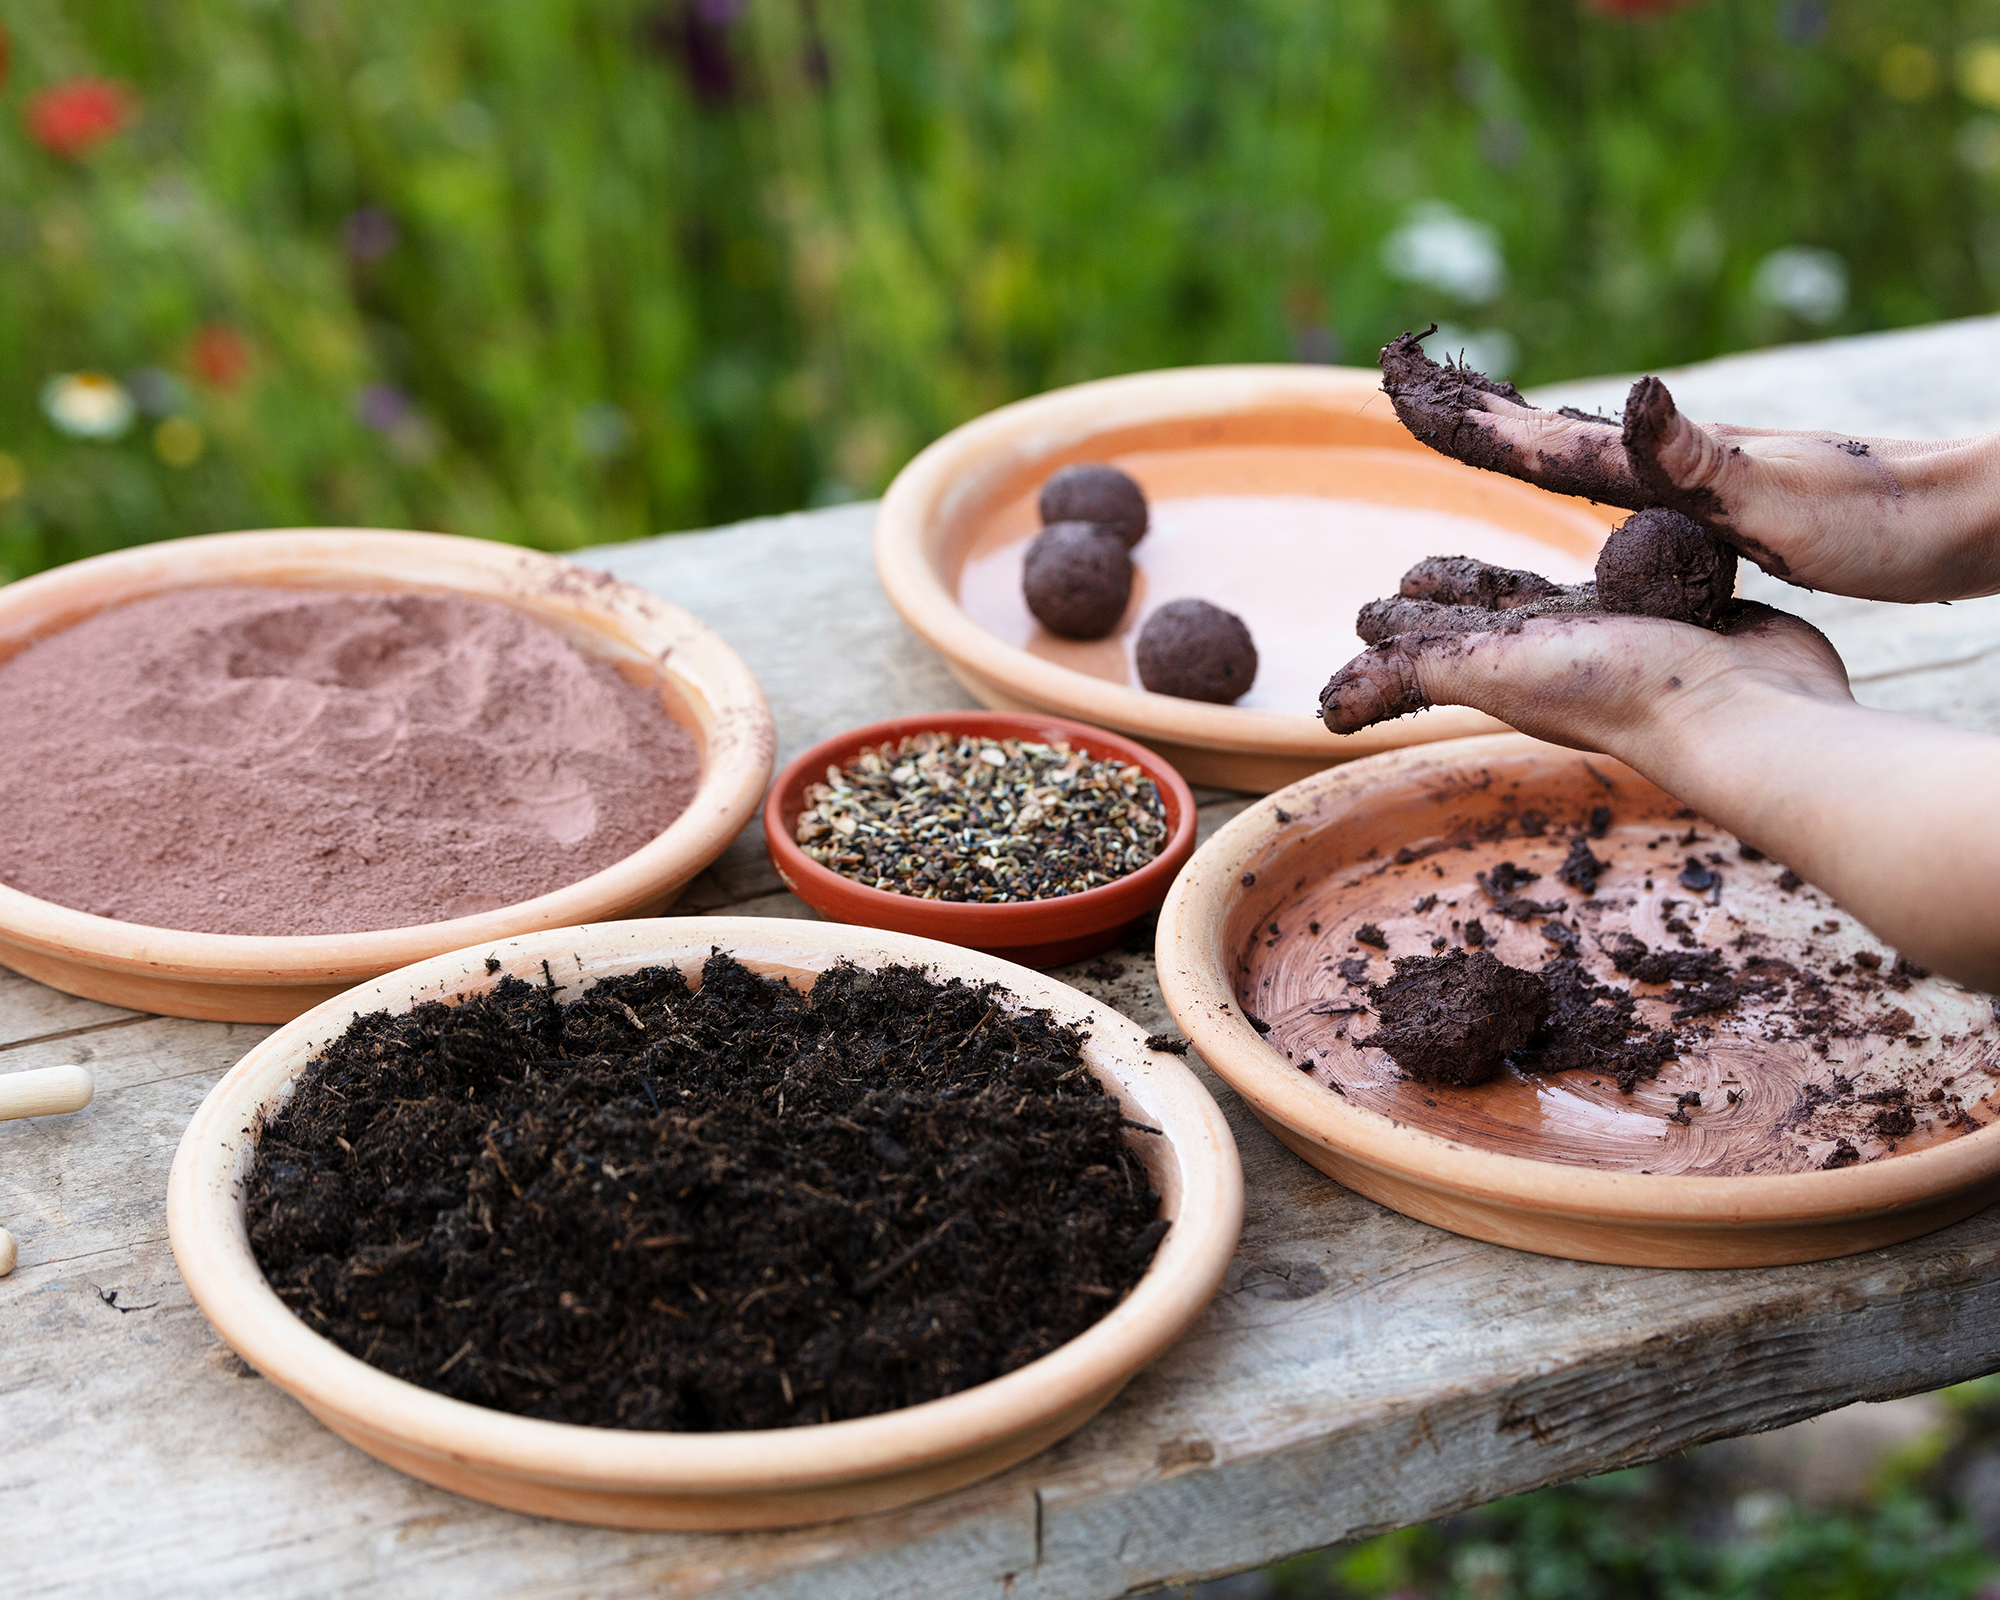
Seed bombs are such a fun way to use up leftover seed, and can be given to friends and neighbors as gifts.
Either use an existing seed mix, or get creative with your own custom blend. The great thing about making a mix is that it won't matter if a portion of the seeds don’t germinate.
Fast-growing annuals, such as cosmos, zinnias, and poppies, are ideal, but you can even make vegetable and salad seed bombs. As long as you don’t choose an invasive species, you can have fun and experiment.
Sign up for the Gardening Know How newsletter today and receive a free copy of our e-book "How to Grow Delicious Tomatoes".
It’s easy to make seed bombs using powdered clay and compost:
- In a bucket, mix together 1 cup of seeds with 2-3 cups of powdered clay and 5 cups of compost.
- Gradually add some water and mix with your hands until the mixture begins to stick together.
- Use your hands to roll the mix into firm balls.
- Leave the balls to dry in a warm spot for a day or two.
- Finally, have fun throwing your seed bombs where you want them to grow.
- If giving the seed bombs as gifts, wrap them up in small squares of fabric tied with garden twine or ribbon.
Bear in mind that making seed bombs is not a task that can be carried out at any time of year – the right seed bomb sowing time makes a big difference as to whether the seeds will germinate successfully.
Most annuals are best sown in the spring, after the frosts have passed. However, many perennials benefit from being sown in the fall. Check the seed packet information for sowing times before making your mix, so you can group seeds together by sowing time.
2. Grow Microgreens
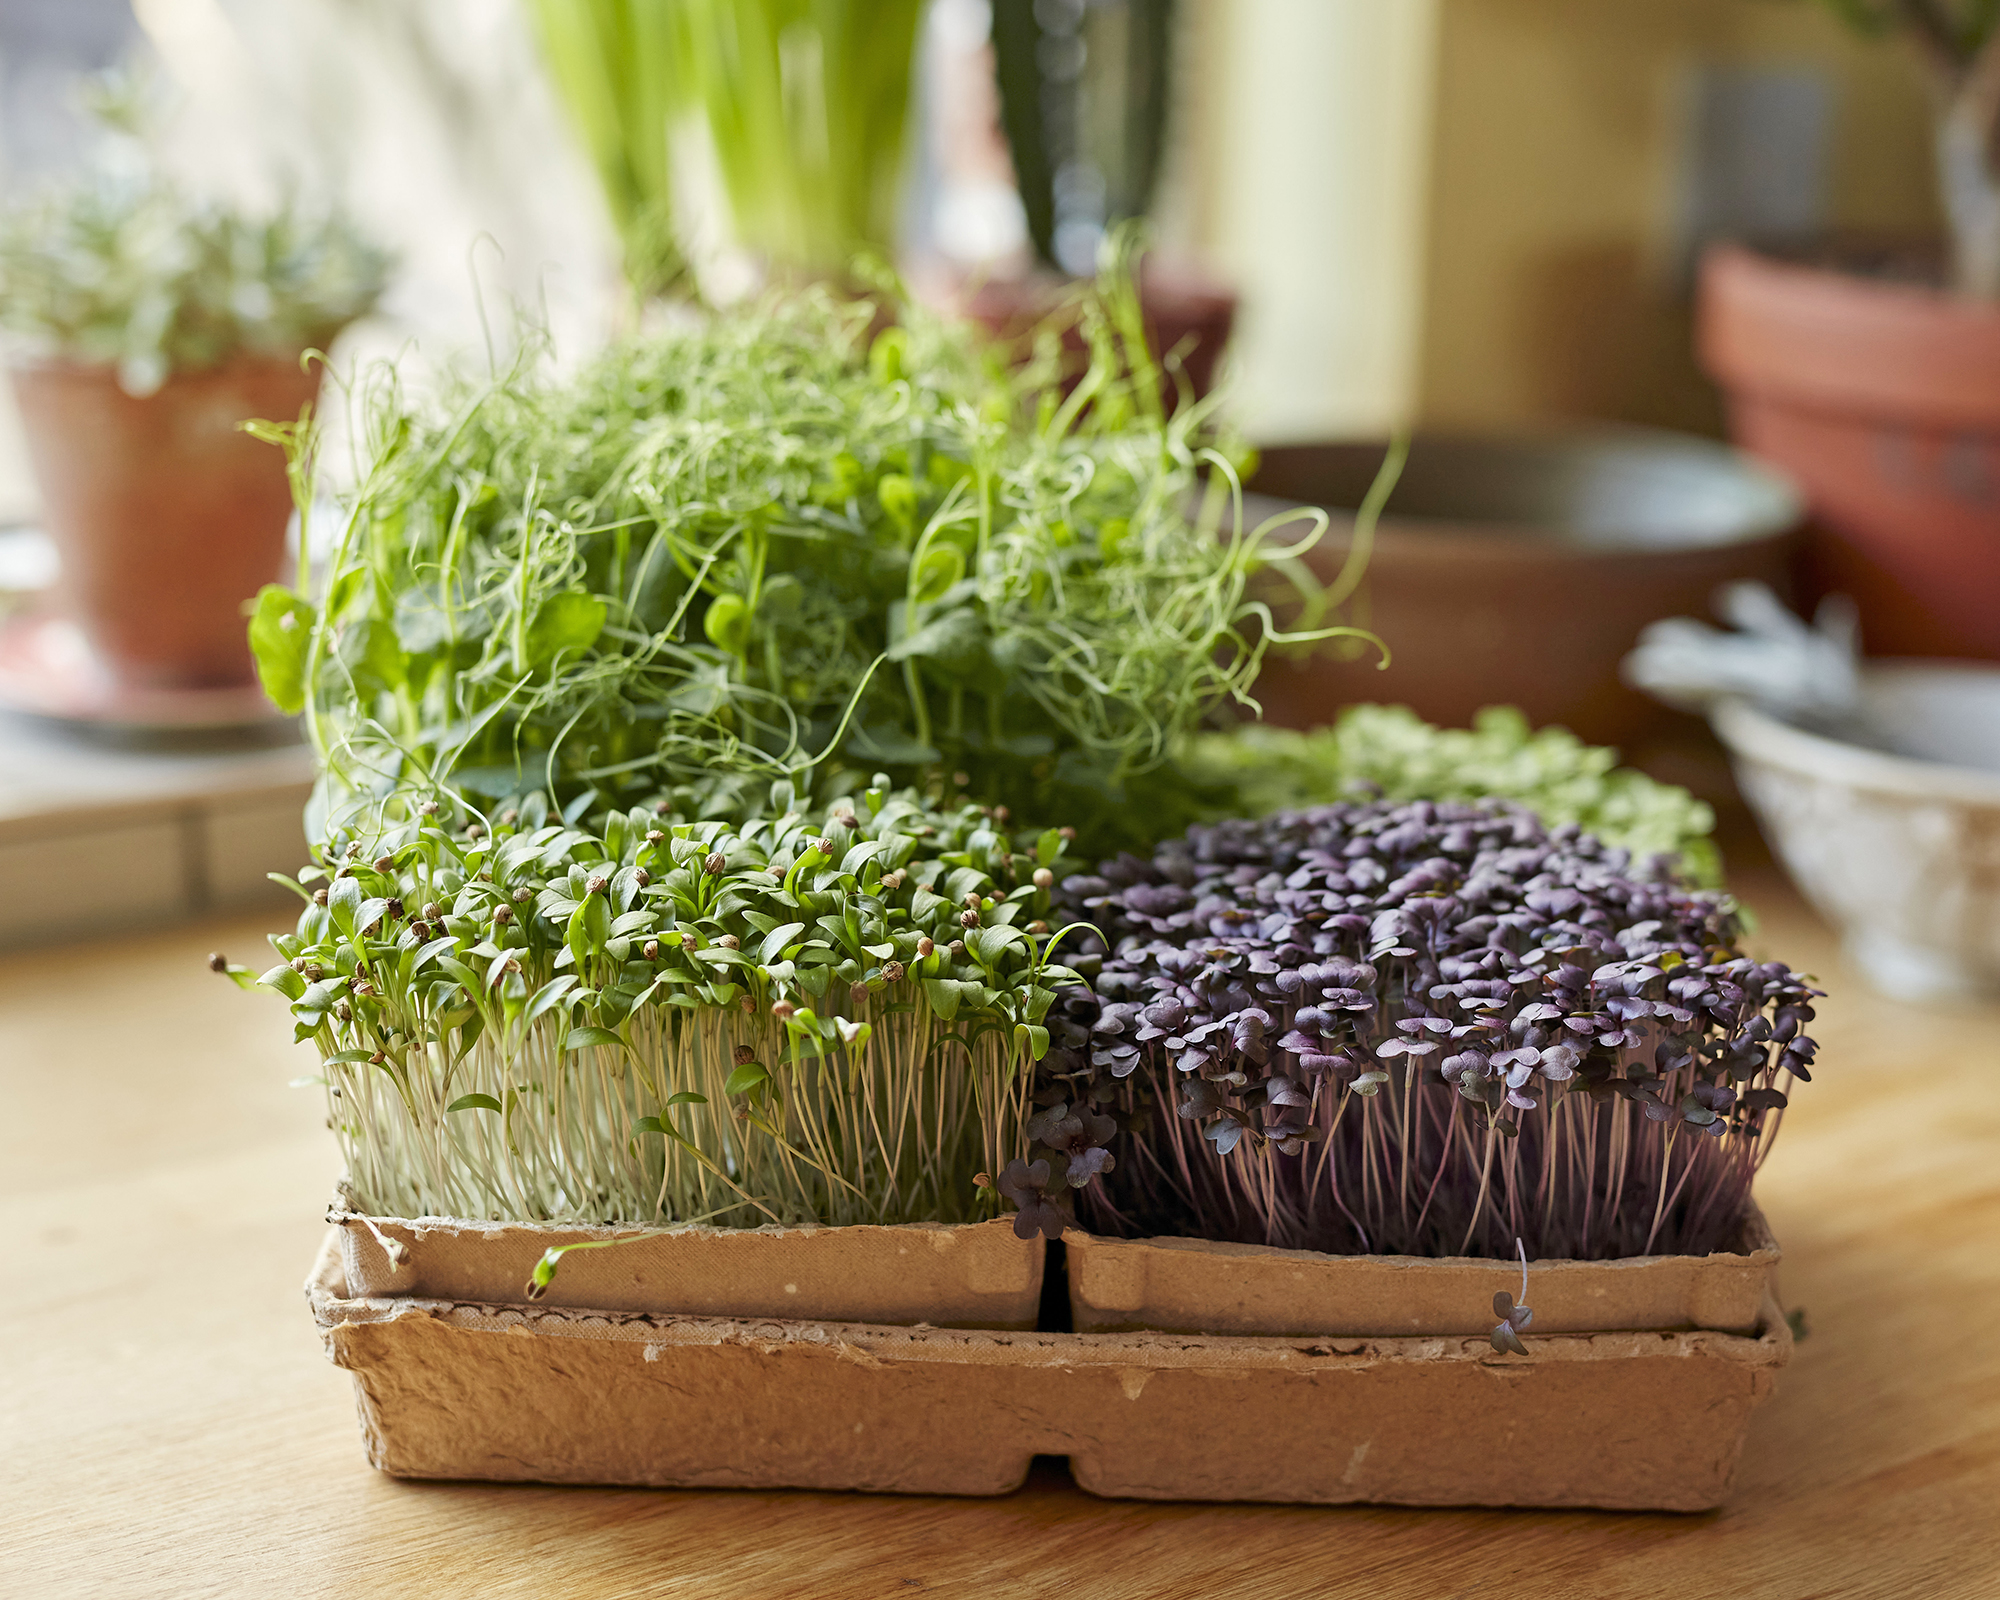
Microgreens are edible plants that are harvested while they are still young seedlings. They are widely used to garnish dishes, or to top off salads and sandwiches, and are expensive to buy at the grocery store.
Not only are microgreens packed with flavor, but they are a prized superfood brimming with health benefits. Crop seedlings are even more nutrient dense than the fully grown equivalent.
Growing microgreens at home couldn’t be easier, and is a fantastic way to use up leftover seeds that would otherwise go to waste. You can use just one type of seed or a mix of greens with similar growing times.
- Fill a seed tray with fine compost, and lightly firm it down.
- Sow your seeds thickly across the compost. They should be almost touching each other, but not piled up.
- Lightly cover with compost then water with a light flow until damp.
- Position the tray on a bright windowsill. If desired, you can add a plastic lid or bag to your tray to retain moisture and speed up the process.
- Check on the microgreens daily to ensure the compost hasn't dried out.
- You can harvest your seedlings with scissors when they are 1-2” tall, which could take anything from a few days to a few weeks.
Salad leaves are the easiest microgreens to grow, but also try herbs such as basil, cilantro, and parsley, or vegetables such as broccoli, carrots, beets, corn, and peas. Suitable flowers include calendula, nasturtium, and sunflowers.
3. Use Old Seeds to Make Art
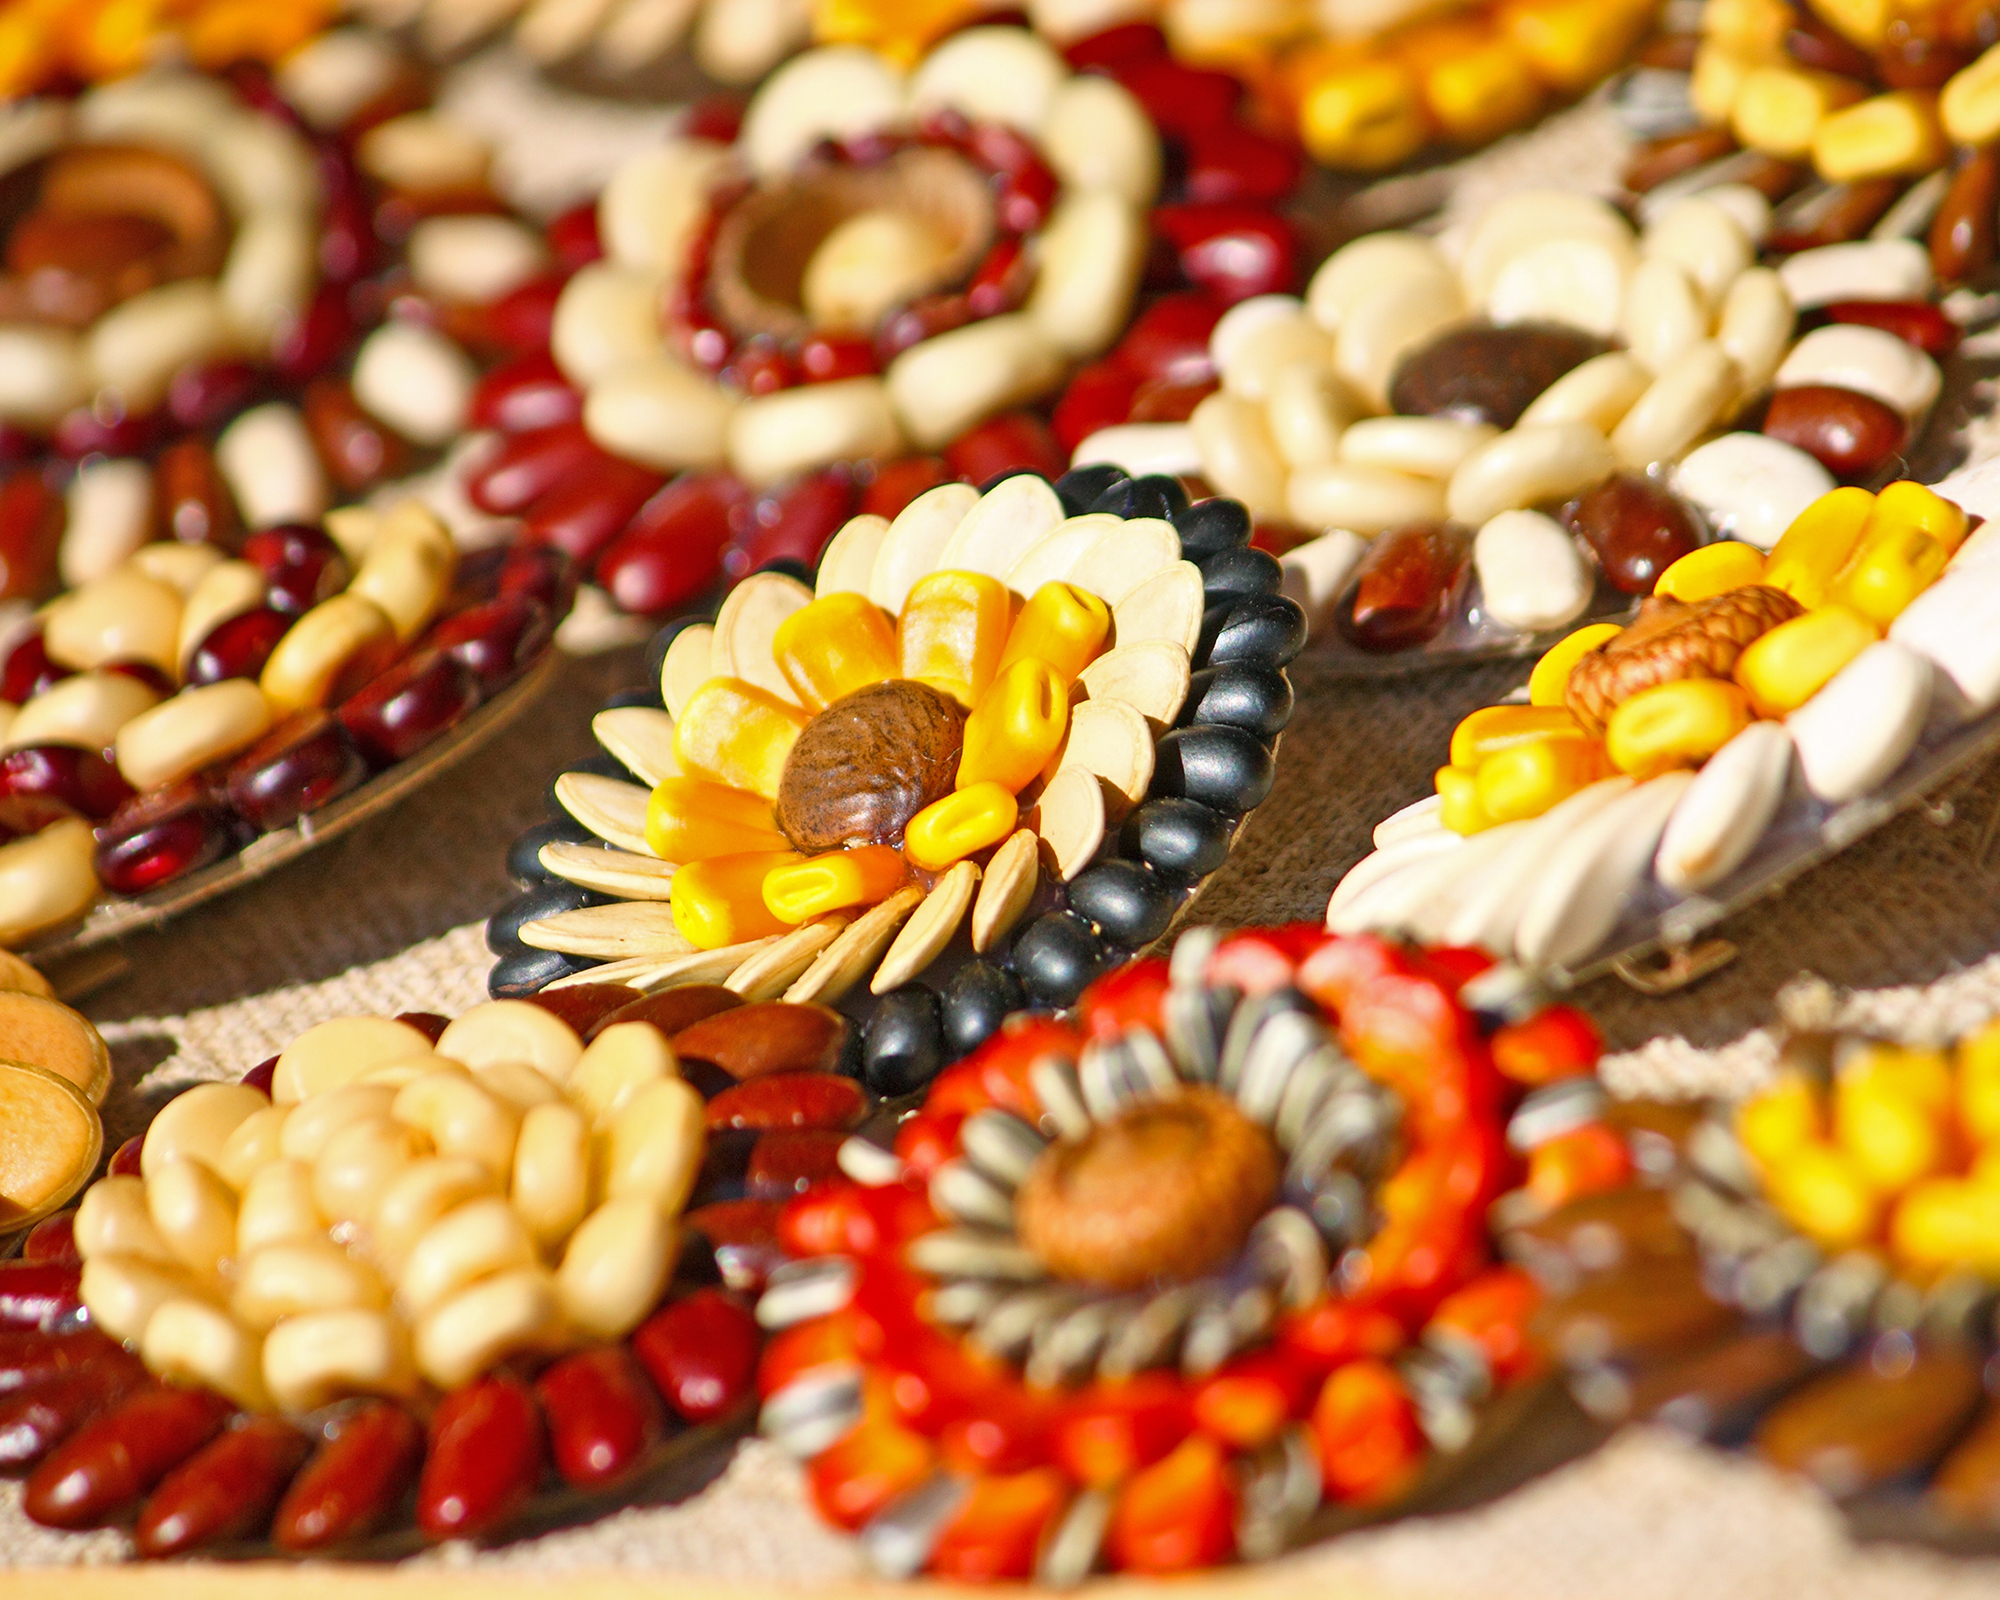
If you have expired seeds that won't germinate, then use them to make art and decorations – it's a great way to be creative, and kids will love getting involved too.
This Instagram post shows seeds used to make a hen, though it would also be clever to make pictures of flowers using seeds from those specific varieties. However, there are no limits to how elaborate your creation can be – the Minnesota State Fair even hosts an annual Crop Art exhibition, featuring works ranging from recreated album covers to the Mona Lisa.
To make a seed artwork, first draw a pencil outline of the image you want to create. Then, use glue to fill in an area that you want covered with a particular seed. Sprinkle over the seeds, letting the excess fall away.
4. Make Suet Balls for Birds
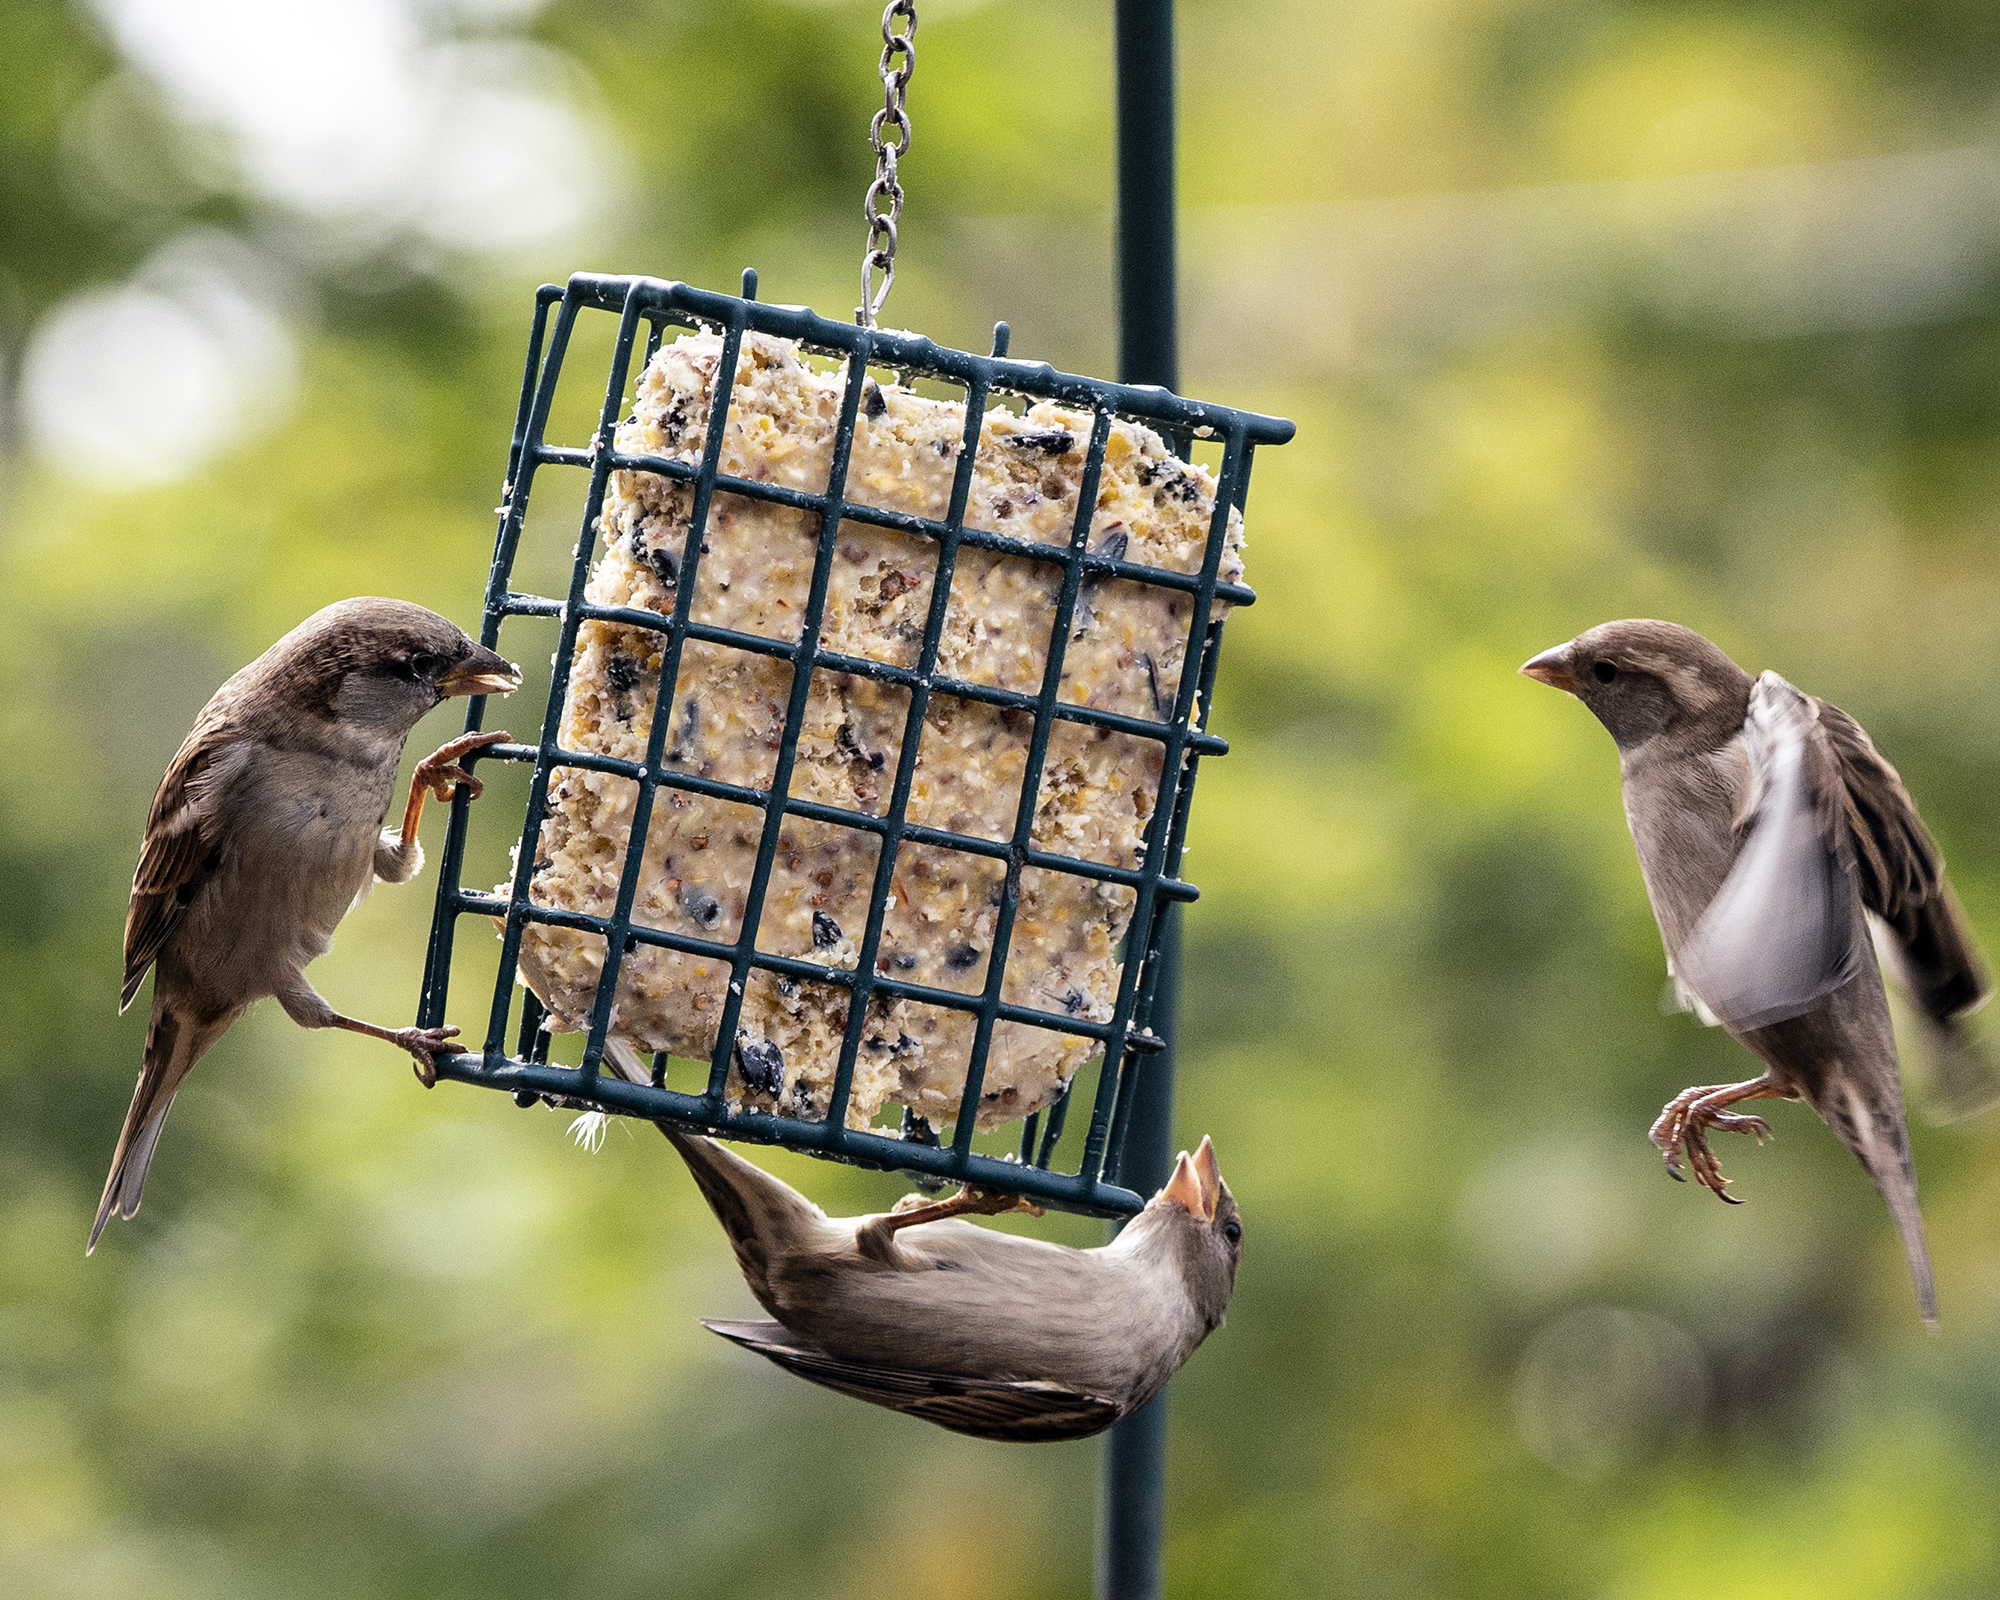
Feeding backyard birds is such a rewarding activity. Birds will eat a lot of seed varieties aside from the common types found in commercially available feed. So if you have a lot of leftover seed, then consider making some suet balls for the birds to feast on.
You must always check that the seeds you are using are good for birds – notable exceptions include apple seeds and fruit pits – but you will find that many vegetable and flower seeds are enjoyed by feathered friends.
Consider adding some peanuts, dried fruits and mealworms to the mix to make sure there is plenty for them to enjoy. However, avoid padding out your suet balls with fillers such as wheat – this is one of the most common bird-feeding mistakes.
- To make suet balls, you need one part seed mix to two parts fat – instead of suet you could use lard or coconut oil.
- The fat should be at room temperature and cut into small pieces, but you do not need to melt it.
- Mix all the ingredients together and combine with your hands, squeezing until it is all well combined.
- Then, shape your mixture into balls or blocks and refrigerate to set before adding to feeders.
- Alternatively, you can fill coconut shell halves with your mixture.
5. Give Them as Gifts with Your Own Seed Packet Design
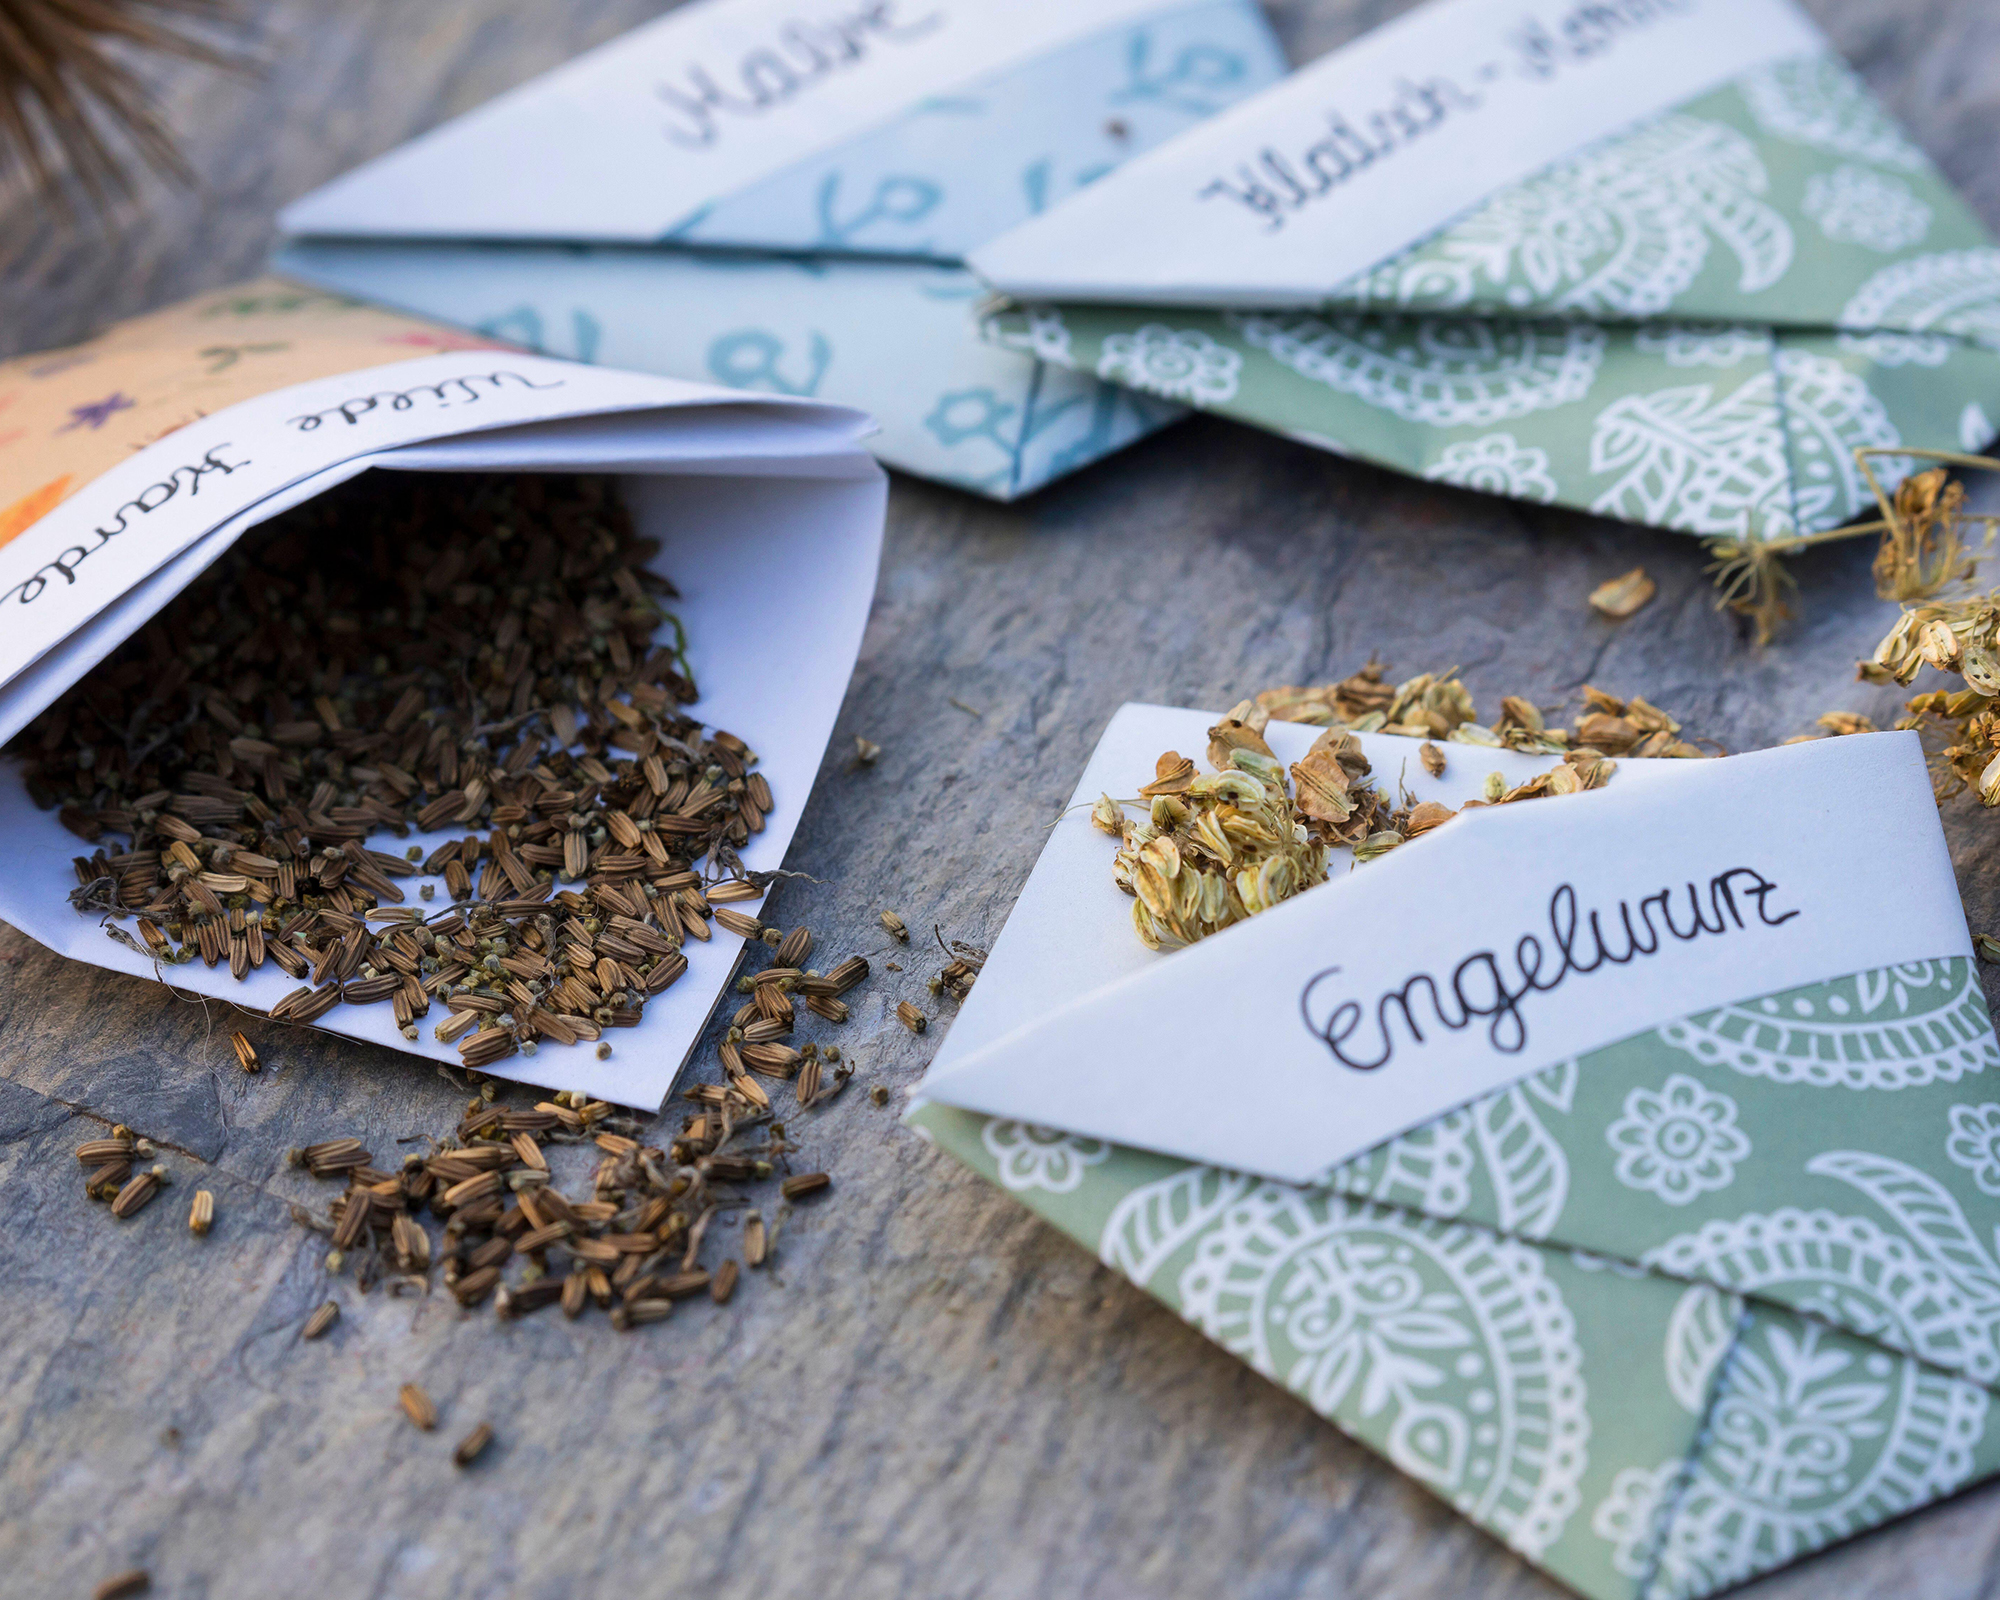
Making your own seed packets is a particularly nice idea if you have harvested garden seeds. However, you could also make your own bespoke seed mix from leftover packets of commercial seed.
Seed packets are just one of many creative seed storage ideas, and are inexpensive and fun to make. Use patterned craft paper for a decorative design, or simple brown paper envelopes tied with colorful string.
- To make a folded seed packet, start with a square piece of paper. Fold it in half diagonally to make a triangle shape, then position it with the longest side facing you.
- Fold the bottom right corner across so the point meets the opposite side (around halfway down), then fold the bottom left side across the top. You should now have a pentagon shape.
- Fold the top front triangle down and tuck it into the top of the pocket you created in the previous step. Your envelope is now ready for filling.
- Once you have added your seeds, fold the back top triangle down and affix with tape.
- Before storing seeds, it is essential that they are dried out or they could rot.

Melanie is an experienced gardener and has worked in homes and gardens media for over 20 years. She previously served as Editor on Period Living magazine, and worked for Homes & Gardens, Gardening Etc, Real Homes, and Homebuilding & Renovating. Melanie has spent the last few years transforming her own garden, which is constantly evolving as a work in progress. She is also a passionate organic home grower, having experimented with almost every type of vegetable at some point. In her home, Melanie tends to an extensive houseplant collection and is particularly fond of orchids.
- Laura WaltersContent Editor