What Is A French Drain? Information On Installing French Drains In Landscapes

Caroline Bloomfield
Gardening requires water, but for many homeowners, excess water and poor drainage can be a major issue. Pooling water after heavy periods of rain can cause serious damage to homes, as well as landscaping. Poorly draining water in yards can promote yellowing of lawns, a scourge of moss, and can even cause tree roots to begin to rot. Poor drainage can ultimately affect the foundation of a home or building causing extensive damage, but with careful planning, there are ways to divert water away from yards and homes.
One of the more common methods to divert and move water is to build a French drain. Read on to learn what a French drain is and how to build one.
What Are French Drains Used For?
French drain systems can be installed to help divert excess water away from homes or low areas in the landscape. These underground “ditches” contain perforated pipe and gravel that gently slope and allow water to freely drain away to ditches, retention ponds, storm drains, or rain gardens.

Installing a traditional French drain is relatively simple, depending on the size of the project and the level of your construction expertise. If the project is large, you may want to hire a professional to be sure the installation goes smoothly with no unintended damage, and that the result is the well-drained area you’re hoping for.
First Steps
The first best step always is to call the 811 “Call Before You Dig” national or state hotline. It’s important to know what’s under the ground level of your project. Utility, cable, or water lines could be drastically affected by not making this call, and it could cost you hundreds of dollars in reparations. If in a neighborhood, you may also want to be sure you’re not impinging on property or causing problems for your neighbors.
Next Steps
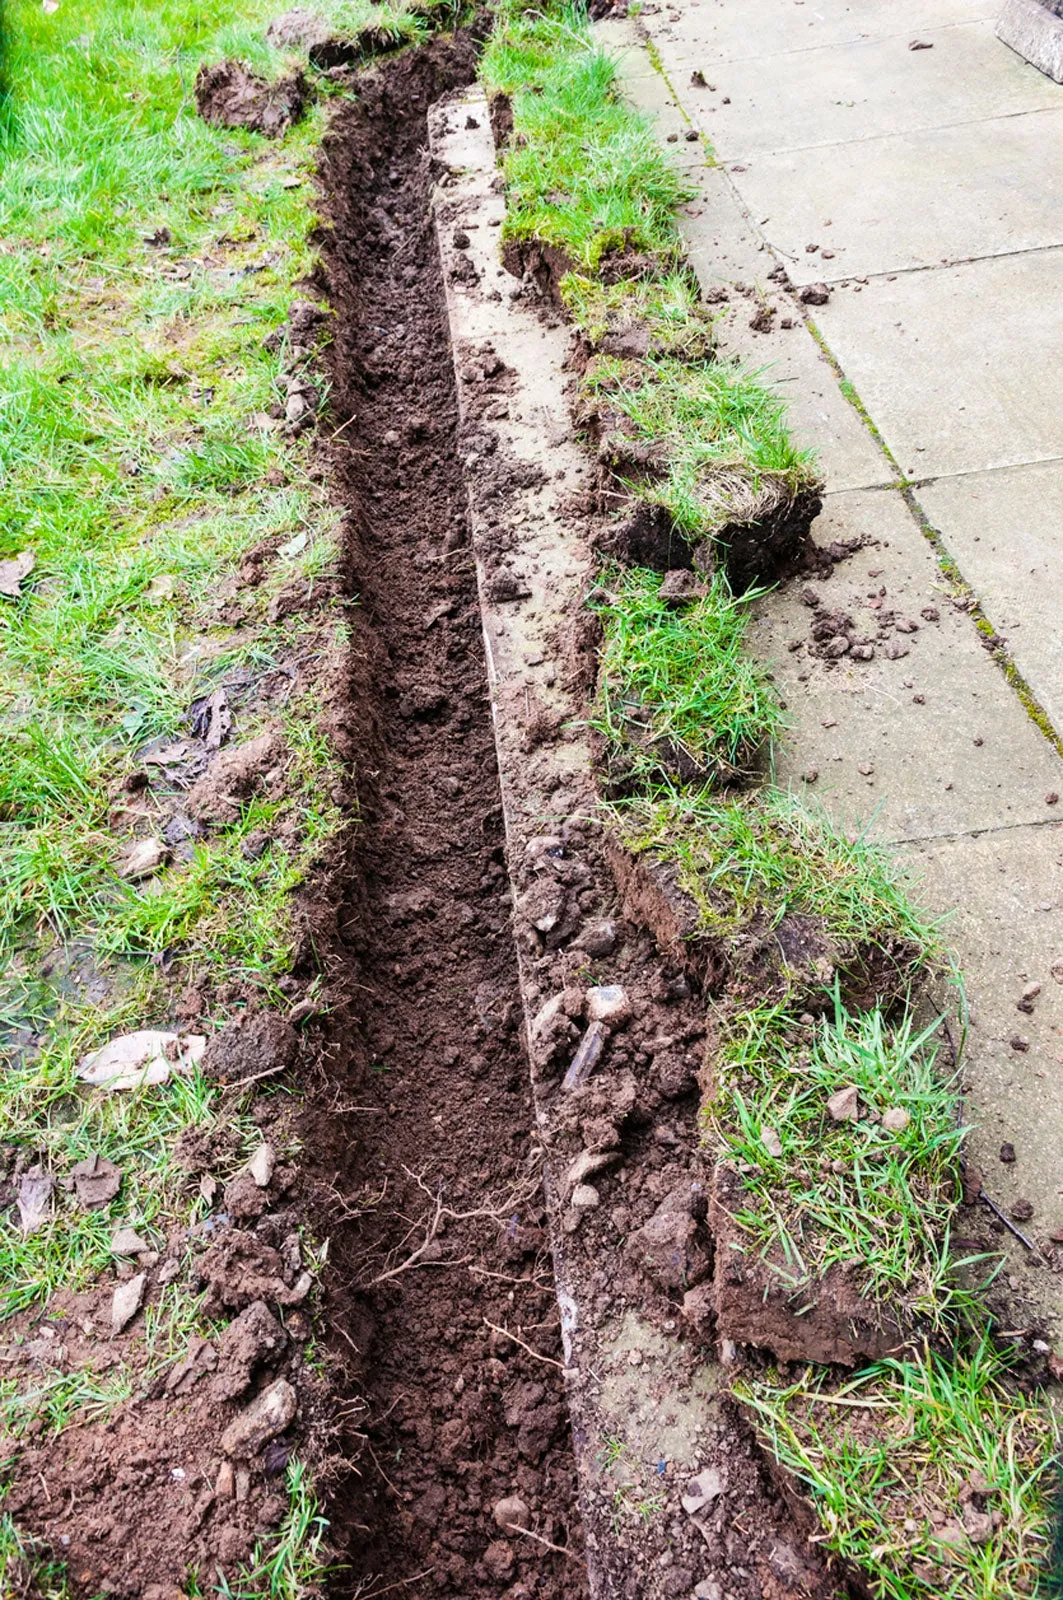
The general process of building a French drain begins by determining the best drainage route for your excess water. Be sure the water’s route is channeled at least 3 feet (91 cm.) away from structures, fences, posts, walls, and shrubs.
Once the drain’s route been established, dig a graduated ditch or trench. The depth of the trench should be determined by how and where the water needs to be channeled. For instance, you may want to start the trench 12 inches (31 cm.) deep and graduate to 24 inches (61 cm.) deep, depending on how and where you need to direct the water. The size of the trench itself may vary and may even require the use of specialized trenching tools. It’s a good idea to line the trench with a permeable filter fabric that’s larger than the trench width.
When installing the pipe, for optimal performance be sure that it consistently slopes down and toward where the water is to flow. After the perforated drainage pipe is in place, covering the pipe with a thick layer of gravel and wrapping the excess fabric around the gravel will keep your drain from becoming clogged. Lastly, you can fill in with soil back to the original ground level.
