2 Tasks I Never Skip Before Storing Garden Tools for Winter to Keep Them in Tip-Top Shape
Make sure your gardening tools last a long time by treating them right in fall. Here's what you have to do now before you put them away for winter.

Sign up for the Gardening Know How newsletter today and receive a free copy of our e-book "How to Grow Delicious Tomatoes".
You are now subscribed
Your newsletter sign-up was successful
Winter is the dormant season for most gardeners. It’s a time to take a break from gardening, which means putting away your tools. You won’t be using them for a few months, so prepping and storing tools correctly ensures they’ll last longer.
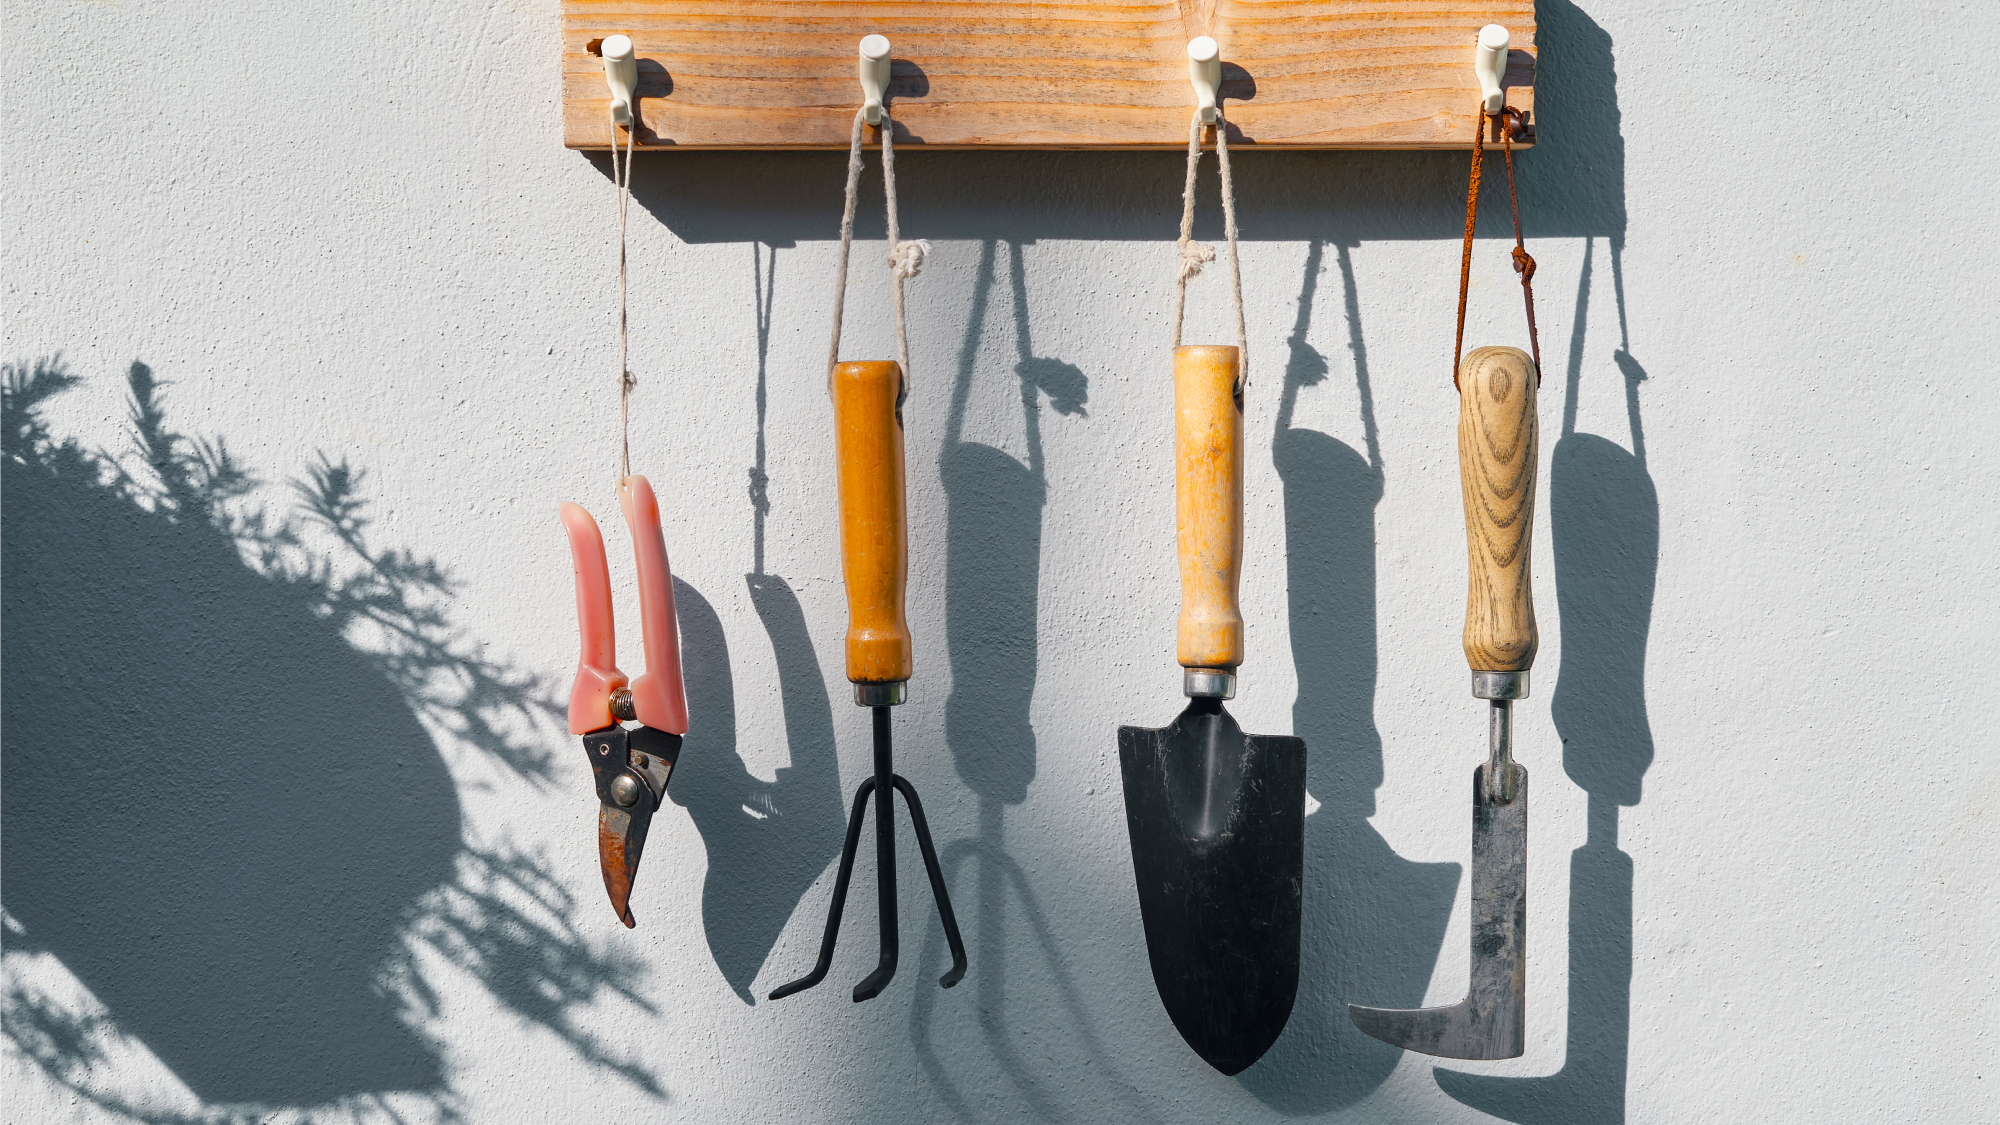
Your gardening tools help you do every chore in the garden more easily and effectively, from digging a hole with your favorite shovel to trimming shrubs with a good set of shears.
I'll walk you through how to clean garden tools for winter, why it matters, and what else you need to do to store them properly. Here's what I always do to keep my tools in tip-top shape before putting them away for winter.
Why Winter Prep Matters
There are many good reasons to winterize your gardening tools. The overarching reason to do this last gardening task of the season is to ensure your tools last. Taking good care of your tools means you’ll replace them less frequently and save money.
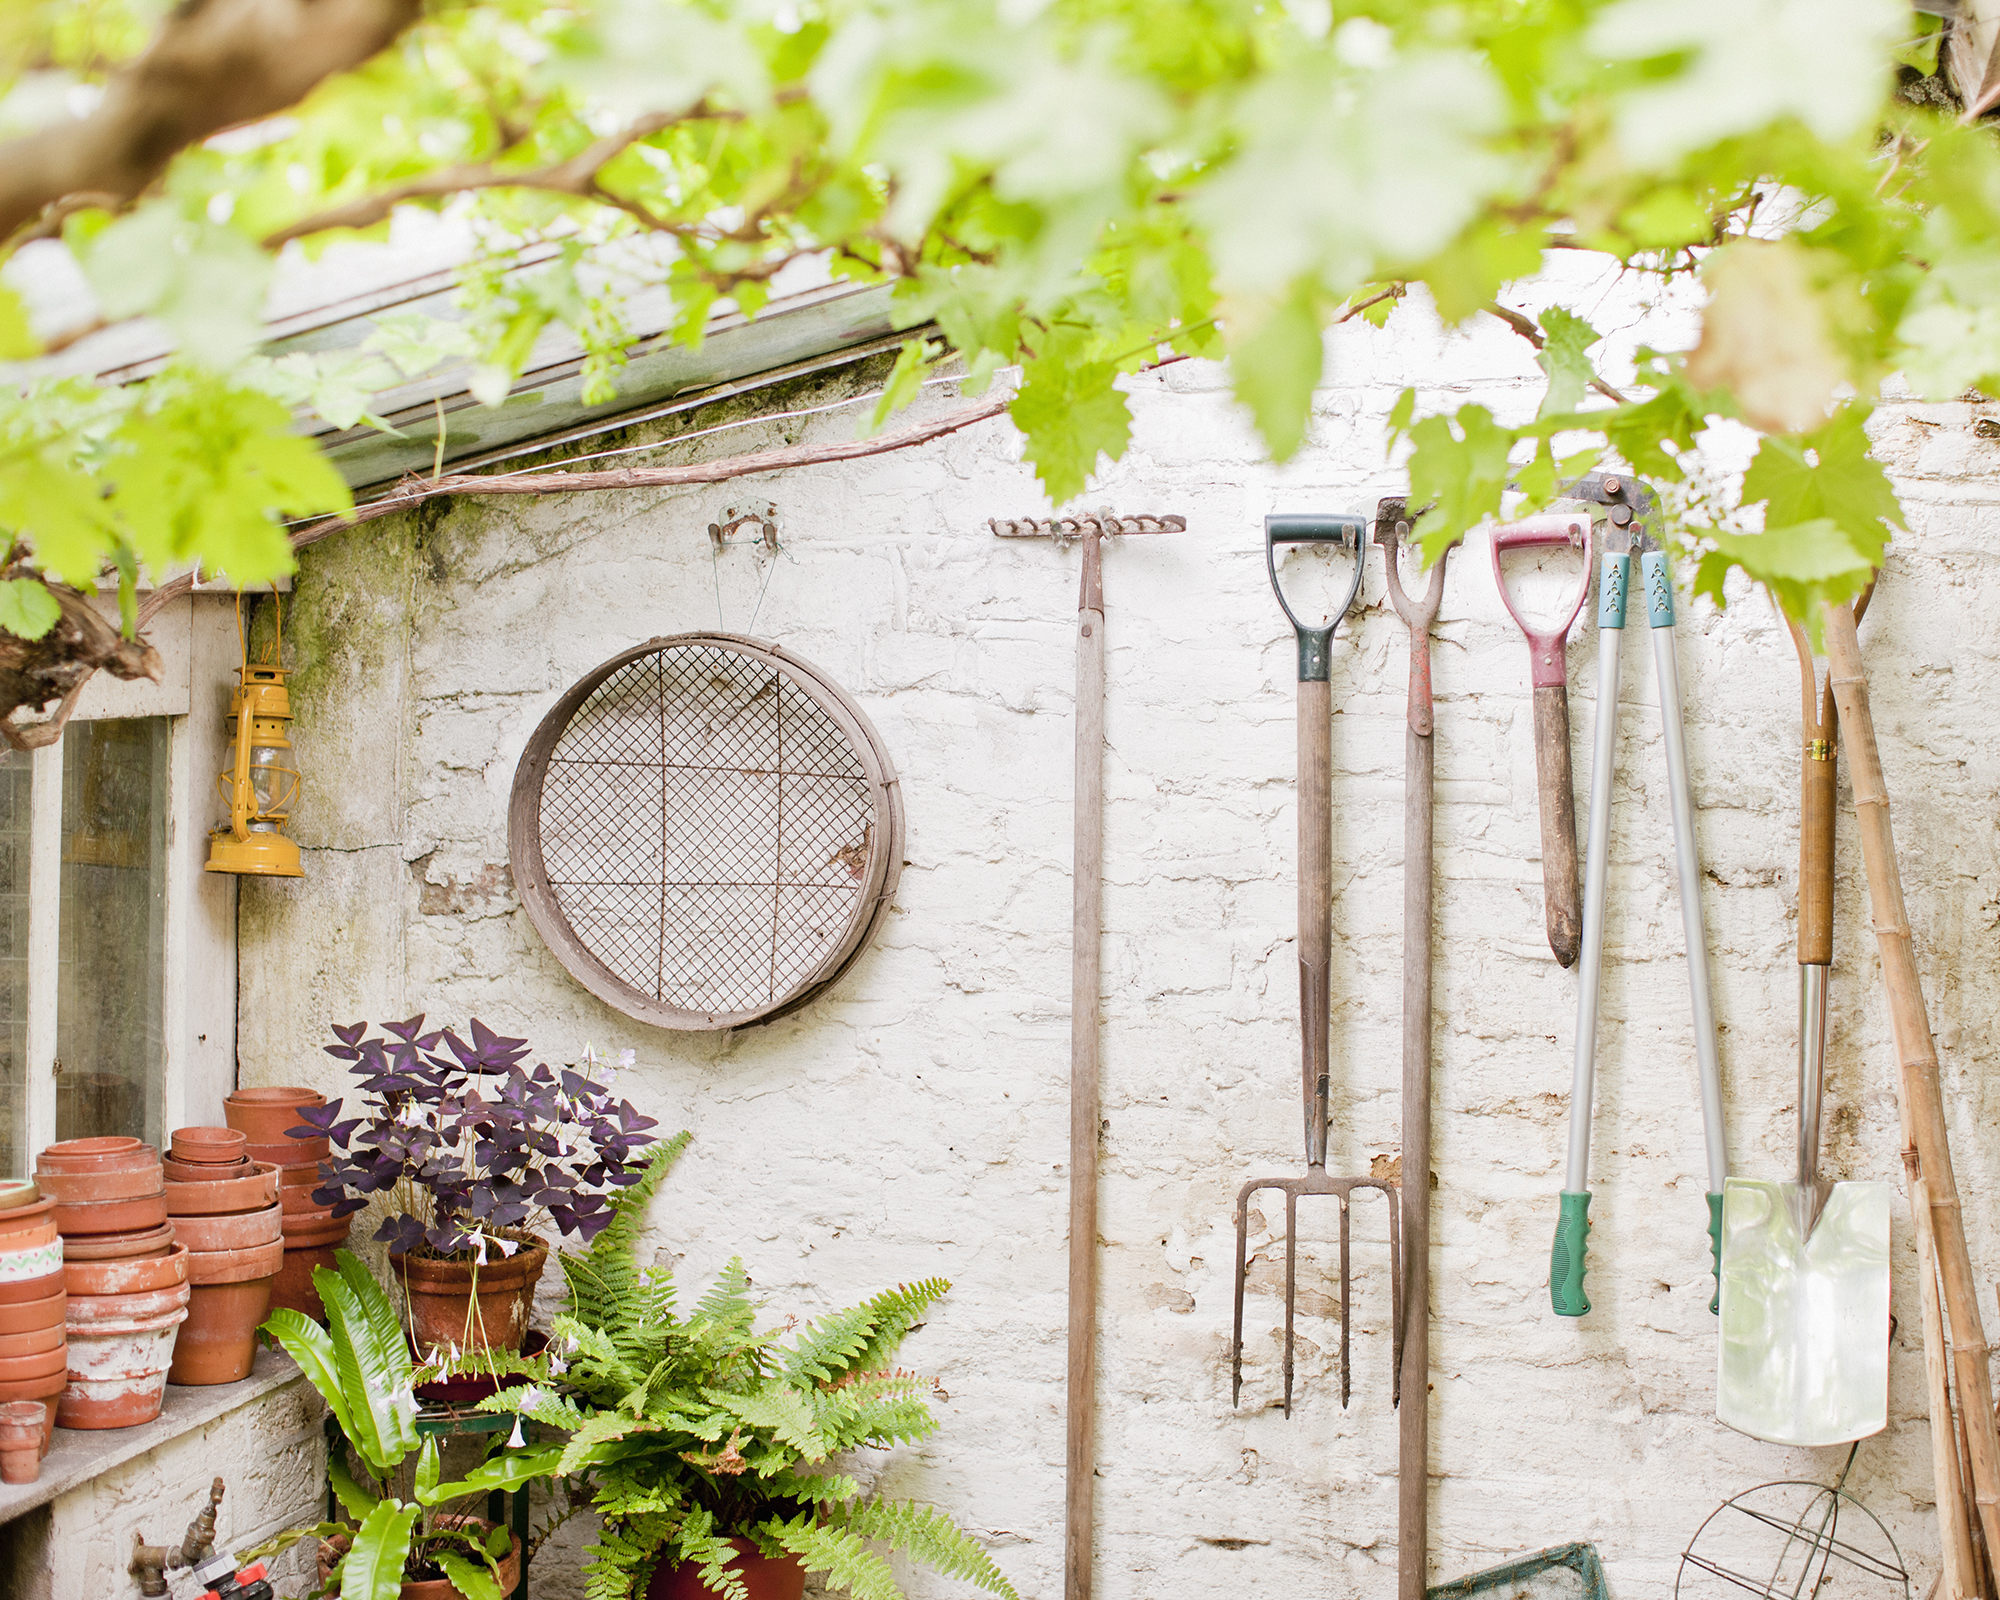
These are some of the problems proper winterization can help prevent when it comes to your favorite garden tools:
- Rust. Rust and other types of corrosion are typical with metal tools left in storage. Ensuring tools are clean and dry can prevent or minimize corrosion.
- Cracked Wooden Handles. Dry, cold winter air can cause wooden components to crack and split. A little bit of prep and care prevents this.
- Dull Blades. Several of your garden tools are best used when sharp. Keeping them sharp over winter helps them stay that way and last longer, so they’re ready to go in spring.
- Cold Damage. Proper cleaning and storage help prevent cold damage to garden tools. Cold damage typically occurs when water has a chance to freeze and expand in a tool. For instance, if you leave your wooden-handled trowel unprotected, moisture can get into small fissures in the wood, leading to freezing, expansion, and bigger cracks or breaks. Water inside hoses and any power tools can also cause damage over winter.
- Pathogens. Finally, not caring for your tools can also harm your plants. Dirty tools store bacteria, fungi, and other pathogens that can be transferred to new plants in the spring. Many of these pathogens survive the winter.
Must-Do Tasks for Tools
Now that you understand the importance of prepping your tools for winter, I'll share the two tasks you have to do before putting them back in the shed.
Task #1: Clean Everything Thoroughly
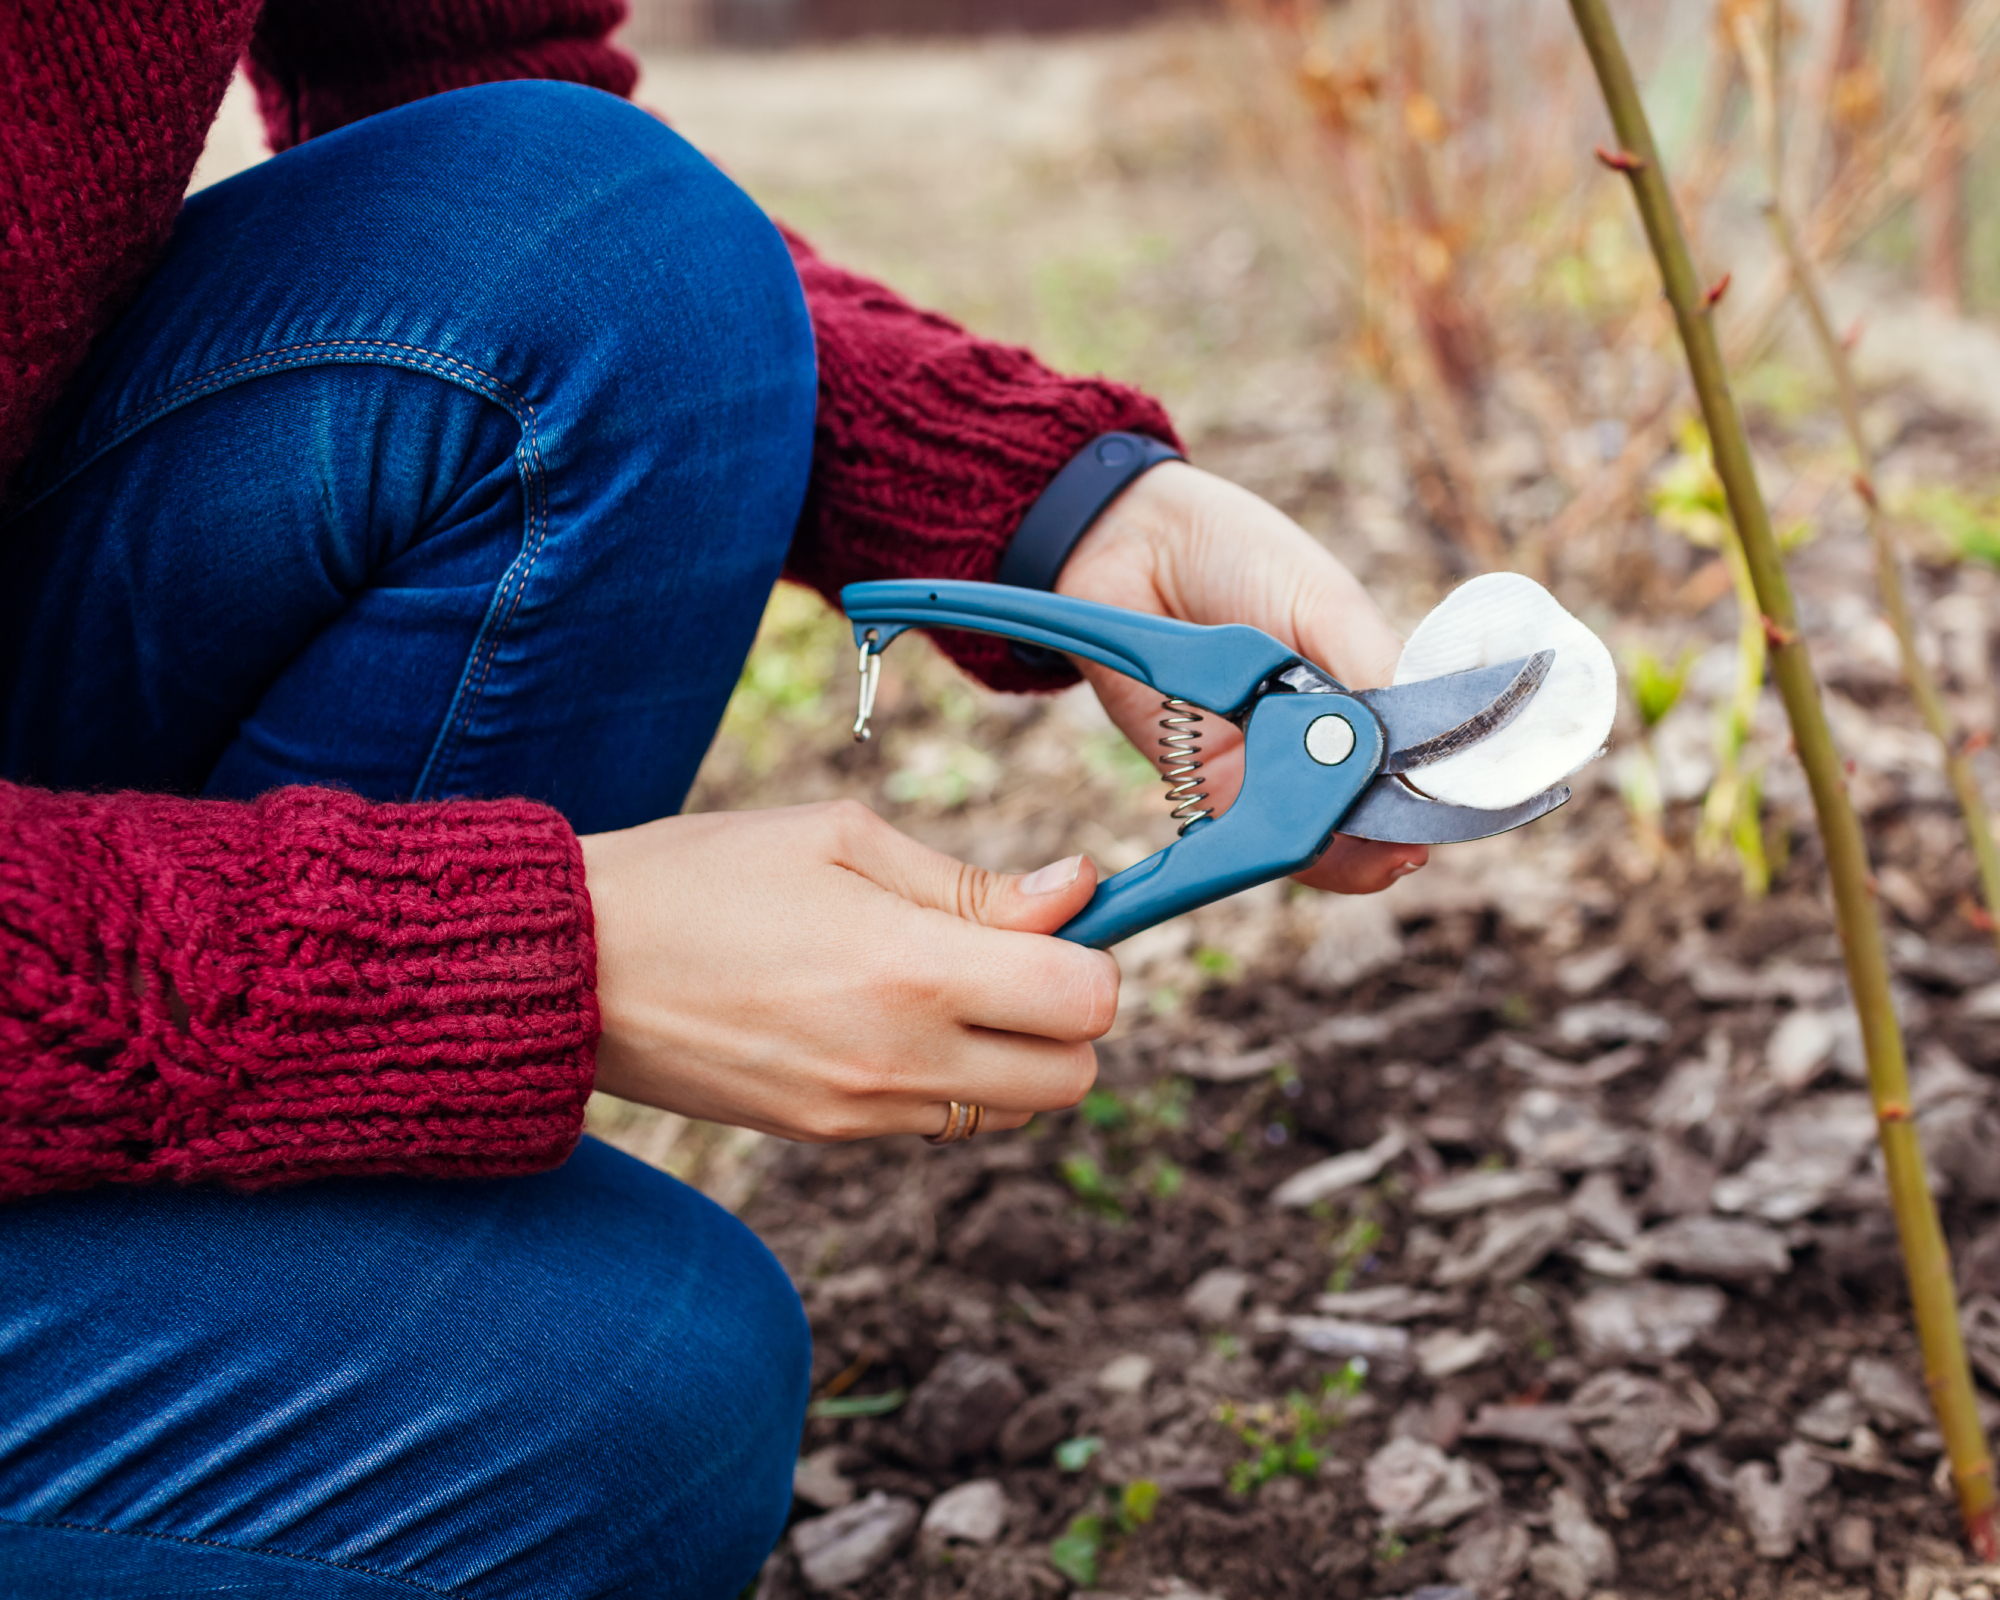
Cleaning your gardening tools is the first thing every gardener should do before winter hits. If you do nothing else for your tools, clean and dry them thoroughly. Start by removing the big chunks of soil, plant matter, and other debris from tools, then do a more detailed cleaning.
Sign up for the Gardening Know How newsletter today and receive a free copy of our e-book "How to Grow Delicious Tomatoes".
For most tools, soapy water and a scrub brush are adequate. Use a bucket of warm, soapy water and a stiff-bristle brush to get dirt and debris out of all the crevices in your tools.
If you’ve had issues with plant diseases over the past season, you might want to consider cleaning the tools with a disinfectant. Take care if you’re using disinfectants. They can be harmful to your skin, and the fumes can be irritating to inhale. You can find disinfectants on Amazon at your local garden center.
After you wash your tools, be sure they are completely dry before storing. You might also consider adding some mineral oil to blades to prevent rust and linseed oil, both of which you can find on Amazon, to wooden parts to prevent dryness and cracking.
Task #2: Sharpen & Inspect Tools
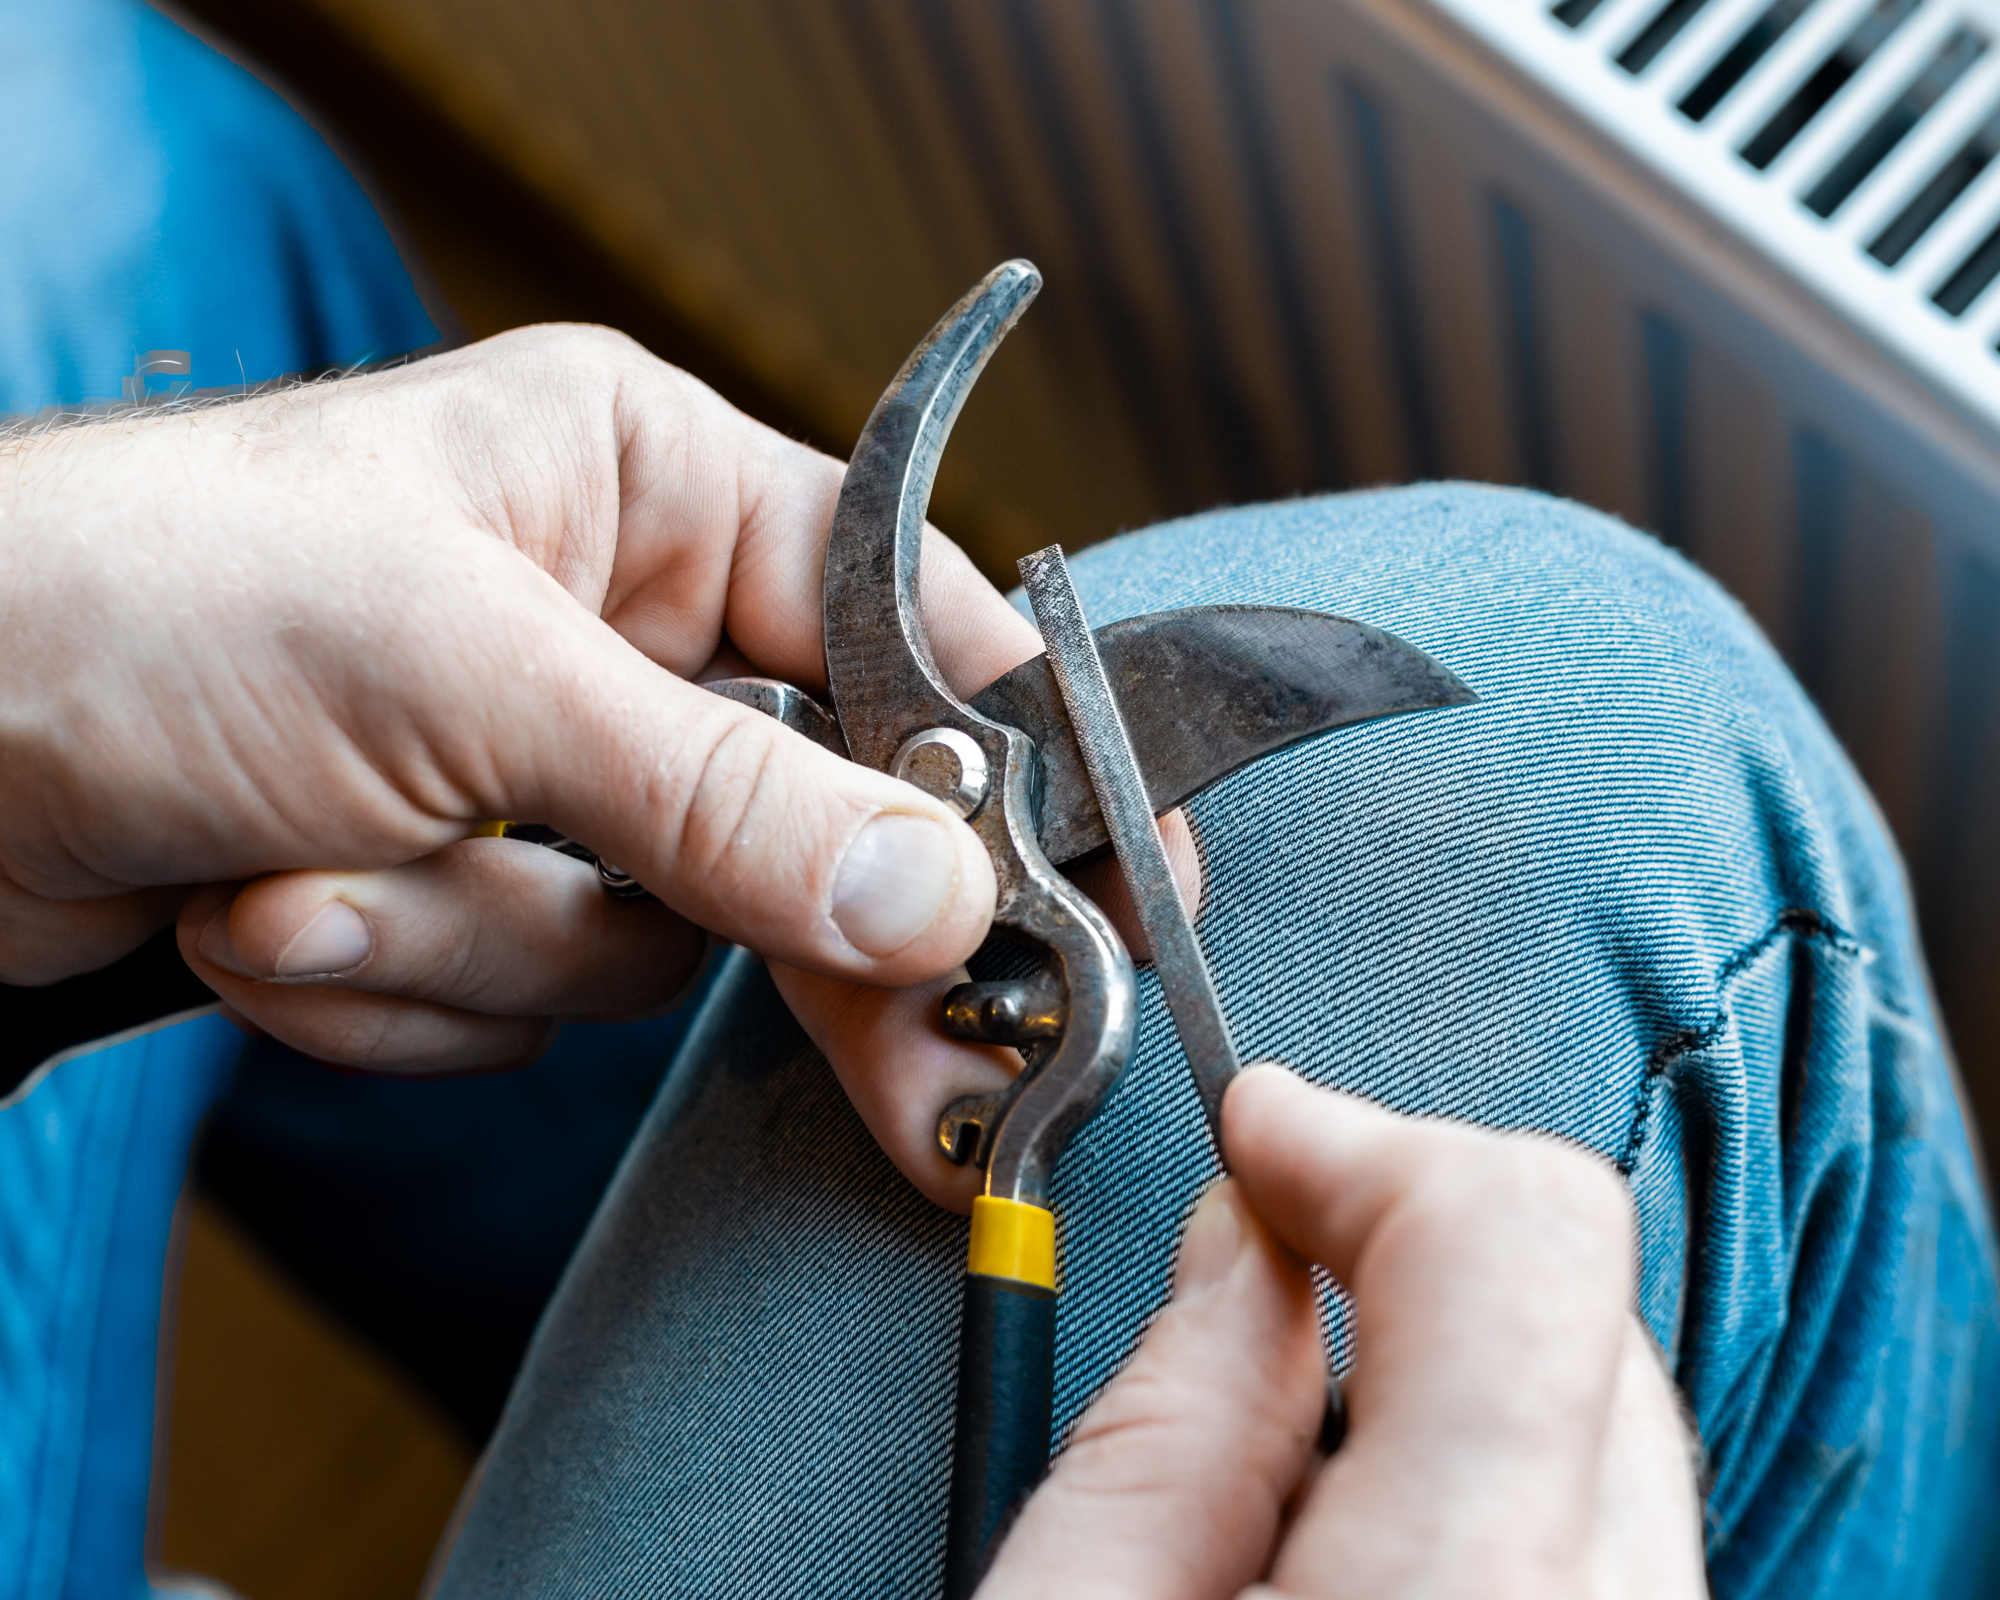
You want your tools to be clean, in good condition, and ready to use as soon as the spring gardening season begins. Sharp tools are the most effective and safest to use, so this is an important step. It’s best to sharpen and renew rusty gardening tools in the fall before you store them for winter.
This is also a good time for a thorough inspection. Look for loose screws, cracked handles, rust, and any worn parts that need replacing. Breaks and loose parts can make a tool more vulnerable to collecting moisture and becoming rusty or broken over winter.
If your tools have any rust, you can use sandpaper to remove it or try this clever wine cork hack that makes pruners work like new.
Tips for Tool Storage
Once your tools are clean, dry, and sharp, they need to be stored. There is more than one good way to store and organize your garden tools. Below are some tips to help you find the best solution for your space.
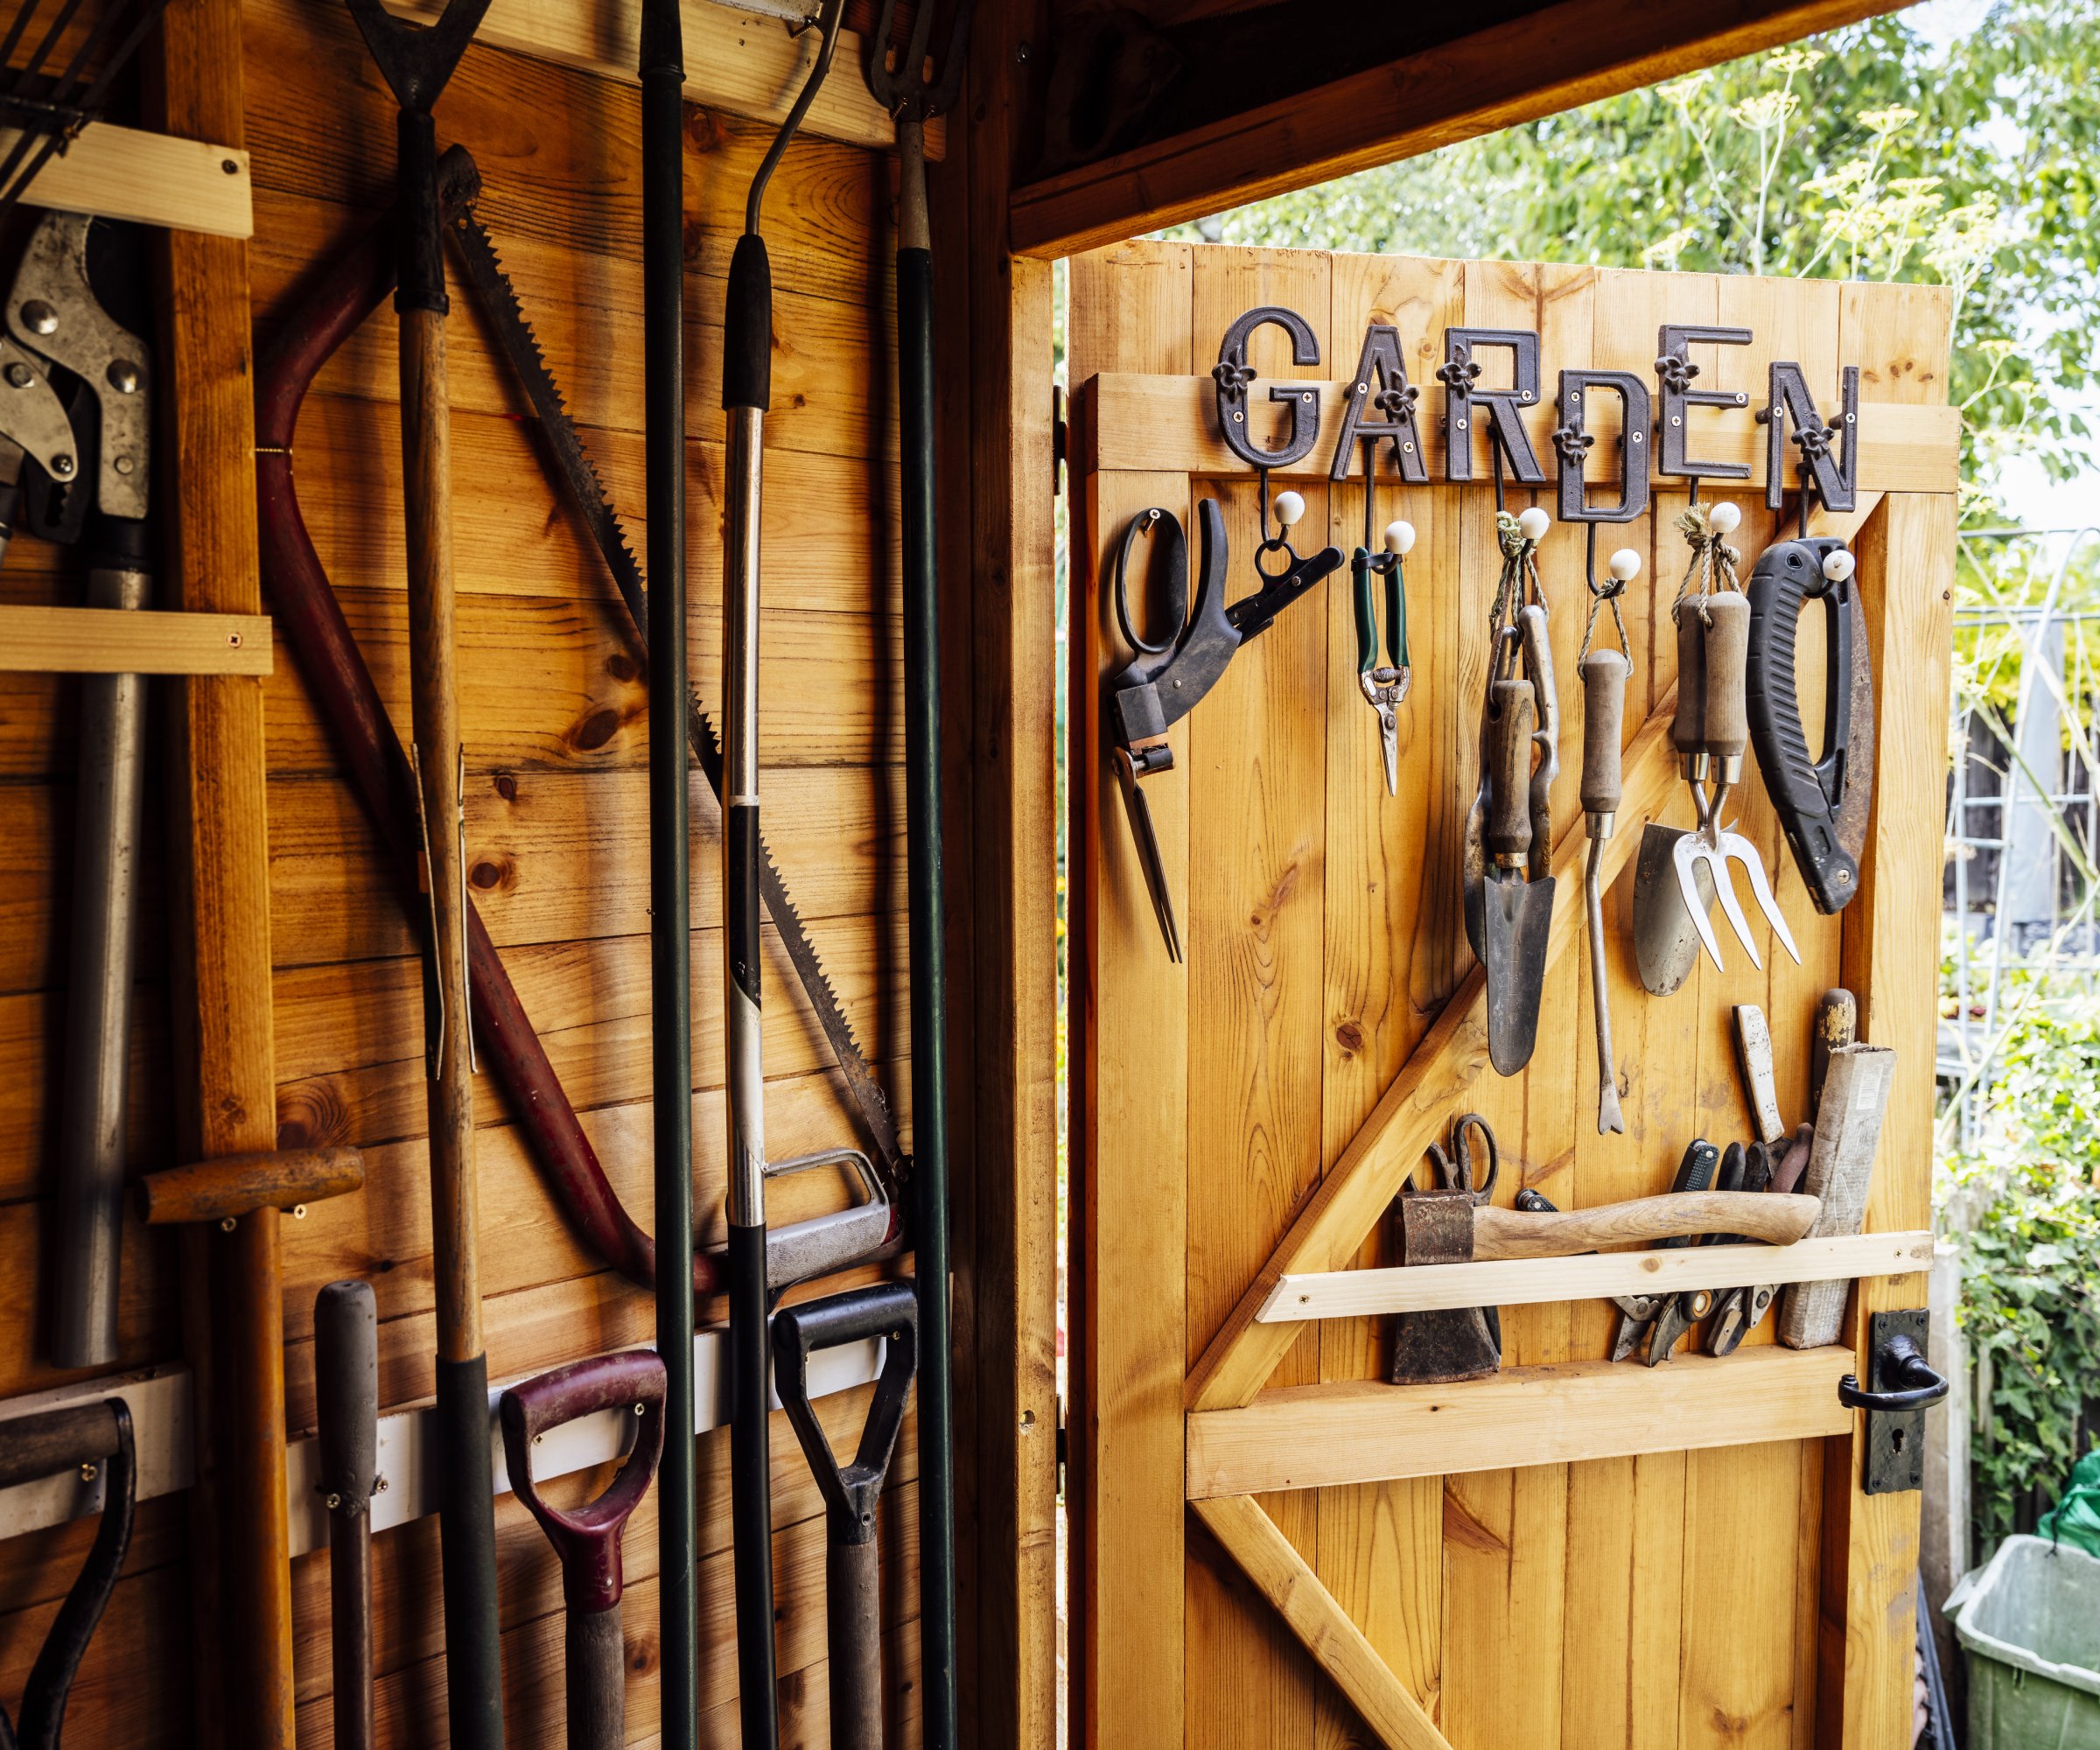
- Store tools in an enclosed space to protect them from wind, snow, rain, and the coldest temperatures. You can use a garage, shed, or even a basement for storage.
- Hang tools from hooks to keep them off the ground. If you’re storing them in the garage, they can become tripping hazards. Hooks allow you to keep your space organized and safe.
- Use a toolbox for storing smaller tools. It might not make sense to hang trowels or small garden knives. A toolbox or even a storage crate is a good way to keep tools protected and organized over winter.
- Some gardeners swear by storing tools in sand mixed with a little mineral oil. The sand helps prevent rust and keeps blades sharp. However, this is not a good strategy for tools with multiple parts, as sand can get in small crevices and clog moving joints. For trowels, shovels, and knives, store the blade ends in a bucket that contains a mixture of mineral oil and sand, both of which you can find on Amazon.
Cleaning and maintaining garden tools are must-do chores for the end of the growing season. Once you’ve made your last pruning cut and dug your last hole for a bulb, clean and store your tools to ensure they’re ready again for spring.

Mary Ellen Ellis has been gardening for over 20 years. With degrees in Chemistry and Biology, Mary Ellen's specialties are flowers, native plants, and herbs.