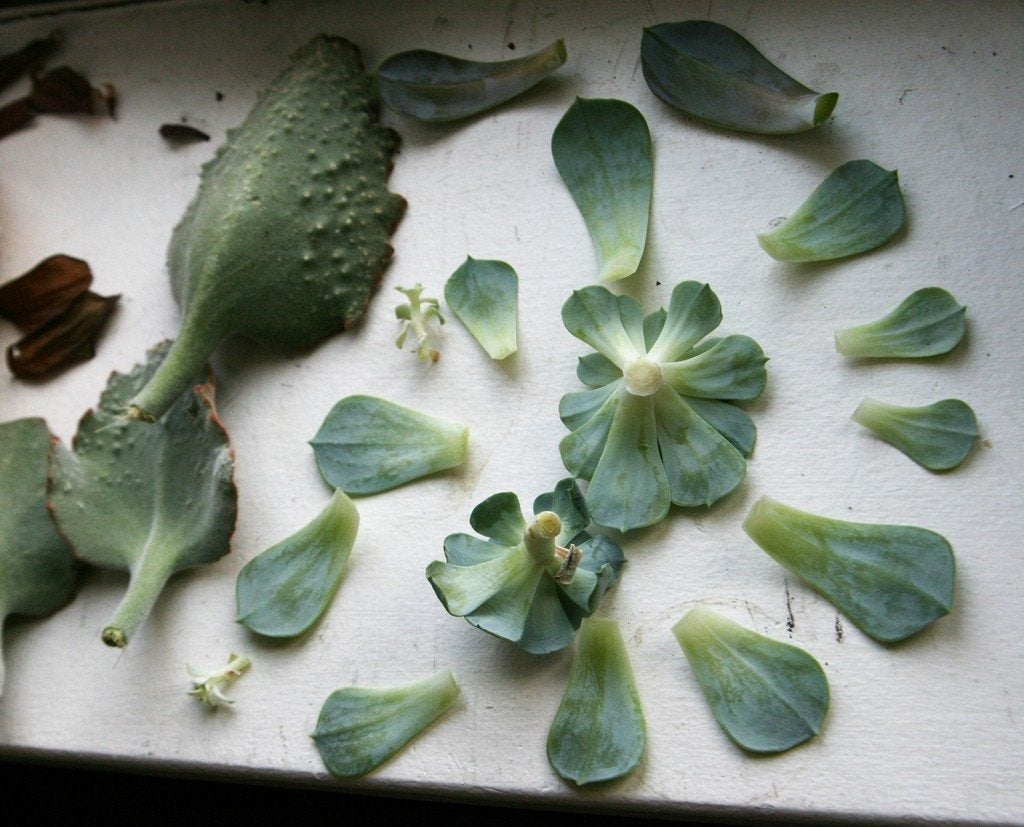
Propagating Your Houseplants With Leaf Cuttings


Before you start with leaf cuttings, you need to follow a few simple guidelines. This article will explain those guidelines and get you acquainted with leaf-cutting propagation.
Tips for Propagating Leaf Cuttings
Before you start with leaf cuttings, you need to be sure to water the plant you're planning to cut a few times prior to starting, preferably the day before. This will make sure the leaves will remain full of water and not deteriorate before roots have formed. Before you cut the leaf, make sure it is healthy, disease- and pest-free, and a good copy of the parent plant. You should use relatively young leaves for cuttings because their surface hasn't weathered yet. The older leaves don't root rapidly enough to start plants. After you've put the leaf cuttings into compost, place the pan outside of strong, direct sunlight, otherwise, your little leaf cuttings will shrivel up. You're better off placing them on a cool, well-shaded windowsill, which will prevent the leaf cuttings from drying up. Also, keep the compost moist during the rooting. As soon as you see roots and shoots start to develop, you can remove the plastic covering and lower the temperature of the plants. Some plants, like the iron-cross begonia (B. masoniana) and cultivars of Cape primrose (Streptocarpus) are increased by using whole-leaf cuttings. You would first cut the stalk off of a healthy leaf close to its base. Be sure not to leave a short snag on the plant. as it could later die back. Then, stick the severed leaf upside down on a wood board and cut off the stalk close to the leaf. Using your knife, make cuts 20 to 25 mm (0.75 to 1 in.) apart across the main and secondary veins of the leaf. Make sure you don't cut completely through the leaf. Take that cut leaf and place it vein-side down on equal parts of moist peat and sand. You can use some small stones to hold the cuts in contact with the compost. Water the compost but allow the extra moisture to evaporate from the pan. Afterward, cover the pan with a transparent lid. Place the pan in gentle warmth and light shade. The young plants will start to grow and when they are large enough to handle, you can replant them into their own pots. The cultivars of Streptocarpus can also be increased by cutting its leaves into little sections. You would take a healthy leaf and place it on a board. Using your knife, cut the leaf laterally into pieces about 5 cm (2 in.) wide. With your knife, make 2 cm (1 in.) deep slits into the compost and insert the cuttings into the slits. You can use leaf triangles as well. These are usually easier to stick into the compost than leaf squares. They also tend to be slightly larger. That gives them a greater reserve of food while they are growing their own roots, helping to sustain the cutting. Make sure you water the mother plant the day before you take a cutting so the cutting lasts long enough to root. You will want to cut the leaf, severing it close to the plant's base. Then you can sever it again next to the leaf. Take the leaf and lay it on a flat board. Using your knife, cut the leaf into triangles, each with its point toward the position where the stalk joined it. Fill the seed tray with equal parts moist peat and sand. Using a knife to make slits into the compost and then insert each triangle into a slit. Finally, you can do leaf squares. You will get more cuts from one leaf with squares than you would with triangles. After you sever the healthy leaf from the plant, you can cut the stalk off and place the leaf on a board. Cut the leaf into strips about 3 cm (1 in.) wide each. Make sure there is a main or secondary vein running down the middle of each strip. Take each strip and cut them into squares. Each square needs to then be inserted into the compost (again, equal parts sand and moist peat) about one-third of its depth. You want to be sure to insert the squares with the side that was nearest to the leafstalk facing downwards or they won't root. Make a slit into the compost with your knife and insert a cutting. Pat the compost around it so it's firmed up. You can lightly water the surface and stick the pan in gentle warmth and light shade. Cover the pan with plastic and when the cutting develops plants big enough to handle, you can transplant them into individual pots. Water the compost gently and put the plantlets into light shade until they are established well enough. Finally, you can take the leaf squares and lay them horizontally on top of the moist peat and sand. Press them into the surface. Use hooked pieces of wire to hold them onto the surface. These, too, will root. So you see, there are many ways to use leaf cuttings to propagate plants. Just be sure to follow the steps correctly and lay or plant the cuttings the right way, and you'll have plants galore!
Sign up for the Gardening Know How newsletter today and receive a free copy of our e-book "How to Grow Delicious Tomatoes".

Heather Rhoades founded Gardening Know How in 2007. She holds degrees from Cleveland State University and Northern Kentucky University. She is an avid gardener with a passion for community, and is a recipient of the Master Gardeners of Ohio Lifetime Achievement Award.