Complete Guide To Repotting Amaryllis – For Better Blooms & A Healthier Plant
Amaryllis plants don't need a lot of elbow room, but they do have to be repotted every 3-5 years. Wait until they're dormant and pick a slightly bigger pot.


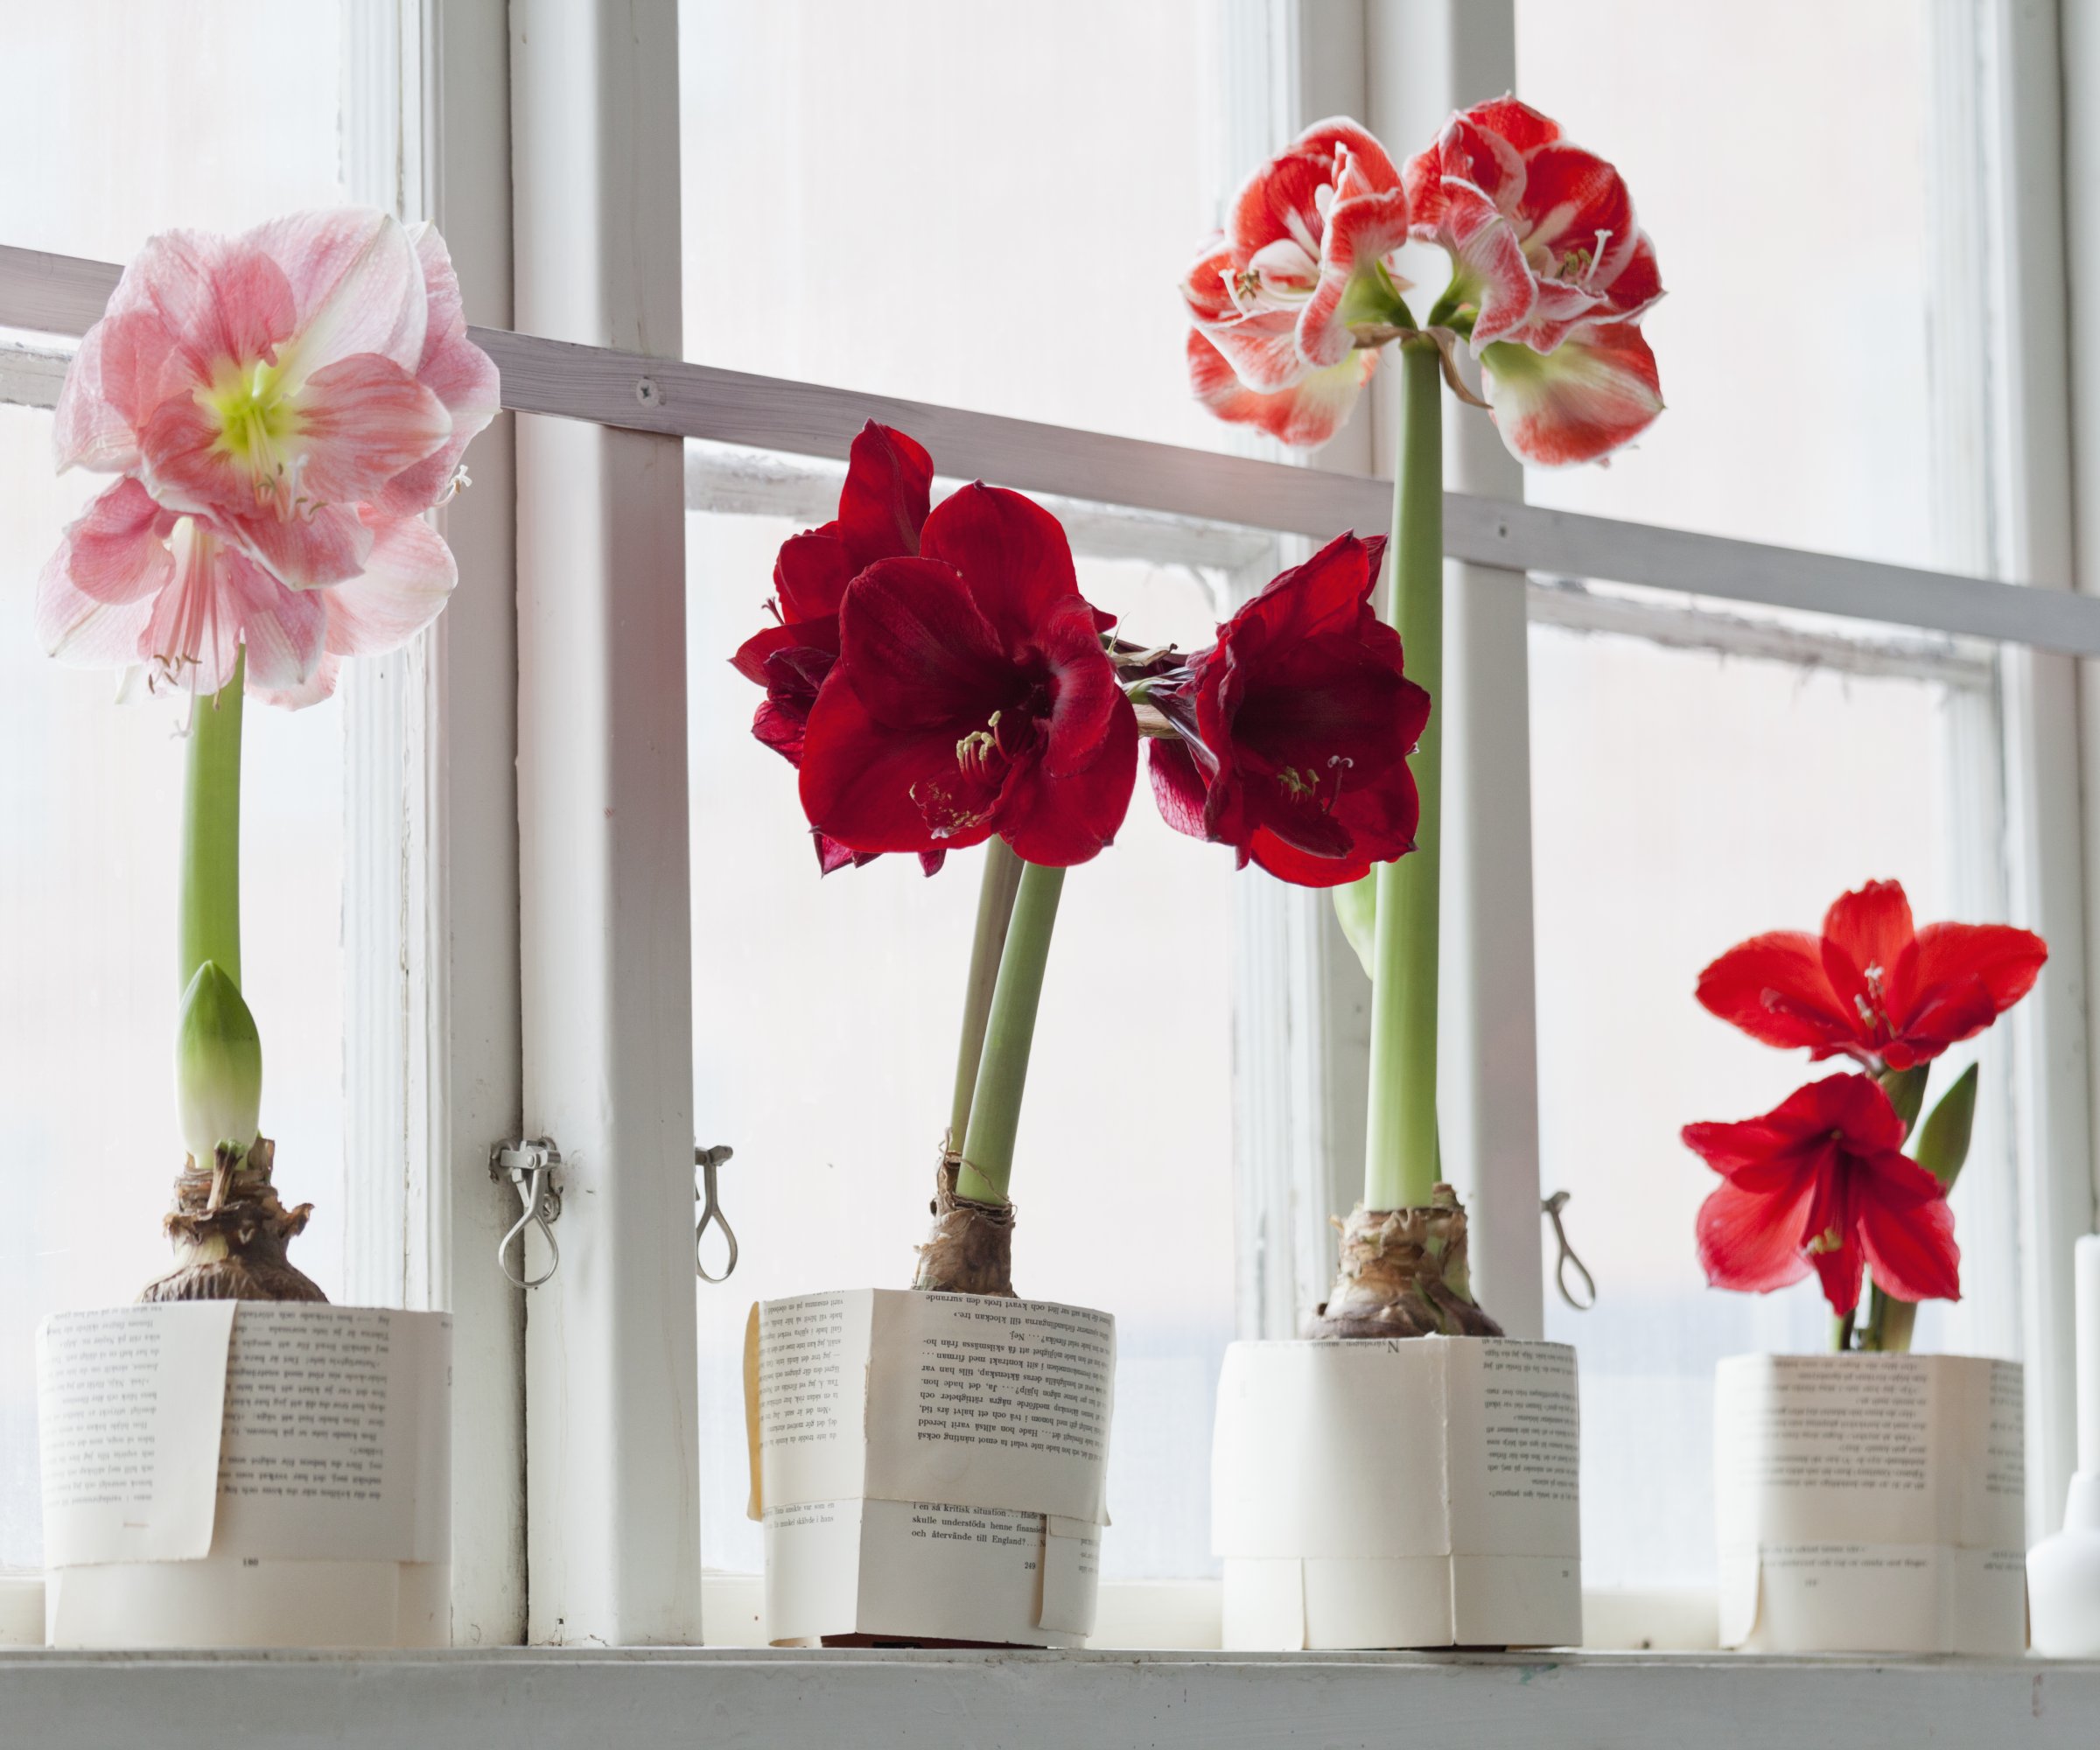
Few bulb plants have showier blossoms than amaryllis, with its frothy lily-type flowers in a wild array of colors. Since these bulbs can bloom year after year given proper care, it’s well worth learning its after-bloom care requirements.
Repotting amaryllis is an essential part of amaryllis care. We’re here to tell you all about amaryllis repotting, including when to repot amaryllis and how to repot amaryllis.
Signs It’s Time to Repot an Amaryllis

Amaryllis bulbs grow best without much elbow room. They like to be a little rootbound, and if you buy a potted one, you’ll note that it’s a fairly tight fit in the container, with only about an inch (2.5cm) of soil around the bulb.
But properly nurtured bulbs grow, and after some 3 to 5 years, it’s time for amaryllis repotting. You can tell it’s time to repot if there is less than an inch of soil between the bulb and the pot.
When to Repot Amaryllis

The best time to repot amaryllis is just after its period of dormancy. Dormancy begins when the plant’s leaves start to fade and yellow in September, and it’s usually completed by January. Watering is reduced during this dormancy period. The perfect repotting amaryllis period is just after the plant completes its dormancy period.
How to Repot Amaryllis

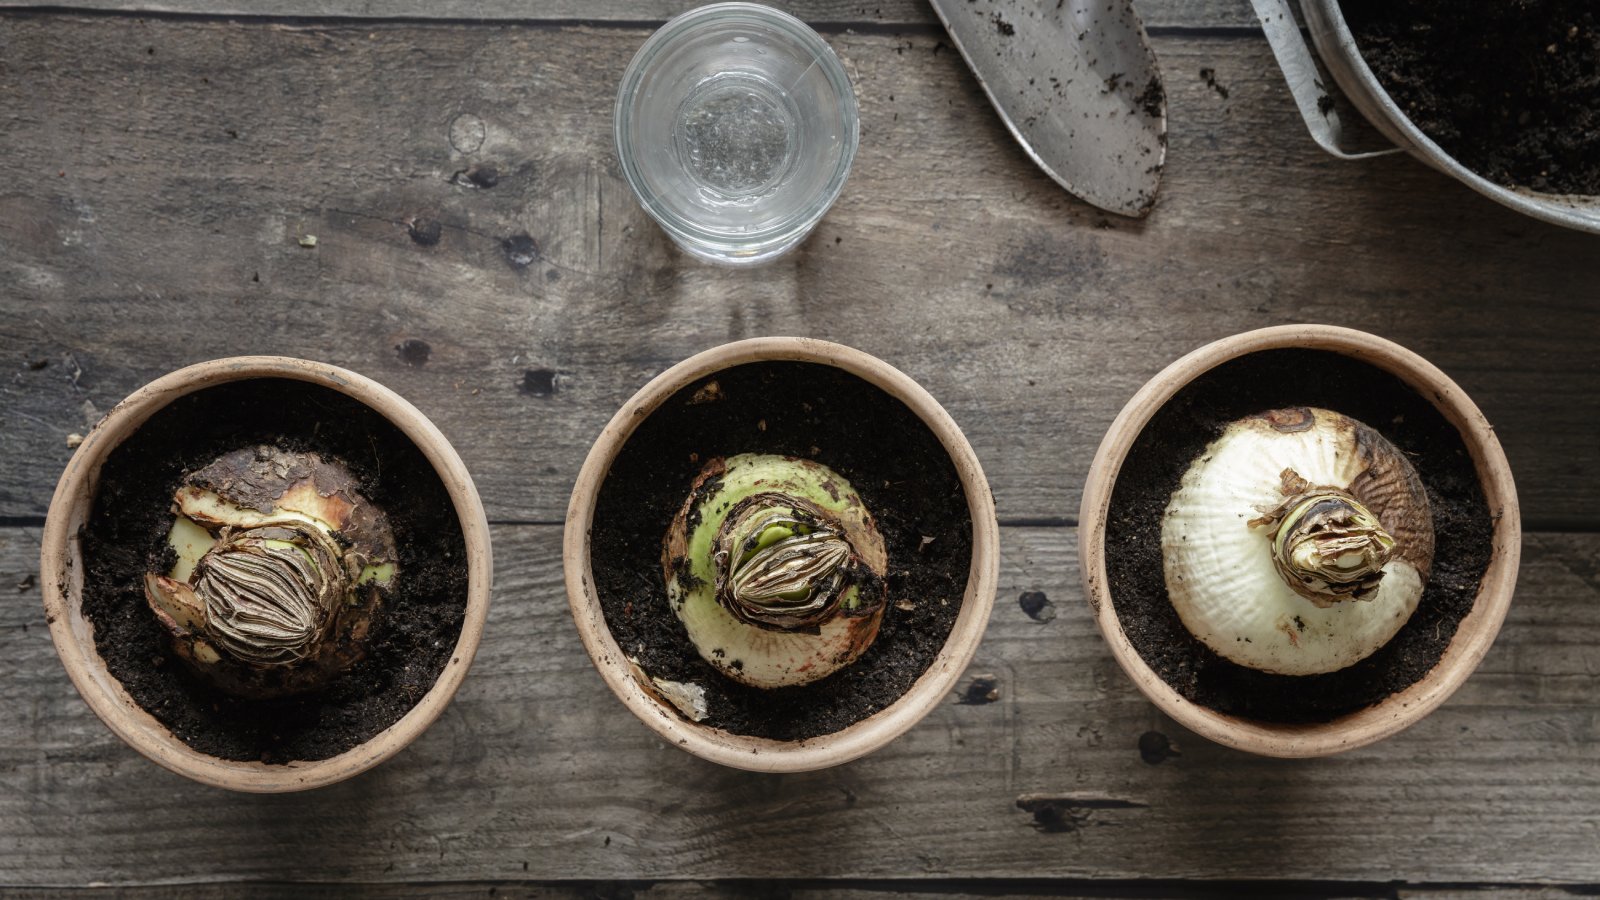
The key to repotting amaryllis is the size of the new pot: pick one that is just slightly larger than the old one. The new pot should be about an inch or two (2.5–5 cm) wider than the diameter of the bulb.
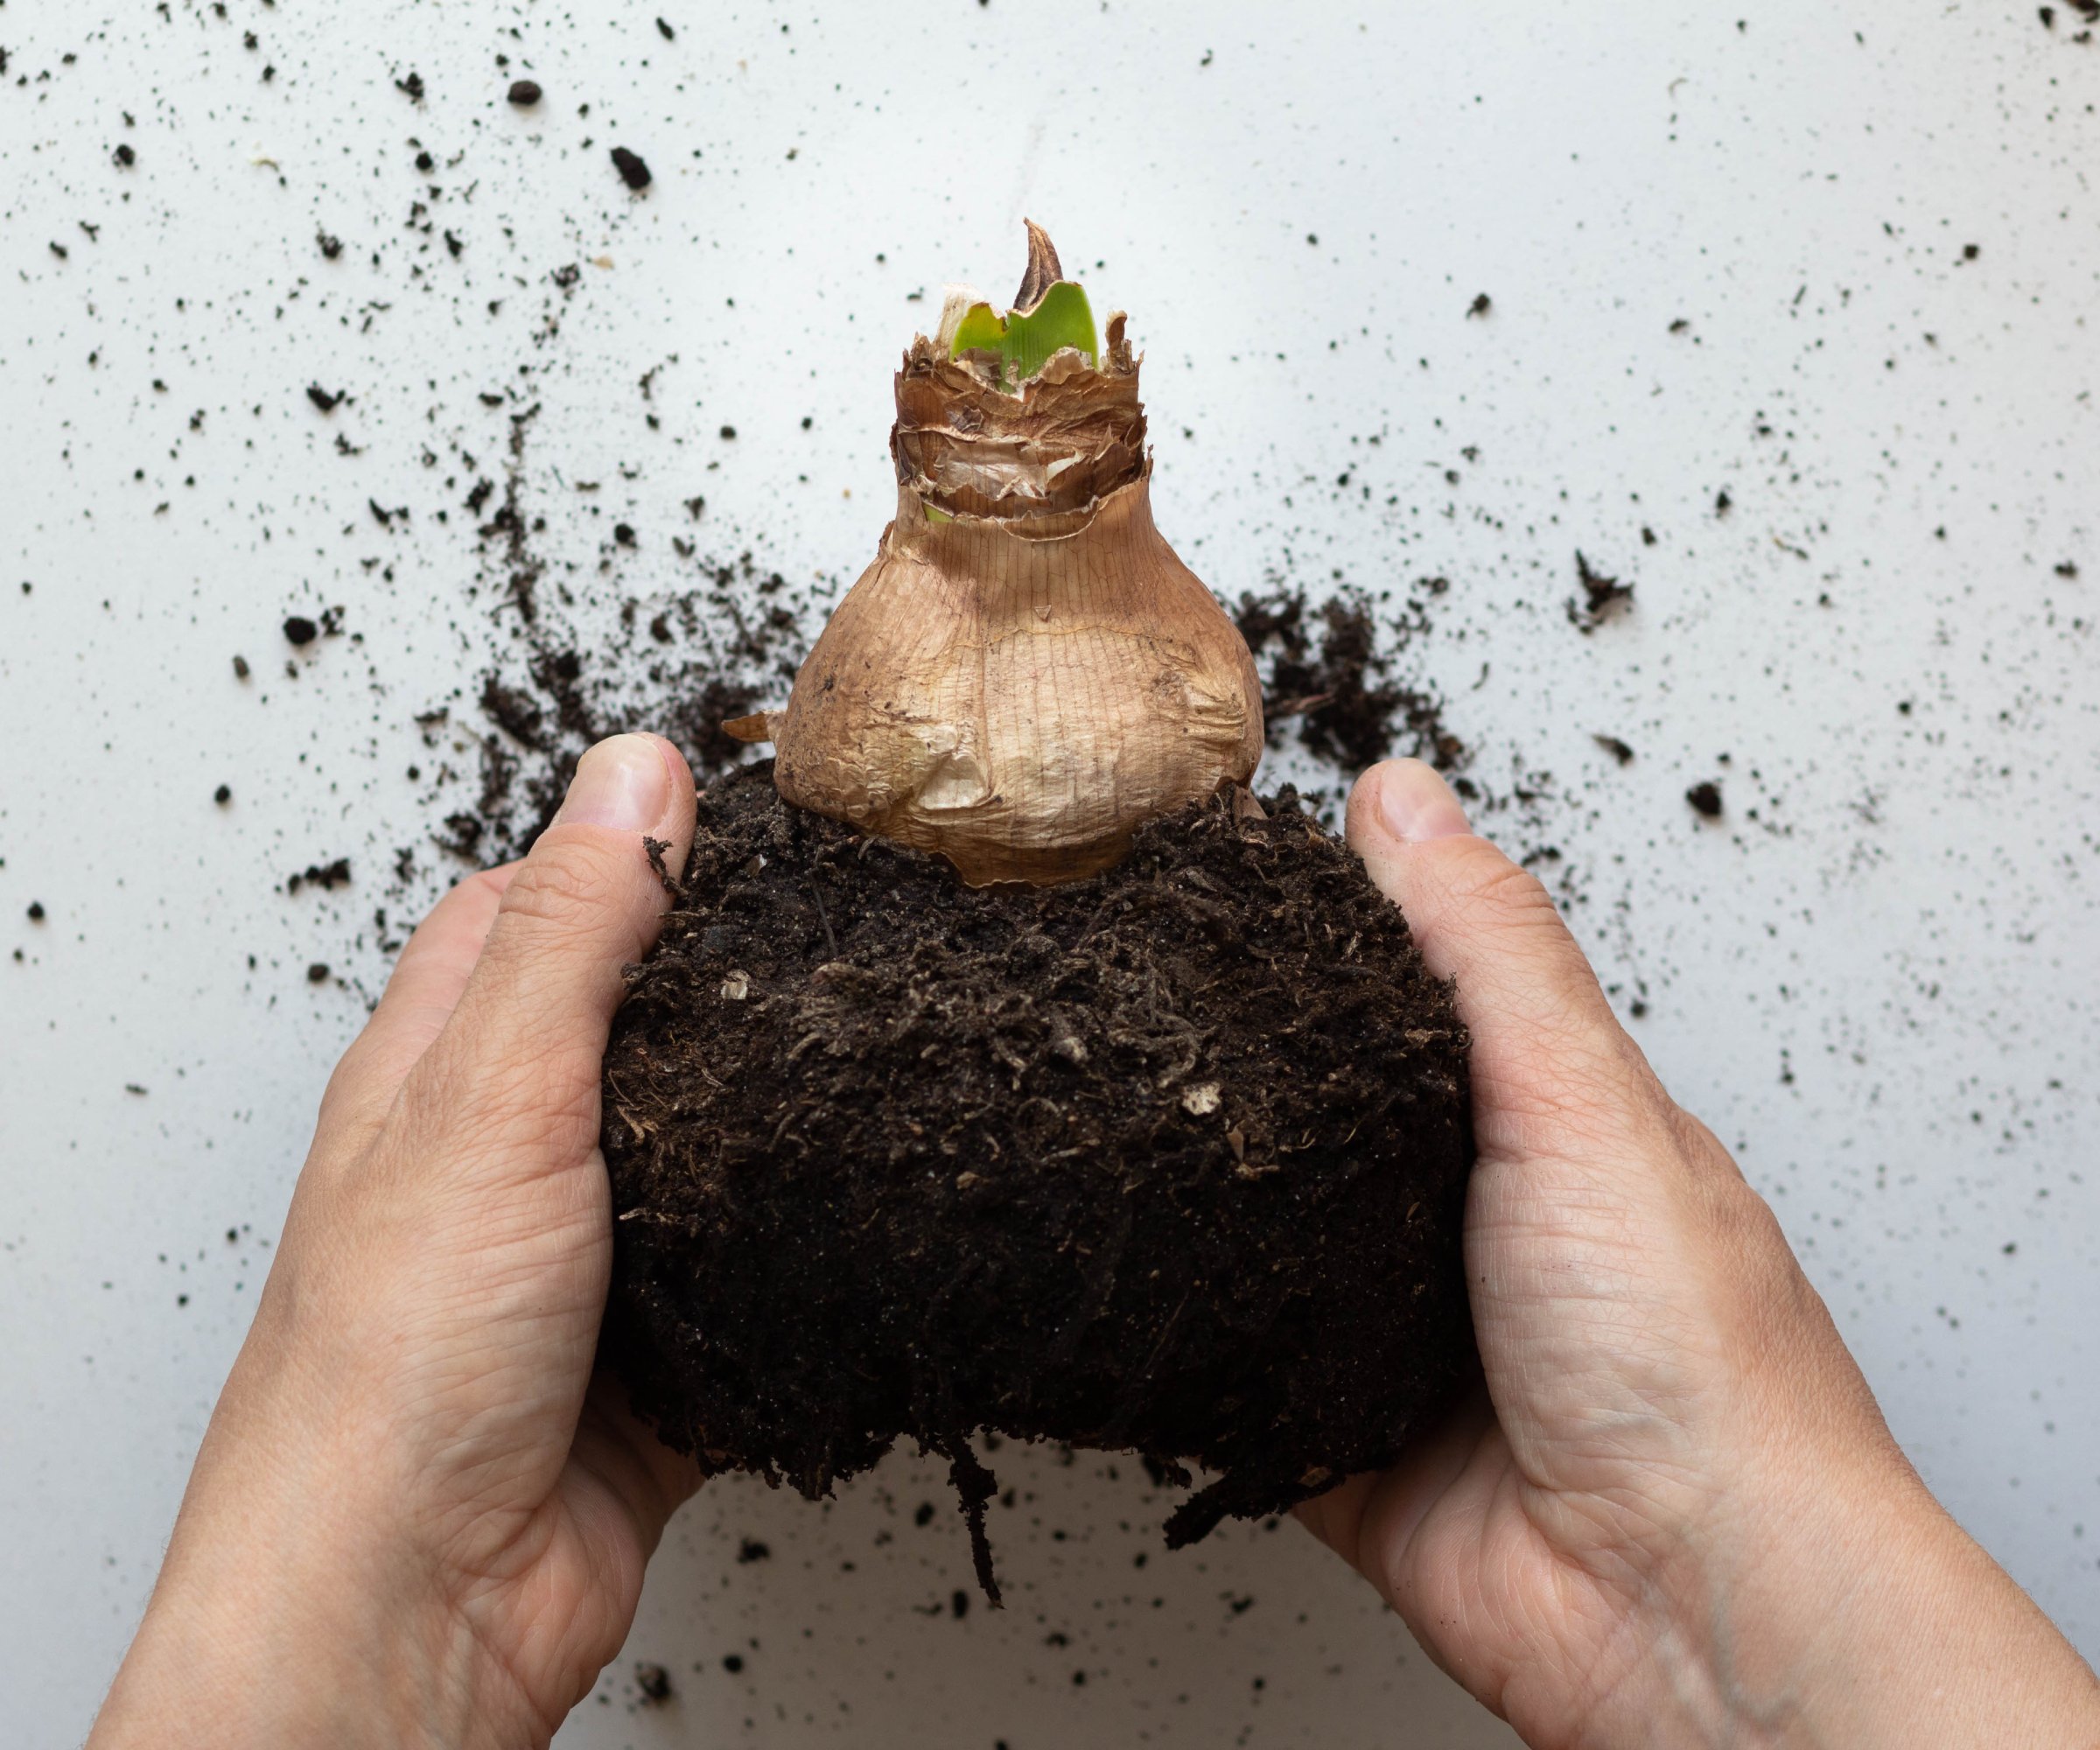
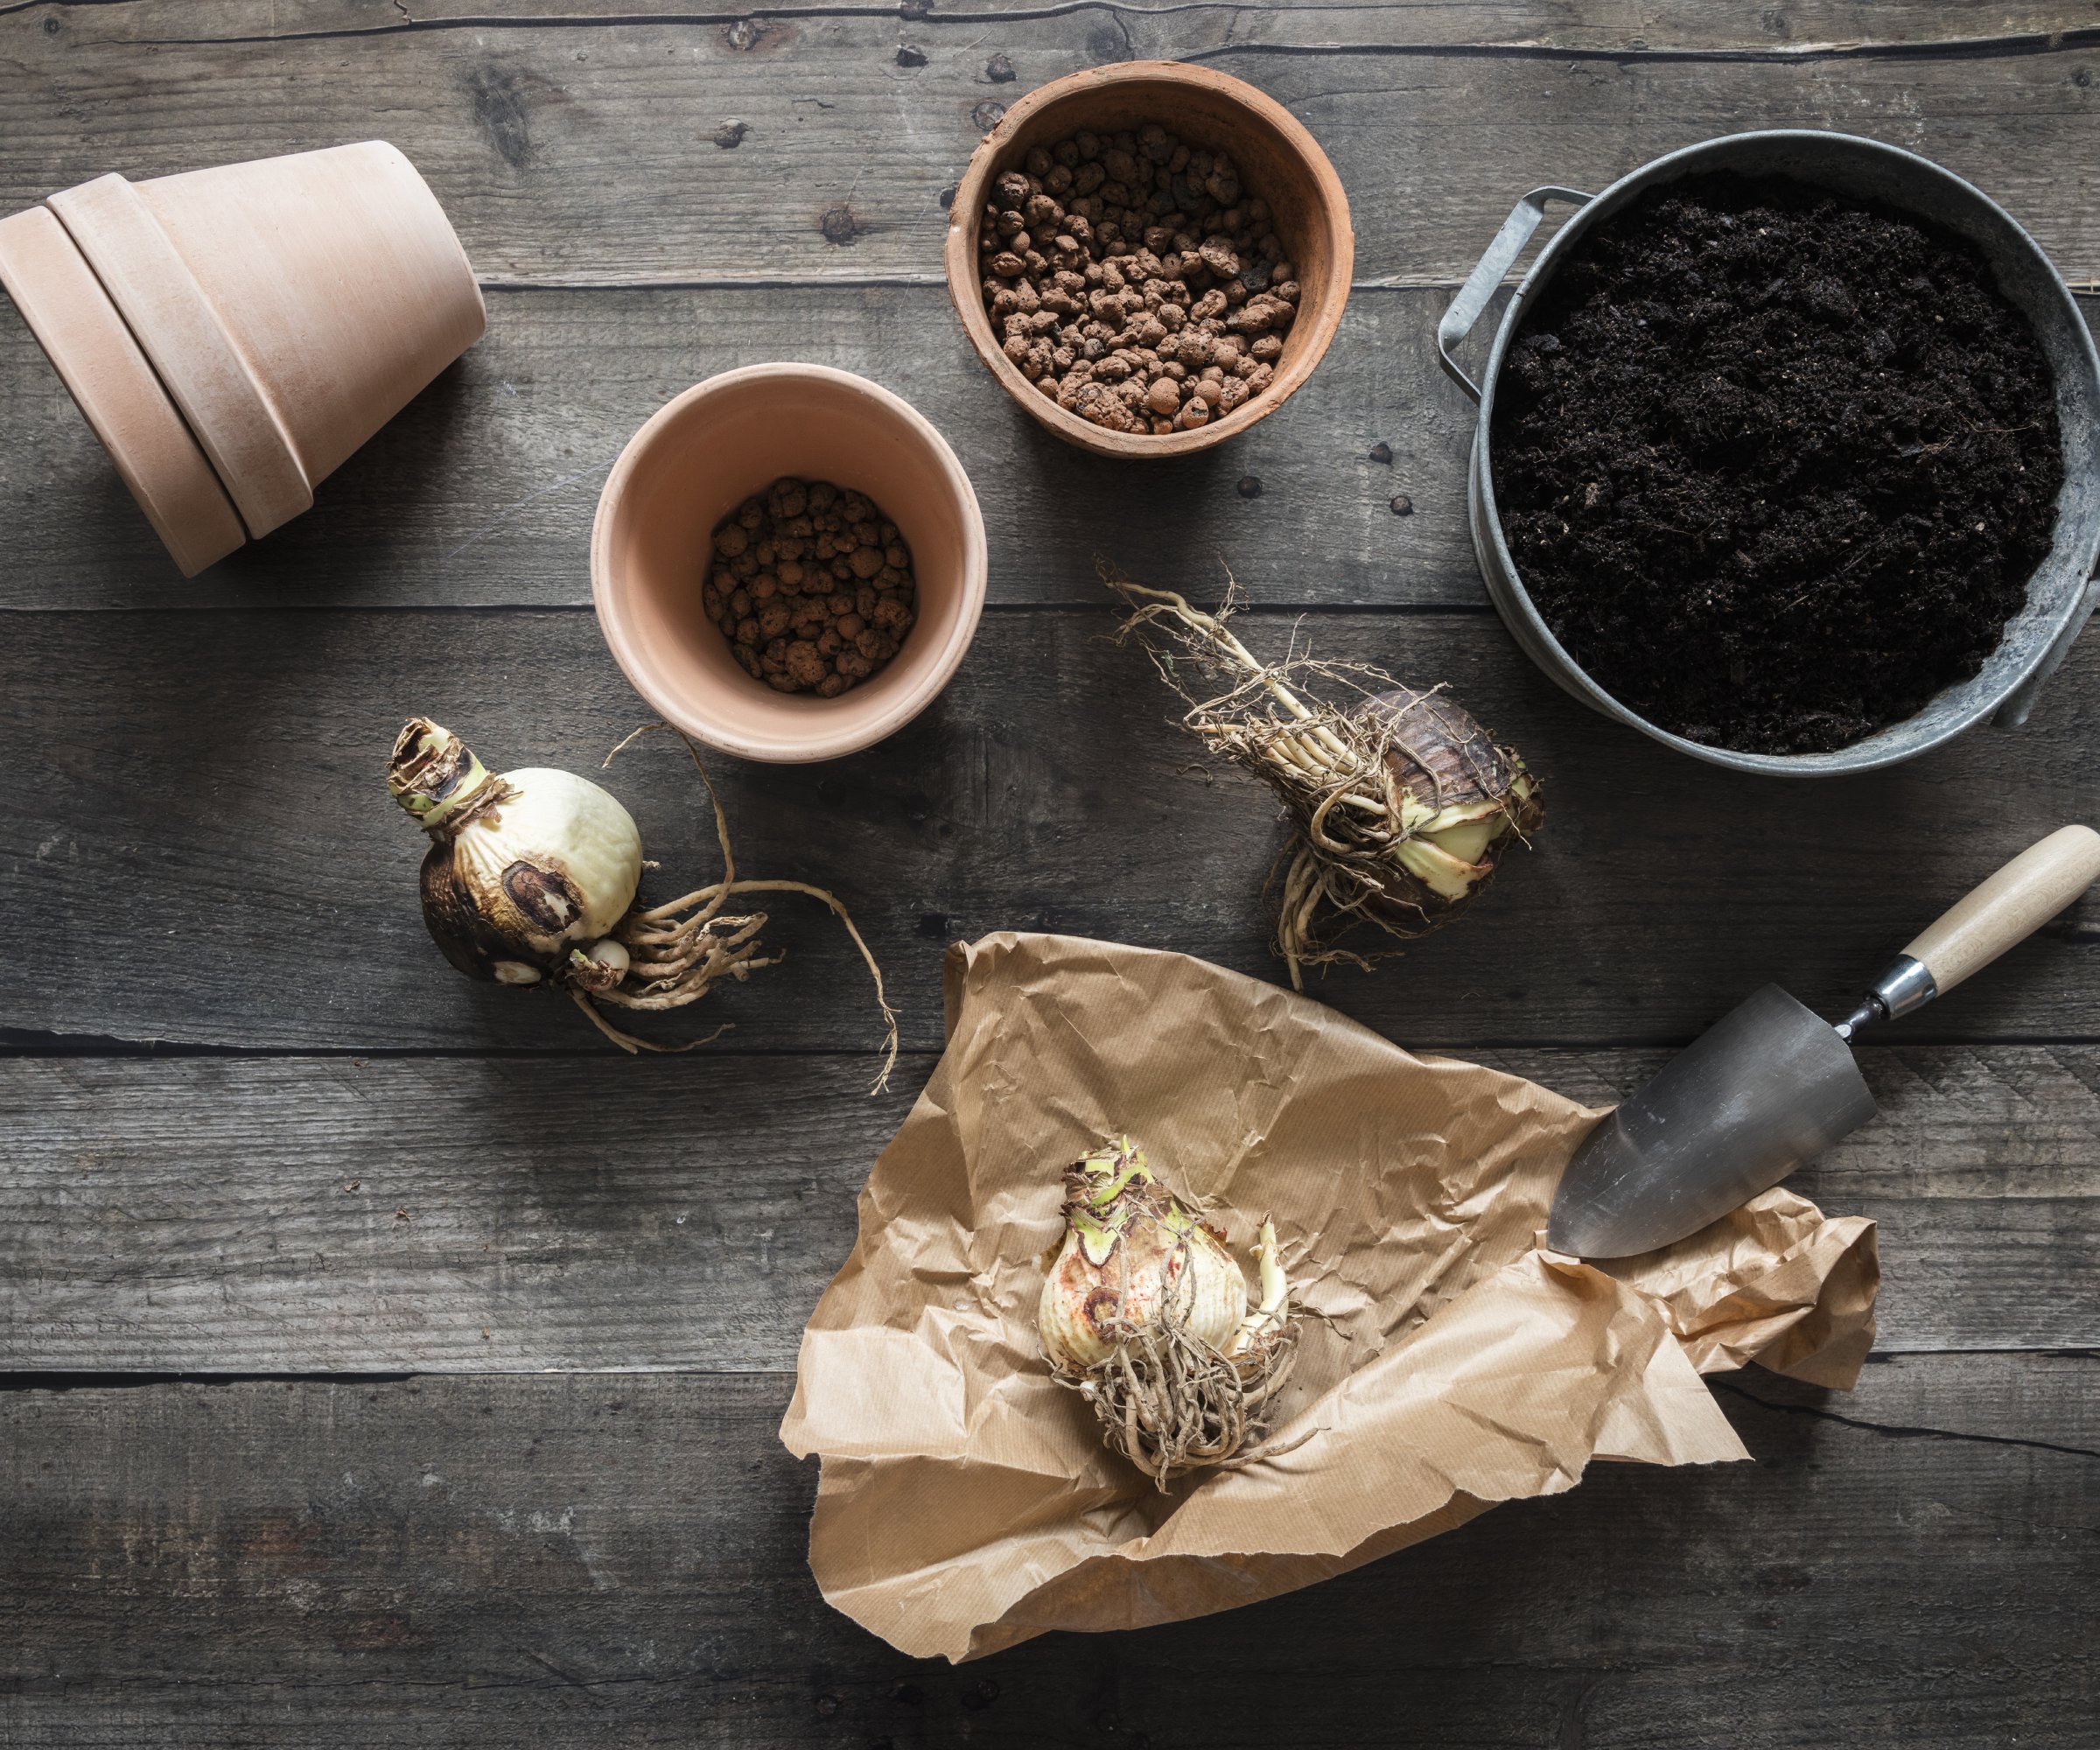
Loosen the roots of the bulb by running a garden knife inside the pot, then tip out the plant, roots and all. Shake off the old soil. Put well-draining potting soil in the bottom of the new pot, position the bulb so that the top is above the rim of the container, then pack in potting soil. Leave the tip of the bulb (1/3 to ½ of the bulb) above the soil. Water well.
Sign up for the Gardening Know How newsletter today and receive a free copy of our e-book "How to Grow Delicious Tomatoes".
Frequently Asked Questions
What is the best soil for repotting amaryllis?
I usually just use well-draining, light potting soil. However, you could also mix the commercial potting soil with coco coir and a sprinkling of sand or perlite and bone meal to make a more well-draining amaryllis soil.
Should I cut the roots off my amaryllis?
Generally, you should not cut the roots off your amaryllis during repotting. The exception is if the roots are soggy or rotting.

Teo Spengler is a master gardener and a docent at the San Francisco Botanical Garden, where she hosts public tours. She has studied horticulture and written about nature, trees, plants, and gardening for more than two decades, following a career as an attorney and legal writer. Her extended family includes some 30 houseplants and hundreds of outdoor plants, including 250 trees, which are her main passion. Spengler currently splits her life between San Francisco and the French Basque Country, though she was raised in Alaska, giving her experience of gardening in a range of climates.