How To Transplant Daylilies: Learn About Moving Daylilies In The Garden
Daylilies are one of the hardiest, easy-care and showiest of perennials. While they are not finicky about, well pretty much anything, they do grow into large clumps and like to be divided every three to five years for optimal blooming. Moving and transplanting daylilies takes a little finesse. The following information on how and when to transplant daylilies will have you an old pro at dividing and moving daylilies in no time.
When to Transplant Daylilies
The most ideal time to transplant daylily roots is after the final bloom in the summer. That said, being the totally easy-to-please perennial that they are, they can be divided up until the end of autumn, which will still give them plenty of time to establish in the ground to create gorgeous blooms next year.
But wait, there’s more. Transplanting daylilies can even take place in the spring. The divided clump will still bloom that year as if nothing ever happened. Really, if you feel like moving the daylilies at pretty much any time of the year, these resilient troopers will reliably return.
How to Transplant Daylilies
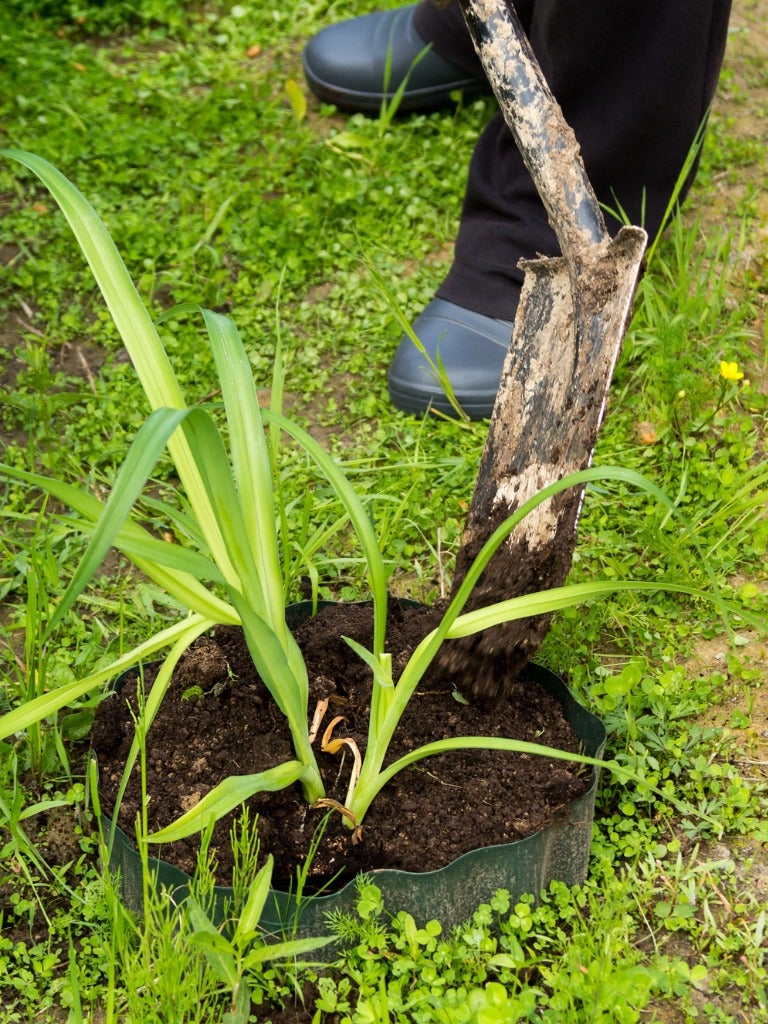
Prior to moving the daylilies, remove half of the green foliage. Then dig around the plant and carefully hoist it from the ground. Shake off some of the loose dirt from the roots and then spray them with hose to remove the remainder.
Now that you can clearly see the roots, it’s time to separate the clump. Wiggle the plants back and forth to separate individual fans. Each fan is a plant that is complete with foliage, a crown and roots. If the fans are hard to separate, go ahead and cut into the crown with a knife until they can be pulled apart.
You can allow the fans to dry in the full sun for a few days, which may prevent crown rot, or plant them immediately.
Dig a hole two times as wide as the roots and a foot (30 cm.) or so deep. In the center of the hole, pile dirt up to make a mound and put the plant atop the mound with the foliage end up. Spread the roots out to the bottom of the hole and fill back in with soil so the crown of the plant is at the top of the hole. Water the plants in well.
Gardening tips, videos, info and more delivered right to your inbox!
Sign up for the Gardening Know How newsletter today and receive a free download of our DIY eBook "Bring Your Garden Indoors: 13 DIY Projects For Fall And Winter".
That’s about it. The reliable blooms will return year after year, even if you don’t divide them. For the happiest, healthiest daylilies, however, plan to divide and transplant every 3-5 years to prevent them from overcrowding.
Amy Grant has been gardening for 30 years and writing for 15. A professional chef and caterer, Amy's area of expertise is culinary gardening.
-
Bold & Beautiful Festive Bloomers: 6 Christmas Flowering Plants For A Big Holiday Buzz
‘Tis the season for celebration and easy living, so make sure your plants are up to it. These dynamic Christmas flowering plants will help you see out the season in style
By Mary Ellen Ellis
-
9 Thoughtful Stocking Stuffers For Gardeners – That They’ll Actually Use
Stocking stuffers often end up an after-thought, but not these! Explore expert-curated stocking stuffers for gardeners that they'll use for years to come.
By Laura Walters
-
Are Daylilies Edible - Can I Eat Daylilies
Daylilies are easy to grow and produce fantastic blooms. Their laissez faire nature and hardiness make them ideal landscaping plants. If you are a garden grazer, you may wonder, "can I eat daylilies?" And if they are, which daylilies are edible? The wonderful answer is contained below.
By Bonnie L. Grant
-
Daylily Tuber Winter Care – Learn About Overwintering Daylily Plants
Daylilies are some of the toughest flowers around, but if you’re concerned about daylily plants in winter, digging and storing daylily tubers isn’t a bad idea, especially in climates north of USDA plant hardiness zone 5. Click this article to learn what to do with daylilies in winter.
By Mary H. Dyer
-
Daylily Division Guide: Learn How And When To Divide Daylilies
Daylilies are pretty perennials with striking blooms, each of which only lasts for one day. They don’t require much care once established, but dividing daylilies should be done every few years to keep them healthy and blooming. Learn when and how to do this here.
By Mary Ellen Ellis
-
How And When To Cut Back Daylilies: Daylily Trimming Made Simple
Daylily trimming after bloom time will keep these beauties tidy and disease-free. Trim the plants back after they bloom and before you divide them.
By Mary Ellen Ellis
-
Streaks On Daylily Leaves: Learn About Daylily Leaf Streak Disease
Daylily plants are among one of the most popular perennial landscaping flowers. While robust, there are some issues that may cause these plants to struggle in the garden. Daylily leaf streak, for instance, can cause distress. Learn more about this disease here.
By Tonya Barnett
-
Deadheading Daylily Flowers: Is It Necessary To Deadhead Daylilies
The daylily plant will only bloom for one day. Luckily, each plant produces multiple blooms that flower continuously, creating the beautiful display its growers have come to love. But what happens once the blooms fade? Is daylily deadheading necessary? Find out here.
By Tonya Barnett
-
Daylily Fertilizer Needs – How To Fertilize Daylilies
Do you need to start fertilizing daylilies? That can depend on the soil. If the soil is poor, feeding these plants may help them to thrive. For more information on daylily food and tips on how to fertilize daylilies, simply click on the following article.
By Teo Spengler
-
Daylily Scape Info: Learn About Daylily Scape Identification
Daylilies require little maintenance other than pulling out the scape at the correct time. What is a daylily scape? Scapes in daylilies are the plants’ leafless stems on which the flowers appear. For more daylily scape information, click on the following article.
By Teo Spengler