How And When To Transplant Hydrangeas So They Survive & Thrive In A New Location
If transplanting hydrangeas is on your to-do list, you're in luck! Our garden experts will walk your through step-by-step how to move hydrangeas to a new home.

Liz Baessler

Sign up for the Gardening Know How newsletter today and receive a free copy of our e-book "How to Grow Delicious Tomatoes".
You are now subscribed
Your newsletter sign-up was successful
Transplanting hydrangeas can be stressful for plants. Don’t believe that? Just think of the last time you moved and transplanted your life from one spot to another. Sure, some things about your new place are better—maybe now you have more room to grow or more sunlight in your new home—but the process was almost certainly stressful.
Moving is stressful for plants, too. That’s why learning how and when to transplant hydrangeas the right way and at the right time is so critical. You want your hydrangeas to not only survive the transition, but thrive in their new home. You also want to make sure to find the right location and ways to use hydrangeas in your landscape so you don’t have to transplant your shrubs again one day.
In this article, we’ll walk you through everything you need to know to transplant a hydrangea, including how to pick a new site, dig up your shrub, replant it, and care for your hydrangea after the big move.
Best Time to Transplant Hydrangeas
When is the best time for transplanting hydrangeas? It is possible to transplant at any time of year other than the height of summer, but exact timing can vary depending on your local climate.
In general, the best time to transplant hydrangeas is just after the bushes have gone dormant in the autumn. This means the flowers have all died back and most or all of the leaves have dropped.
Gardeners living in milder growing zones should transplant in late winter or early spring before hydrangeas start to develop buds. In warmer climates where the ground doesn’t freeze, you can transplant hydrangeas between December and February.
In cooler climates, the best time to plant hydrangeas is fall. Move shrubs in October or November when the bush is dormant but the ground is not yet frozen solid or you can wait and move them in early spring.
Sign up for the Gardening Know How newsletter today and receive a free copy of our e-book "How to Grow Delicious Tomatoes".
While these are the best times for moving hydrangea bushes, you can really do it any time during the year without killing the plant, provided it’s not in the heat of summer.
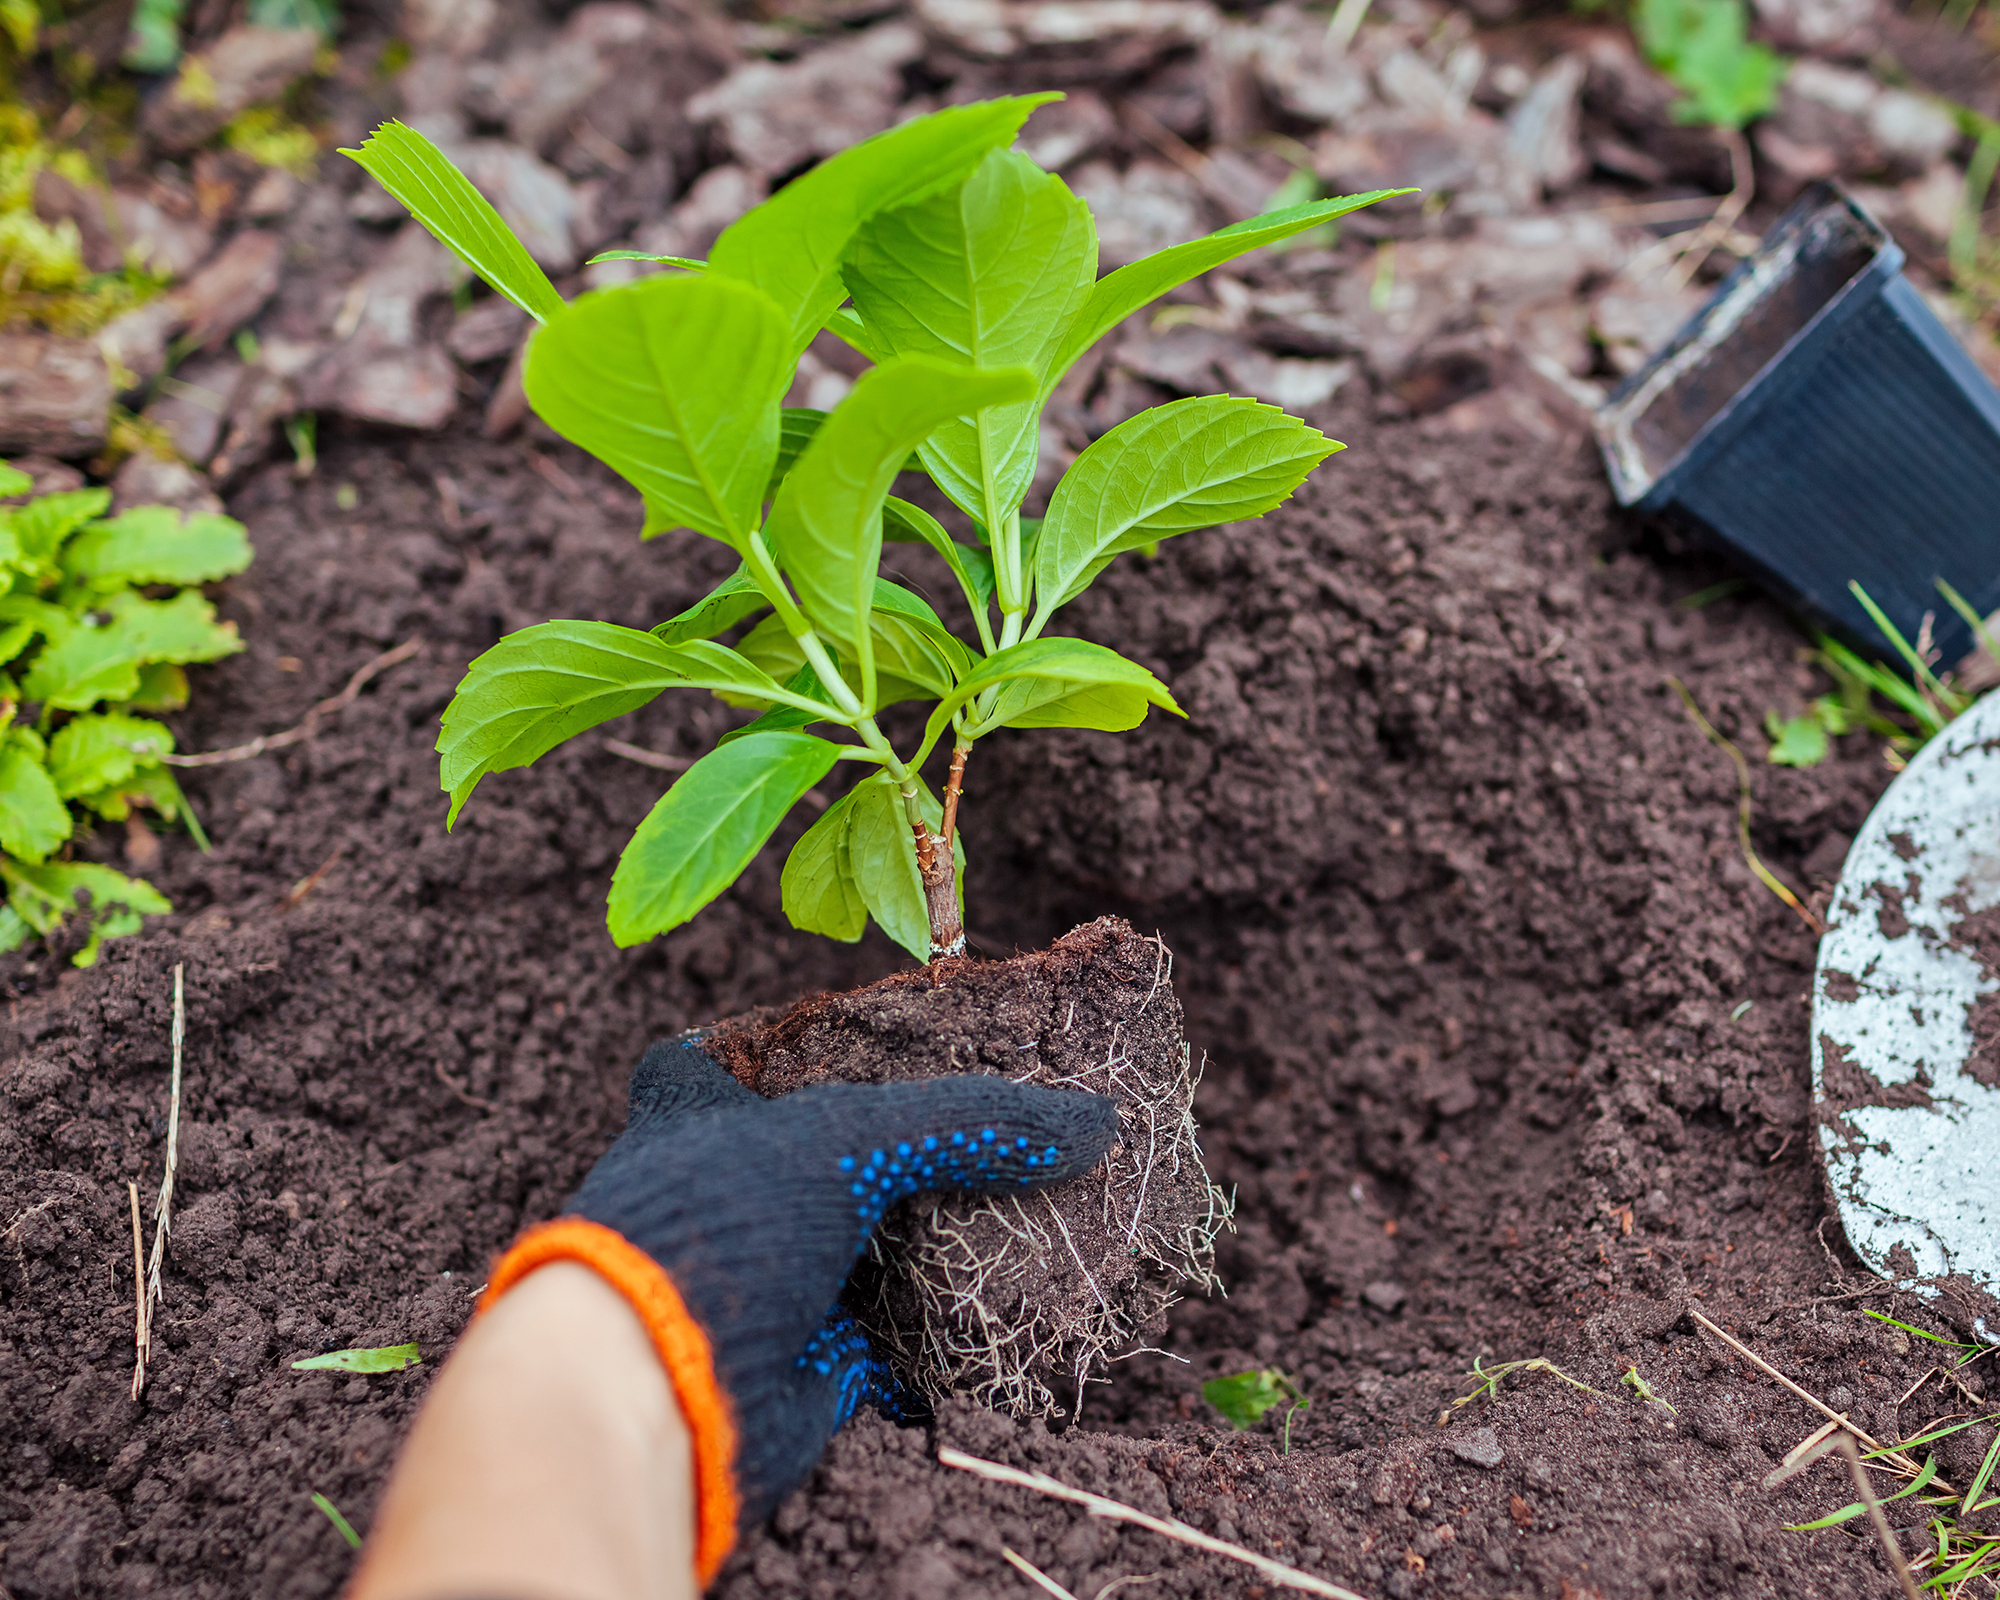
What to Do Before Transplanting Hydrangeas
There are many reasons for moving hydrangeas, but the most common one is not planting your shrub in the right location from the start. In fact, it’s one of the most common hydrangea care mistakes inexperienced gardeners make. Perhaps your hydrangea is crowding out other plants or it’s struggling to thrive in its current location.
Hydrangeas can grow fast, and if not given enough room to expand, your shrub may outgrow its spot in a few years. Or maybe your hydrangea was planted in deep shade and it won’t produce flowers. Both issues may lead you to replant a hydrangea. But before you do anything, keep in mind that taller shrubs have heavy rootballs and may require expert attention.
Always transplant trees and shrubs when they are well hydrated. Water hydrangeas well the week before the move to help it with the transition. If your hydrangea bush is big and unwieldy, prune it back a little before moving it. Less flowers and foliage mean less work for the roots.
Read up on hydrangea’s cultural requirements, then select an appropriate spot for transplanting. Pick a location that receives at least some shade during the course of the day. Generally hydrangeas prefer morning sun and some afternoon shade plus acidic, well-draining soil. You can test your soil acidity using a 4-in-1 Soil Moisture & PH meter from Amazon.
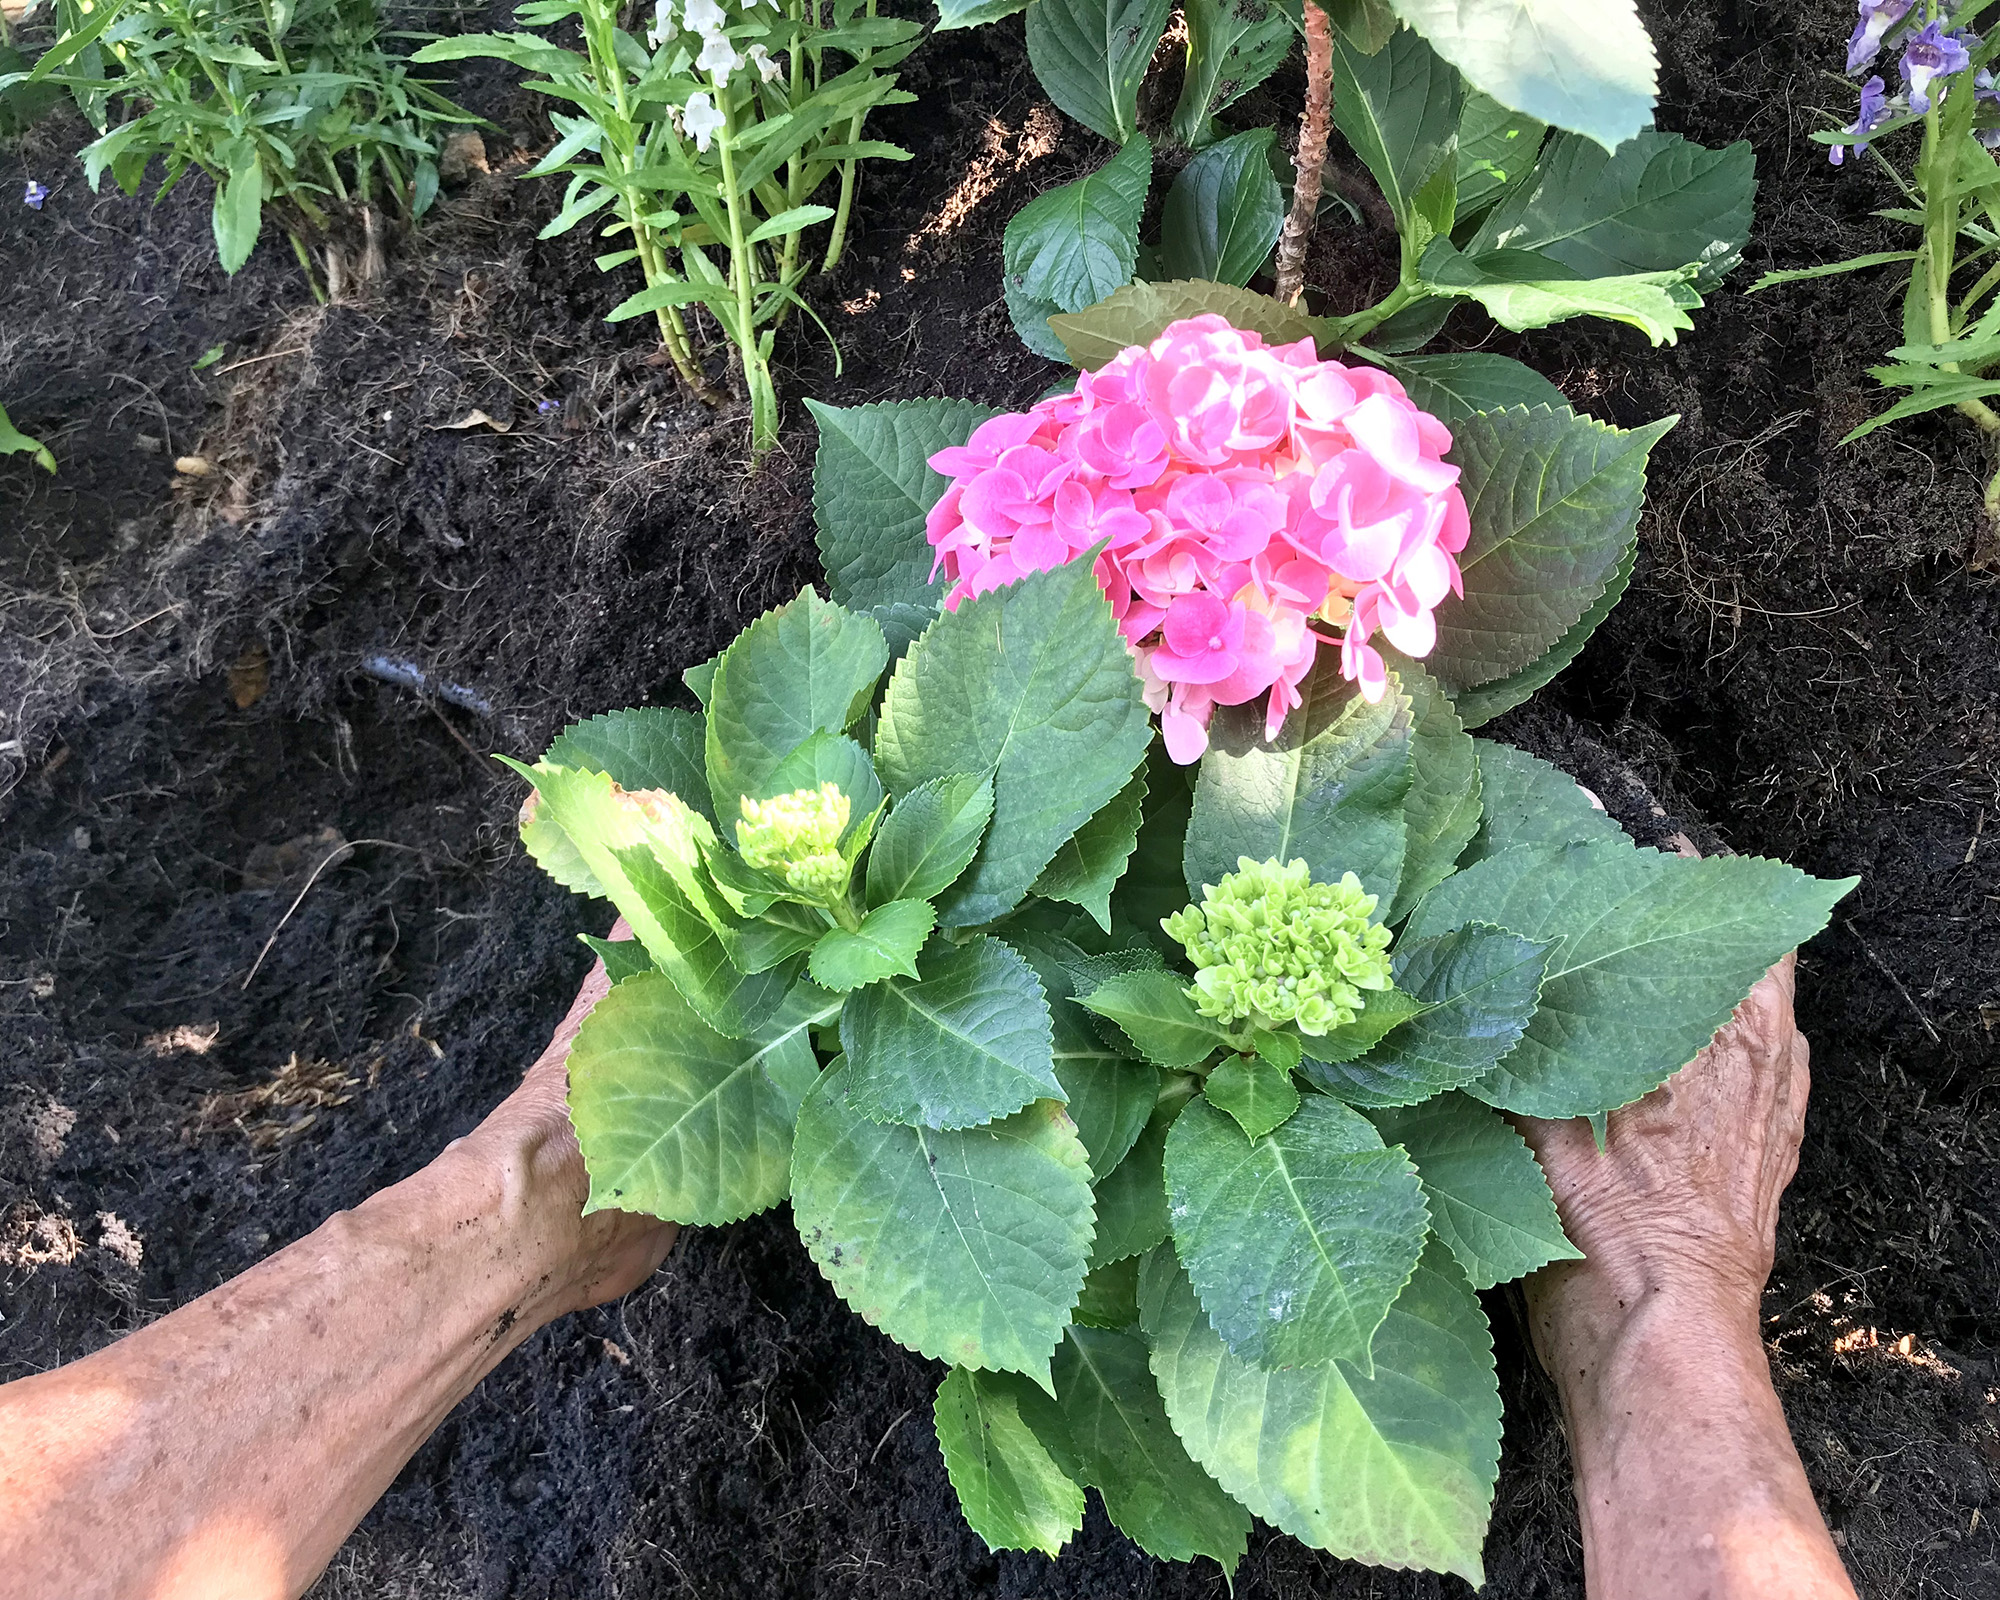
How to Transplant a Hydrangea
Transplanting hydrangeas can be a stressful experience for plants, but for the smoothest transition and the greatest chances of success just follow these four simple steps.
1. Dig a New Hole
When transplanting hydrangeas, the first step is to dig a hole in your new location. Moving hydrangea bushes requires a lot of digging, and you don’t want your poor plant to wait out of the ground for you to dig a big hole. It should be at least 1-1.5 feet (30-45 cm) deep and twice as wide, depending on the size of your shrub. This innovative, highly rated spade from Amazon should do the trick and make digging your hole a breeze.
2. Lift the Shrub
Next, it’s time to dig up your hydrangea. Sink your shovel straight down into the ground in a circle around the bush to free the root ball. You need to dig a circular trench around the rootball of your hydrangea. It should be 1-1.5 feet (30-45cm) deep and at least as wide as the hydrangea’s drip line.
Once the trench is complete, slice off the roots at the bottom of the rootball. Allow the shrub to fall to one side and lay burlap in the trench on the other side, then move the plant so that the rootball is on the burlap. Hydrangea rootballs can be quite large and heavy, so it may take more than one person and a crowbar to pry it out of the ground.
Once the hydrangea is out of the hole, wrap the burlap around the rootball and carefully move it to its new location. You can get gardening burlap from Amazon.
3. Replant the Hydrangea
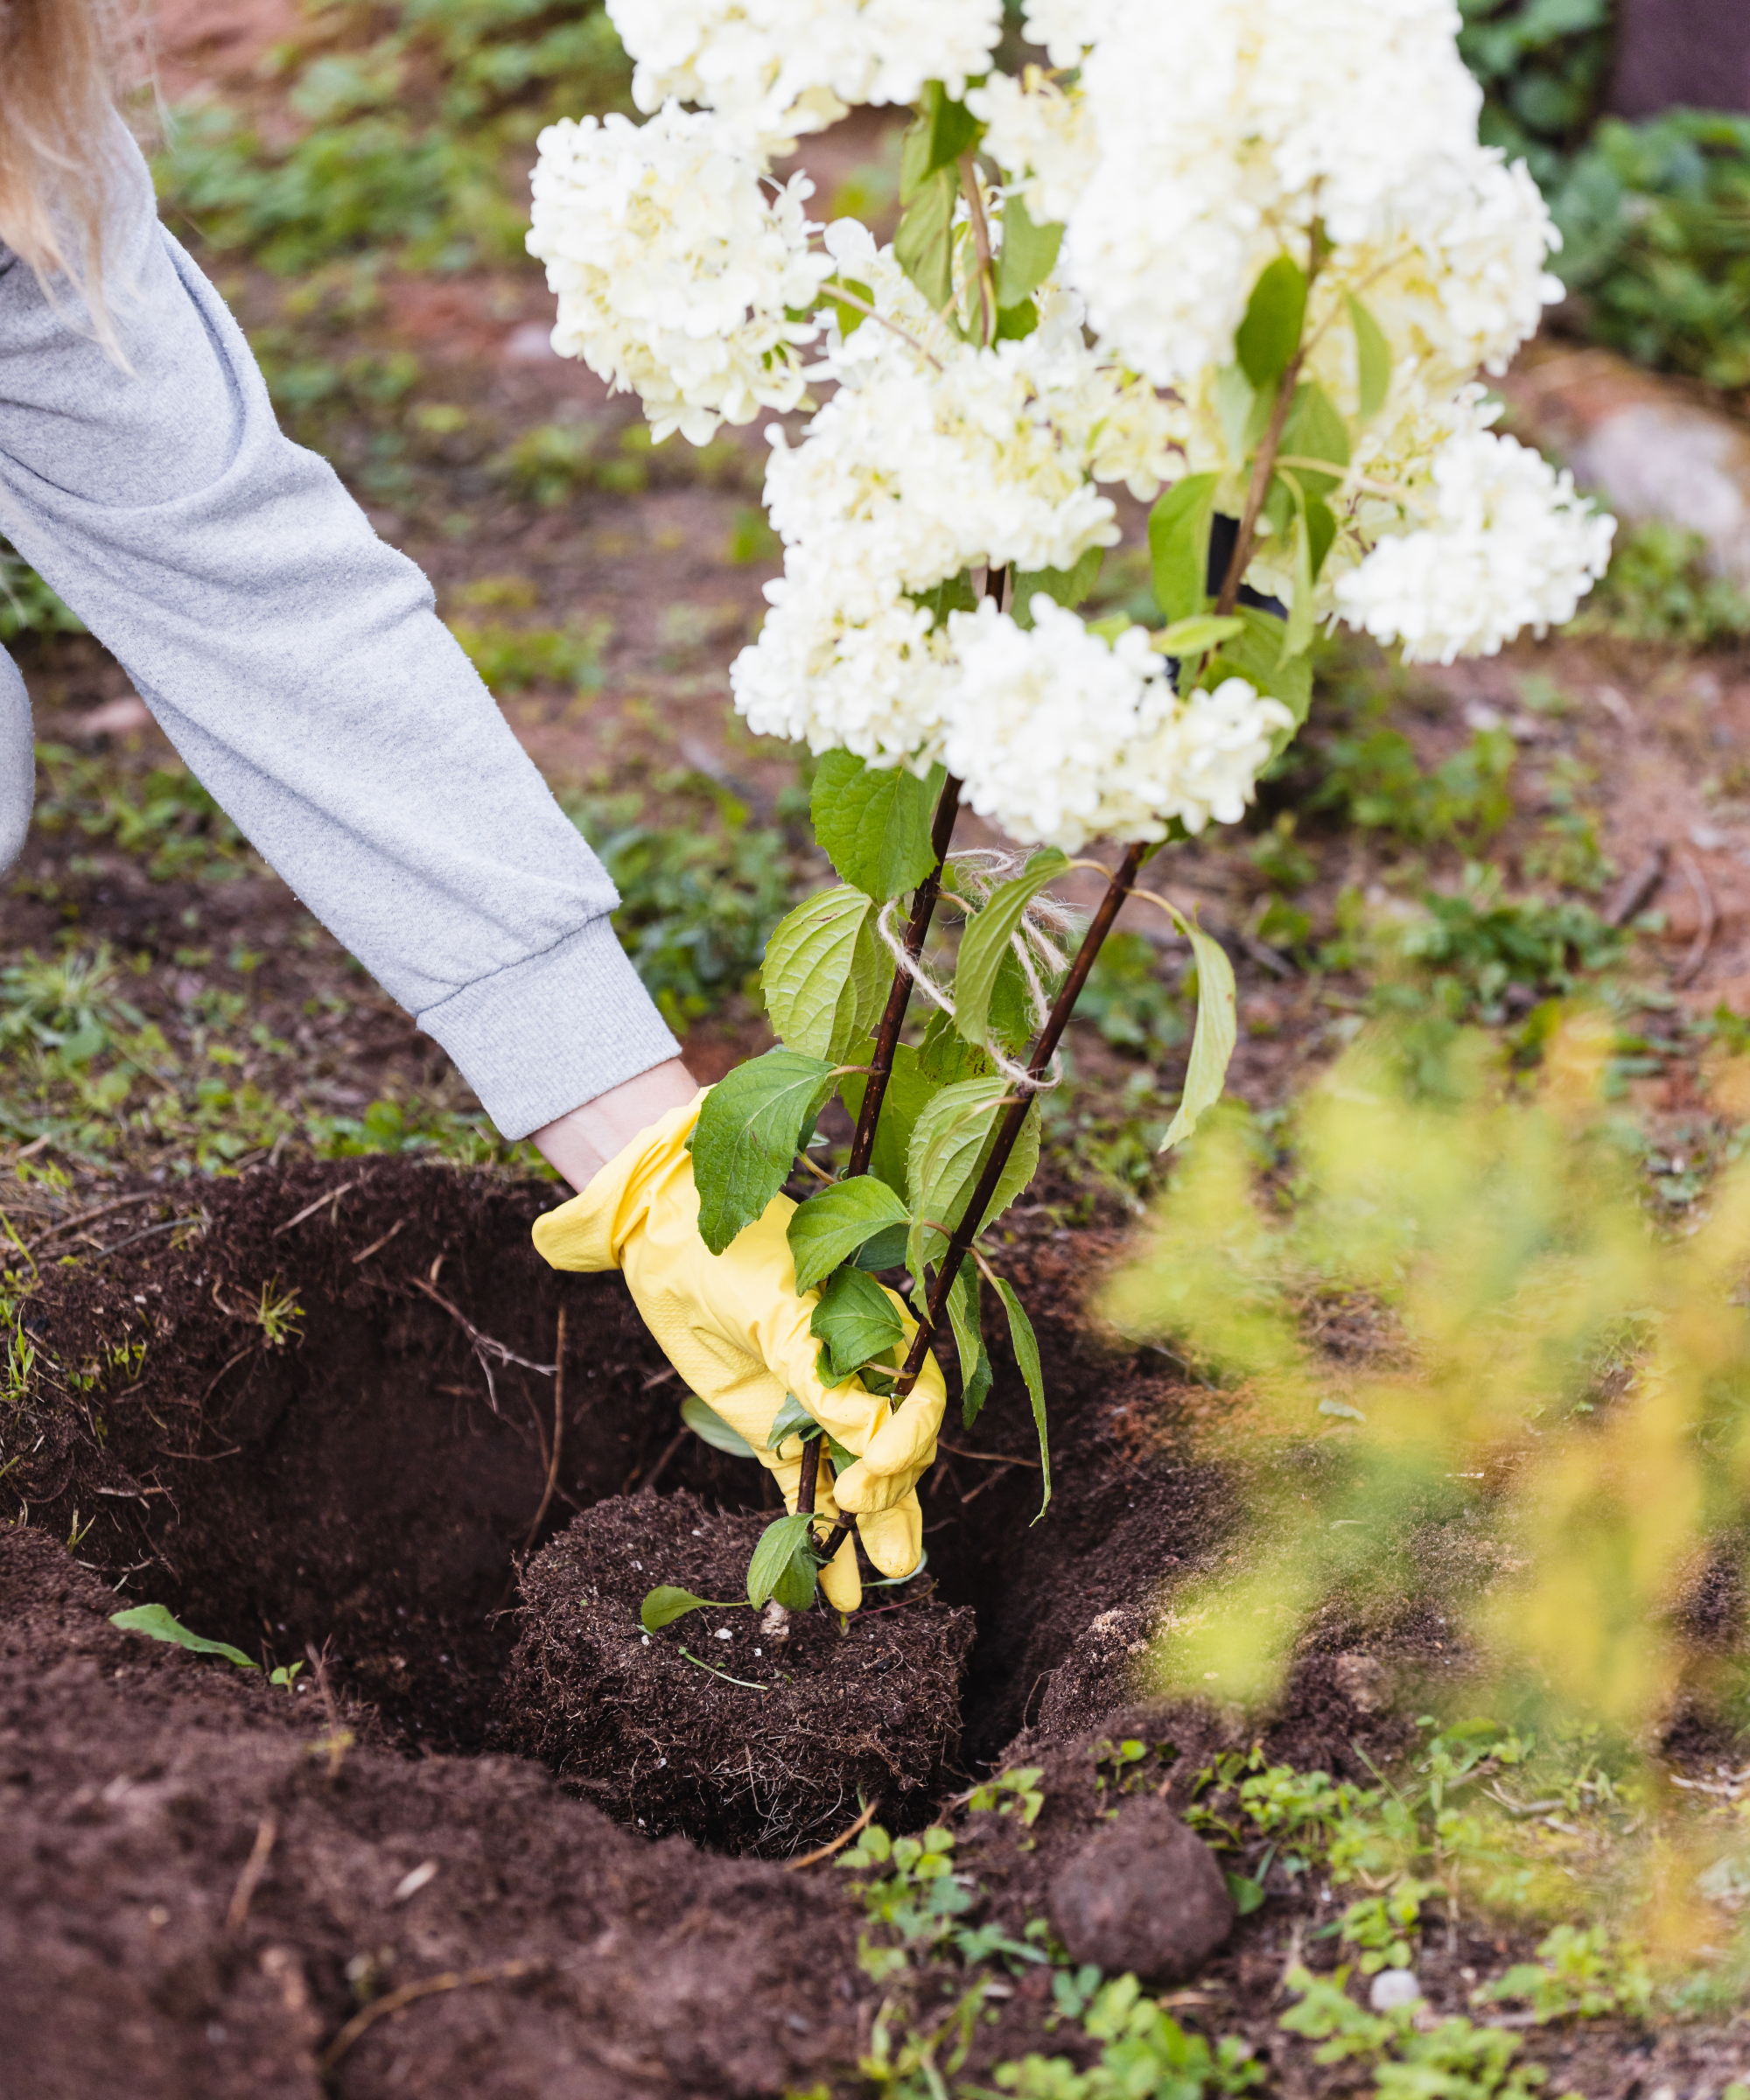
Check the depth of the new planting hole and ensure that it’s the same height as the rootball and twice as wide. Carefully lower the shrub into the hole, position it so the top of the rootball is level with the ground, and backfill the hole with soil.
Before the hole is completely filled in, cut away the burlap from the top of the root ball. Then fill in with the remaining soil, lightly tamp it down, and water well.
4. Water and Care for Transplanted Shrub
Don’t let your hydrangea get dehydrated! Water deeply once a week for several months following transplant. If you’ve moved it in spring or early summer, the bush will need lots of water while the roots establish themselves in their new environment.
If it’s autumn or winter, however, you shouldn’t have to water it again until spring. Put down a few inches (8 cm) of compost on top of the soil, like this compost and manure blend from Home Depot. When spring comes, water it frequently all through the growing season to help your plant get established in its new home.
Transplanting Hydrangeas From Pots
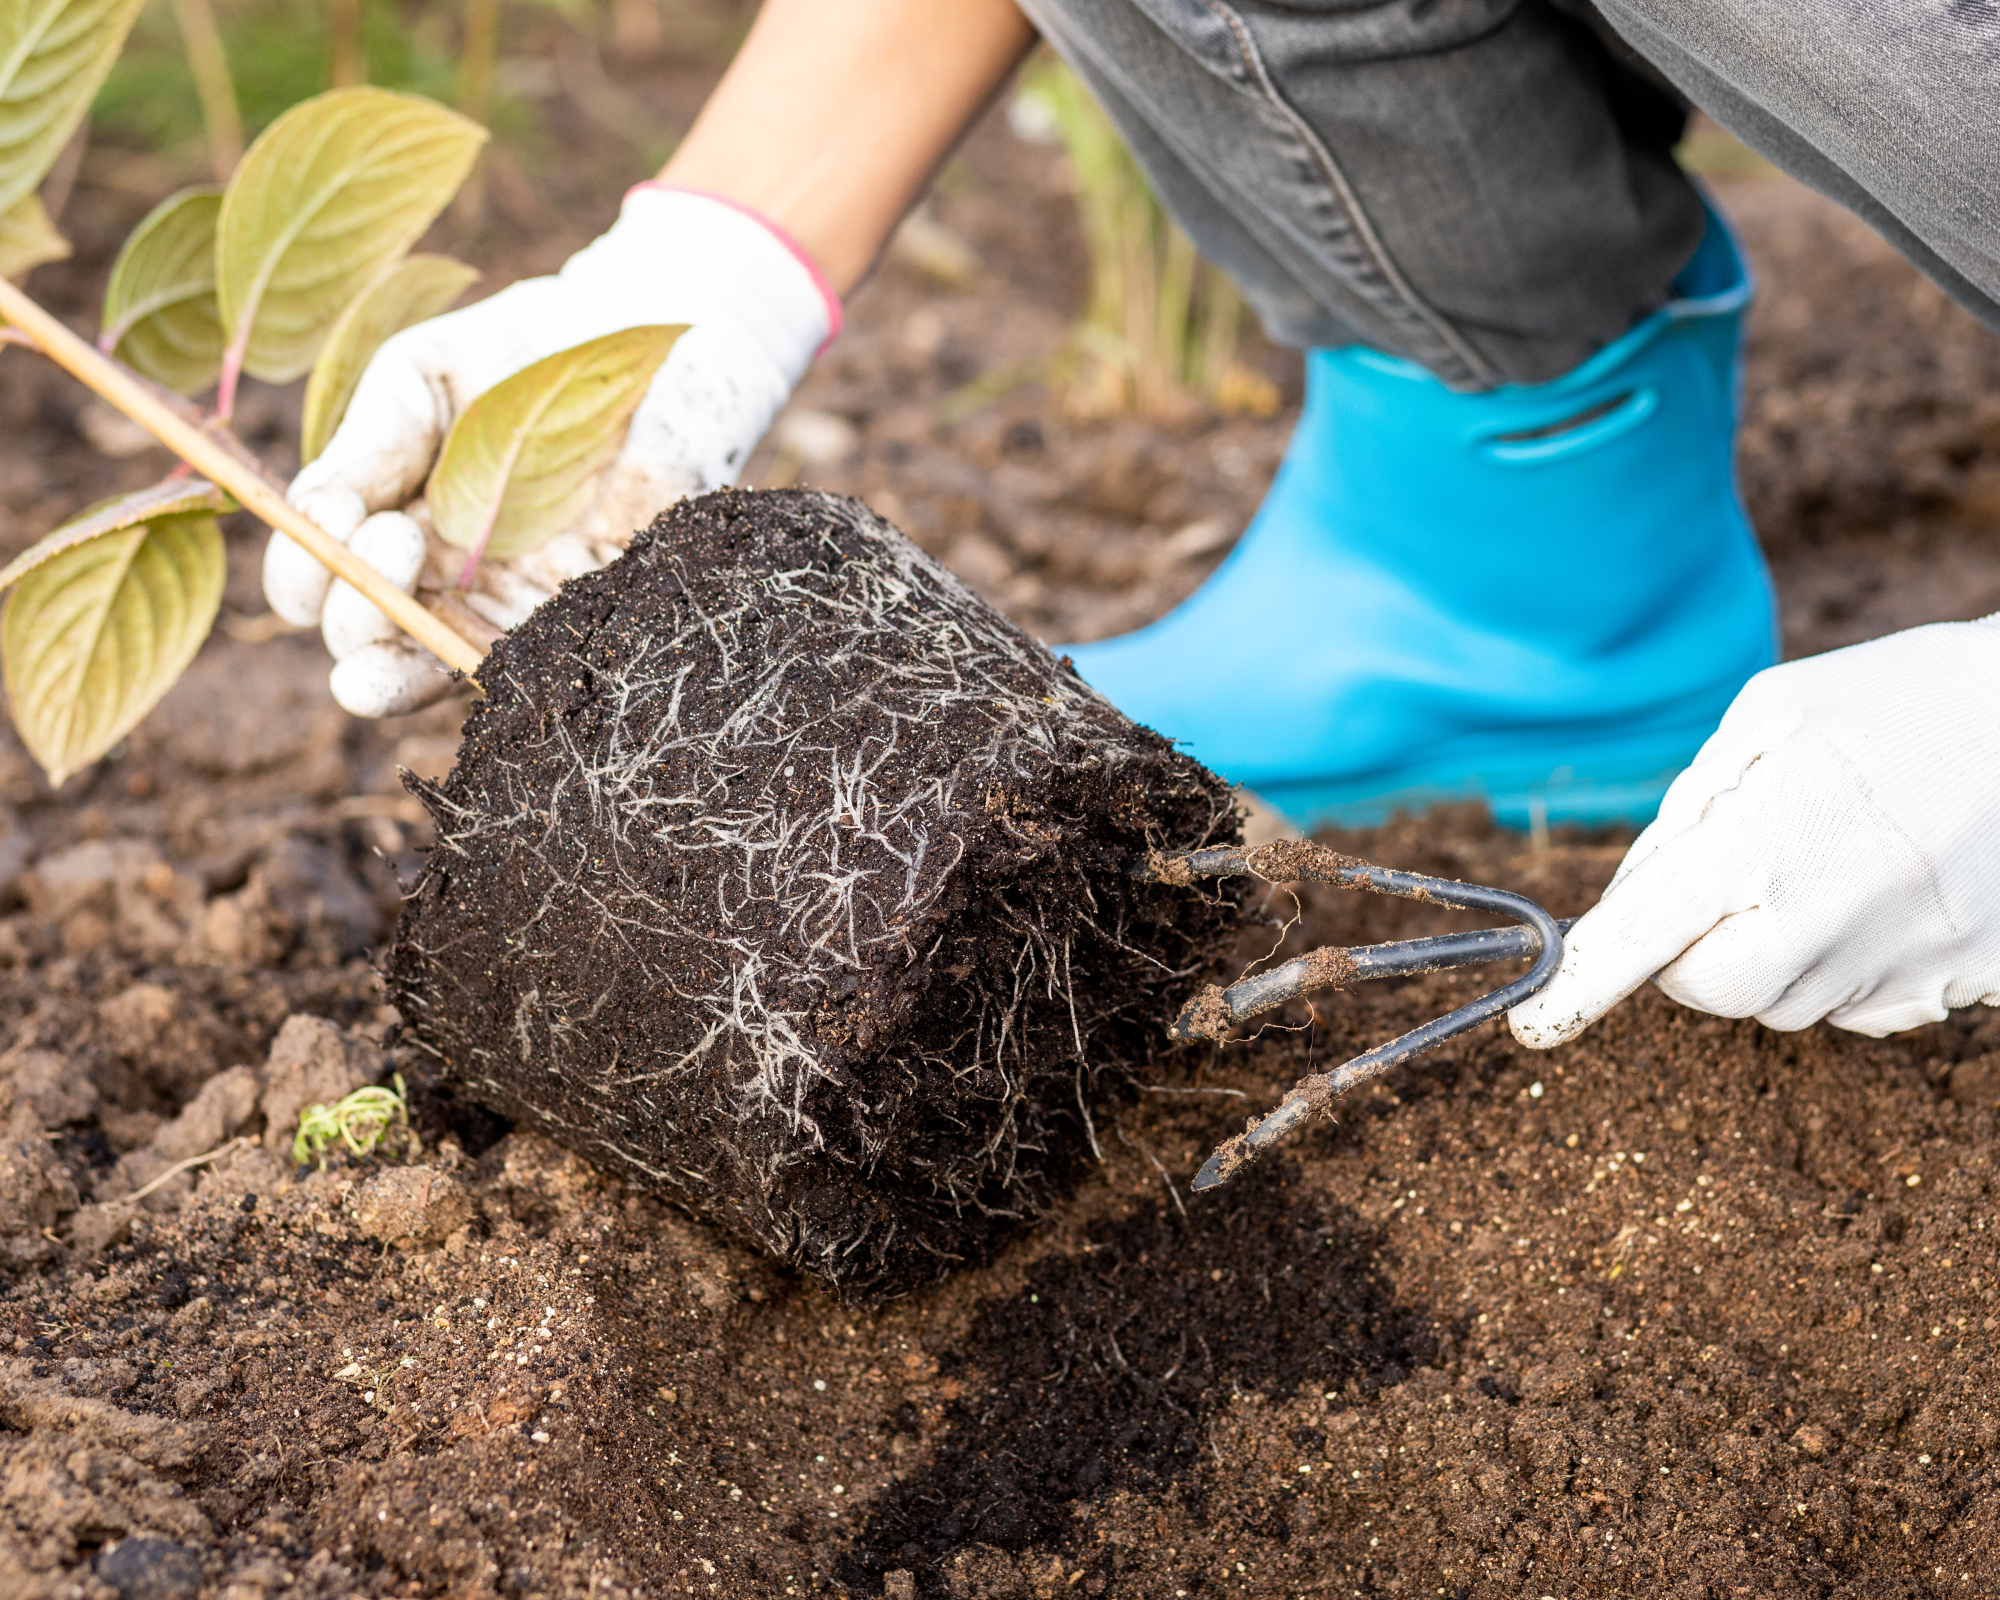
Transplanting a container-grown hydrangea is simpler since removing a plant from a pot is easier than digging up an entire shrub.
The same rules apply about the size of the new hole and replanting the hydrangea. Check the roots to make sure they don’t circle the inside of the container. If they do, gently loosen them before placing the rootball in the ground.
Frequently Asked Questions
Should I Prune Hydrangeas Before Transplanting?
The benefits of pruning hydrangeas before transplant are two-fold: a smaller crown makes it easier to move the shrub and the roots have less work to do. The detriment is that you may get less flowers the following season.
How Long Does Hydrangea Transplant Shock Last?
Transplanting hydrangeas shrubs is hard on the plants. They will need lots of water on a regular basis to avoid transplant shock. Continue watering them well during the first growing season and for two years after the move. Consider a drip irrigation system (like this option from Amazon) to ensure consistent watering.

Teo Spengler is a master gardener and a docent at the San Francisco Botanical Garden, where she hosts public tours. She has studied horticulture and written about nature, trees, plants, and gardening for more than two decades, following a career as an attorney and legal writer. Her extended family includes some 30 houseplants and hundreds of outdoor plants, including 250 trees, which are her main passion. Spengler currently splits her life between San Francisco and the French Basque Country, though she was raised in Alaska, giving her experience of gardening in a range of climates.
- Liz BaesslerSenior Editor