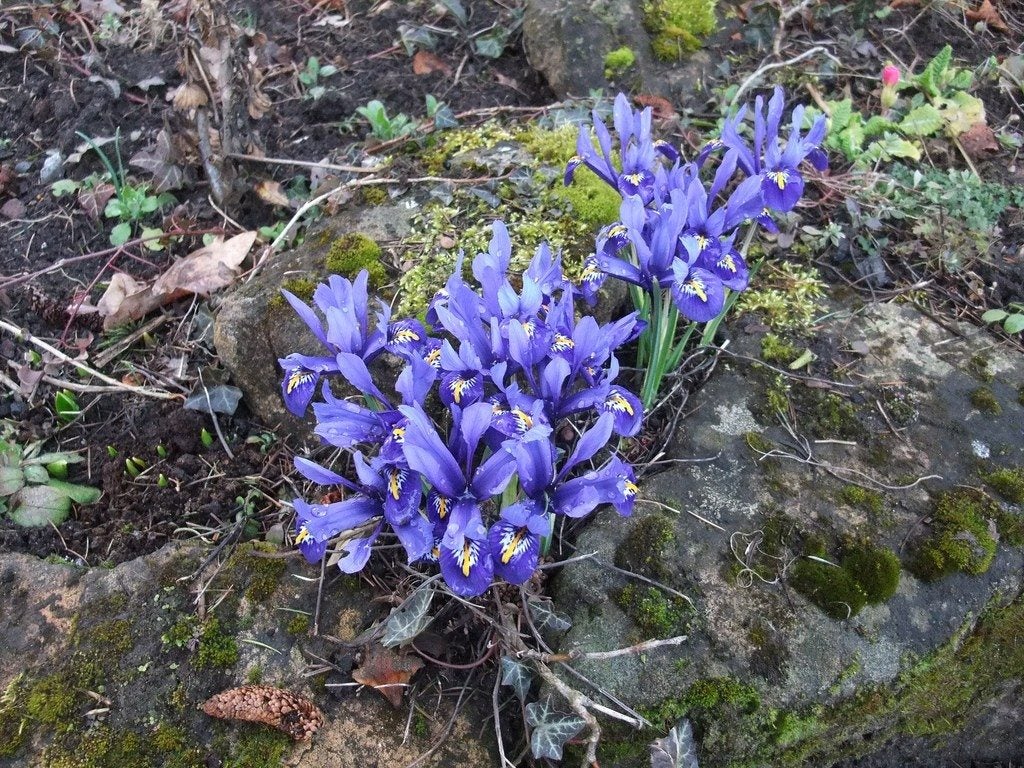
How To Plant Rock Garden Iris


Rock garden irises are adorable and delicate, and adding them to your rock garden can add charm and delight. Learn more about planting rock garden irises and their care in this article.
How to Plant Rock Garden Iris
For planting rock garden irises, follow these guidelines:
- Plant the bulbs in groups of ten or more, and about an inch (2.5 cm.) or so apart. If you plant them singularly, they are easily overlooked.
- Be sure to set the bulbs relatively deep, with 3 or 4 inches (8-10 cm.) of soil over the top. If your soil is free-draining and water doesn't puddle and moves freely through the soil, more soil is okay.
One problem with the little rock garden iris is that during the first year of planting, it flowers just fine. After that, for some reason the plant just sends up leaves and each original bulb splits into tiny rice-grained-sized bulbs. These tiny bulbs don't have the food reserves to help support the production of flowers. Deeper planting helps, and so does extra nourishment. You can apply liquid fertilizer in very early spring while the leaves are actively growing, or you can work around this issue by just planting new bulbs each spring. These bulbs are inexpensive enough that this solution isn't that bad.
Forcing Rock Garden Iris
Rock garden irises are a very easy to force. Just plant some of them in the fall at the same time as you plant other bulbs outside. Follow these steps:
- Buy a bulb pan or an azalea pot. Bulb pans are half as high as they are wide, and azalea pots are two-thirds as high as they are wide. They both have the most pleasing proportions for these little irises because a standard pot looks kind of massive.
- Whatever pot you choose, make sure that the pot has a drainage hole. You will want to cover the hole with a piece of window screening or pot shard to keep soil from falling out.
- Fill the pot with rock garden iris bulbs almost touching in the right soil. Cover the bulbs with about an inch (2.5 cm.) of soil.
- Water moderately right after planting to ensure they get enough moisture.
- Provide about 15 weeks of a chilling period to help the bulbs form roots; then bring the pot into warmth and light for to help them flower.
Sign up for the Gardening Know How newsletter today and receive a free copy of our e-book "How to Grow Delicious Tomatoes".

Heather Rhoades founded Gardening Know How in 2007. She holds degrees from Cleveland State University and Northern Kentucky University. She is an avid gardener with a passion for community, and is a recipient of the Master Gardeners of Ohio Lifetime Achievement Award.