Removing Siberian Iris Flowers – Does Siberian Iris Need Deadheading


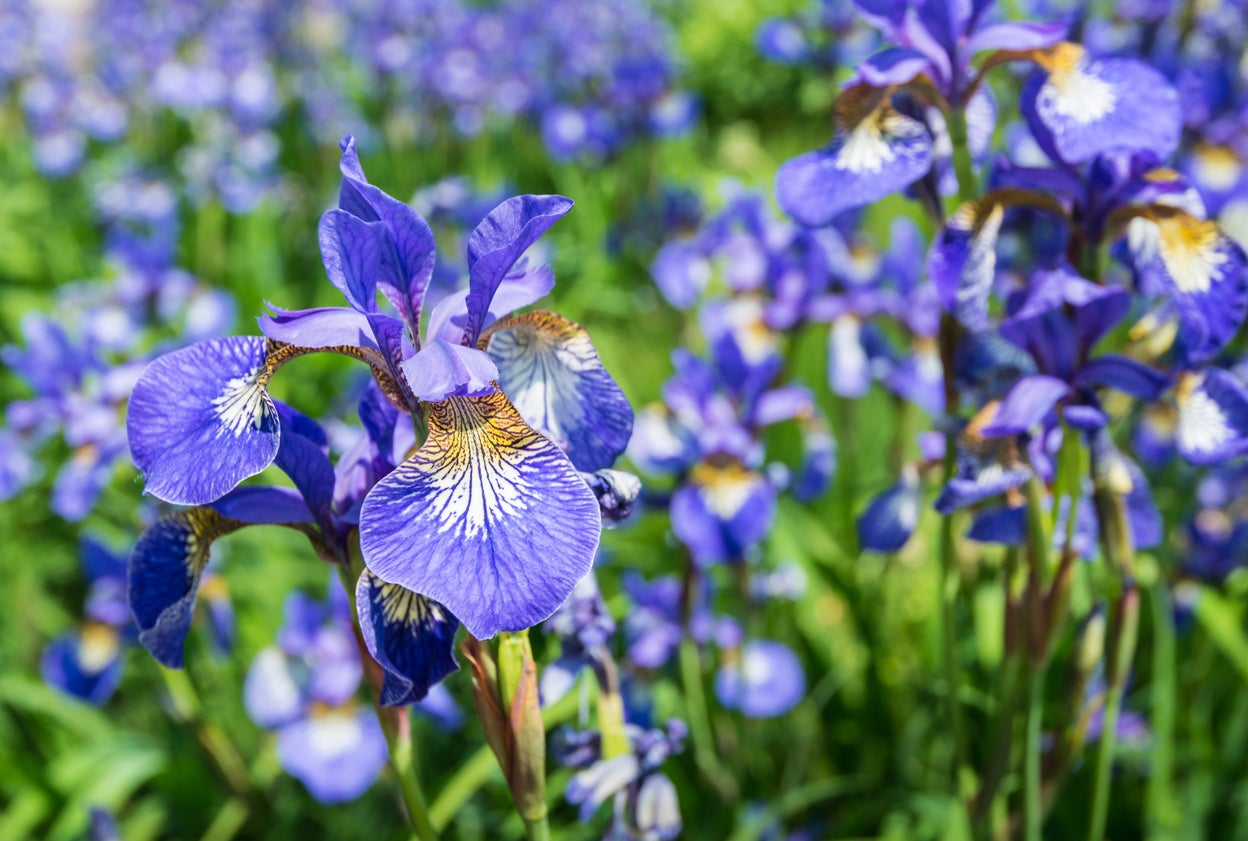
Known as the most adaptable, easy-to-grow iris plants, Siberian irises are finding their way into more and more gardens these days. With beautiful blooms in multiple colors, their dramatic but tough sword-like foliage, and excellent disease and pest resistance, there is no mystery why iris lovers are drawn to them. Siberian irises are known as a low to no maintenance plant, yet here at Gardening Know How, we are flooded with questions like “should you deadhead Siberian iris?” and “does Siberian iris need deadheading?” Click on this article for answers to those questions, as well as tips on removing Siberian iris flowers.
About Siberian Iris Deadheading
Siberian iris plants naturalize, forming clumps or colonies of 2 to 3 foot (61-91 cm.) tall plants in zones 3 through 9. Blooms form from spring to early summer on strong, erect stems above stiff, sword-like foliage. They bloom along with other spring perennials such as allium, peony, bearded iris, and foxglove. One of the notable characteristics is that their stems and foliage remain green and erect after the blooms fade. They do not brown, scorch, wither, or flop after blooming like other irises often do. Though the foliage will last a long time, Siberian irises only bloom once. Removing Siberian iris flowers once they've wilted will not cause the plants to rebloom. Wilted, spent blooms of Siberian iris can be removed to improve the tidy appearance, but deadheading spent flowers is purely cosmetic and has no actual effect on the health or vigor of the plants. Due to this, they can be paired with plants that flush out later, such as daylily, tall phlox, or salvia for successive blooms.
How to Deadhead a Siberian Iris
If you enjoy deadheading plants and prefer a pristine garden, deadheading Siberian iris blooms will not harm the plant either. For best plant appearance when removing spent Siberian iris blooms, cut the whole flower stalk back to the plant crown immediately after the flowers fade. Take care, however, not to cut back the foliage. This foliage photosynthesizes and collects nutrients throughout the growing season. In autumn, the leaves will begin to dry up, brown, and wither as all the stored nutrients move down into the root system. Foliage can be cut back to about 1 inch (2.5 cm.) at this point.
Sign up for the Gardening Know How newsletter today and receive a free copy of our e-book "How to Grow Delicious Tomatoes".

Darcy is a former contributor to Gardening Know How. She is a professional landscape designer and gardening writer with experience in plant sales. An avid gardener, Darcy has a passion for sharing practical tips to help others grow.