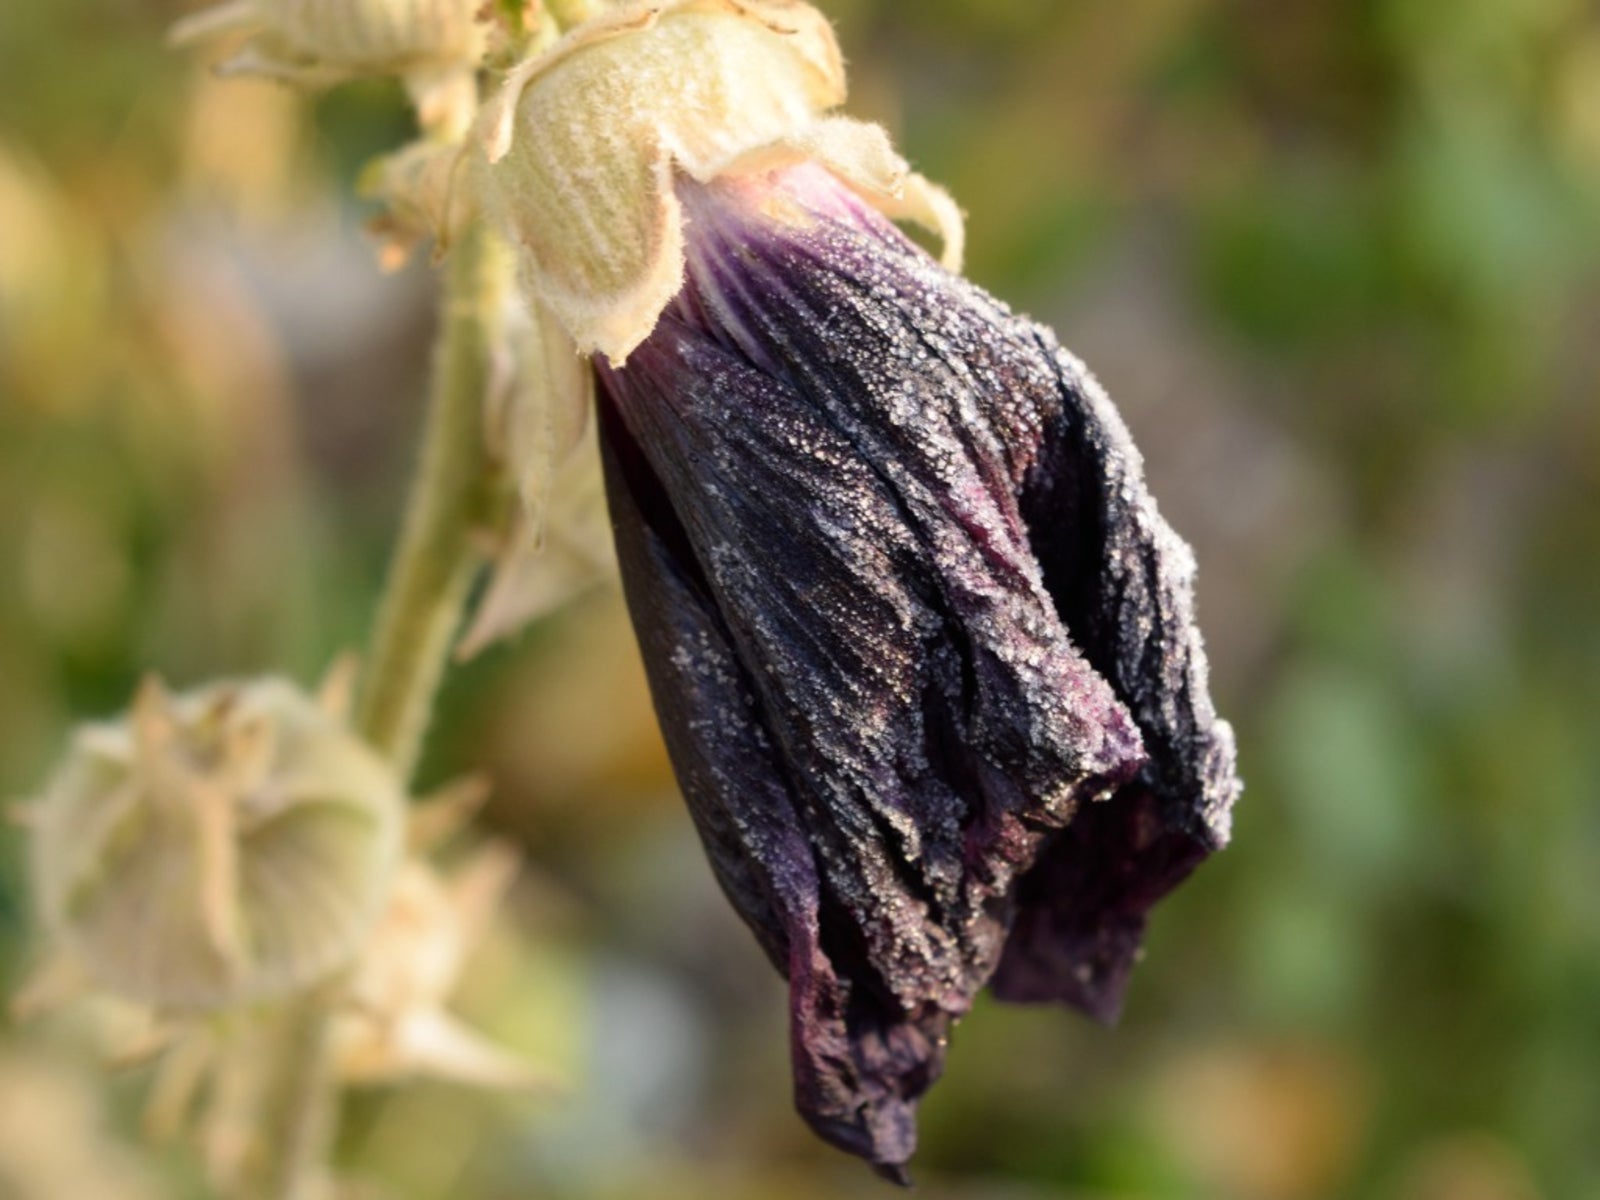
Hollyhock In Winter: How To Winterize Hollyhock Plants


There is no mistaking the cheery spires of hollyhock flowers. The stems soar above the rosette of leaves and may get as tall as a grown man. The plants are biennials and take two years from seed to bloom. Hollyhock in winter die back, but you still need to protect the roots in order to enjoy the impressive flower display in summer. Discover how to winterize hollyhock the first year so the plants get a chance to amaze you and attract butterflies and bees with their lovely blooms.
Preparing Hollyhock for Winter
Hollyhock plants readily reseed themselves, so once you have a nice batch, you have a lifetime supply. Hollyhocks begin as a low rosette of floppy, slightly fuzzy leaves. The growth is just vegetative in the first year but by the second year the stem begins to form and flowers appear near the beginning of summer. The huge stalks boast numerous flared blooms that last for weeks. The plants are prone to rust disease, so cleanup is important when overwintering hollyhocks. Remove old stems and leaves and dispose of them before the new spring to prevent spores from spreading.
Overwintering Hollyhocks Indoors
Most USDA plant hardiness zones will not need to do anything special for hollyhock winter care. However, zones that have hard freezes will either need to treat the plants as annuals or provide protection for hollyhock in winter. In these areas, you can plant the seeds in containers and bring them indoors where temperatures remain above freezing. Water sparingly until spring, then increase water and gradually reintroduce the plants to the outside when temperatures warm. To do this, bring the pot outside for longer and longer periods until it can stay all day and all night.
How to Winterize Hollyhock
A haircut is the first step to preparing hollyhock for winter. Prune the leaves and stems back to 6 inches (15 cm.) from the ground in fall. The hollyhocks then need a layer of organic material over the root zone to protect them from freezing. Use straw, compost, leaf litter or mulch. Put 4 to 6 inches (10-15 cm.) over the base of the plant. In early spring, gradually start pulling a layer away to acclimate the roots to the changing season. Once you see new growth, remove all the material to allow space for the the fresh leaves and stems to grow. Give the new growth a granular food for flowering plants. Keep the mulch nearby in case you hear of a spring freeze and cover the roots and shoots immediately to prevent their loss. Remove the mulch when all danger of frost has passed.
Sign up for the Gardening Know How newsletter today and receive a free copy of our e-book "How to Grow Delicious Tomatoes".

Bonnie Grant is a professional landscaper with a Certification in Urban Gardening. She has been gardening and writing for 15 years. A former professional chef, she has a passion for edible landscaping.