How To Make An Orchid Terrarium – Create A Beautiful Living Artwork
Plant an elegant orchid terrarium with this simple step-by-step project that will make a showpiece for your indoor garden

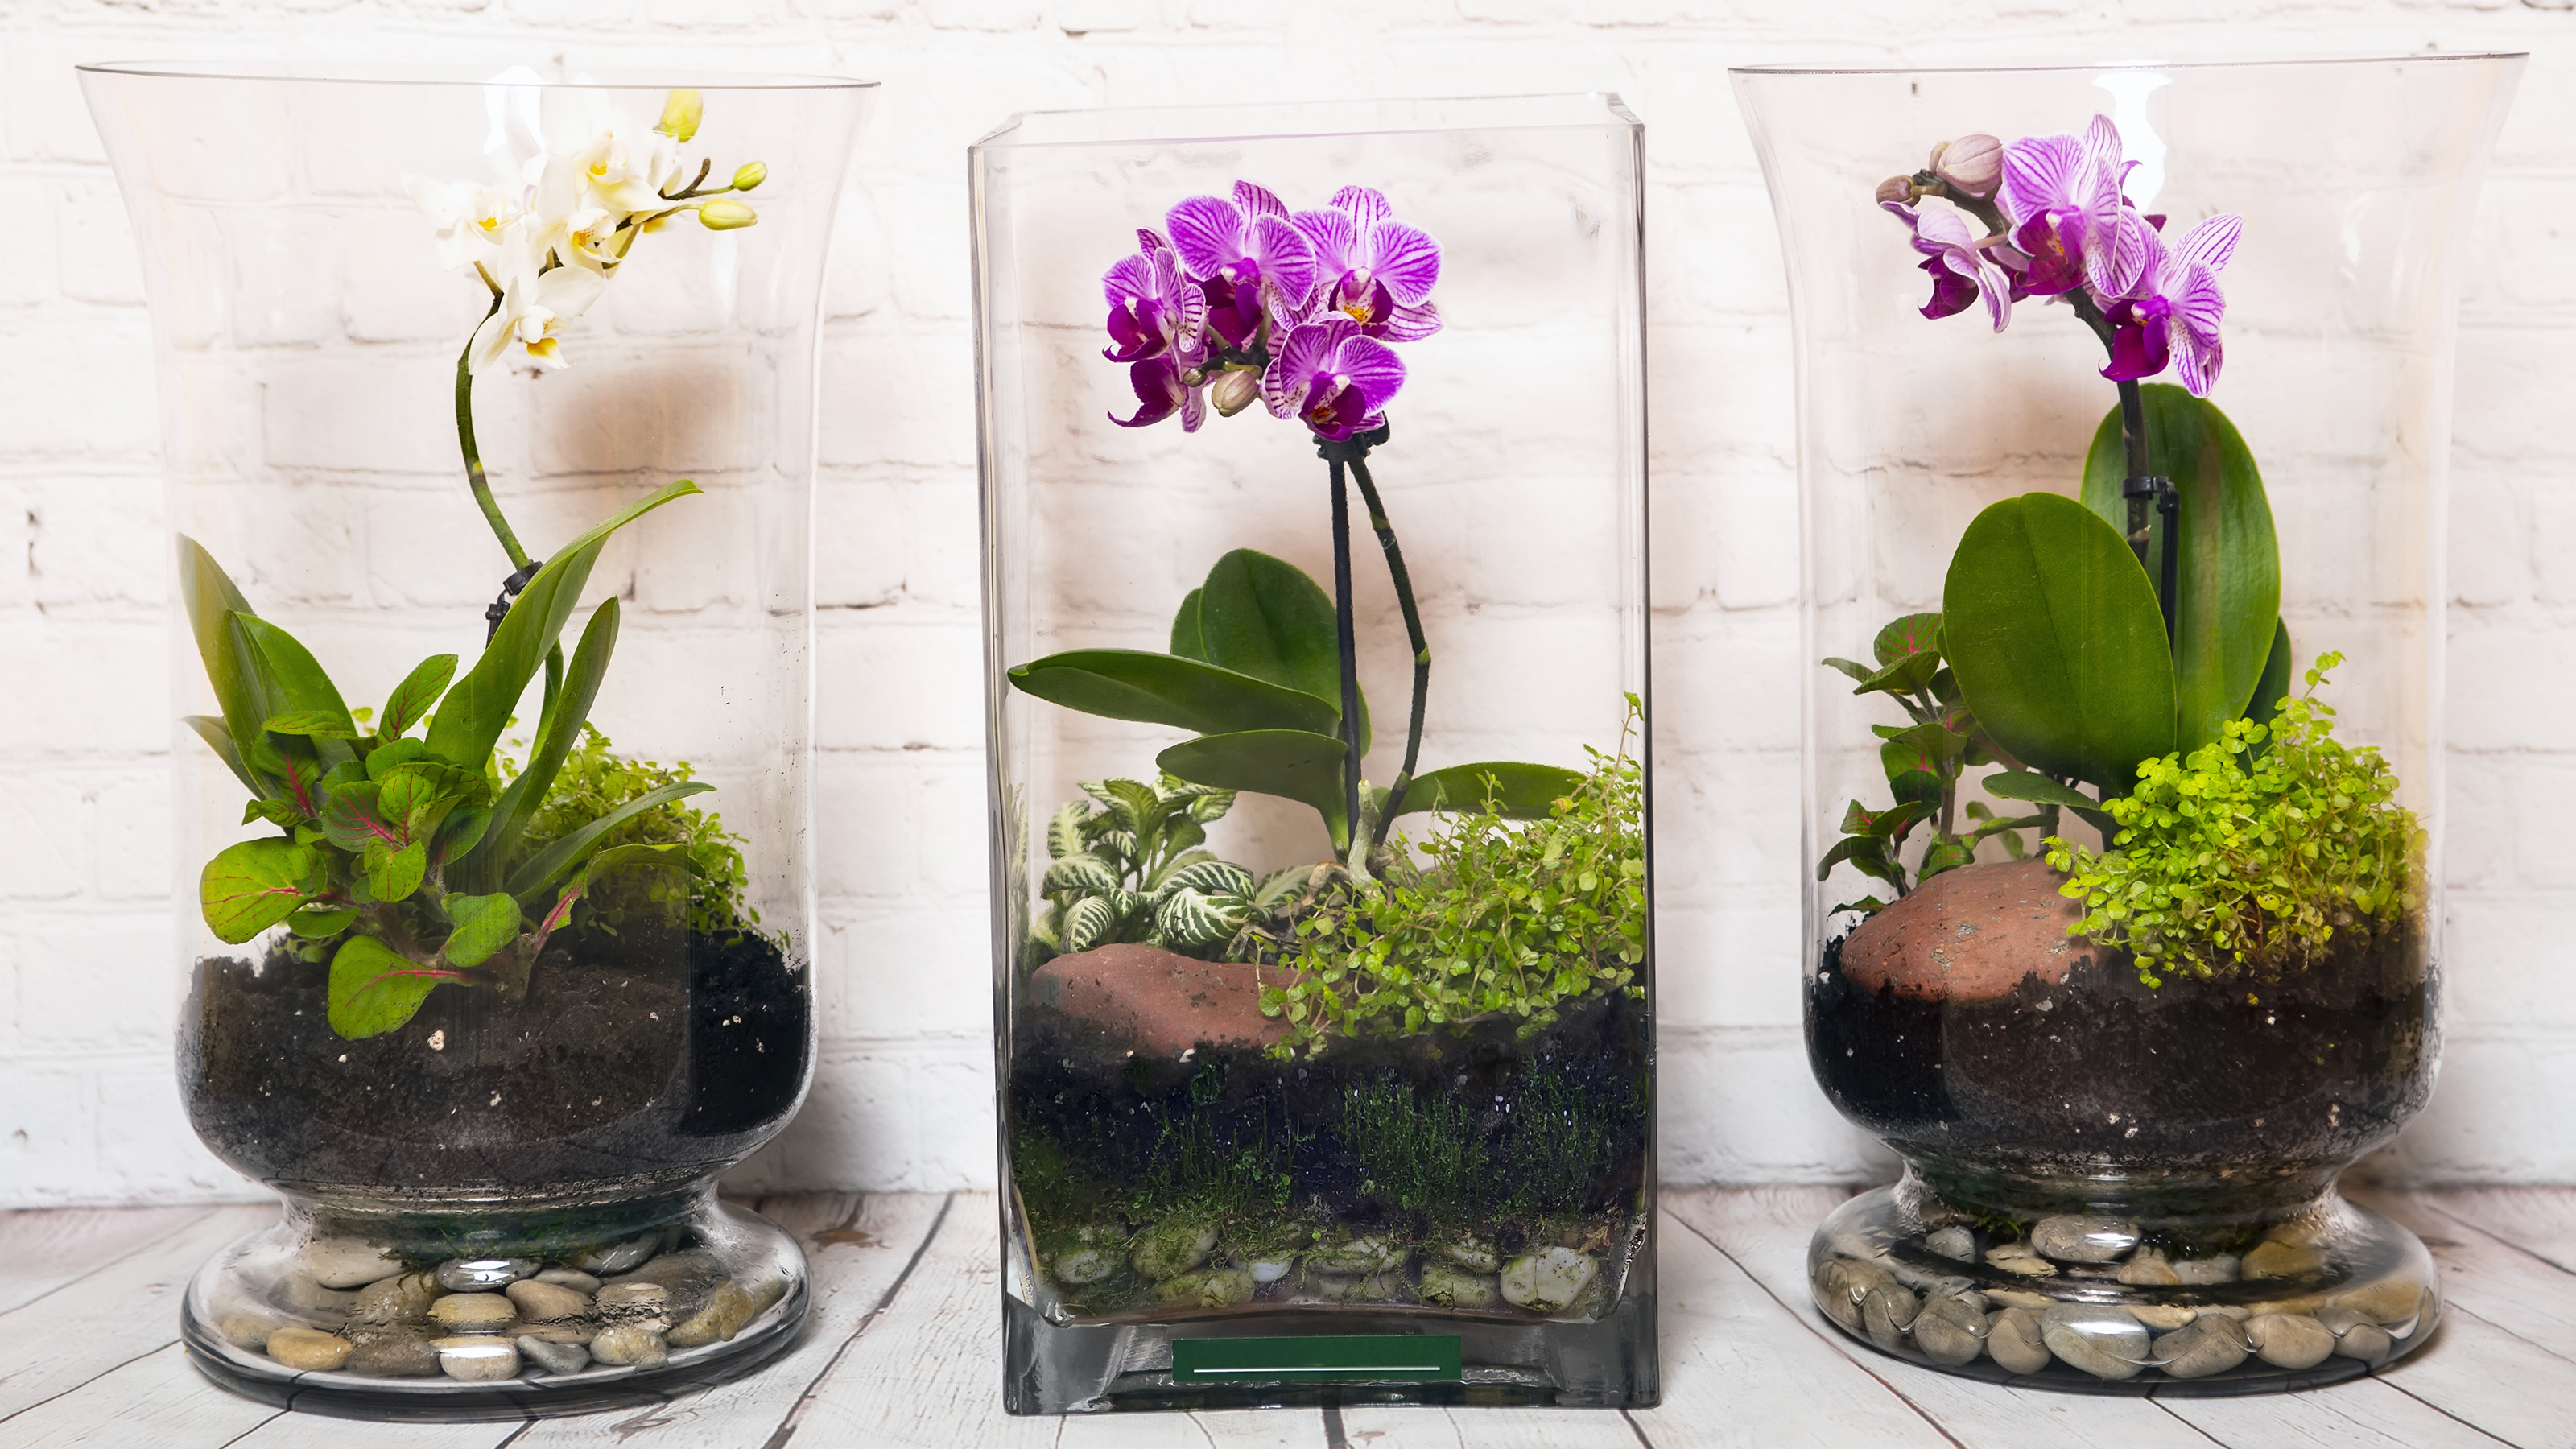
Learning how to make an orchid terrarium is a simple, inexpensive project that creates a stunning decorative feature.
Terrariums have soared in popularity in recent years, and planting them has become an art form. These enchanting miniature worlds offer a creative outlet for displaying small plants and even wildlife.
Orchids are sculptural flowers that make ideal centerpiece plants. Once established, they will require minimal maintenance, as the glazed container will help to control temperature and promote humidity, reducing the need for watering.
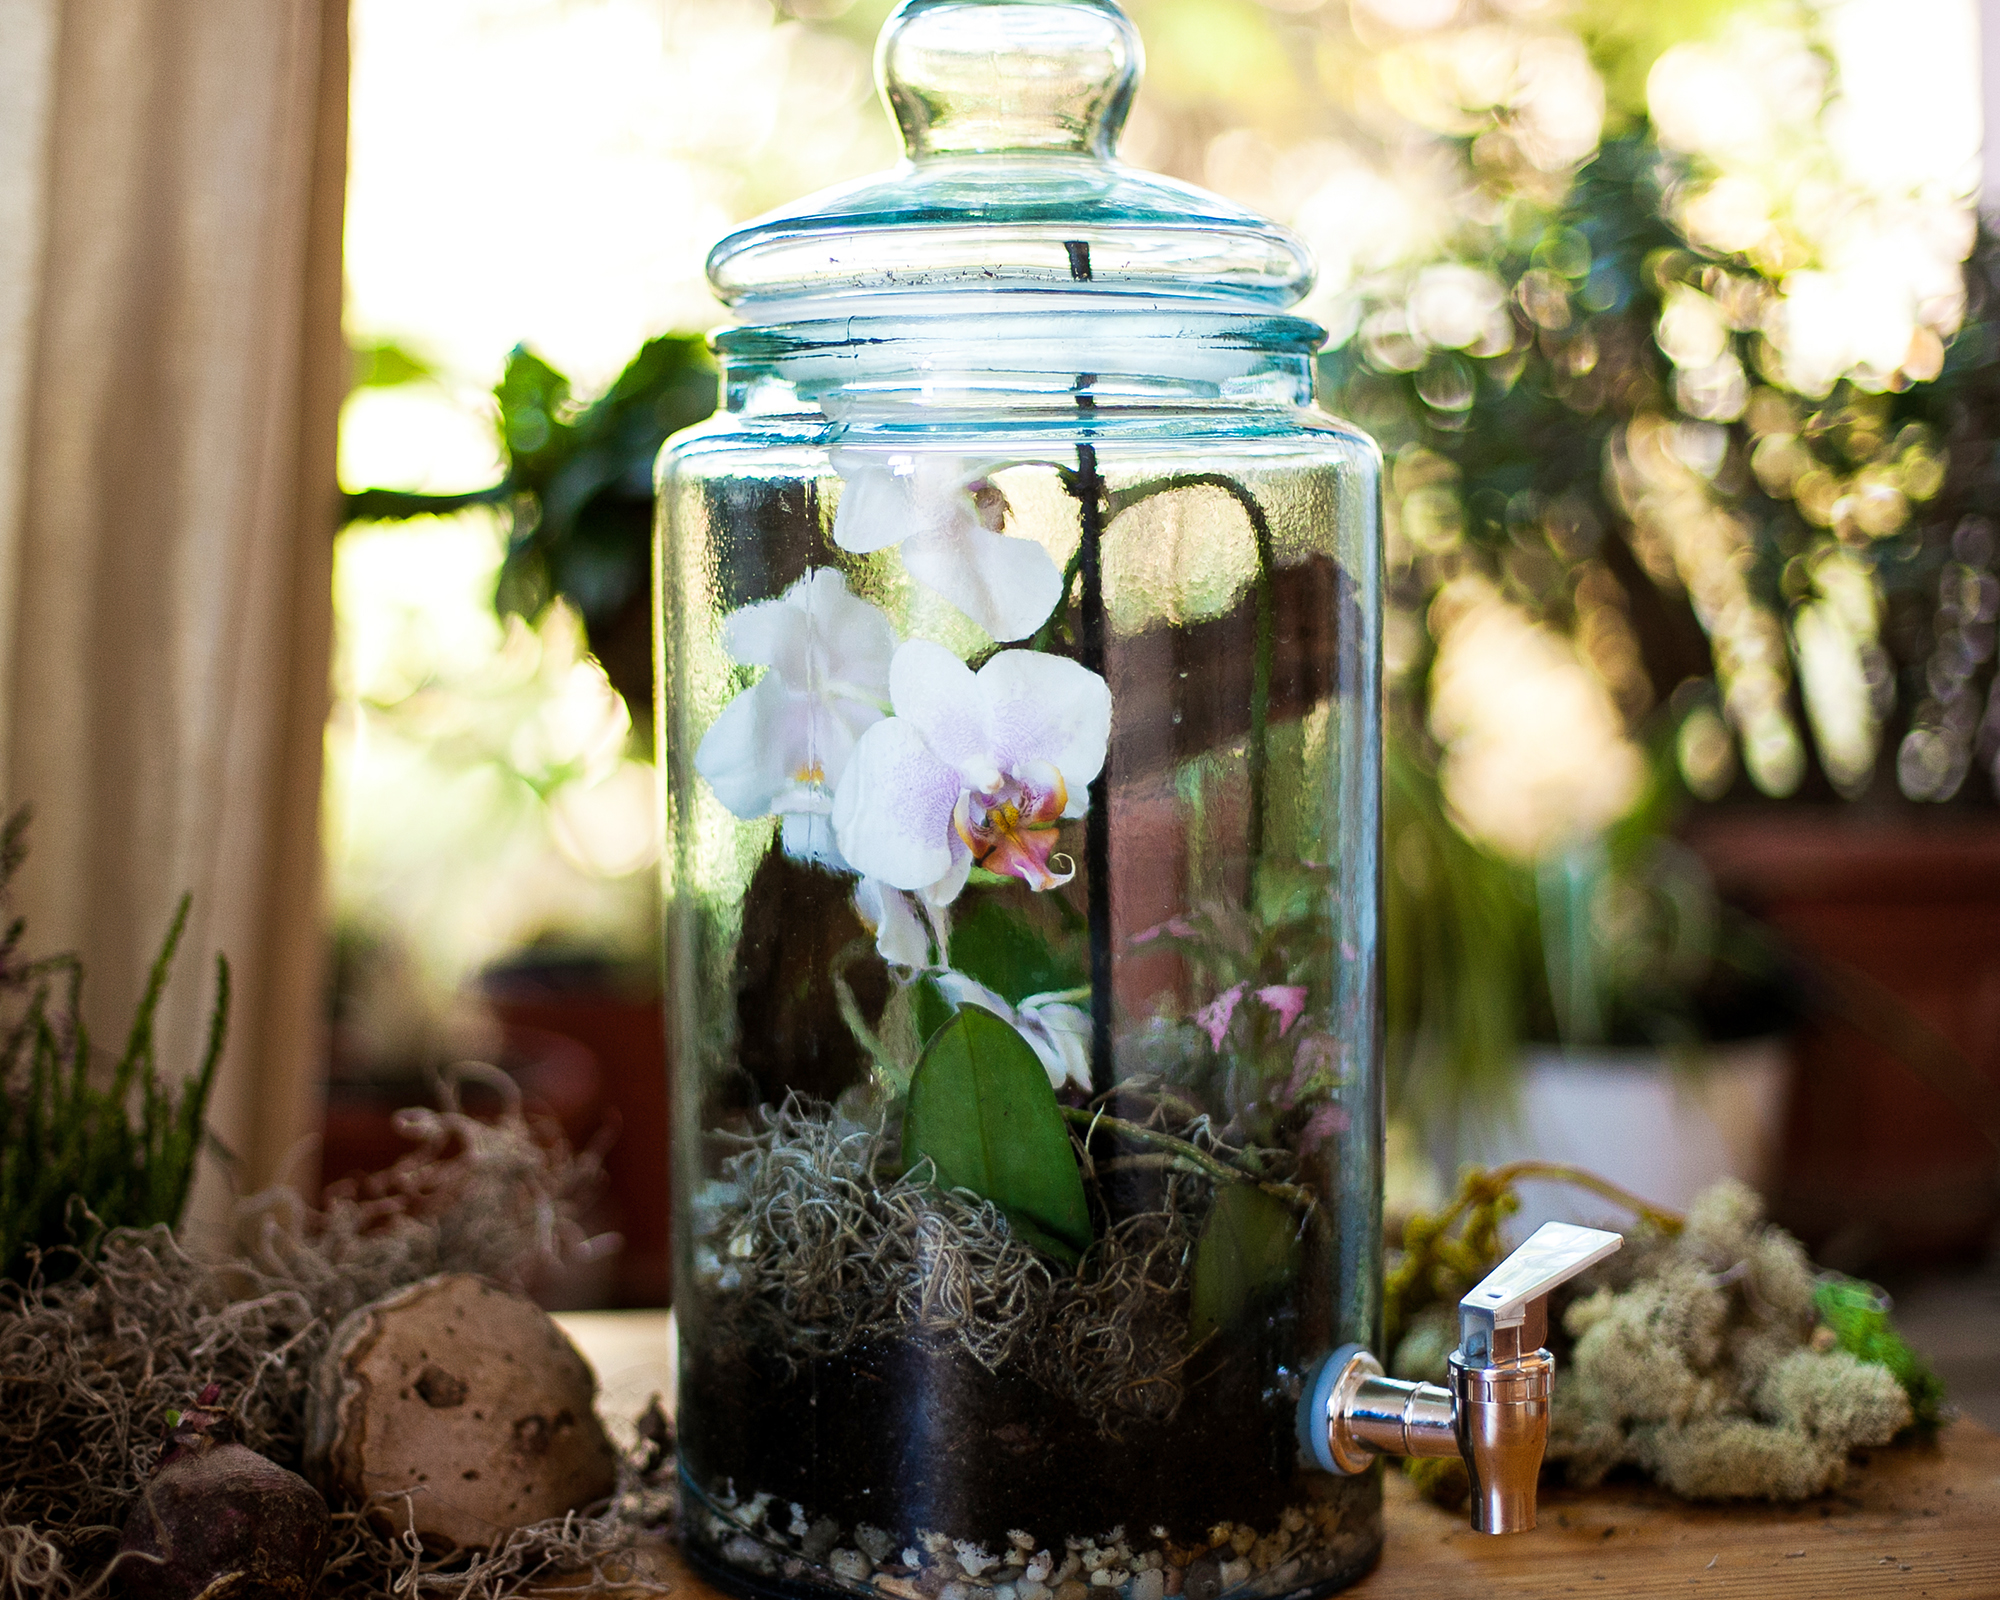
How To Make An Orchid Terrarium – Step-By-Step Guide
Making an orchid terrarium requires a glass vessel, suitable terrarium plants, and a growing medium – you can use small pebbles or purchase terrarium gravel.
Read on to discover how to successfully create your miniature living display. A simple design can be made in less than an hour.
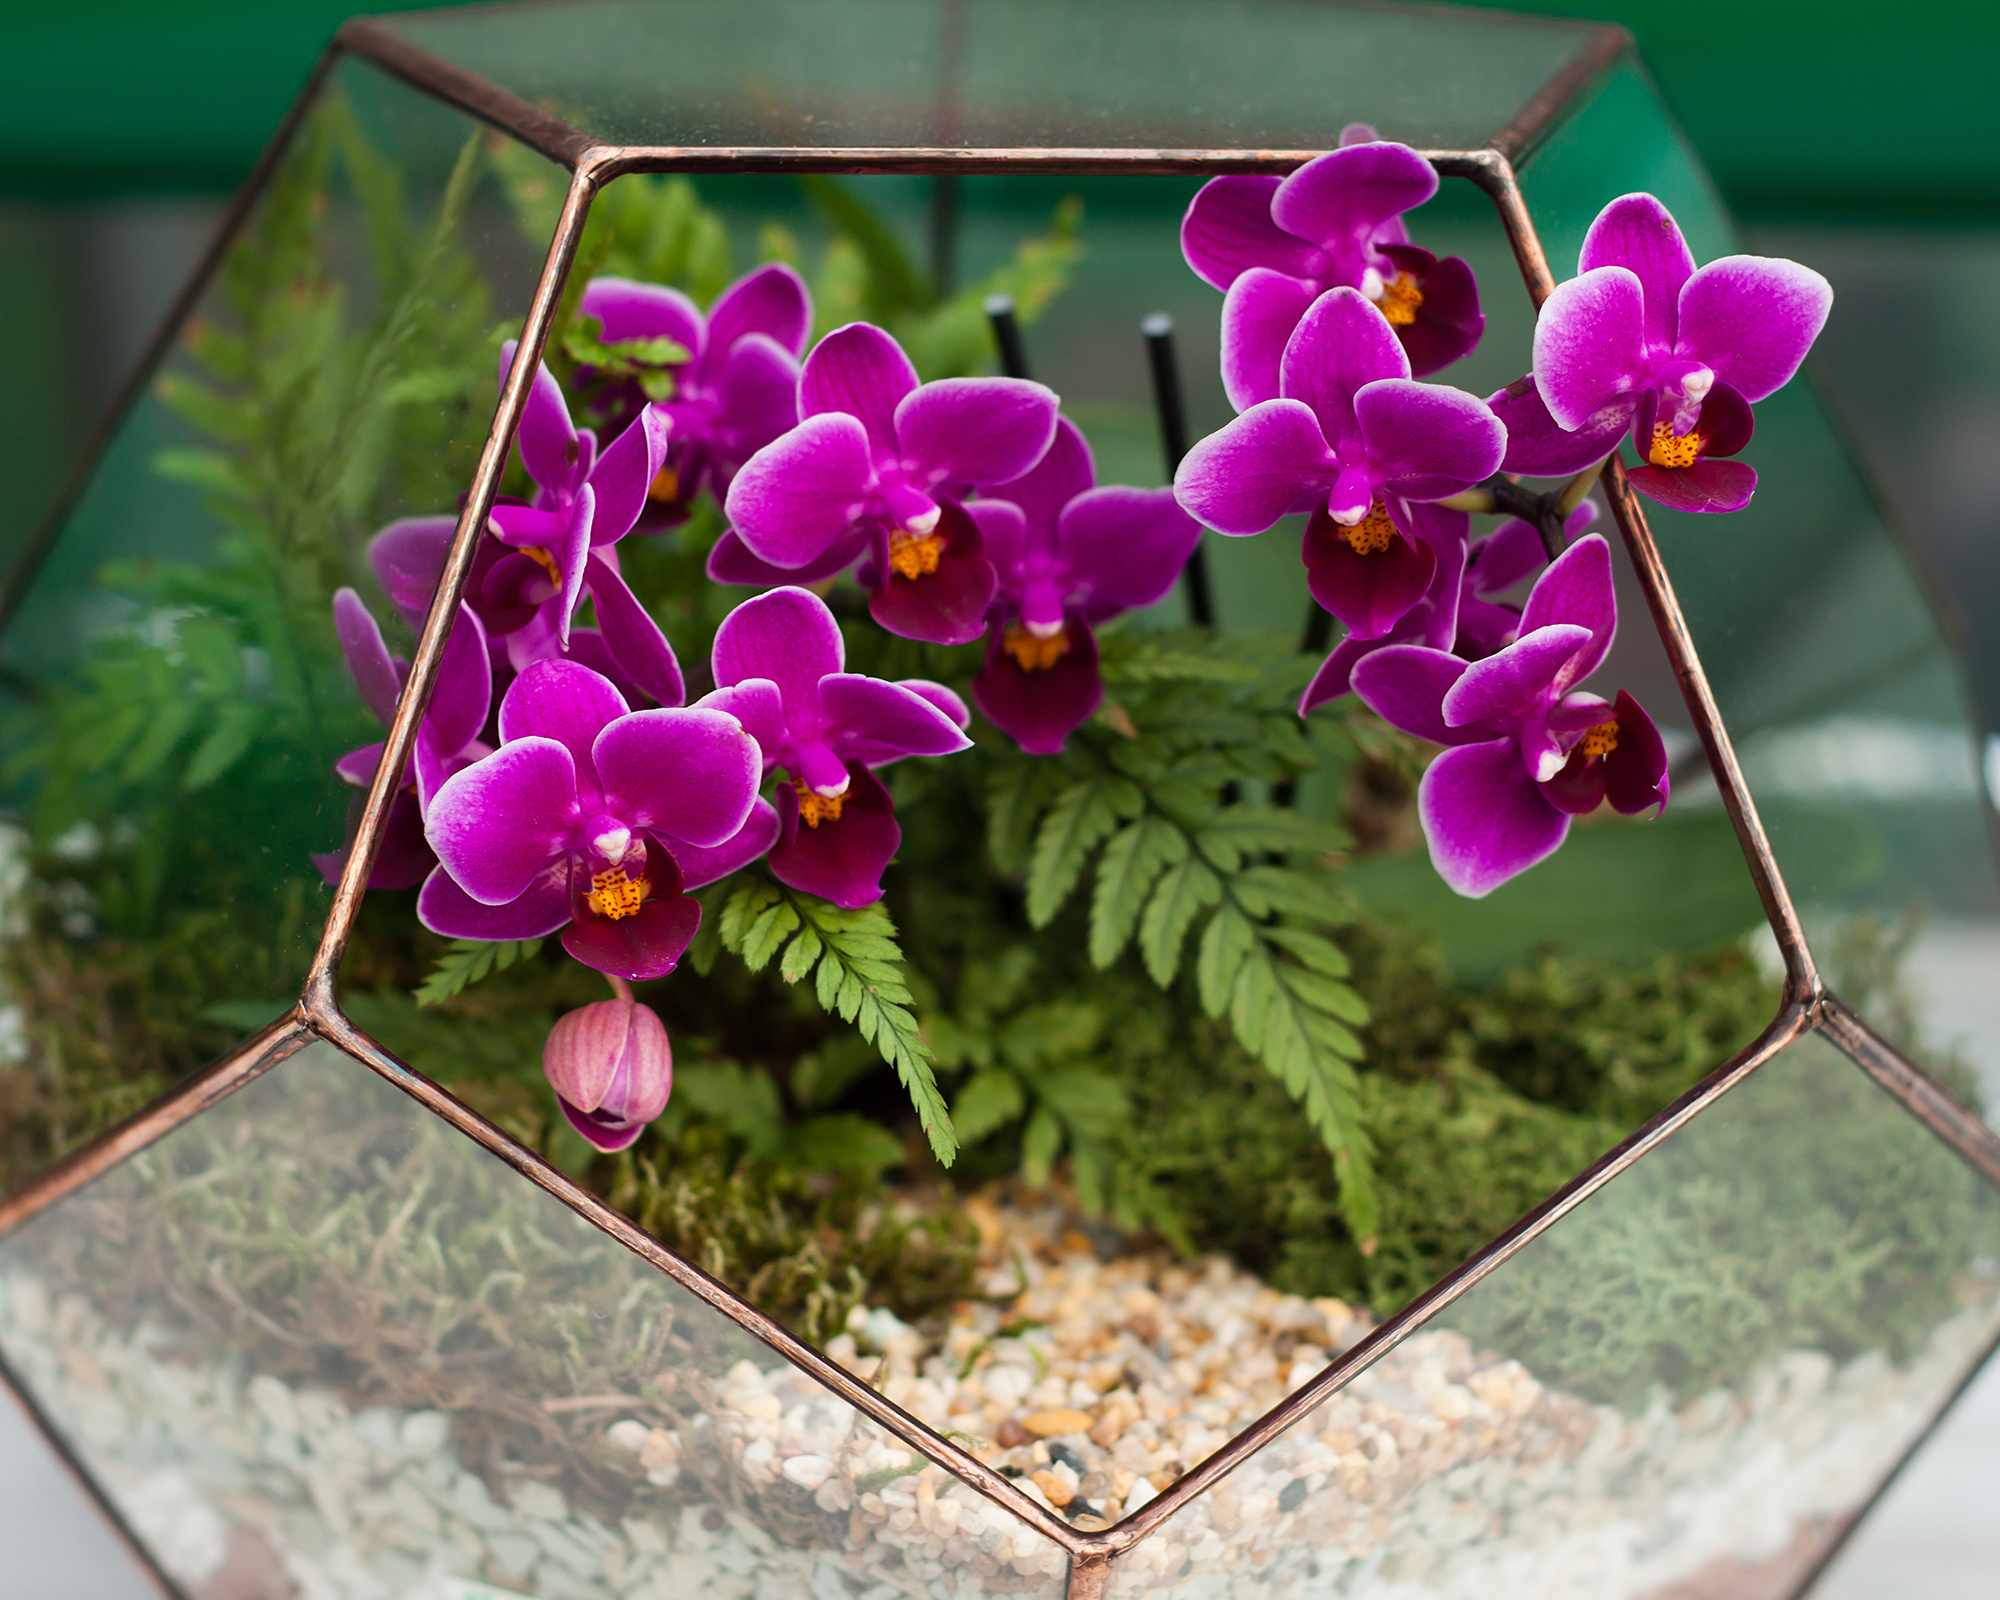
1. Open or Closed Terrarium?
In general, whether to opt for an open or closed terrarium depends on personal preference. However, when making an orchid terrarium, it is usually best to opt for an open terrarium that is not sealed shut.
This is because orchid roots usually need a certain amount of airflow, otherwise they will eventually rot. An open terrarium will provide some airflow, whereas a closed terrarium will not.
Sign up for the Gardening Know How newsletter today and receive a free copy of our e-book "How to Grow Delicious Tomatoes".
However, if it is your preferred option then there are some species that can be planted in a closed terrarium – Masdevallia orchids are the most compatible option.
Nearly any clear glass container is suitable for hosting your terrarium. Check out the local thrift store for a vase, large pickle jar, goldfish bowl, or even an aquarium. Make sure this has been thoroughly cleaned before use.
2. Choose The Right Orchid
Unless you are planting a large terrarium, you will need to opt for a miniature orchid to ensure it doesn’t outgrow the vessel or dominate other plants. It will also need to be a species that thrives in a high-humidity environment.
Happily, there are many different types of orchids that are suitable, including: Aerangis, Angraecum, Cattleya, Dendrobium, Dracula, Laelia, Lepanthes, Masdevallia, Oncidiums, Phalaenopsis, Platystele, and Tolumnia.
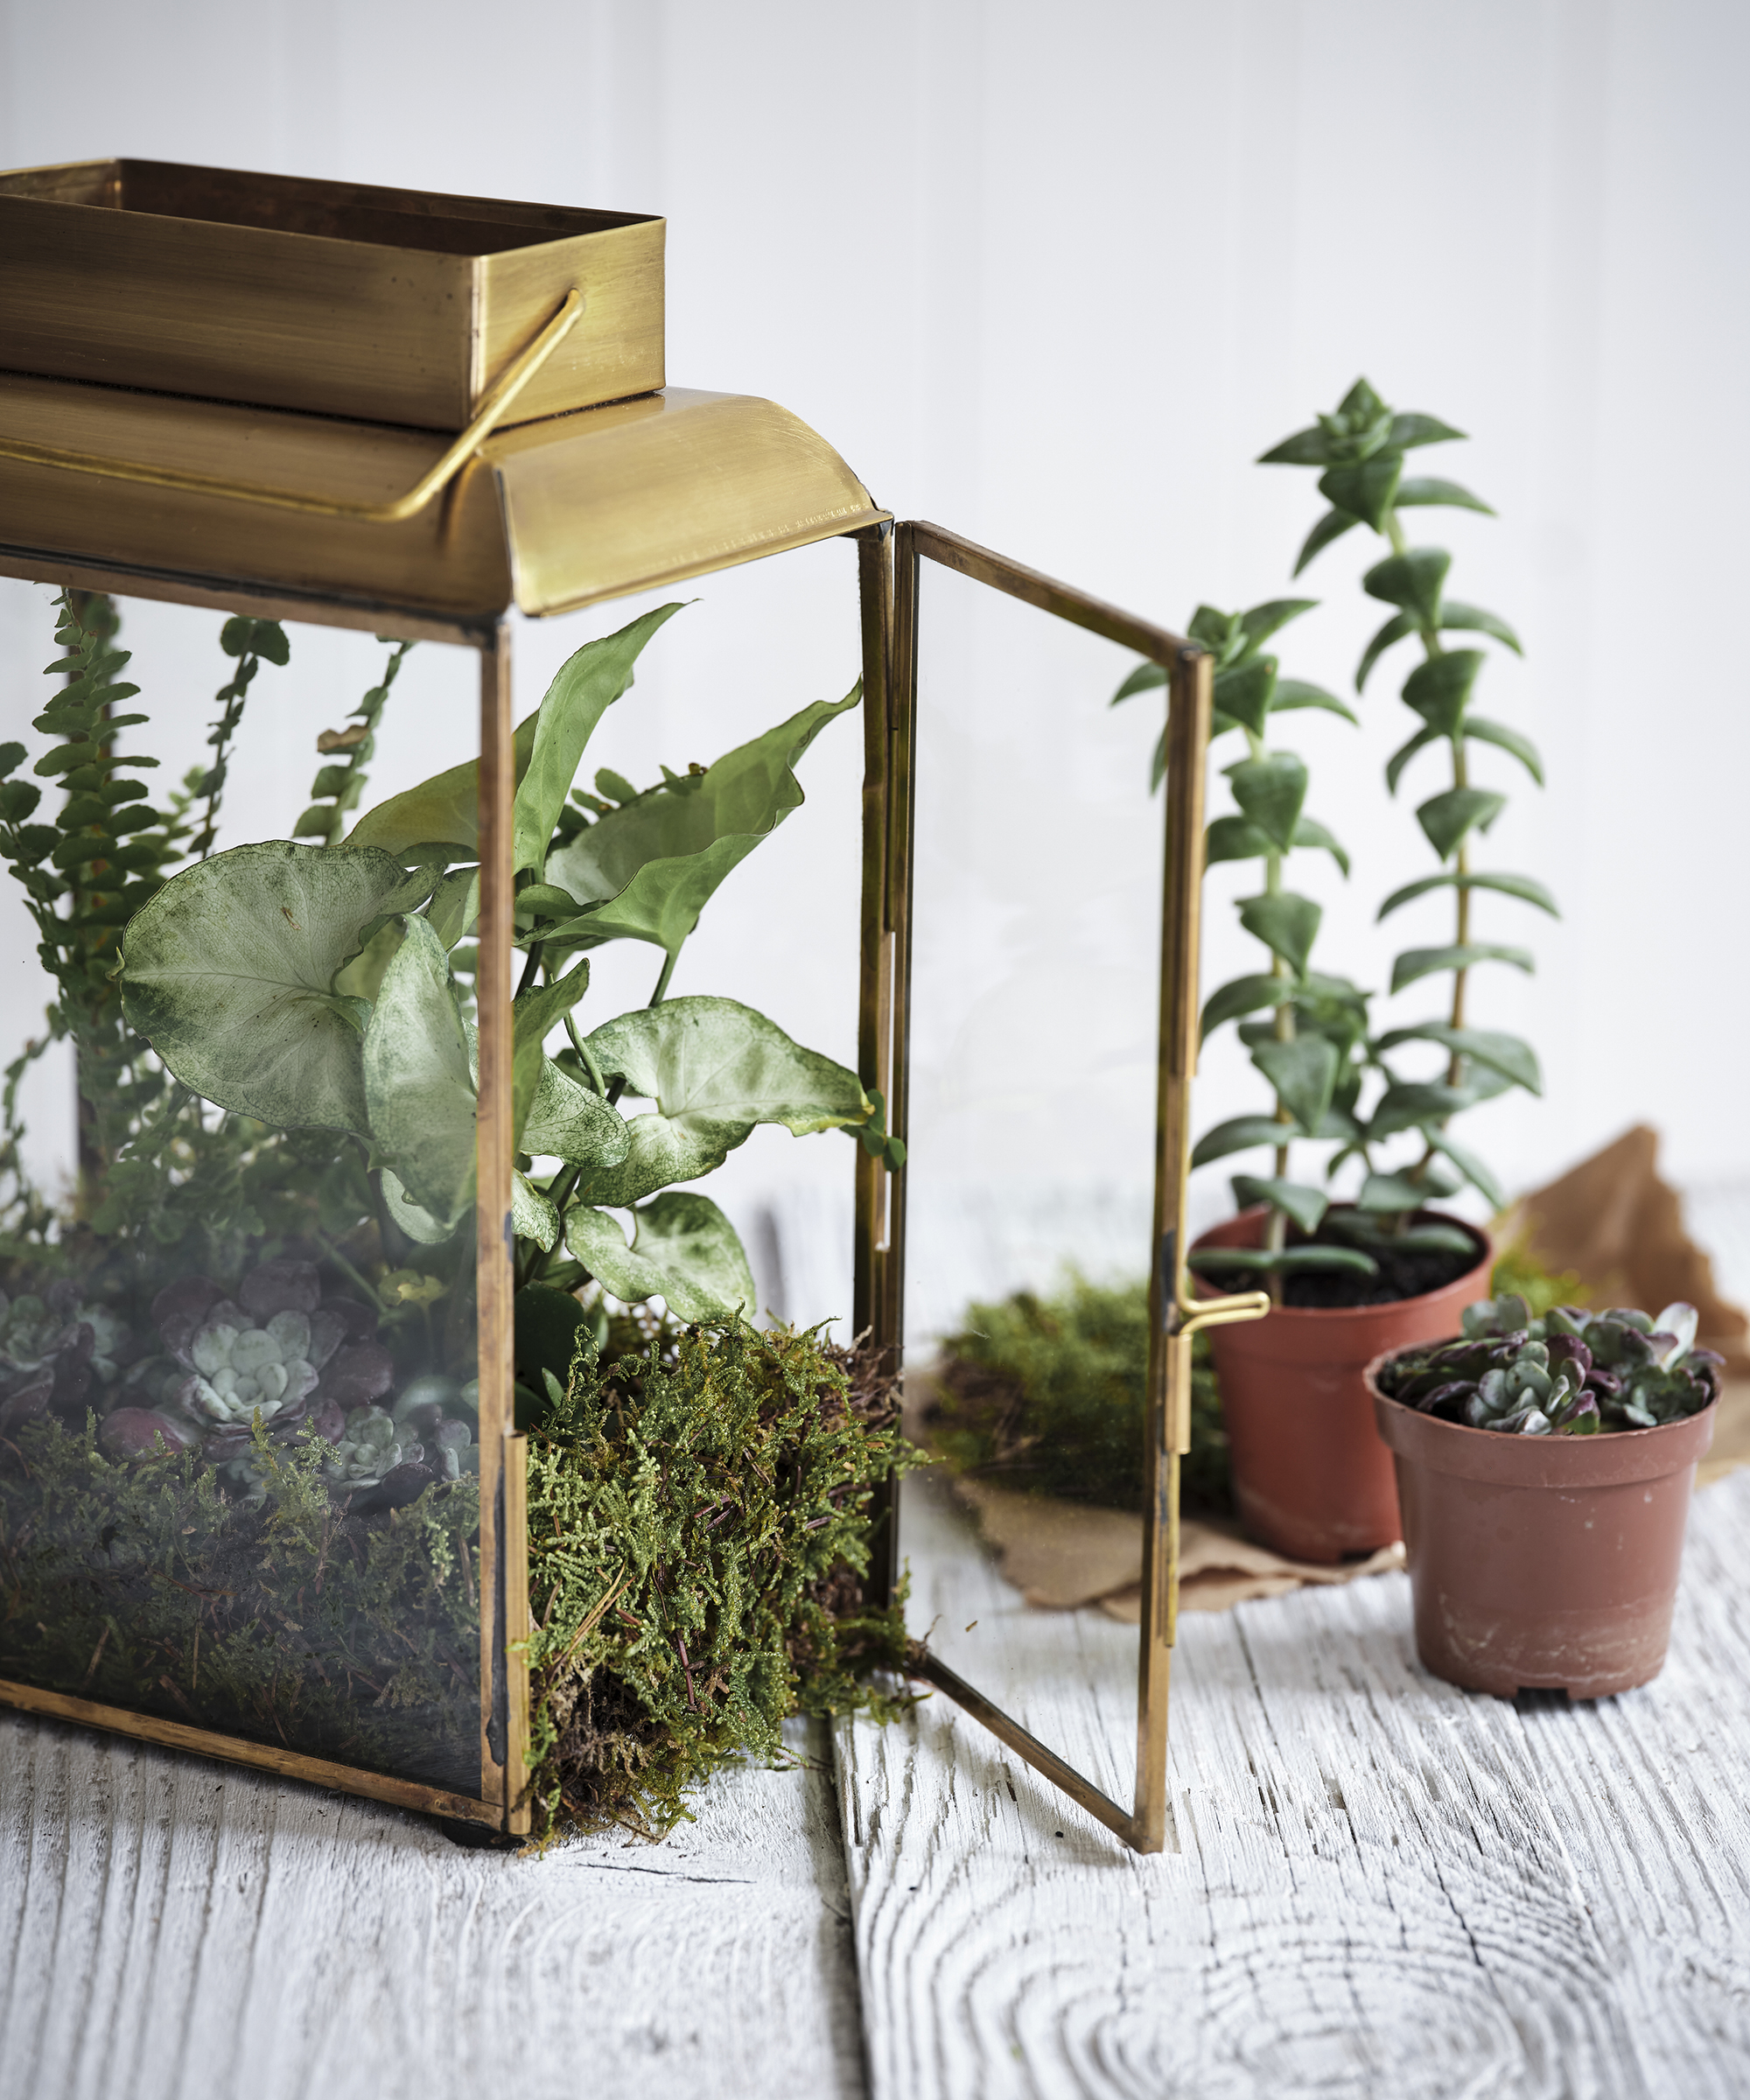
3. Add Compatible Companion Plants
Growing an orchid on its own in a terrarium can make a striking statement. However, they also look great combined with other small plants. These will ensure your terrarium has appeal when the orchid isn’t flowering.
You will need to choose plants that share similar care requirements to your orchid. They also need to be on the small side so that they don’t dominate the main star.
Good choices include air plants, baby’s tear, small ferns, peperomia, selaginella, and mosses.
4. Include A Drainage Layer
When making an orchid terrarium, you will need to arrange a layer of small pebbles at the bottom of the container, around 1 to 2 inches (2.5 to 5cm) deep. This provides a drainage area where water can collect.
You should wash your pebbles before use, otherwise you could introduce a disease to the terrarium. Alternatively, you can purchase specialist bagged terrarium gravel.
You can choose to top the gravel with a layer of soil, however this will make your terrarium a bit messier. You can make this decision based on the care needs of the other plants that will be included.
The soil will need to be a specialist product that is well draining, and includes purifying elements such as activated charcoal.
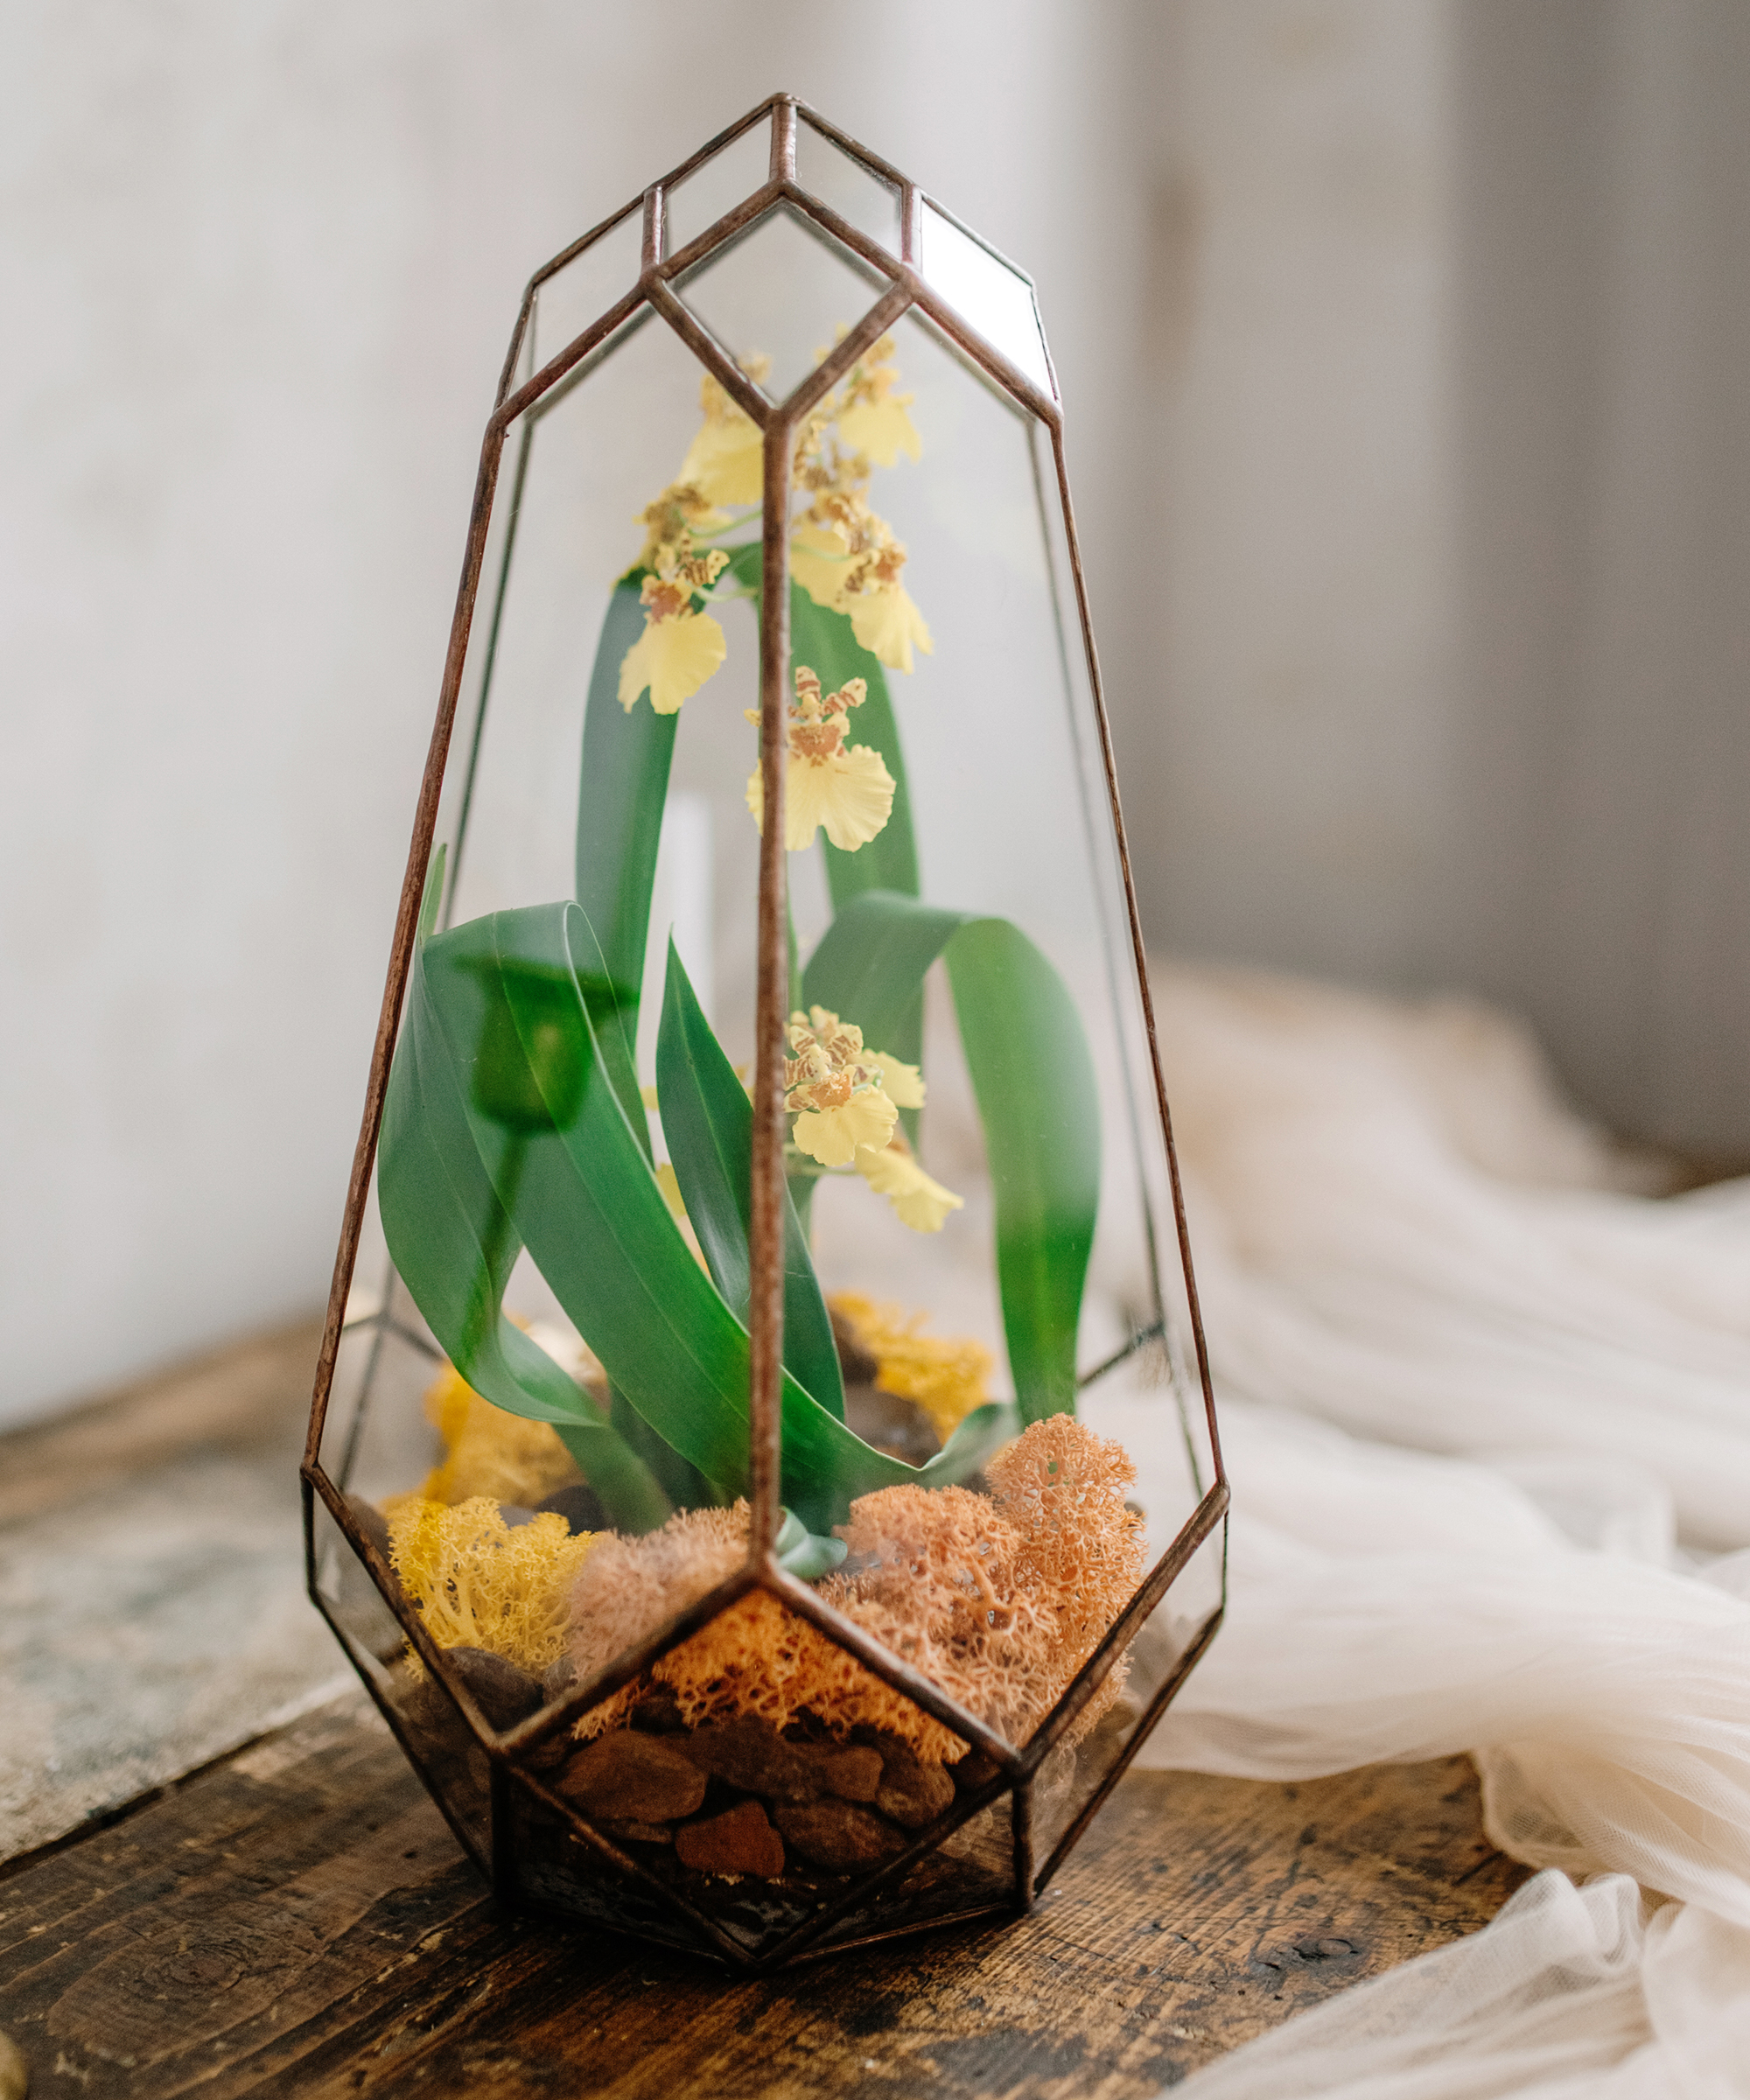
5. Plant Your Terrarium
The next step is to add your plants. It’s recommended to keep your orchid in its clear pot – which can be disguised using your filler plants, moss, bark, or driftwood. This ensures that airflow to the roots is maintained, and also allows access to the plant for future maintenance.
However, if you would prefer, you can mount your orchid to a piece of cork bark covered with sphagnum moss. This is simple to do by securing both the moss and the orchid to the bark with fishing wire.
When arranging the plants in your terrarium, ensure you leave enough space between them to allow for airflow and future growth.
Remember that the orchid is the focal point of your terrarium, and so the other plants should be subservient in the design.
6. Create The Right Conditions
Add about an inch of water to the bottom of your terrarium and position it in its new home. A terrarium should not be placed in direct sunlight on a windowsill, as the leaves could burn through the glass.
Position it in a fairly bright room where the orchid won’t experience extremes of temperature throughout the day.
Regularly check that the terrarium contains moisture, and when needed add moisture through misting with distilled water, to avoid overwatering and salt buildups. Misting is also the best way to fertilize the orchids, as their feeding needs will be much lower, requiring only a very diluted solution.

Melanie is an experienced gardener and has worked in homes and gardens media for over 20 years. She previously served as Editor on Period Living magazine, and worked for Homes & Gardens, Gardening Etc, Real Homes, and Homebuilding & Renovating. Melanie has spent the last few years transforming her own garden, which is constantly evolving as a work in progress. She is also a passionate organic home grower, having experimented with almost every type of vegetable at some point. In her home, Melanie tends to an extensive houseplant collection and is particularly fond of orchids.