Rooting Photinia Cuttings: How To Propagate Photinia Cuttings
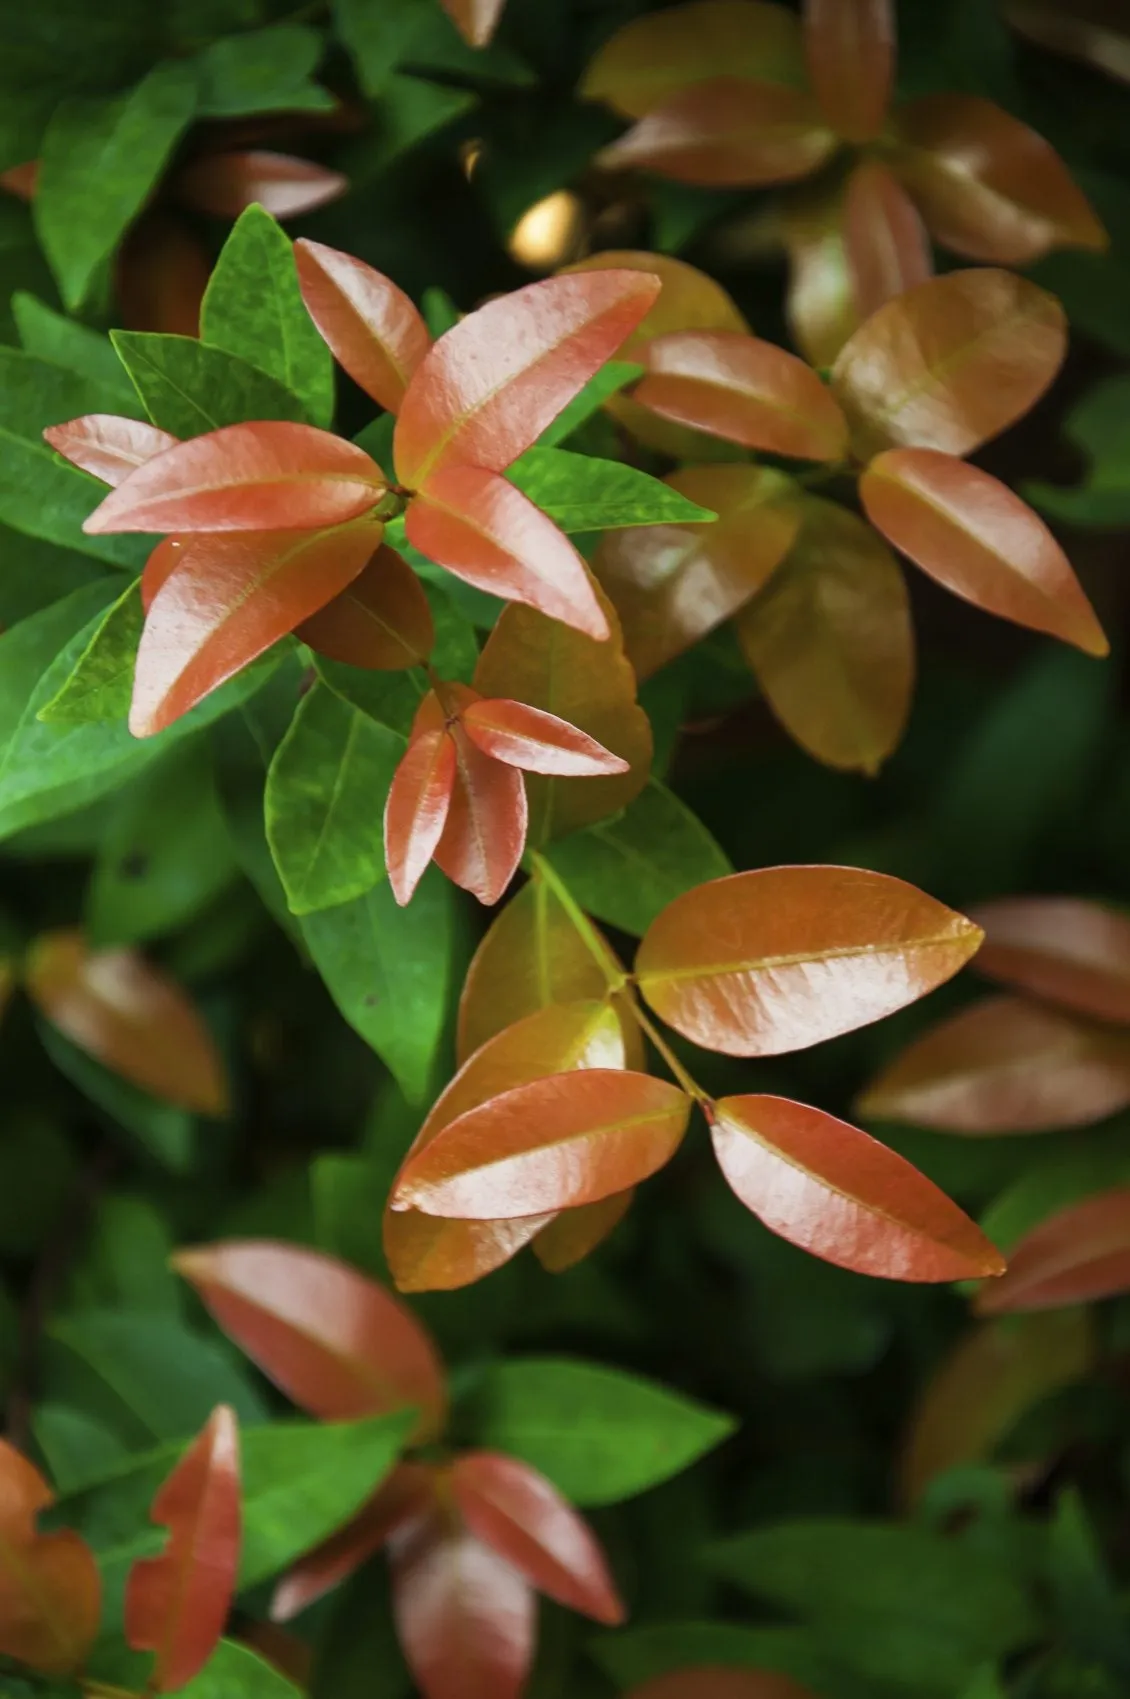
Named for the bright red leaves that emerge from the tips of the stems each spring, red-tip photinia is a common sight in eastern landscapes. Many gardeners feel that they can never have enough of these colorful shrubs. Read on to find out how to save on your landscaping bills by propagating photinia from cuttings.
Can I Propagate My Photinia Shrubs?
Sure you can! Even if you're never propagated a plant from cuttings before, you won't have any trouble rooting photinia cuttings. The best time to take the cuttings is late summer. If you take them too early, they are too soft and tend to rot. Here's what you'll need:
- Sharp knife
- Pot with several drainage holes
- Bag of rooting medium
- Large plastic bag with a twist tie
Take the cuttings early in the morning before the sun begins to dry out the leaves. A good stem will snap off when bent double. Cut 3- to 4-inch (7.5-10 cm.) lengths from the tips of the healthiest stems, making the cut just below a leaf stem.

It's best to cut the stem with a sharp knife rather than pruning shears because shears pinch the stem, making it hard for the stem to take up water. Take the cuttings indoors right away. If there is going to be a delay in sticking the cuttings, wrap them in a moist paper towel and place them in the refrigerator.
How to Propagate Photinia Cuttings
The steps for propagating photinia plants is easy:
- Fill the pot with rooting medium to about one-half inch from the top, and moisten it with water.
- Remove the leaves from the lower half of the stem. You only need a few leaves at the top to root the stem. Cut the longer leaves in half.
- Stick the bottom 2 inches (5 cm.) of the stem in the rooting medium. Make sure the leaves don't touch the medium, and then firm the medium around the stem so it stands up straight. You can stick three or four cuttings in a six-inch (15 cm.) pot, or give each cutting its own small pot.
- Set the pot in a plastic bag and close the top over the cuttings with a twist-tie. Don't let the sides of the bag touch the cuttings. You can use twigs or popsicle sticks to hold the bag away from the leaves, if necessary.
- After about three weeks, give the stems a gentle tug. If you feel resistance, they have roots. Once you are sure your cuttings have rooted, remove the bag.
Caring for Photinia Plant Cuttings
Repot the cutting in regular potting soil once the plant has roots. This serves two purposes:
- First, the cutting needs a roomy home of its own to grow to a size suitable for planting outdoors.
- Second, it needs good soil that manages moisture well and provides essential nutrients. Rooting medium contains few nutrients, but good potting soil contains enough nutrients to support the plant for several months.
You'll probably want to keep the plant indoors until spring, so find a sunny location for the pot, away from drafts or heat registers. If you run the furnace a lot, misting alone isn't enough to prevent the leaves from suffering in the dry air.
Let the plant spend some time in the bathroom, kitchen or laundry room where the air is naturally moist. You can also try running a cool-mist humidifier nearby to raise humidity. Water the cutting when the soil feels dry an inch below the surface.
