DIY Herb Carton Planters: Growing Herbs In Milk Cartons
Making a milk carton herb garden is a great way to combine recycling with the love of gardening. These money-saving paper carton herb containers are not only simple to make, but also decorative to use. Plus, DIY herb carton planters are an excellent way to introduce children to both gardening and the concept of reduce, reuse, and recycle.
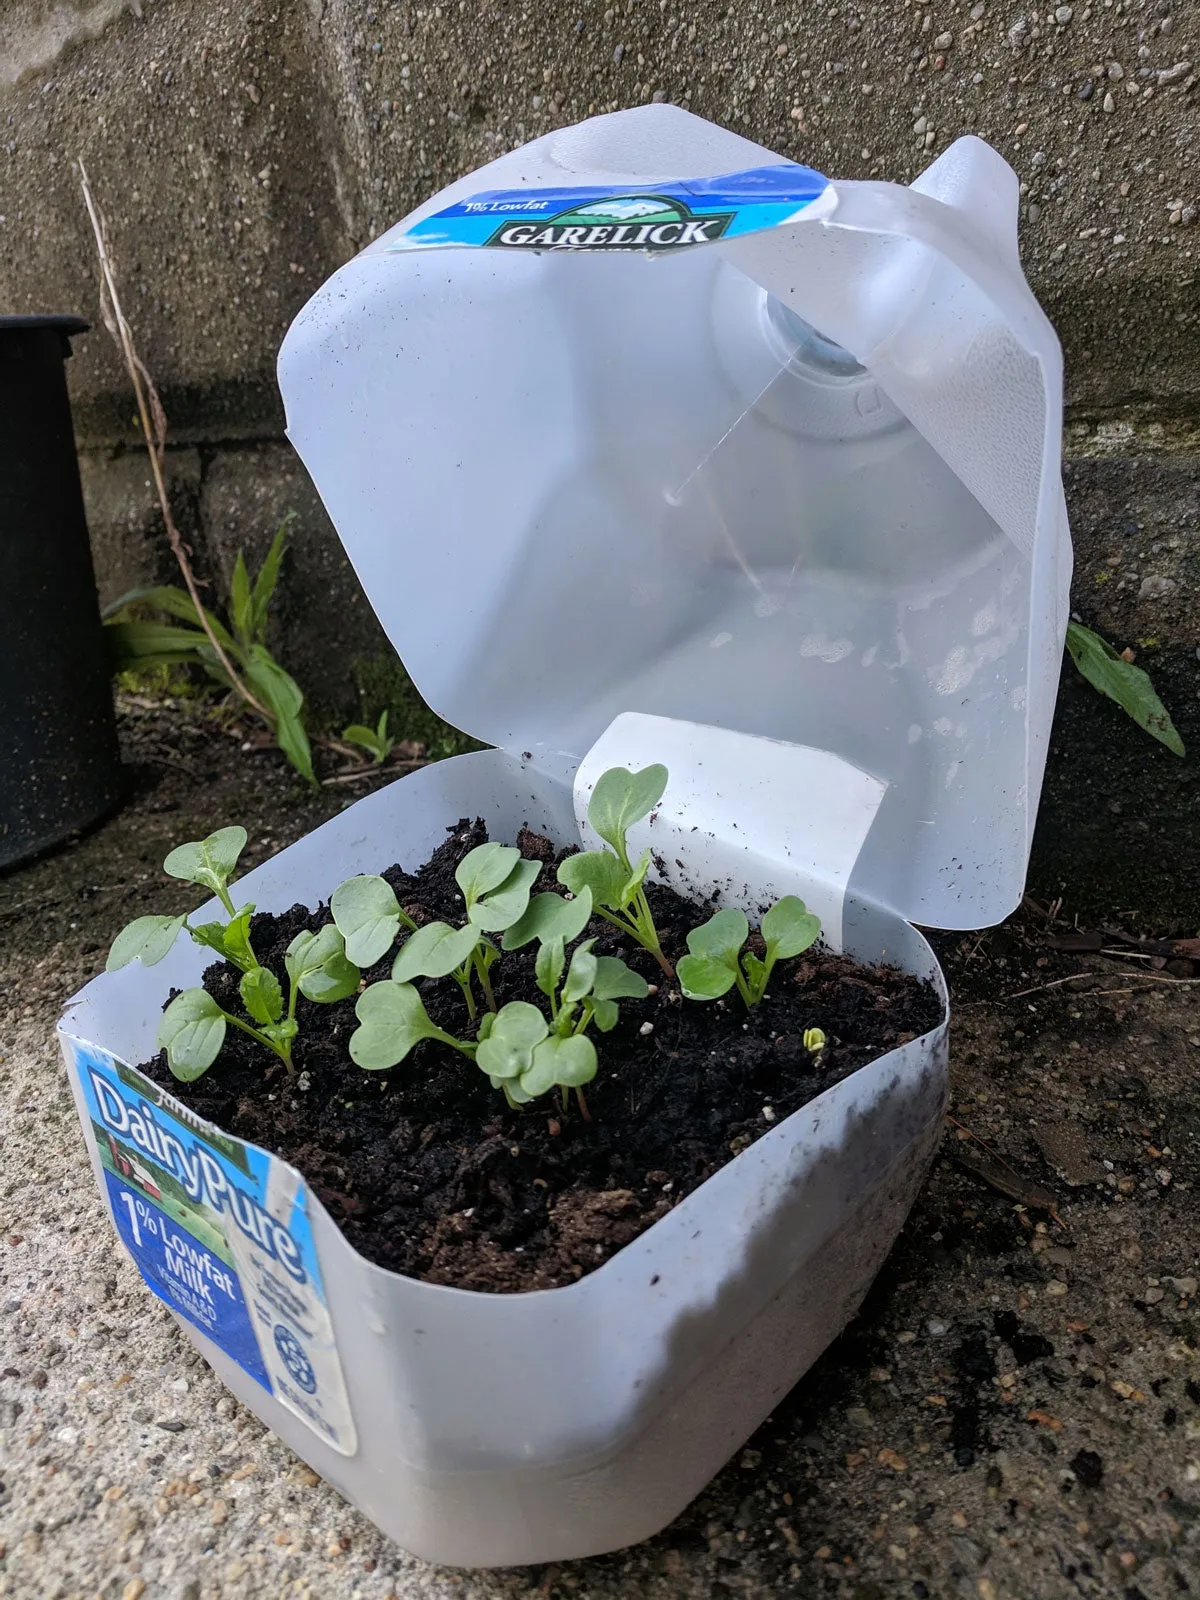
How to Make Paper Carton Herb Containers
DIY herb carton planters can be crafted from any size milk carton, but the half gallon size provides sufficient root space for growing herbs in milk cartons. These planters can be crafted in three different ways:
- The top or folded portion of the milk carton can be cut off and discarded. This makes a tall, thin planter (unfortunately, this still sends a portion of the milk carton to landfills).
- The milk carton can be cut in half. The herbs are planted in the top (folded) portion. The top is then inserted into the bottom half, which serves as a drip tray. This method provides the most support to the carton.
- Long planters can be made by cutting one side out of the milk container and planting lengthwise. This gives the most growing space per milk carton.
Before planting herbs in milk cartons, use a large nail or Phillips screwdriver to poke drainage holes in the bottom of the container. It's also advisable to thoroughly wash the milk carton and allow it to dry 24 hours before decorating.
Decorating DIY Herb Carton Planters
Gardeners looking for inexpensive planters can use the prepared milk cartons as-is, but the real fun comes with the decorating process. Here are some cute ideas for crafting your own unique paper carton herb containers:
- Paint – Either spray paint or brushed on acrylics can be used to coat the outside of the milk carton herb garden planter. From psychedelic sixties to generic white with black lettering, the DIY herb carton planters can be made to match a room's décor or simply be practical.
- Adhesive paper – Use duct tape, shelf liner, or self-adhesive craft foam to decorate the sides of the planters. The additional layer offers support when growing herbs in milk cartons.
- Animal friend – Before cutting the milk carton, trace the ear shape of your favorite animal above the cut line on one side of the container. Then, carefully cut around the “ears” to include them in the planter. Next, cover or paint all sides of your special milk carton herb garden pot. Add eyes, mouth, a nose, and whiskers (if appropriate) underneath the ears to represent the face of your favorite animal friend.
- Ribbon, yarn, and buttons – Pull out those leftover craft supplies and go to town decorating your milk carton with scraps of ribbon and spare buttons. Or use hot glue and wind leftover yarn around the sides of the planter.
- Craft sticks – Glue wooden craft sticks to the outside of the paper carton herb containers, then paint or stain in your favorite finish. The craft sticks offer extra support to the milk carton.
Once decorated, use a quality potting soil when planting your favorite herbs. Place your milk carton herb garden in a sunny location and water regularly. These cute planters also make adorable gifts for family and friends.
Sign up for the Gardening Know How newsletter today and receive a free copy of our e-book "How to Grow Delicious Tomatoes".

Laura Miller has been gardening all her life. Holding a degree in Biology, Nutrition, and Agriculture, Laura's area of expertise is vegetables, herbs, and all things edible. She lives in Ohio.