How To Wrap Potted Plants For Winter


Sign up for the Gardening Know How newsletter today and receive a free copy of our e-book "How to Grow Delicious Tomatoes".
You are now subscribed
Your newsletter sign-up was successful
Do you have potted plants outdoors and live in areas where the temperature may drop below 32 degrees Fahrenheit (0°C)? If so, those plants will need extra winter protection to survive the freezing temperatures and desiccating winds. It's important to take steps to help overwinter plants, particularly those you are keeping in containers. Follow this guide to make sure you have all the essentials covered in the run-up to the season's cold snaps…
Why Wrap Your Potted Plants in Winter?
Plants in the ground benefit from the insulating effects of the soil. But containers do not offer the same protection. They are above ground with only a thin layer of potting soil and container wall to protect them from the elements. Hence why it is so important to make sure you overwinter container plants the right way. Hardy plants that will stay outside in containers should be rated two hardiness zones lower than normal. In other words, if a plant is usually hardy to zone 5, it will only be hardy to zone 7 in a container.
There are several options available for wrapping plants for winter, depending on the supplies you have on hand, what structures can be used, and how severe the winters. You may want to purchase supplies that you can use every year such as burlap, stakes, chicken wire, and zip ties. Then store them in summer for quick use when winter approaches.
How To Wrap Container Plants for Winter
There are several ways to insulate your potted plants for winter, depending on its severity. If your area experiences only a few below-freezing events during the winter, your pots can be moved to a sheltered location out of the wind and covered with sheets or blankets during cold spells.
It’s best not to leave pots made of clay, ceramic, or glazed pottery outdoors, but if you must, bubble-wrap plant pots with several layers and secure them. Add two inches of mulch to the top of the container.
If the climate includes many sustained nights below freezing plus snow and ice, more protective measures need to be taken. The easiest method is to move the pots inside a non-freezing structure such as a garage, warmed greenhouse, basement, or shed. Woody evergreens need light, but other plants will do OK without it.
Check the soil for moisture and don’t let them completely dry out. Water about once a month. Too much water will cause the plants to rot.
Sign up for the Gardening Know How newsletter today and receive a free copy of our e-book "How to Grow Delicious Tomatoes".
If you only have one or two pots to protect, they can be “planted” in the ground with or without the container for the winter. Spread several inches of mulch across the top and around the edges.
If moving the pots inside is not an option, here are more ideas:
- Move all the containers to a sheltered location out of the wind and group them together, with the smallest pots inside the circle.
- Water them well, then cover the containers with 6 to 12 inches (15 to 30 cm) of straw, shredded leaves, compost, bark mulch, evergreen boughs, or a thermal blanket.
- If you have straw bales, they can be placed around the outside of the circle.
- Check them for moisture whenever the temperature is above 40 degrees F (4.4 C) and water if needed.
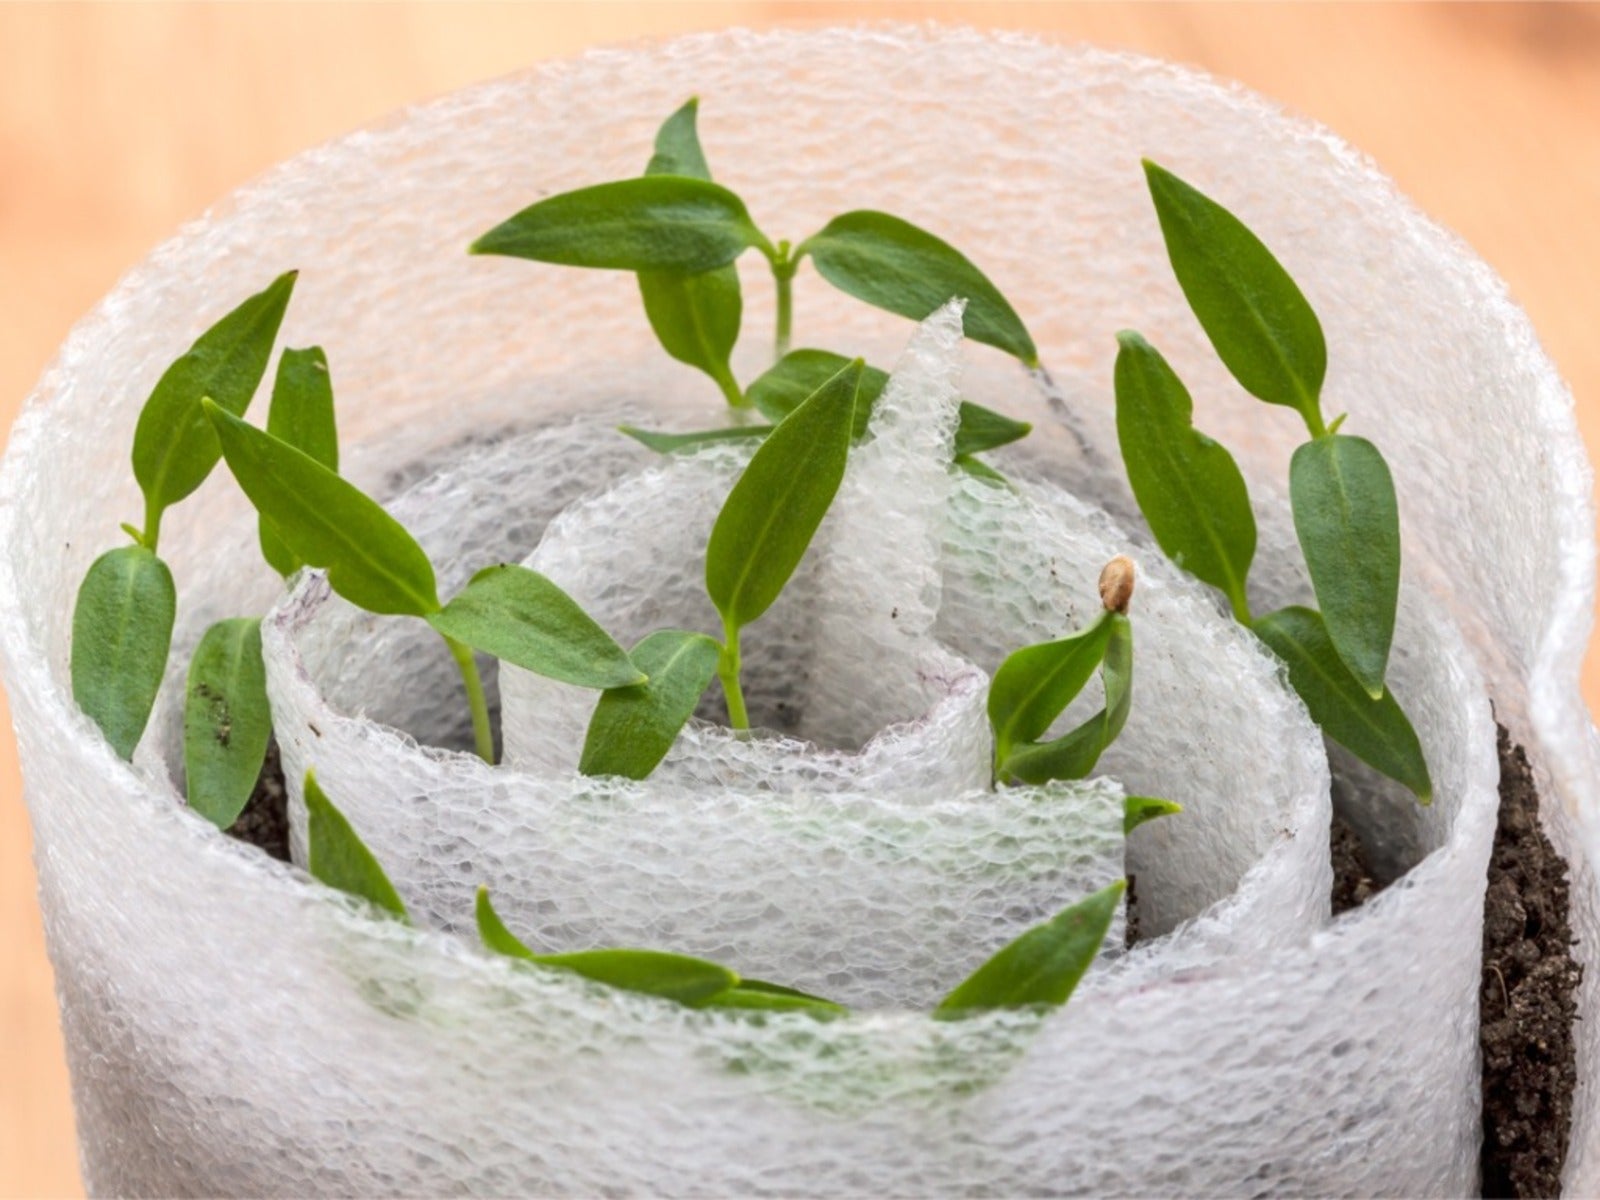
If the pots are stationary or too heavy to move, insulate them by wrapping potted plants in burlap or bubble wrap from the top of the plant to the base of the container. For even more protection, first create a protective bubble. Here’s how:
- Tie together the branches to prevent breakage. Water the plant and fill the top of the container with mulch.
- Surround the plant and the container all the way to the base with chicken wire or another type of fencing. Add a stake for stability, which can be secured with zip ties or wired to the cage.
- Fill the cylinder with leaves, straw, or bubble wrap. Then cover the cylinder with burlap or blankets and wrap it with twine. Add a shield on top with roofing paper or plastic and secure.
When spring arrives, slowly peel off the layers of your covers over several days. Be sure the threat of frost is past before removing the final wrap.

After graduating from Oklahoma State University with a degree in English, Susan pursued a career in communications. In addition, she wrote garden articles for magazines and authored a newspaper gardening column for many years. She contributed South-Central regional gardening columns for four years to Lowes.com. While living in Oklahoma, she served as a master gardener for 17 years.