Love to putz about in the garden but live in a condo, apartment, or townhouse? Ever wish you could grow your own peppers or tomatoes but space is at a premium on your tiny deck or lanai? A solution just might be earthbox gardening. If you have never heard of planting in an earthbox, you are probably wondering what on earth is an earthbox?
What is an Earthbox?
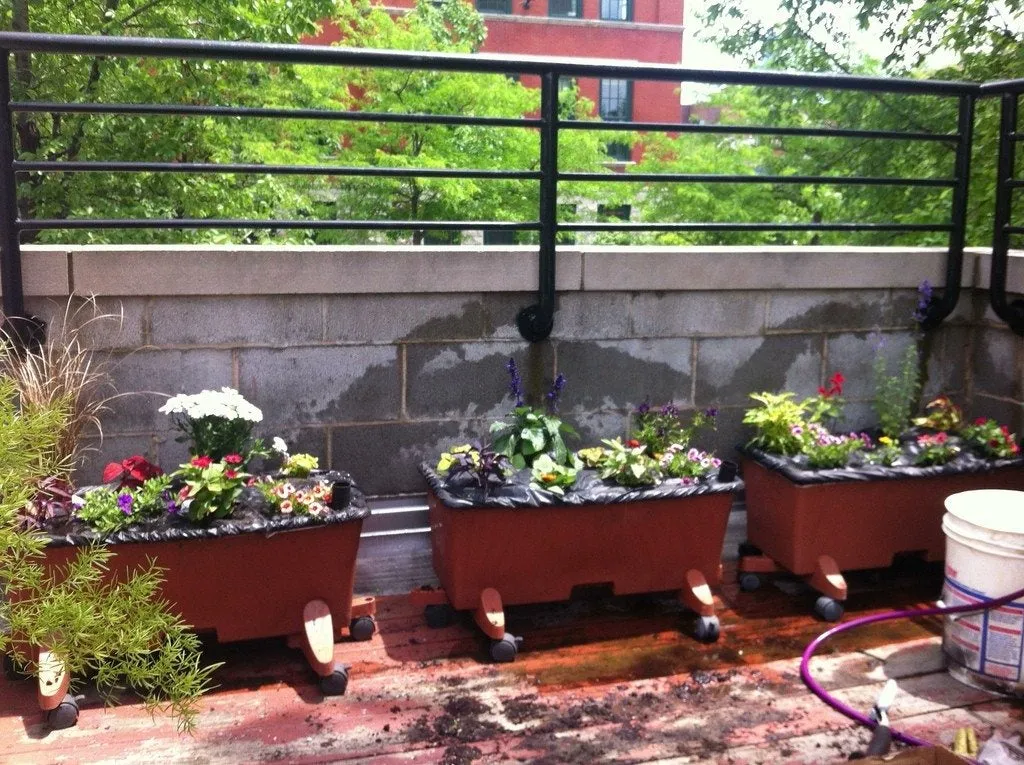
Simply put, earthbox planters are self-watering containers that have a water reservoir built in that is capable of irrigating the plants for several days. Earthbox was developed by a farmer by the name of Blake Whisenant. The commercially available earthbox is made of recycled plastic, 2 ½ feet x 15 inches (0.5 m. x 38 cm.) long and one foot (0.5 m.) high, and will accommodate 2 tomatoes, 8 peppers, 4 cucumbers, or 8 strawberries - to put it all in perspective. Sometimes the containers also contain a band of fertilizer, which continuously feeds the plants during their growing season. The combination of food and water available on a continuous basis results in high production and ease of growth for both veggie and flower cultivation, especially in areas of space restriction such as a deck or patio. This ingenious system is great for the first-time gardener, the gardener who may be occasionally forgetful about watering to downright neglectful, and as a starter garden for kids.
How to Make an Earthbox
Earthbox gardening can be achieved in two ways: you may purchase an earthbox either through the internet or a gardening center, or you can make your own earthbox planter. Creating your own earthbox is a relatively simple process and begins with selecting a container. Containers can be plastic storage tubs, 5-gallon (22.5 L.) buckets, small planters or pots, laundry pails, Tupperware, cat litter pails… the list goes on. Use your imagination and recycle what is around the house. Besides a container, you will also need an aeration screen, some type of support for the screen, such as PVC pipe, a fill tube, and a mulch cover. The container is divided into two sections separated by a screen: the soil chamber and the water reservoir. Drill a hole through the container just below the screen to allow excess water to drain and avoid flooding the container. The purpose of the screen is to hold the soil above the water so oxygen is available to the roots. The screen can be made from another tub cut in half, plexiglass, a plastic cutting board, vinyl window screens, again the list goes on. Try to repurpose something lying around the house. After all, this is called an “earth” box. The screen is drilled through with holes to allow moisture to wick up to the roots. You will also need some type of support for the screen and, again, use your imagination and repurpose household items such as kid's sand pails, plastic paint tubs, baby wipe containers, etc. The taller the supports, the larger the water reservoir, and the longer you can go between watering. Attach the supports to the screen using nylon wire ties. Additionally, a tube (usually a PVC pipe) wrapped with landscape fabric can be used for aeration instead of the screen. The fabric will keep the potting media from clogging the pipe. Simply wrap it around the pipe and hot glue it on. A screen is still put in place, but its purpose is to keep the soil in place and allow for the wicking of moisture by the plant's roots. You will need a fill tube made of 1-inch (2.5 cm.) PVC pipe cut to accommodate the size of the container you choose. The bottom of the tube should be cut at an angle. You will also need a mulch cover, which aids in moisture retention and protects the fertilizer band from getting sodden - which will add too much food to the soil and burn the roots. A mulch cover can be made from heavy plastic bags cut to fit.
How to Plant your Earthbox
Complete instructions for planting and construction, including blueprints, can be found on the internet, but here is the gist:
- Place the container where it is going to stay in a sunny area of 6-8 hours of sun.
- Fill the wicking chamber with moistened potting soil and then fill directly into the container.
- Fill the water reservoir through the fill tube until water comes out of the overflow hole.
- Continue to add soil on top of the screen until half full and pat the moistened mix down.
- Pour 2 cups of fertilizer in a 2-inch (5 cm.) strip atop the potting mix, but don't stir in.
- Cut a 3-inch (7.5 cm.) X into the mulch cover where you want to plant the veggies and place atop the soil and secure with a bungee cord.
- Plant your seeds or plants just as you would in the garden and water, just this once.
Sign up for the Gardening Know How newsletter today and receive a free copy of our e-book "How to Grow Delicious Tomatoes".

Amy Grant has been gardening for 30 years and writing for 15. A professional chef and caterer, Amy's area of expertise is culinary gardening.